
Choosing the Right Mirror
When looking to create an antique look for a mirror, it’s important to start with the right base. The style, size, and shape of the mirror will all play a key role in achieving the desired antique aesthetic. Here are some factors to consider when choosing the right mirror for this project:
- Style: Antique mirrors come in various styles, such as Baroque, Victorian, or Art Deco. Determine the era or style that best suits your desired antique look, as this will influence the overall vibe of the finished piece.
- Size: Consider the size of the mirror in relation to the space where it will be displayed. If you want to create a statement piece, opt for a larger mirror. Alternatively, if you’re working with limited space, a smaller mirror with intricate details can add a touch of elegance.
- Shape: Mirrors come in different shapes, such as rectangular, round, oval, or even unique geometric designs. Choose a shape that complements the overall style and suits the space where it will be hung.
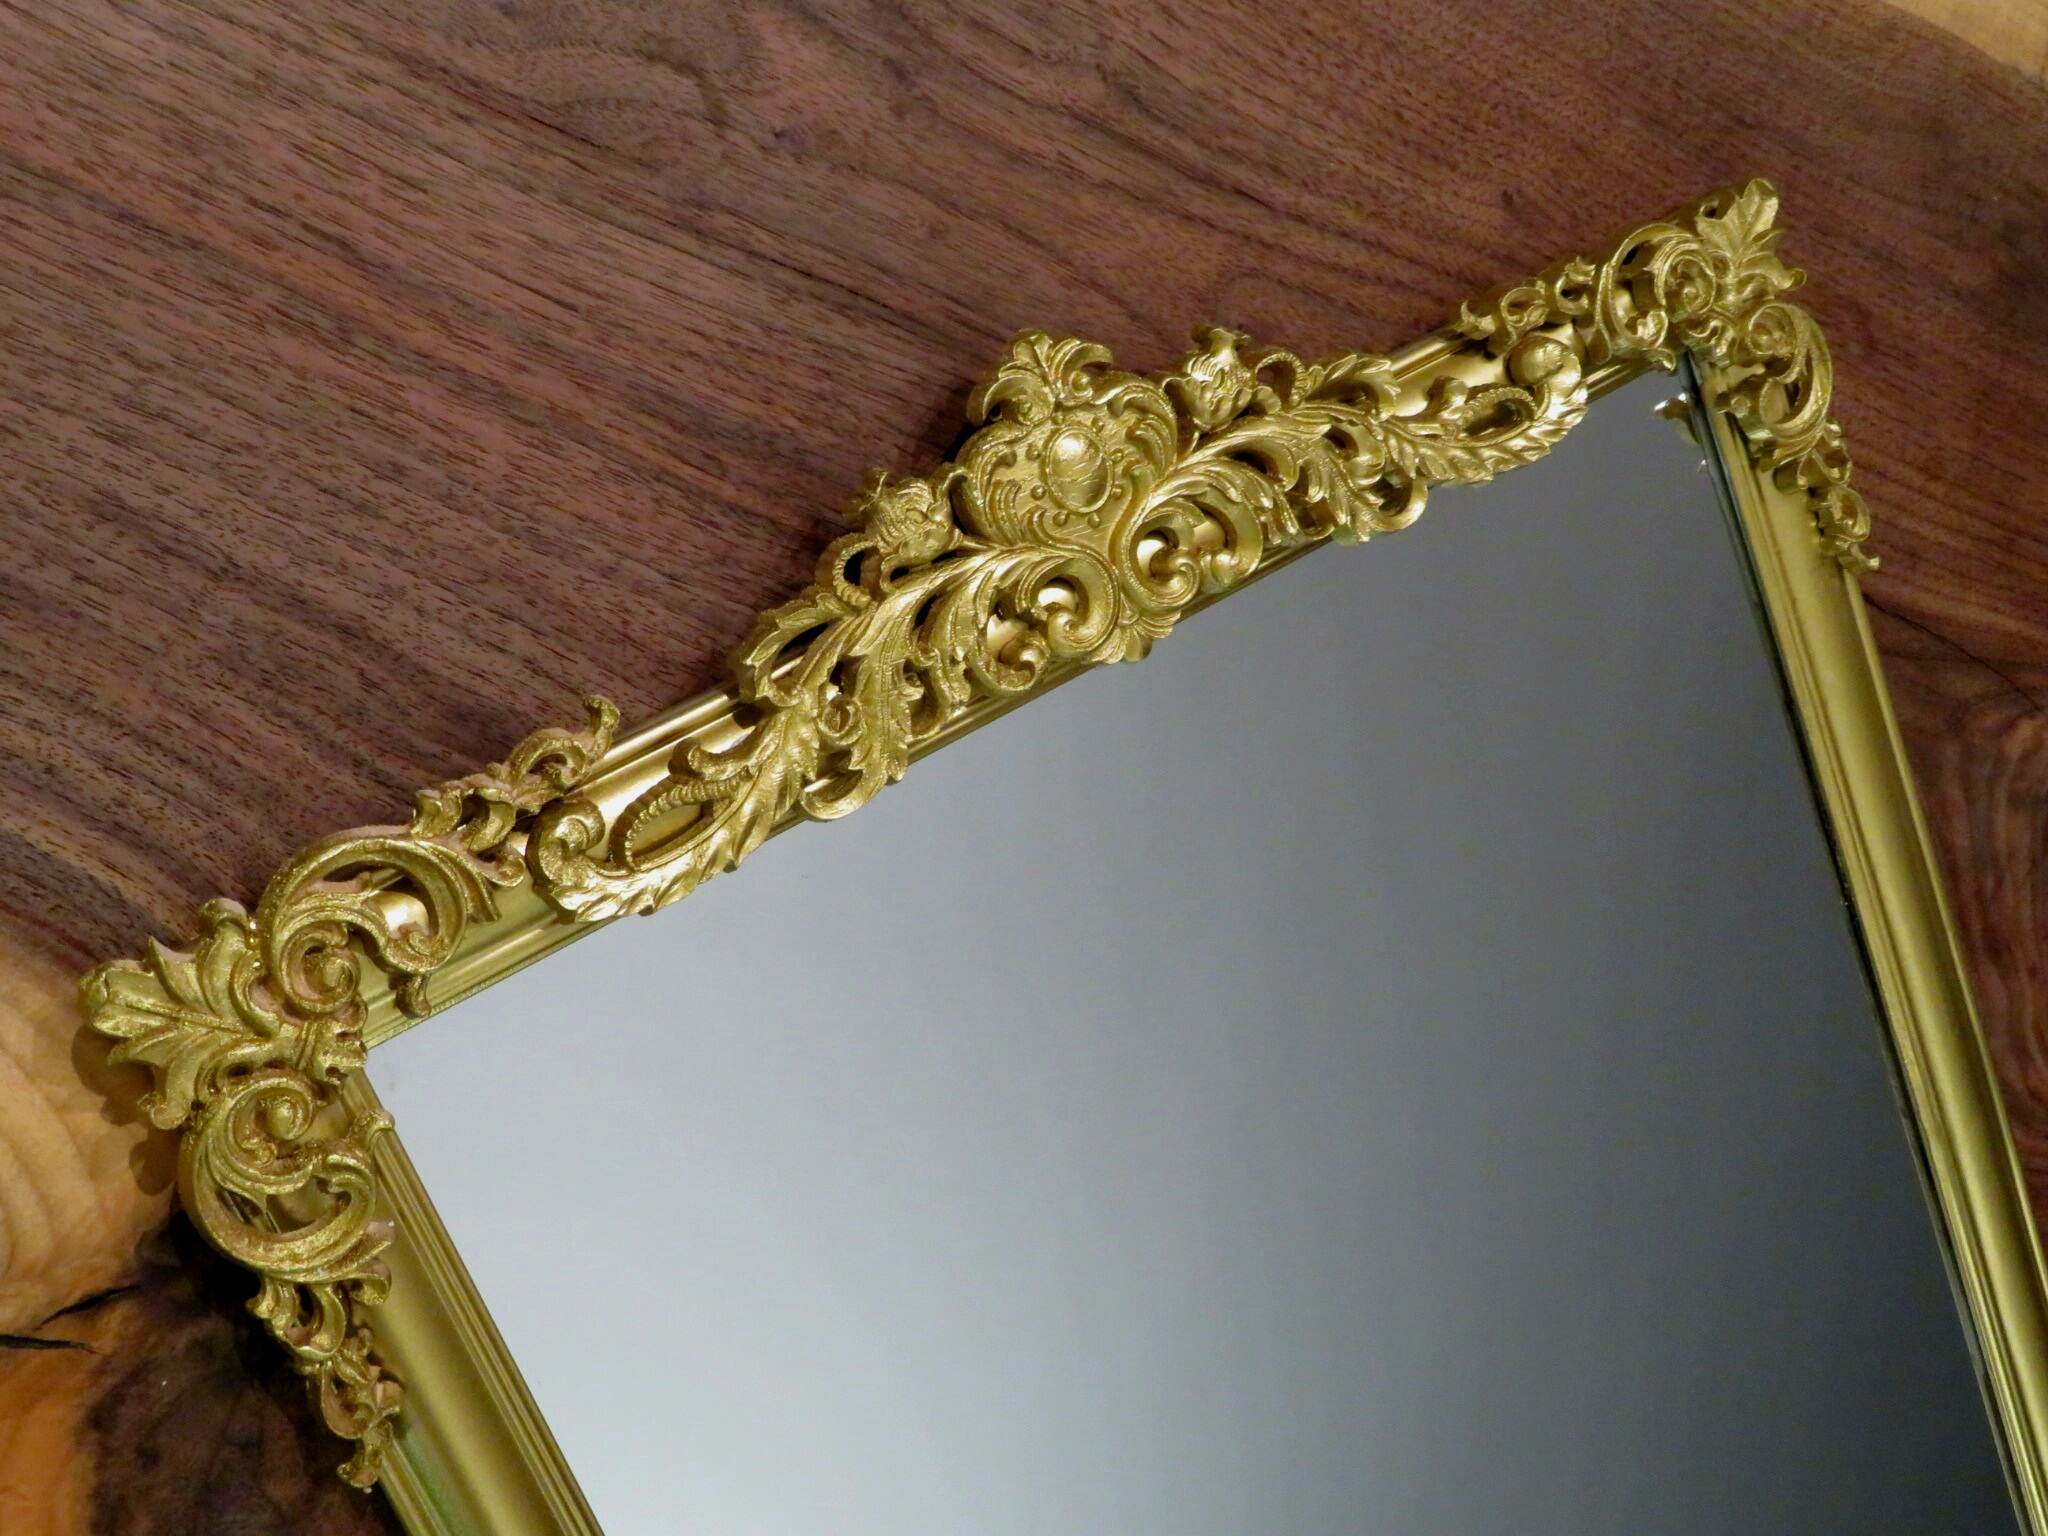
- Frame: Pay attention to the frame of the mirror, as it can greatly impact the antique look. Look for frames made of materials like wood, metal, or even ornate resin with intricate details and a weathered or distressed appearance.
Additionally, it’s essential to consider the condition of the mirror itself. Look for mirrors with a clear and intact reflective surface, as any imperfections or damage may affect the overall look of the antique finish.
By carefully selecting the right mirror, you can set the foundation for creating an authentic antique look that will bring charm and character to any space.
Preparing the Mirror for the Antique Look
Before diving into the process of achieving an antique look for your mirror, it’s essential to properly prepare the surface. This step will ensure that the paint and other treatments adhere well and result in a long-lasting and authentic finish. Follow these steps to prepare your mirror:
- Clean the mirror: Start by cleaning the mirror thoroughly to remove any dust, dirt, or grease. Use a gentle glass cleaner or a mixture of water and vinegar to wipe down the surface. Dry it completely before proceeding to the next step.
- Remove any existing finish: If the mirror has an existing finish or paint that you want to remove, use a paint stripper or sandpaper to strip it off. Be sure to follow the manufacturer’s instructions and take appropriate safety precautions when using chemicals or tools.
- Sand the frame: If the mirror has a wooden or painted frame, lightly sand it with fine-grit sandpaper to create a smooth surface. This step will help the paint and other treatments adhere better. Wipe away any dust or debris with a clean cloth.
- Mask off the mirror: To protect the mirror surface from paint or other treatments, carefully apply painter’s tape or masking tape along the edges of the mirror. Ensure that it is securely adhered and covers the entire reflective surface.
- Prime the frame: Apply a coat of primer to the frame to create a base for the paint to adhere to. Choose a primer that is suitable for the material of the frame and follow the manufacturer’s instructions for application. Allow the primer to dry completely.
Properly preparing the mirror surface is crucial to achieve a professional and authentic antique look. Taking the time to clean, remove any existing finish, sand the frame, mask off the mirror, and apply a primer will ensure that your mirror is ready for the next steps of the transformation process.
Applying a Base Coat
Once you have prepared the mirror surface, it’s time to apply a base coat of paint. The base coat will serve as the foundation for the antique look and create a unified color for the frame. Follow these steps to apply the base coat:
- Choose the paint color: Select a paint color that corresponds to your desired antique look. Earthy tones such as creams, greys, or muted pastels work well for creating an antique feel. Consider the overall aesthetic of your space and choose a color that complements it.
- Prepare the paint: Stir the paint thoroughly to ensure it is well-mixed. If needed, thin the paint with a small amount of water to achieve a smooth and even consistency.
- Apply the base coat: Using a brush or a roller, apply an even coat of paint to the frame of the mirror. Start from one end and work your way across, ensuring that the paint is applied evenly and covers the surface completely.
- Allow the paint to dry: Follow the manufacturer’s instructions for drying time. It’s important to allow the base coat to dry thoroughly before proceeding to the next steps, as this will prevent smudging or mixing of colors.
By applying a base coat, you create a solid starting point for the antique look. The chosen paint color should harmonize with the overall aesthetic of the space while setting the tone for the antique finish. Once the base coat is dry, you can move on to the next steps to create the distressed and aged appearance that characterizes antique mirrors.
Creating a Distressed Look
One of the key elements in achieving an authentic antique look for your mirror is creating a distressed appearance. This step will add character and age to the frame, giving it a vintage and weathered charm. Follow these steps to create a distressed look on your mirror:
- Prepare your tools: Gather sandpaper, a wire brush or other abrasive tools, and a piece of cloth. These will be used to distress the paint and create texture.
- Sand the edges and corners: Use a medium-grit sandpaper to gently sand the edges and corners of the frame. Focus on areas that would naturally experience wear and tear over time. This step will remove some of the paint and reveal the base coat, giving it a distressed appearance.
- Create texture: Use a wire brush or other abrasive tools to create texture on the frame. This can be done by lightly scraping the surface in random directions. Pay attention to areas where natural distressing would occur, such as around edges and decorative details.
- Apply strategic paint removal: Take a piece of cloth and dip it in water or paint thinner. Gently rub the cloth on certain areas of the frame to remove some paint and expose the base coat. This technique simulates areas where the paint has naturally worn off over time.
- Step back and assess: Throughout the distressing process, step back and assess the mirror to ensure you are achieving the desired level of distressing. Add more texture or remove paint as needed to create an authentic antique look.
Creating a distressed look on your mirror adds visual interest and depth to the overall antique aesthetic. The combination of sanding, creating texture, and strategically removing paint will simulate a weathered and aged appearance, giving your mirror a unique and charming character.
Adding a Patina Effect
One of the defining characteristics of antique mirrors is the patina – a greenish or bluish discoloration that appears on aged metal surfaces. Adding a patina effect to your mirror frame can enhance its antique look and make it appear more weathered and authentic. Here’s how you can achieve a patina effect:
- Gather your supplies: You will need acrylic paint in shades of green and blue, a small container for mixing, a brush, and a damp cloth.
- Mix the paint: In the small container, mix together small amounts of green and blue acrylic paint to create a patina color. Start with more green and gradually add blue until you achieve the desired hue.
- Apply the patina paint: Using a small brush, lightly dab or brush the patina paint onto areas of the mirror frame where patina would naturally occur. This includes corners, crevices, and areas around decorative details. Be subtle and avoid overdoing it, as the goal is to create a realistic patina effect.
- Blend the paint: While the patina paint is still wet, use a damp cloth to gently blend and soften the edges. This will create a more natural and gradual transition between the patina areas and the rest of the frame.
- Allow the paint to dry: Let the patina paint dry completely before moving on to the next steps. This will ensure that the effect is set and won’t smudge or smear.
By adding a patina effect, you can give your mirror frame an aged and weathered appearance, reminiscent of antique pieces. The subtle greenish or bluish discoloration will add depth and character to the frame, further enhancing the overall antique look.
Highlighting the Details
One of the captivating aspects of antique mirrors is the intricate and ornate details that often adorn their frames. Highlighting these details will accentuate the beauty of the mirror and showcase the craftsmanship that went into its creation. Follow these steps to effectively highlight the details on your antique mirror:
- Gather your tools: You will need a small brush, metallic paint, and a soft cloth.
- Choose the metallic paint: Select a metallic paint color that complements the overall color scheme of your mirror frame. Gold, silver, or bronze tones are commonly used for highlighting details.
- Apply the metallic paint: Using a small brush, carefully apply the metallic paint to the raised or decorative details on the mirror frame. Take your time and be precise to ensure that the paint only goes where you want it. The metallic paint will make the details stand out and add a touch of elegance.
- Wipe off excess paint: While the metallic paint is still wet, use a soft cloth to gently wipe off any excess paint on the surrounding areas. This will help to create a clean and polished look, with the focus on the highlighted details.
- Let the paint dry: Allow the metallic paint to dry completely before moving or handling the mirror. This will prevent smudging or ruining the finished details.
Highlighting the details on your antique mirror will draw attention to the intricate elements, elevating its overall aesthetic appeal. The metallic paint adds a touch of luxury and creates a contrast between the highlighted details and the rest of the frame. It’s a simple yet effective technique that adds depth and sophistication to your antique mirror.
Applying a Protective Finish
Once you have achieved the desired antique look for your mirror, it’s important to apply a protective finish to ensure its durability and preservation. The protective finish will safeguard the paint and other treatments, preventing them from chipping, fading, or deteriorating over time. Follow these steps to apply a protective finish:
- Choose the appropriate finish: Select a finish that is compatible with the materials used on your mirror frame. For wooden frames, a clear polyurethane or lacquer can work well. Metal frames may require a clear sealant or a specialized finish designed for metal surfaces.
- Prepare the surface: Ensure that the mirror frame is clean and free from any dust or debris. If needed, lightly sand the surface to create a smooth texture and remove any imperfections. Wipe away any dust after sanding.
- Apply the protective finish: Using a brush or a roller, apply an even and thin coat of the protective finish to the entire mirror frame. Take care to avoid drips or pooling of the finish. If necessary, apply multiple thin coats, allowing each coat to dry before applying the next.
- Follow drying and curing instructions: Allow the protective finish to dry and cure according to the manufacturer’s instructions. This typically involves a waiting period before the mirror can be touched, moved, or displayed. Be patient and follow the guidelines provided.
Applying a protective finish to your antique mirror will prolong its lifespan and maintain the integrity of the antique look you have achieved. The protective finish acts as a barrier, shielding the mirror frame from environmental factors and everyday wear and tear. It ensures that your antique mirror remains beautiful and intact for years to come.
Displaying Your Antique Mirror
Now that you have successfully transformed your mirror into an antique masterpiece, it’s time to showcase it in a way that enhances its beauty and complements your space. Consider the following tips when displaying your antique mirror:
- Find the perfect location: Choose a prominent location where your antique mirror can take center stage. Consider areas such as entryways, living rooms, or dining rooms, where it can become a focal point of the room.
- Consider the surroundings: Take into account the interior style and color scheme of the room where you’ll be placing the mirror. Ensure that the surroundings complement the antique aesthetic, whether it’s by incorporating vintage furniture pieces, antique décor, or complementary colors.
- Hang it securely: Use appropriate hardware and secure the mirror properly to the wall. Antique mirrors often have extra weight due to their ornate frames, so make sure it is securely anchored to prevent accidents or damage.
- Position it strategically: Experiment with different angles and heights to find the best position for your mirror. Consider the reflections it will create and the impact it will have on the overall ambiance and lighting of the space.
- Enhance with complementary elements: Add finishing touches to elevate the antique look of your mirror. This can include placing decorative items nearby, such as vintage candle holders, antique vases, or framed vintage photographs.
- Maintain and clean regularly: To preserve the beauty of your antique mirror, ensure it is kept clean and free from dust and fingerprints. Use a gentle glass cleaner and a soft cloth to avoid scratching the surface or damaging the finish.
By taking the time to thoughtfully display your antique mirror, you can fully appreciate its charm and add a touch of timeless elegance to your space. Whether it’s hanging above a mantel, adorning a hallway, or becoming a centerpiece in a room, your antique mirror will surely make a captivating statement.