
Materials needed
Before you embark on making your own egg trays, gather the following materials:
- Egg cartons or cardboard sheets
- Newspapers or old towels
- Paper shredder or scissors
- Bucket
- Water
- Blender or whisk
- Pitcher or large jug
- Pulp tray mold
- Drying rack or mesh screen
- Fan or well-ventilated area
These materials are essential in creating sturdy and functional egg trays. Egg cartons or cardboard sheets will serve as the base material for your trays, providing the necessary structure and strength. Newspapers or old towels will be used to absorb excess moisture during the drying process, ensuring that the trays dry properly. A paper shredder or scissors will help you shred the cartons or sheets into small pieces for easier blending. The bucket will be used to hold and mix the shredded paper with water, creating a pulp mixture that will be shaped into trays. A blender or whisk will aid in breaking down the paper and water mixture, ensuring a smooth and consistent pulp. A pitcher or large jug will help you pour the pulp mixture into the tray mold. The pulp tray mold is necessary for shaping the trays into the desired size and shape. A drying rack or mesh screen will provide a surface for the trays to dry. Lastly, a fan or well-ventilated area will facilitate the drying process by promoting air circulation.
By gathering these materials, you are prepared to embark on the journey of creating your own personalized egg trays. So, roll up your sleeves and let’s get started!
Step 1: Gathering the necessary supplies
Before you begin making your egg trays, it’s important to gather all the necessary supplies. This step ensures that you have everything you need within reach, making the process smoother and more efficient. Here’s what you’ll need:
Egg cartons or cardboard sheets: These will serve as the base material for your egg trays. You can either reuse old egg cartons or cut up cardboard sheets into the desired size and shape.
Newspapers or old towels: These will be used to absorb excess moisture during the drying process. Lay them out on a flat surface and place the trays on top to dry.
Paper shredder or scissors: If you’re using egg cartons, a paper shredder will make the shredding process much easier. Alternatively, you can cut them into small pieces using scissors.
Bucket: You’ll need a large bucket to hold and mix the shredded paper with water, creating a pulp mixture. Make sure the bucket is clean and sturdy enough to handle the mixing process.
Water: Water is the main ingredient for creating the pulp mixture. Fill the bucket with enough water to submerge the shredded paper completely.
Blender or whisk: A blender or whisk will help break down the paper and water mixture, creating a smooth and consistent pulp. If you don’t have a blender, a whisk can be used to manually mix the ingredients.
Pitcher or large jug: Once the pulp mixture is ready, you’ll need a pitcher or large jug to pour it into the tray mold. This will make the pouring process easier and more controlled.
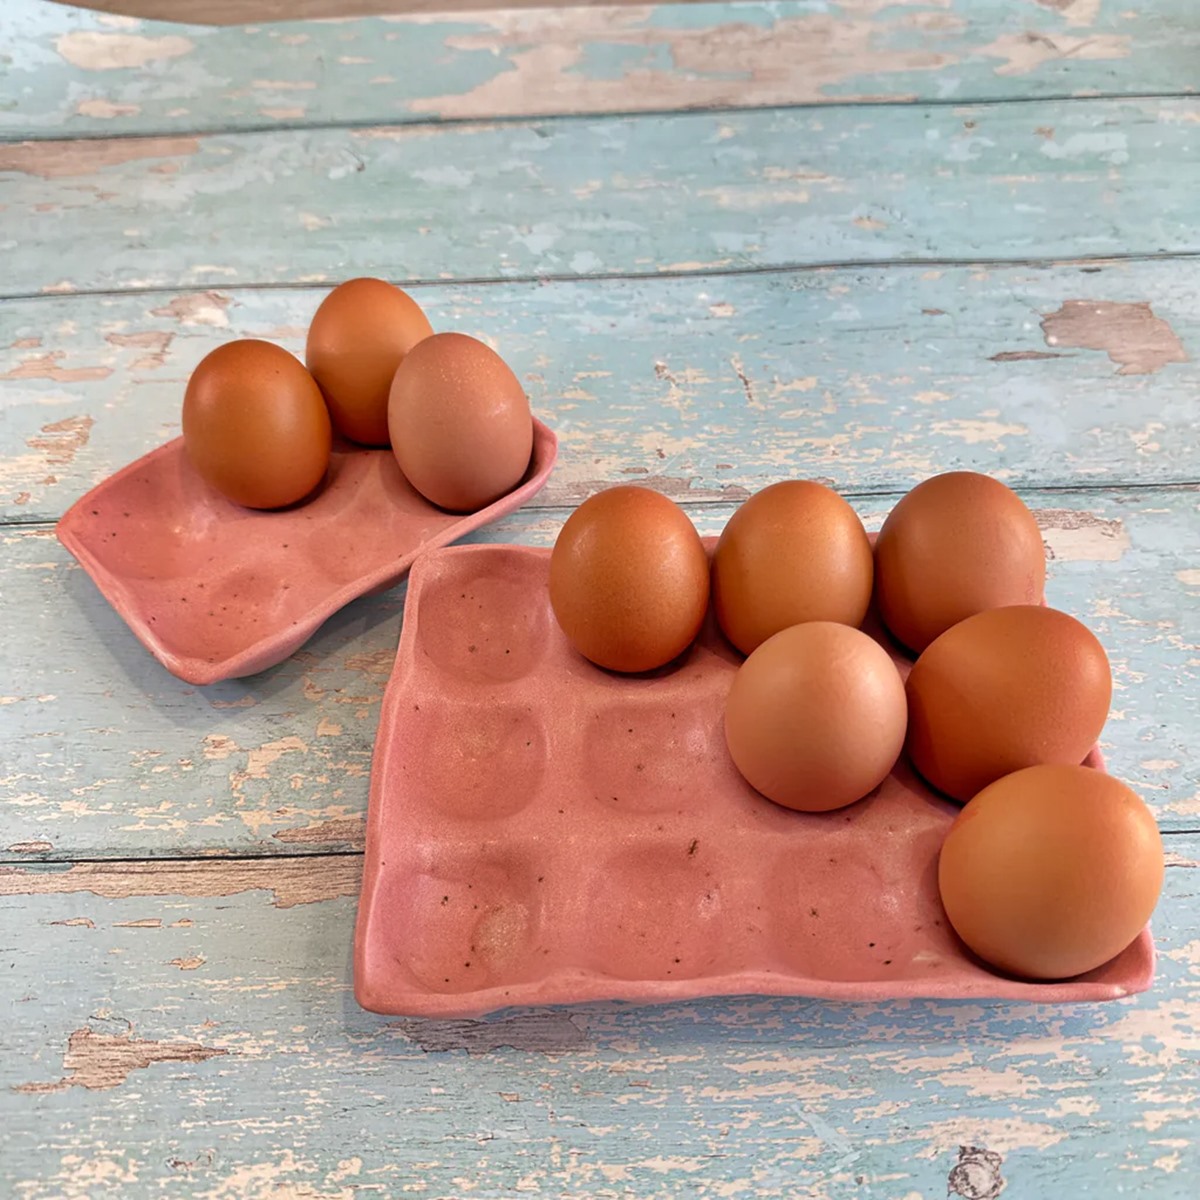
Pulp tray mold: The tray mold is essential for shaping the pulp mixture into trays. You can purchase ready-made molds or create your own using materials like wood or silicone.
Drying rack or mesh screen: After pouring the pulp mixture into the mold, you’ll need a drying rack or mesh screen to place the trays on. This will allow proper airflow and facilitate the drying process.
Fan or well-ventilated area: To speed up the drying process, place the trays in a well-ventilated area or use a fan to circulate air. This will ensure that the trays dry thoroughly and prevent any moisture from remaining.
By gathering all these supplies, you are now ready to move on to the next step of creating your own egg trays. Remember to set up your workspace in a well-organized manner, ensuring that all materials are easily accessible. With everything in place, you’re one step closer to making your homemade egg trays!
Step 2: Preparing the egg mixture
Now that you have gathered all the necessary supplies, it’s time to prepare the egg mixture. This crucial step involves breaking down the cardboard or egg cartons into a pulp that will ultimately be transformed into the trays. Follow these steps to prepare the egg mixture:
- Shred the egg cartons or cardboard sheets: If you’re using old egg cartons, run them through a paper shredder to create small, shredded pieces. Alternatively, you can use scissors to cut the cartons or cardboard sheets into small fragments. The goal is to have pieces that are roughly 1-inch in size or smaller.
- Soak the shredded paper: Place the shredded pieces into a bucket and fill it with enough water to fully submerge the paper. Let the paper soak for about 2 to 4 hours, allowing it to soften and break down.
- Blend or whisk the mixture: Using a blender or whisk, break down the soaked paper further until it becomes a smooth and consistent pulp. The blending or whisking action will help fibers separate and create a uniform mixture.
- Adjust the consistency: Assess the pulp’s consistency and add more water if needed. You want the pulp to be thick enough to hold its shape but not too watery. Aim for a texture similar to oatmeal or pancake batter.
During this step, it’s essential to thoroughly mix the shredded paper and water to ensure a homogenous mixture. The goal is to create a pulp that can be easily molded and shaped into trays. Remember to check the consistency of the mixture regularly and make adjustments if necessary.
Now that you have successfully prepared the egg mixture, you’re ready to move on to the next step, which involves creating the mold for the egg trays. With your pulp mixture in hand, you’re one step closer to crafting your very own eco-friendly and practical egg trays.
Step 3: Creating the egg tray mold
Now that you have prepared the egg mixture, it’s time to create the mold for your egg trays. The mold will shape the pulp mixture into the desired tray form and provide structure as it dries. Follow these steps to create the egg tray mold:
- Select a mold material: Choose a material that is suitable for creating the tray mold. Common options include wood, silicone, or plastic. Ensure that the material is sturdy and can withstand repeated use.
- Measure and mark the desired tray size: Determine the size of the egg trays you want to make, and mark the dimensions on the mold material. This will serve as your guide when shaping the pulp mixture.
- Create the mold frame: Cut the mold material according to the marked dimensions, using a saw or a sharp knife. Ensure that the mold frame is the proper size and has straight edges for a clean design.
- Add raised edges: To prevent the pulp mixture from overflowing, add raised edges to the mold frame. This can be done by attaching strips of the mold material along the inside edges of the frame. The raised edges should be about half an inch tall.
- Drill or punch holes: Create small holes at the bottom of the mold frame to allow excess water to drain. This will help the trays dry more effectively and prevent them from becoming too soggy.
Creating the egg tray mold is an important step in ensuring that your trays are accurately shaped and well-defined. Take your time to measure and cut the mold material precisely, as this will determine the final appearance and functionality of your egg trays.
With the mold frame completed, you’re now ready to move on to the exciting step of pouring the egg mixture into the mold, transforming it into actual egg trays. Stay tuned for the next section as we guide you through this process!
Step 4: Pouring the egg mixture into the mold
With your egg tray mold ready, it’s time to pour the prepared egg mixture into the mold to give shape to your trays. This step is crucial in creating the desired form and structure of the trays. Follow these steps to pour the egg mixture into the mold:
- Prepare the pulp mixture: Ensure that your prepared pulp mixture is of the right consistency, similar to oatmeal or pancake batter. Stir the mixture to prevent it from settling, ensuring an even distribution of fibers.
- Place the mold on a flat surface: Find a stable and flat surface to work on. This will ensure that the mold doesn’t shift or become misaligned during pouring.
- Slowly pour the pulp mixture into the mold: Carefully pour the egg mixture into the mold, starting from one end and working your way across. Avoid overfilling the mold, as it may result in uneven trays or spillage.
- Distribute the mixture evenly: Use a spatula or your fingers to spread the pulp mixture evenly throughout the mold. Ensure that all sections of the mold are filled to the desired depth, making the trays consistent in thickness.
- Tap the mold gently: Once the tray mold is filled, lightly tap it on a flat surface to remove any air bubbles and help the pulp settle into the mold evenly.
- Smooth the surface: Use a straight edge or a spatula to create a smooth and level surface on the trays. This will give your finished trays a polished appearance.
Take your time while pouring the egg mixture into the mold, ensuring that the pulp is evenly distributed and the trays are of consistent thickness. It’s important to maintain a steady hand and work patiently to achieve the desired results.
Now that the egg mixture is poured into the mold, you’re ready to move on to the next step – drying the trays. Continue reading to learn how to dry your freshly poured trays to perfection!
Step 5: Drying the egg trays
After pouring the egg mixture into the mold, the next step is to properly dry the trays. Drying is crucial in giving the trays their final shape and durability. Follow these steps to ensure that your egg trays dry effectively:
- Place the mold on a flat surface: Find a clean, flat surface to set the mold on. This will allow the trays to dry evenly and maintain their shape.
- Transfer the mold to a well-ventilated area: Move the mold to a well-ventilated area to expedite the drying process. Good air circulation is essential for drying the trays properly.
- Let the trays air dry: Allow the trays to dry naturally, without applying any external heat sources. This may take anywhere from 24 to 48 hours, depending on the thickness of the trays and the humidity of the environment.
- Flip the trays periodically: To ensure uniform drying, periodically flip the trays over during the drying process. This will help both sides of the trays dry evenly.
- Absorb excess moisture: Place newspapers or old towels underneath the drying trays to absorb any excess moisture. This will prevent the trays from becoming too damp and help them dry more effectively.
- Monitor the drying process: Check on the trays regularly to monitor their progress. They are fully dry when they feel firm and there is no excess moisture or dampness.
Patience is key during the drying process. Avoid the temptation to rush, as inadequate drying can result in weak and warped trays. Letting the trays dry naturally will contribute to their durability and functionality.
Once the trays are fully dried, you’re ready to move on to the next step – removing the trays from the mold. Stay tuned for the next section to learn how to extract your beautifully crafted egg trays!
Step 6: Removing the trays from the mold
Now that your egg trays have dried to perfection, it’s time to carefully remove them from the mold. With a little bit of patience and gentle handling, you’ll be able to release the trays and admire your hard work. Follow these steps to remove the trays from the mold:
- Gently loosen the edges: Using your fingers or a small tool, carefully loosen the edges of the trays from the mold. Take your time and be gentle to avoid damaging the trays.
- Apply gentle pressure: Press on the bottom of the mold while supporting the edges of the trays. Apply gentle, even pressure to coax the trays out of the mold.
- Tap the mold: Turn the mold over and gently tap it on a flat surface to encourage the trays to release. The trays should come out easily if they have dried completely.
- Wiggle the trays: If the trays are still slightly stuck, gently wiggle them back and forth to loosen them further. Be patient and avoid using excessive force.
- Remove the trays: Once the trays are released from the mold, carefully lift them out and set them aside on a flat surface.
It’s important to handle the trays with care during this step to avoid any breakage or damage. If you encounter any stubborn trays that are difficult to remove, try tapping the mold a bit harder or applying a slight twisting motion to help release them.
With the trays successfully removed from the mold, you can take a moment to appreciate your handiwork. The next step is to add some finishing touches and customization to make your egg trays unique. Stay tuned for the next section as we guide you through this exciting step!
Step 7: Finishing touches and customization
Now that your egg trays are out of the mold, it’s time to put some finishing touches and add a personal touch to make them unique. This step allows you to get creative and customize your egg trays according to your preferences. Follow these steps to add those final touches:
- Smooth any rough edges: Inspect the edges of the trays and use sandpaper or a file to smooth out any rough or uneven areas. This will give your trays a clean and polished look.
- Trim excess paper: If there are any stray or excess pulp fibers sticking out from the trays, trim them carefully using a pair of scissors or a craft knife. This will give your trays a neat and professional appearance.
- Consider labeling the trays: If you want to keep track of the different eggs in each tray, consider labeling them. You can use small stickers, printable labels, or even write directly on the trays with a permanent marker.
- Add decorative elements: For a personal touch, consider adding decorative elements to your egg trays. You can use paint, stencils, or even decoupage techniques to customize the trays and make them visually appealing.
- Apply a protective sealant: To enhance the durability of your egg trays, you can apply a protective sealant. This will help protect the trays from moisture and prolong their lifespan.
Don’t be afraid to let your creativity shine during this step. You can choose to keep the trays simple and rustic, or go all out with vibrant colors and intricate patterns. The goal is to make your egg trays unique and reflective of your personal style.
With the finishing touches complete, your custom egg trays are now ready for use! The last step is to clean up the workspace and store the trays properly for future use.
Step 8: Cleaning up and storing the trays
After completing your egg trays, it’s important to properly clean up your workspace and store the trays in a way that ensures their longevity. Follow these steps to clean up and store your trays:
- Dispose of excess pulp: Collect any leftover pulp or scraps and dispose of them properly. You can compost the pulp or discard it in an eco-friendly manner.
- Clean the mold: Wash the mold with warm soapy water to remove any remaining pulp residue. Ensure that the mold is completely clean and dry before storing it for future use.
- Wash the trays: If needed, wash the trays gently with mild soap and water to remove any dirt or debris. Avoid using harsh chemicals or scrubbing vigorously, as this may damage the trays.
- Allow the trays to dry completely: After washing, let the trays air dry completely before stacking or storing them. This will prevent moisture buildup, which can lead to mold or deterioration.
- Stack the trays: Once the trays are dry, stack them neatly to save space. Ensure that the trays are fully dry and there is no residue or moisture between them to prevent sticking.
- Store the trays in a dry and clean area: Find a dry, well-ventilated area to store your egg trays. This could be a shelf, cupboard, or storage container. Keep them away from direct sunlight or excessive heat, as this can cause warping or discoloration.
By properly cleaning up and storing your trays, you ensure that they remain in good condition and ready for use whenever you need them. Regularly inspect them for any signs of damage or wear, and replace any trays that are no longer usable.
Now that you’ve successfully completed all the steps, you can enjoy your homemade egg trays and delight in the knowledge that you’ve contributed to a more sustainable and eco-friendly way of storing and transporting your eggs!