
Choosing the Right Curved Shower Curtain Rod
When it comes to choosing the right curved shower curtain rod, there are a few important factors to consider. This often overlooked bathroom accessory can have a significant impact on the overall look and functionality of your shower space. Here are some key points to keep in mind as you make your selection.
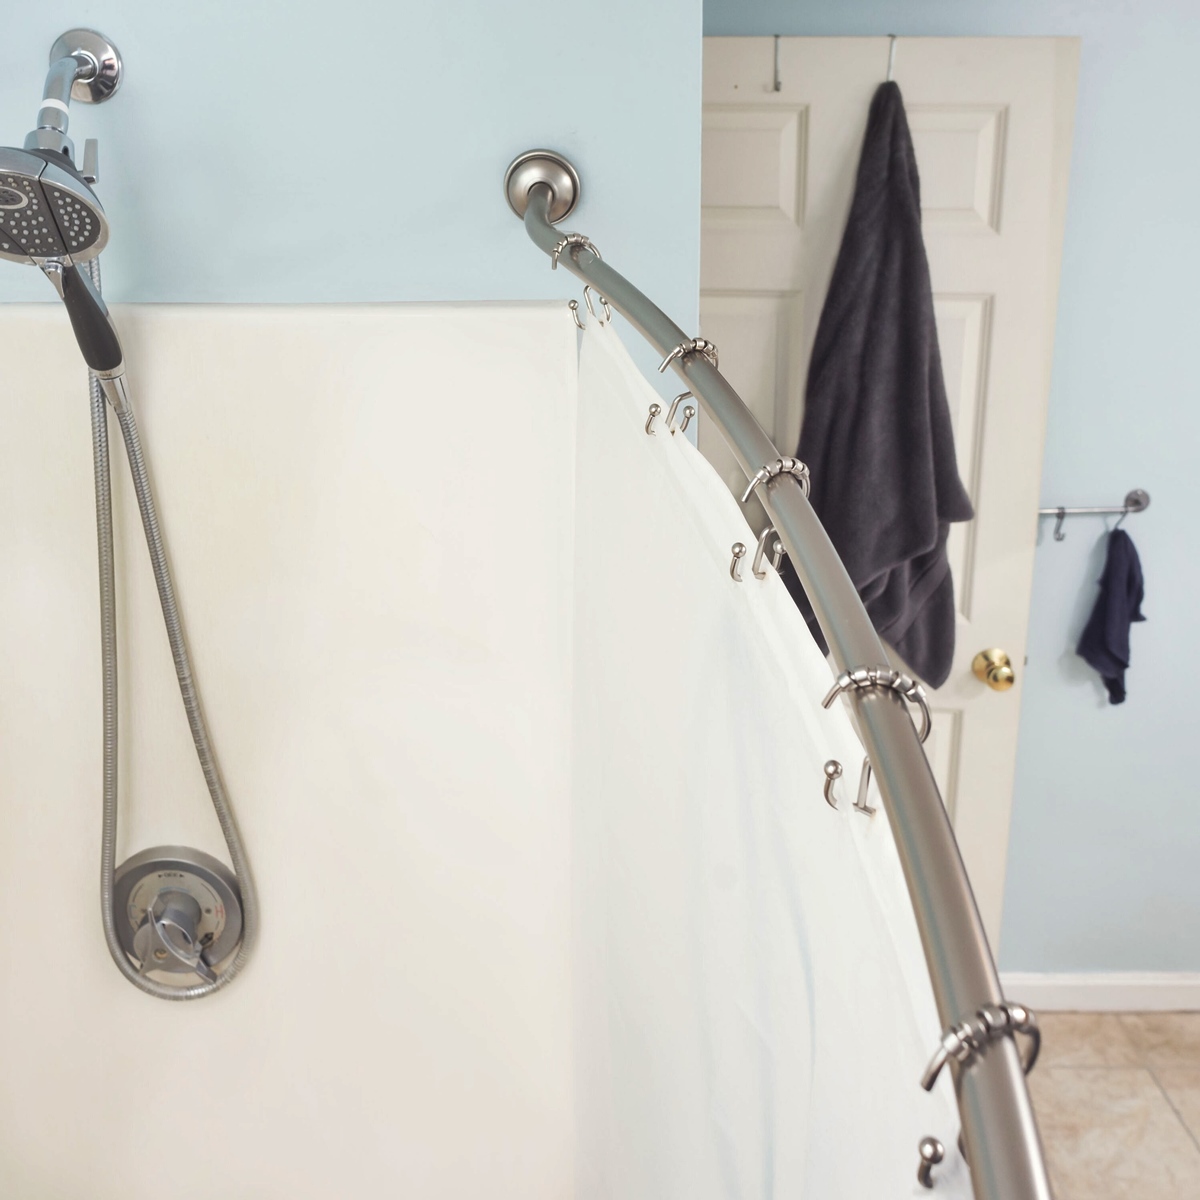
Firstly, consider the size and shape of your shower area. Measure the length and width of your shower space to ensure that you choose a curved curtain rod that fits properly. Additionally, take note of any unique features or obstructions that may impact the installation of the rod, such as windows or towel bars.
Next, think about the construction materials of the curved rod. Most options on the market are made of metal, typically stainless steel or aluminum, both of which offer durability and resistance to rust and corrosion. Consider your preferences in terms of aesthetics as well – do you prefer a polished or matte finish?
Another important consideration is the adjustability of the curtain rod. Look for a model that allows for flexible positioning and length adjustment. This is especially important if you have a non-standard shower space or plan to change the position of your shower curtain in the future.
In addition to adjustability, it is essential to ensure that the curved rod is securely installed. Look for models that come with brackets and hardware designed to support the weight of the curtain and prevent sagging or bending over time. Consider the weight of your chosen shower curtain and any additional accessories, such as liners or decorative hooks, when assessing the rod’s weight-bearing capacity.
Last but not least, consider the overall style and design of the curved shower curtain rod. Look for a model that complements the aesthetic of your bathroom and adds a touch of elegance or modernity to the space. There are various designs available, from sleek and minimalist to ornate and decorative, so you can find one that matches your personal taste.
By carefully considering these factors, you can ensure that you choose the right curved shower curtain rod for your bathroom. Remember to take accurate measurements, select a durable and adjustable model, and consider the overall style and design. With the perfect curved rod in place, you can enjoy a more stylish and functional shower experience.
Gathering the Tools and Materials
Before you can begin the installation process, you will need to gather the necessary tools and materials. Having everything on hand will help to streamline the process and ensure a smooth and efficient installation. Here is a list of the items you will need:
- Measuring tape: This will be essential for accurately measuring the dimensions of your shower space and determining the proper placement of the curved shower curtain rod.
- Drill: Depending on the type of wall you have, you may need a drill to create holes for the anchors and brackets.
- Level: To ensure that your curtain rod is installed straight and even, a level will be necessary. This simple tool will help you achieve a professional-looking installation.
- Screwdriver: You may need a screwdriver to tighten screws or fasten brackets during the installation process.
- Pencil: A pencil will come in handy for marking the placement of the anchors and brackets on the wall before drilling.
- Anchors and screws: These will be used to secure the brackets to the wall. Make sure to choose anchors that are appropriate for your wall type, such as drywall anchors for hollow walls.
- Curved shower curtain rod: Of course, you will need the actual curved rod itself. Ensure that you have the appropriate length and style that matches your bathroom decor.
- Shower curtain rings: To hang your shower curtain from the curved rod, you will need a set of shower curtain rings. Choose ones that are compatible with the rod and your chosen shower curtain.
By gathering these tools and materials ahead of time, you will be well-prepared for the installation process. This will help to ensure that the installation goes smoothly and efficiently, saving you time and frustration. Having everything you need on hand will also allow you to quickly tackle any unexpected challenges that may arise. So, double-check your toolbox and make sure you have all the necessary items before you begin installing your curved shower curtain rod.
Removing the Existing Shower Curtain Rod
Before you can install your new curved shower curtain rod, you’ll need to remove the existing one. Follow these steps to safely and efficiently remove the old rod:
- Remove the shower curtain: Take down the shower curtain and any accompanying rings or hooks. Set them aside for now.
- Locate the mounting brackets: Look for the brackets that are holding the current rod in place. These are usually located on either end of the rod, attached to the wall.
- Unscrew the brackets: Using a screwdriver or drill (depending on the type of screws used), unscrew the brackets from the wall. Take care not to damage the surrounding area as you do this.
- Remove the rod: Once the brackets are detached, carefully remove the old rod from the brackets. It may slide out easily or require a gentle twist and pull.
- Inspect the wall: While you have the old rod removed, take a moment to inspect the wall for any damage or residue left behind. If necessary, clean the area and make any repairs before moving on to the next step.
By following these simple steps, you can successfully remove the existing shower curtain rod. Taking care during this process will help to minimize any damage to the wall or surrounding area. Once the old rod is removed, you’ll be ready to move on to the next phase of the installation process – preparing the wall for the new curved shower curtain rod.
Preparing the Wall for Installation
Before you can install your new curved shower curtain rod, it is important to properly prepare the wall. This will ensure a secure and stable installation. Follow these steps to prepare the wall:
- Clean the wall: Start by cleaning the area where the new rod will be installed. Remove any dirt, dust, or grime from the wall surface, as this will help improve the adhesion of the anchors and brackets.
- Locate the studs: Using a stud finder, locate the studs in the wall. Studs provide extra support and stability for the curtain rod. Mark the locations of the studs on the wall using a pencil or masking tape.
- Measure and mark: Take measurements for the placement of the curved shower curtain rod brackets. Use a measuring tape to ensure accuracy. Mark the spots where the brackets will be installed, based on your measurements and the location of the studs.
- Install anchors: If your brackets will not be directly installed into a stud, you’ll need to use anchors to provide additional support. Drill holes at the marked spots and insert the appropriate anchors based on the wall type (e.g., drywall anchors for hollow walls). Gently tap the anchors into place using a hammer.
- Attach the brackets: Once the anchors are in place, attach the brackets to the wall using screws or the appropriate fasteners. Ensure that the brackets are securely attached to the wall and aligned with the marked spots.
- Check for stability: Give the brackets a gentle shake to test their stability. If they feel loose, tighten the screws further or consider using stronger anchors. A secure attachment is vital to support the weight of the curved shower curtain rod and prevent it from falling.
By properly preparing the wall, you can ensure a strong and stable installation of your new curved shower curtain rod. Taking the time to clean the wall, locate studs, and use appropriate anchors will help to prevent any potential issues in the future. Once the wall is prepared, you are ready to proceed with installing the anchors and brackets for your beautiful new curved shower curtain rod.
Installing the Anchors and Brackets
Now that you have prepared the wall, it’s time to install the anchors and brackets for your new curved shower curtain rod. Follow these steps to ensure a secure and sturdy installation:
- Align the brackets: Position the brackets on the wall according to the marks you made earlier. Ensure that they are aligned and level with each other.
- Mark the screw holes: Use a pencil or marker to mark the spots where the screws will be inserted through the brackets and into the wall. Double-check the accuracy of these marks before proceeding.
- Pre-drill the holes: Using a drill with the appropriate drill bit size, pre-drill holes at the marked spots. This will make it easier to insert the screws and minimize the risk of damaging the wall.
- Insert the anchors: If your brackets require anchors for additional support, carefully insert the anchors into the pre-drilled holes. Gently tap them in with a hammer until they are flush with the wall surface.
- Attach the brackets: Place the brackets over the anchors and align them with the pre-drilled holes. Insert screws through the brackets and into the anchors, tightening them using a screwdriver or drill.
- Check for stability: Give the brackets a firm tug to ensure they are securely attached to the wall. If the brackets feel loose or wobbly, re-tighten the screws or consider using stronger anchors.
It is crucial to properly install the anchors and brackets to ensure a strong and secure attachment for your curved shower curtain rod. Taking the time to align the brackets, mark the screw holes accurately, and securely attach the brackets to the wall will prevent any potential issues such as sagging or bending of the rod over time. Once the anchors and brackets are in place, you are now ready to proceed with securing the rod to the wall.
Securing the Rod to the Wall
With the anchors and brackets securely installed, it’s time to attach the curved shower curtain rod to the wall. Follow these steps to ensure a sturdy and stable attachment:
- Place the rod on the brackets: Carefully position the rod onto the installed brackets, ensuring that it is centered and level.
- Tighten the set screws: Many curved shower curtain rods come with set screws located on the underside of the brackets. Using a screwdriver or Allen wrench, tighten these set screws to secure the rod in place. This will prevent the rod from moving or slipping from its position.
- Test the stability: Give the rod a gentle shake to test its stability. It should feel secure and not wobble or sway. If the rod feels loose, double-check that the set screws are tightened properly.
- Verify the fit: Confirm that the rod is properly positioned and fits within the shower space as desired. It should create a gentle curve that allows the shower curtain to hang freely and prevent water from dripping outside the shower area.
By following these steps, you can securely attach the curved shower curtain rod to the wall. It is important to ensure that the set screws are tightened enough to hold the rod in place but not overtightened, as this may cause damage. Testing the stability and fit before moving on to the next step will help ensure a successful installation.
Once the curved shower curtain rod is securely attached, you are now ready to move on to the next step – attaching the shower curtain rings and hanging your shower curtain.
Attaching the Shower Curtain Rings
Once the curved shower curtain rod is securely installed, the next step is to attach the shower curtain rings. Follow these steps to properly hang your shower curtain:
- Gather your shower curtain and rings: Ensure that you have your shower curtain and the appropriate number of shower curtain rings or hooks.
- Inspect the curtain rings: Check each ring or hook to make sure it is in good condition and functioning properly. Replace any damaged or broken pieces with new ones.
- Start from one end: Begin by attaching a shower curtain ring to one end of the rod. Open the ring and thread it through the holes or grommets on the top of the shower curtain.
- Continue attaching: Move along the rod and attach shower curtain rings at regular intervals, evenly spacing them out. Ensure that the curtain is hanging straight and evenly distributed along the rod.
- Adjust as necessary: Once all the shower curtain rings are attached, step back and check the curtain for any adjustments needed. Straighten out any twisted or uneven sections to ensure a neat and uniform appearance.
By following these steps, you can easily attach your shower curtain to the curved shower curtain rod. Properly attaching the shower curtain rings will ensure that the curtain hangs securely and smoothly. Take care to evenly distribute the rings along the rod to prevent any sagging or bunching of the curtain.
With your shower curtain now attached, you can step back and admire the finished look. The curved shower curtain rod not only adds style to your bathroom but also allows for more space inside the shower area. Enjoy the enhanced functionality and aesthetic appeal of your newly installed curved shower curtain rod!
Adjusting the Curved Shower Curtain Rod
After installing the curved shower curtain rod and attaching the shower curtain, it’s time to make any necessary adjustments to ensure optimal fit and functionality. Follow these steps to adjust your curved shower curtain rod:
- Step into the shower area: Enter the shower area and close the curtain. This will allow you to assess the fit and make any necessary adjustments.
- Check the curtain position: Take a moment to observe how the shower curtain hangs. Ensure that it falls inside the shower area and forms a complete enclosure, preventing water from splashing outside. Adjust the position of the curtain rings if needed.
- Assess the curve: Examine the curve of the shower curtain rod. If you feel that the curve is too shallow or too prominent, it may be necessary to adjust it. Gently push or pull on the ends of the rod to achieve the desired curvature. Take care not to apply excessive force to avoid damaging the wall or the rod itself.
- Check for stability: After adjusting the curve, test the stability of the rod. Give it a gentle shake to ensure that it remains securely attached to the wall and doesn’t move or sway. If the rod feels loose, re-check the brackets and set screws for proper tightness.
- Observe functionality: Move the shower curtain back and forth to test its smoothness and ease of movement along the rod. Ensure that the curtain glides effortlessly without any obstructions or snags. Make any necessary adjustments to the positioning or alignment of the curtain rings to achieve optimal functionality.
By following these steps, you can fine-tune the fit and function of your curved shower curtain rod. Making adjustments as needed will ensure that the shower curtain effectively contains water within the shower area while adding a stylish touch to your bathroom decor.
Once you are satisfied with the fit and adjustment of the curved shower curtain rod, you can now enjoy a more spacious and visually appealing shower experience!