
Tools and Materials You Will Need
Before you begin the process of hanging a mirror on a hollow door, make sure you have the following tools and materials ready:
- Measuring tape
- Pencil or marker
- Level
- Electric drill
- Screwdriver (if necessary)
- Wall anchors or toggle bolts
- Hanging hardware (such as mirror brackets or D-rings)
- Screws
These tools and materials are essential for ensuring a successful and secure hanging process. The measuring tape will help you accurately determine the placement of the mirror, while the pencil or marker will be used to mark the spots where you will drill or insert anchors. A level is crucial to make sure the mirror hangs straight. An electric drill will be needed to create pilot holes or drill into the door, depending on the type of hardware you choose. A screwdriver may also be necessary for attaching the hanging hardware. Wall anchors or toggle bolts are important for providing stability and support, especially since you are hanging the mirror on a hollow door. Lastly, you will need screws to attach the mounting hardware securely to the door.
By gathering these tools and materials beforehand, you will be well-prepared to tackle the project of hanging a mirror on a hollow door. Once you have everything ready, you can move on to the next steps in the process. Remember to work carefully and take your time to ensure a safe and successful outcome.
Step 1: Measure and Mark the Placement of the Mirror
The first step in hanging a mirror on a hollow door is to measure and mark the desired placement. This will ensure that the mirror is positioned correctly and at the desired height and location on the door.
Begin by measuring the width and height of the mirror. Use a measuring tape to accurately determine the dimensions. Once you have the measurements, you can decide where on the door you want the mirror to be positioned.
Consider the overall aesthetics and functionality when choosing the placement. You may want to position the mirror at eye level or align it with other fixtures in the room. Take into account any nearby furniture or architectural features that could impact the mirror’s placement.
Once you have chosen the ideal spot, use a pencil or marker to mark the horizontal and vertical center points on the door. These marks will serve as your reference points for aligning the mirror later on.
Using a level, ensure that the marks are straight and level. If the door is not plumb, you may need to make adjustments or choose a different spot to ensure the mirror hangs properly.
Additionally, if you plan to hang multiple mirrors or other wall decorations on the door, consider spacing them evenly and marking their placements accordingly.
This step is crucial as it establishes the foundation for the rest of the hanging process. By measuring and marking the placement of the mirror accurately, you are setting yourself up for a successful and visually appealing installation.
Step 2: Determine the Type of Hollow Door
Before proceeding with hanging a mirror on a hollow door, it’s important to determine the type of hollow door you have. Hollow doors can vary in construction, and understanding the specific type will help you choose the appropriate hanging method.
There are two common types of hollow doors: hollow core doors and solid core doors with hollow sections. Hollow core doors are typically made of a lightweight material, such as cardboard or fiberboard, with a hollow interior. Solid core doors with hollow sections, on the other hand, have a solid exterior but contain hollow portions within the door.
To determine the type of hollow door you have, you can perform a simple tap test. Lightly tap on the door’s surface and listen for a hollow or solid sound. If the sound is hollow, you likely have a hollow core door. If the sound is denser and more solid, you may have a solid core door with hollow sections.
Knowing the type of hollow door is important because it will influence the choice of hanging hardware. Hollow core doors are not designed to support heavy weights, so it’s crucial to select hardware that distributes the weight evenly and provides secure support.
On the other hand, solid core doors with hollow sections offer more stability and can support heavier mirrors. However, it’s still essential to choose appropriate hanging hardware that can handle the weight of the mirror.
By determining the type of hollow door you have, you can make an informed decision about which hanging method and hardware will work best. This will ensure a secure and stable installation that lasts.
Step 3: Choose the Right Hanging Hardware
Selecting the appropriate hanging hardware is crucial in ensuring the stability and safety of the mirror on a hollow door. The right hardware will distribute the weight evenly and securely attach the mirror to the door.
Consider the weight and size of the mirror when choosing the hanging hardware. If you have a lightweight mirror, you may opt for adhesive hooks or mirror clips. Adhesive hooks are easy to install and remove, but they may not provide as much stability as other options. Mirror clips, on the other hand, offer a secure hold but may require drilling into the door.
For heavier mirrors, it’s recommended to use mirror brackets or D-rings. Mirror brackets consist of two pieces that attach to the back of the mirror, while D-rings are metal rings that are screwed into the back of the mirror. Both options provide stability and distribute the weight across the mirror’s surface.
In addition to the hanging hardware, you may also need wall anchors or toggle bolts, especially if the mirror is heavy. These anchors will provide additional support and prevent the hardware from pulling out of the hollow door. Make sure to choose anchors or toggle bolts that are specifically designed for hollow core doors.
When selecting the hanging hardware, ensure that they are suitable for the type of hollow door you have. Some hardware may require drilling, so consider the construction of the door and choose hardware that is compatible with it.
Lastly, always follow the manufacturer’s instructions when installing the hanging hardware. This will ensure that it is properly secured and able to support the weight of the mirror.
By choosing the right hanging hardware, you can hang the mirror securely on the hollow door, minimizing the risk of it becoming loose or falling off.
Step 4: Preparing the Door for Hanging
Before you can hang the mirror on the hollow door, it’s essential to prepare the door surface properly. This will ensure a secure and stable installation.
Start by cleaning the surface of the door where the mirror will be placed. Use a mild soap and water solution or a gentle cleaner to remove any dirt, dust, or grease. Wipe the surface dry with a clean cloth.
If the door has any imperfections or rough areas, consider sanding them down lightly. This will create a smoother surface and allow for better adherence of the hanging hardware.
Next, determine the locations where the mirror brackets, D-rings, or other hanging hardware will be attached. Place the hardware on the door and lightly mark the spots with a pencil or marker. Ensure that the marks are level and aligned according to your desired placement.
If the chosen hanging hardware requires drilling, make sure to use an appropriate drill bit size and slowly create pilot holes at the marked spots. Place a piece of tape on the drill bit to indicate the desired depth and prevent accidental damage to the door surface.
Once the pilot holes are prepared, you may need to insert wall anchors or toggle bolts. If necessary, carefully follow the manufacturer’s instructions for installing the anchors specific to your hollow door type. Ensure that the anchors are flush with the door surface.
For adhesive hooks or mirror clips, clean the back of the mirror and adhere or attach the hardware according to the instructions provided. Allow sufficient time for the adhesive to cure or for the hardware to securely fasten to the mirror.
By properly preparing the door surface and creating the necessary pilot holes or attaching the adhesive hardware, you are setting the stage for a successful and stable hanging process. Taking the time to prepare the door ensures a strong and secure attachment for the mirror.
Step 5: Inserting the Anchors or Toggle Bolts
If your chosen hanging hardware requires the use of anchors or toggle bolts, this step is crucial in ensuring the stability and strength of the mirror on the hollow door.
Start by aligning the pre-drilled pilot holes on the door with the holes in the wall anchors or toggle bolts. If using wall anchors, gently tap them into the pilot holes until they are flush with the door surface.
For toggle bolts, insert the bolts through the holes in the hanging hardware and then through the pilot holes in the door. Once the bolts are through, carefully pull them back slightly to engage the spring-loaded wings on the opposite side of the door. Tighten the bolts until they are firm and secure.
Before fully tightening the anchors or toggle bolts, check that they are level and straight. You can use a level or measuring tape to ensure they are properly aligned. Make any necessary adjustments before finalizing the tightening.
For hollow core doors, it’s important to choose anchors or toggle bolts specifically designed for this type of door. They are designed to provide greater stability and prevent the hardware from pulling out or damaging the hollow core.
Once the anchors or toggle bolts are securely in place, double-check their stability and ensure they can support the weight of the mirror. Gently apply pressure to the hardware to test its sturdiness.
If at any point the anchors or toggle bolts are not holding or feel loose, it may be necessary to reinforce the hardware with stronger alternatives or consult a professional for advice.
By correctly inserting the anchors or toggle bolts and ensuring their stability, you are providing a solid foundation for securely hanging the mirror on the hollow door. Taking the time to properly secure the hardware will help prevent any accidents or damage to the door.
Step 6: Attaching the Hanging Hardware
With the anchors or toggle bolts securely in place, it’s time to attach the hanging hardware to the hollow door. This step will allow you to connect the mirror to the door, ensuring a stable and secure installation.
First, align the mirror brackets, D-rings, or other hanging hardware with the screws provided. Place the hardware on the door, making sure that it lines up with the pre-drilled holes or anchored areas.
Using a screwdriver or electric drill, carefully attach the screws through the holes in the hanging hardware and into the anchors or toggle bolts. Ensure that the screws are tightened securely but not overly tightened, as this can damage the door or the hardware.
If using adhesive hooks or mirror clips, follow the manufacturer’s instructions for attaching them to the back of the mirror. Make sure they are aligned properly and firmly adhered or attached to the mirror surface.
For mirror brackets, place the brackets onto the backside of the mirror and align them with the pre-drilled holes or anchored areas. Insert the screws provided through the holes in the brackets and into the anchors or toggle bolts on the door. Tighten the screws until the brackets are securely attached to the door.
If using D-rings, attach them to the back of the mirror by screwing them into the pre-drilled holes. Make sure to evenly space them and secure them tightly.
Once the hanging hardware is attached to both the mirror and the door, double-check the stability of the installation. Gently lift or shake the mirror to ensure that it is securely held in place and does not wobble or come loose.
If the mirror appears to be unstable, check the screws and hardware for any signs of looseness or damage. If necessary, tighten the screws further or consider using stronger or more suitable hardware options for better stability.
By properly attaching the hanging hardware, you are ensuring a secure and stable connection between the mirror and the hollow door. Taking the time and care to securely fasten the hardware will help prevent any accidents or damage to the mirror or door.
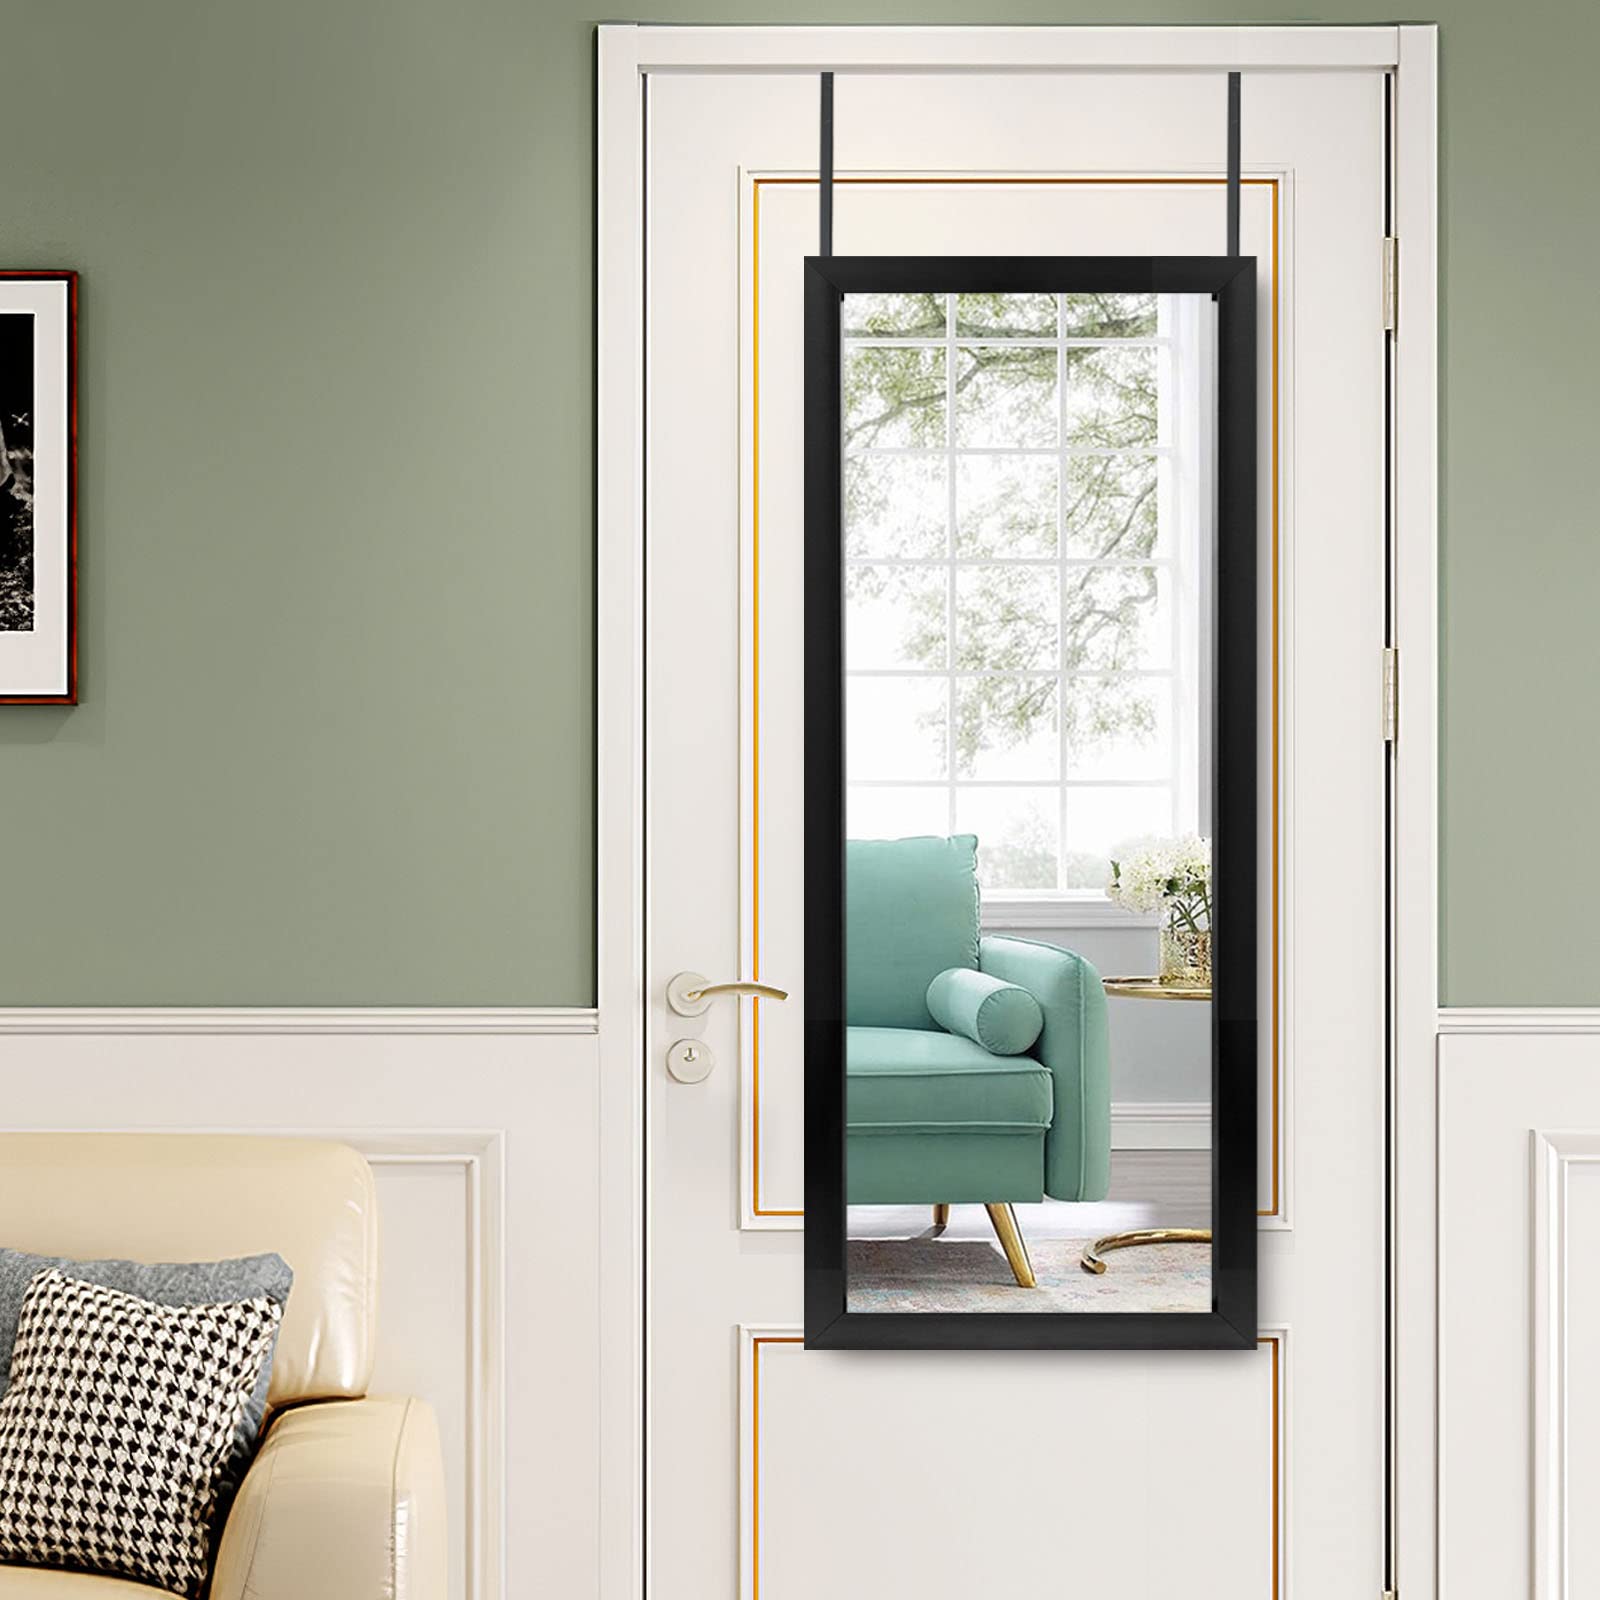
Step 7: Hang the Mirror on the Door
Now that the hanging hardware is securely attached to both the mirror and the hollow door, it’s time to hang the mirror in its designated spot. This step will allow you to see the mirror in its final position and ensure that it is level and properly aligned.
With caution, carefully lift the mirror and position it against the door. Align the hanging hardware on the mirror with the corresponding hardware on the door. Gently lower the mirror onto the door, making sure that it sits flush and evenly against the surface.
As you lower the mirror, double-check the alignment and ensure that it is level. Use a level or measuring tape to confirm that the mirror is straight and evenly positioned on the door. Adjust as necessary to achieve the desired alignment.
Once the mirror is in place and properly aligned, step back and inspect it from various angles to ensure that it looks visually appealing and is securely hanging on the door.
If needed, make any final adjustments to the mirror’s position or alignment. Take your time and ensure that the mirror is stable and secure.
Additionally, if you are planning to hang multiple mirrors or other decorative items on the door, consider spacing and aligning them properly to create a cohesive and aesthetically pleasing arrangement.
By hanging the mirror on the door, you are bringing your vision to life and adding a beautiful and functional element to your space. Take pride in your work and enjoy the finished result.
Step 8: Test the Stability and Adjust if Necessary
After hanging the mirror on the hollow door, it’s crucial to test its stability and make any necessary adjustments. This final step will ensure that the mirror is securely attached and will remain in place over time.
Start by gently applying pressure to the mirror, testing its stability. Wiggle it slightly to see if there is any movement or looseness in the hardware.
If the mirror feels loose or wobbly, it may indicate that the hanging hardware needs further tightening. Use a screwdriver or drill to tighten any screws or bolts that may have loosened during the hanging process.
Once you have tightened all the necessary hardware, test the stability of the mirror again. Apply a little pressure and check if there is any noticeable movement or instability.
If the mirror still feels unstable, it may be necessary to reassess the hanging hardware or consider alternative options for added support.
Inspect the overall appearance and alignment of the mirror as well. Ensure that it is level and straight, and that it hangs evenly on the door.
If any adjustments are needed, carefully make the necessary changes. Take your time to ensure that the mirror is stable, secure, and visually appealing.
Remember to periodically check the mirror’s stability over time. With regular use and movement, the hanging hardware may loosen, so it’s important to periodically tighten any screws or bolts to maintain the mirror’s stability.
By testing the stability and making any necessary adjustments, you are ensuring that the mirror is securely attached to the hollow door. This final step will help prevent any accidents or damage and provide a long-lasting and enjoyable addition to your space.