
Step 1: Gather the necessary tools
Before starting the process of fixing a loose rear view mirror, it is important to gather all the necessary tools. Having the right tools at hand will make the task easier and more efficient. Here are the tools you will need:
- Screwdriver: You may need a screwdriver, depending on the type of rear view mirror you have. It is essential for removing any screws or fasteners holding the mirror in place.
- Adhesive: You will need an adhesive specifically designed for automotive applications. Look for a high-quality adhesive that is strong and durable.
- Cleaning solution and cloth: Before reattaching the mirror, it is important to clean the windshield and the mirror mounting area thoroughly. Use a cleaning solution suitable for automotive glass and a microfiber cloth to avoid leaving any streaks or residue.
- Protective gloves: Since you will be working with adhesive, it is advisable to wear protective gloves to prevent any contact with your skin.
Once you have gathered all the necessary tools, you will be ready to move on to the next steps of fixing your loose rear view mirror.
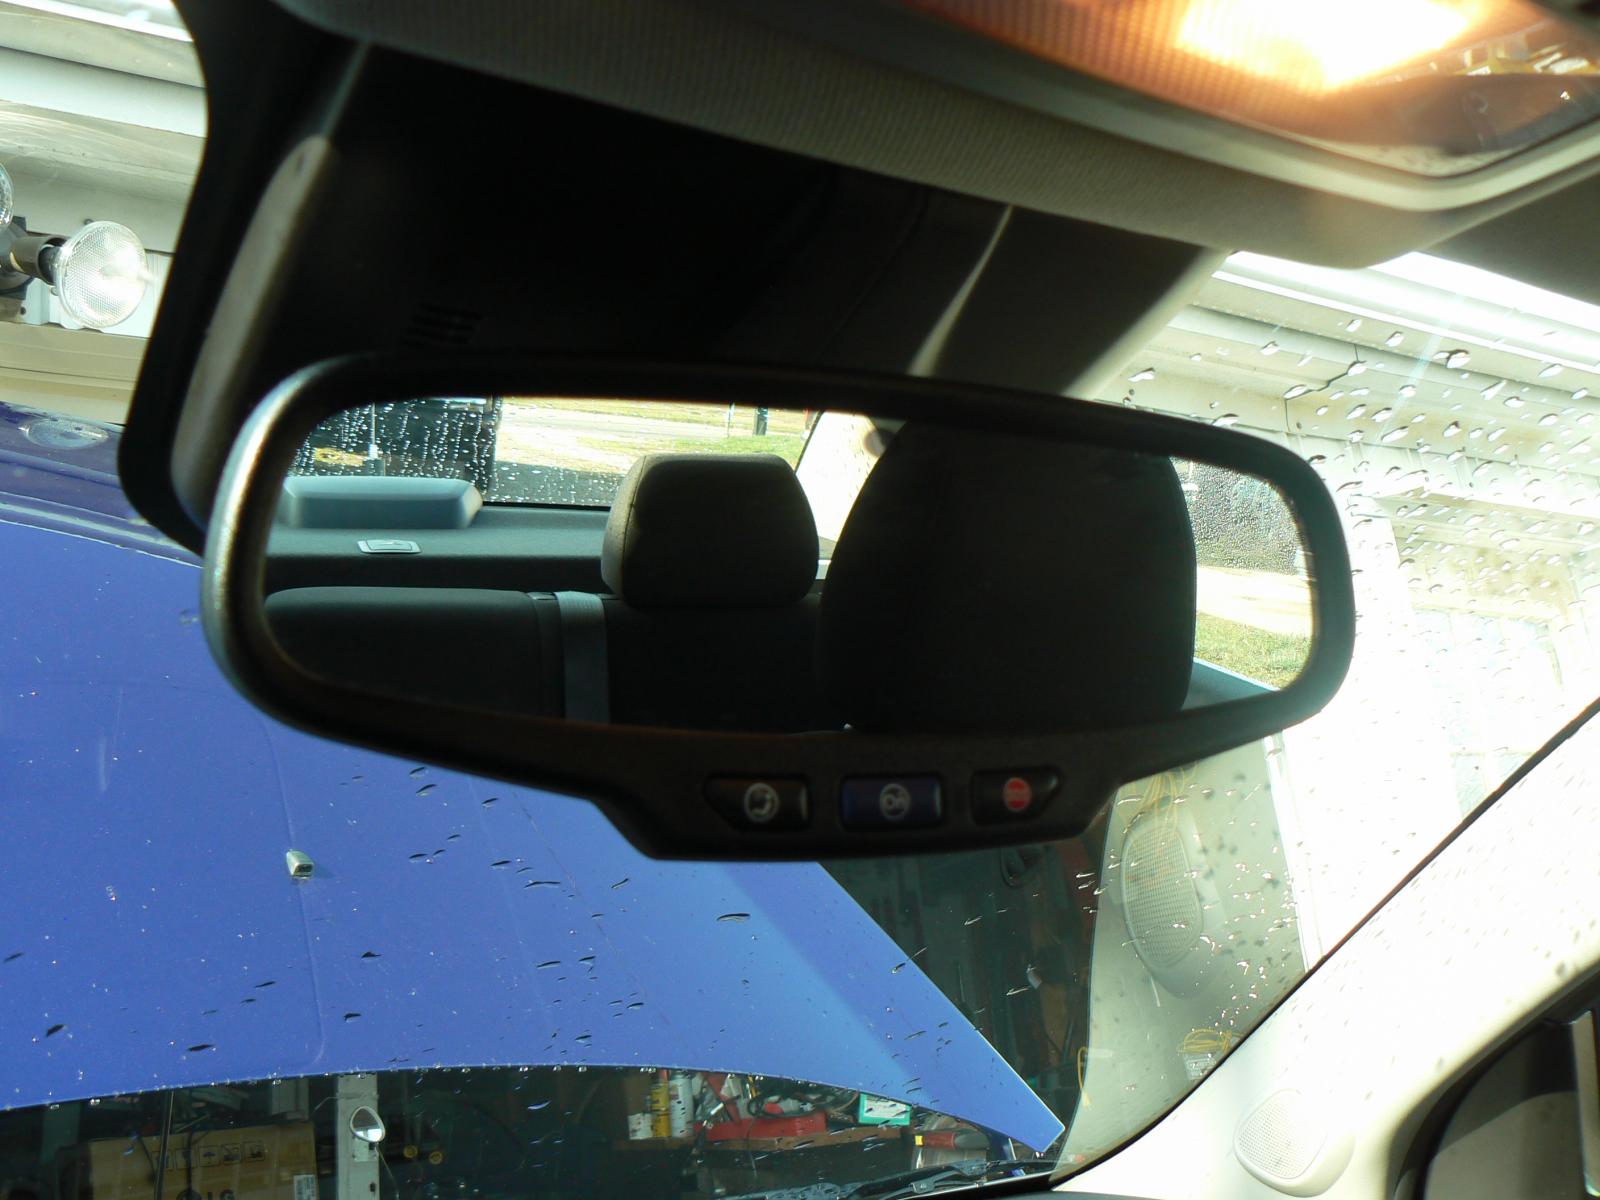
Step 2: Remove the rear view mirror from the windshield
To fix a loose rear view mirror, the first step is to remove it from the windshield. Follow these steps:
- Start by adjusting the mirror to its lowest position to make it easier to access.
- Locate the mounting bracket that holds the mirror in place. This bracket is typically located at the top center of the windshield.
- Check if there are any screws or fasteners securing the mirror. If there are, use a screwdriver to remove them.
- Gently wiggle the mirror to loosen it from the mounting bracket. Be careful not to apply excessive force as it may damage the mirror or windshield.
- Once the mirror is loose, carefully detach it from the mounting bracket and set it aside in a safe place.
Removing the mirror will provide you with a clear workspace to clean the windshield and properly prepare the mounting area for reattachment. Ensure you handle the mirror with care to avoid any accidental damage.
Step 3: Clean the windshield and mirror mounting area
Before reattaching the rear view mirror, it is essential to thoroughly clean both the windshield and the mirror mounting area. Follow these steps to ensure a clean and secure surface:
- Start by spraying an automotive glass cleaning solution onto the windshield. Be generous with the solution to ensure effective cleaning.
- Using a soft cloth, such as a microfiber cloth, wipe the windshield in a circular motion. This will help remove any dirt, dust, or grime that has accumulated on the surface.
- Pay special attention to the area where the mirror will be attached. Make sure it is free from any debris or residue that could interfere with the adhesive.
- Next, clean the mirror mounting area on the rear view mirror itself. Use the same glass cleaner and cloth to wipe away any dirt or dust.
- Take a dry cloth and thoroughly wipe both the windshield and the mirror mounting area to ensure they are completely dry.
A clean surface is crucial for establishing a strong bond between the adhesive and the windshield. By taking the time to properly clean the windshield and mirror mounting area, you are ensuring a reliable and long-lasting reattachment of the rear view mirror.
Step 4: Apply adhesive to the mirror bracket
With the windshield and mirror mounting area clean and dry, it’s time to apply adhesive to the mirror bracket to secure the rear view mirror in place. Follow these steps:
- Read the instructions on the adhesive packaging carefully to ensure proper usage.
- Apply a small amount of adhesive to the mirror bracket. Be sure to follow the recommended amount specified by the adhesive manufacturer.
- Spread the adhesive evenly across the bracket, ensuring complete coverage.
- Avoid applying adhesive to any other surfaces, as it may cause damage or interfere with the mirror’s movement.
- If necessary, use a toothpick or a small brush to help spread the adhesive into any crevices or hard-to-reach areas.
Remember, it’s important to use adhesive specifically designed for automotive applications to ensure a strong and durable bond. Following the proper application techniques will help ensure the adhesive works effectively to securely attach the rear view mirror.
Step 5: Reattach the mirror to the windshield
Now that the adhesive has been applied to the mirror bracket, it’s time to reattach the rear view mirror to the windshield. Follow these steps:
- Hold the mirror bracket with the adhesive facing down towards the windshield.
- Align the mirror bracket with the mounting area on the windshield where it was previously attached.
- Press the mirror firmly against the windshield, ensuring that the bracket is properly positioned in the mounting area.
- Apply constant pressure for a few seconds to allow the adhesive to bond with the windshield.
- Double-check the alignment of the mirror to ensure it is straight and properly attached.
When reattaching the mirror, it is crucial to follow the manufacturer’s recommendations for the specific type of mirror you have. Some mirrors may require additional steps or adjustments to ensure a secure attachment. Take your time to ensure a proper fit before moving on to the next step.
Step 6: Hold the mirror in place and let the adhesive dry
After reattaching the rear view mirror to the windshield, it’s important to hold it in place and allow the adhesive to properly dry and bond. Follow these steps:
- Hold the mirror with one hand to ensure it stays in position while the adhesive sets.
- Apply gentle pressure to the mirror to maintain contact between the bracket and the windshield.
- Avoid adjusting or moving the mirror during this time, as it may disrupt the bonding process.
- Refer to the adhesive manufacturer’s instructions for the recommended drying time. It is typically around 24 hours, but it may vary depending on the specific adhesive you are using.
During the drying process, make sure the car is parked in a safe and secure location to avoid any accidental bumps or knocks that could disrupt the mirror. It’s best to let the adhesive fully cure before subjecting the rear view mirror to any vibrations or movements.
By allowing the adhesive to dry completely, you are ensuring a strong and secure attachment between the rear view mirror and the windshield, minimizing the chances of it becoming loose again.
Step 7: Test the mirror for stability
After the adhesive has dried, it’s time to test the stability of the rear view mirror to ensure it is securely attached. Follow these steps:
- Gently shake or tap the mirror to check for any movement. A properly secured mirror should feel stable and not wobble or shift easily.
- Look at the reflection in the mirror to ensure it is clear and undistorted. Any vibrations or movement of the mirror could affect the quality of the view.
- Adjust the mirror to your desired angle and make sure it stays in place without any adjustment slippage.
- If you notice any instability or looseness, it may indicate that the adhesive has not formed a strong enough bond. In this case, you may need to repeat the process or seek professional assistance.
It’s important to test the mirror before driving to ensure it provides a solid and reliable view of the rear. A stable mirror is essential for safe driving, as it allows you to monitor traffic and your surroundings effectively.
By following these steps and performing the necessary tests, you can ensure that your rear view mirror is securely attached and will provide you with a stable and clear view on your future drives.