
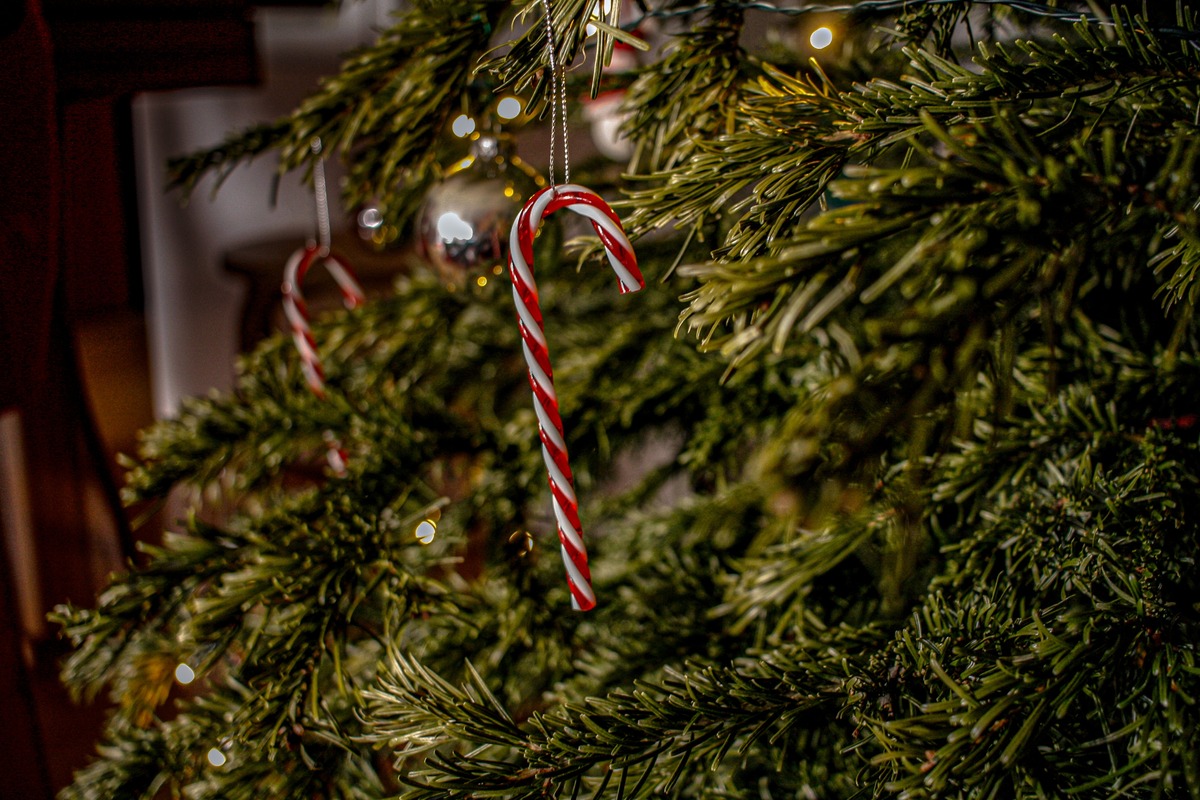
Choosing the Right Ornament
When it comes to decorating an ornament, selecting the right one is crucial. The ornament serves as the foundation for the overall design and sets the tone for the entire decoration process. Here are some tips to consider when choosing the perfect ornament:
- Size: Decide on the size of the ornament based on your preferences and the space where it will be displayed. A larger ornament can make a bold statement, while a smaller one can provide a delicate touch.
- Shape: Explore different shapes such as balls, stars, hearts, or even unique designs like animals or musical instruments. Consider the theme or style you want to achieve and select an ornament that matches.
- Material: Ornaments come in various materials like glass, plastic, wood, or metal. Each material offers a different texture and appearance. Choose one that complements your desired decoration style.
- Color: Consider the color scheme you want to incorporate into the ornament. Whether you prefer classic reds and greens for a traditional look or bold and vibrant colors for a modern twist, select an ornament that aligns with your desired hues.
- Theme: Think about the theme or concept you want to convey with your ornament. Whether it’s a winter wonderland, a festive holiday, or a specific motif like nature or sports, choose an ornament that fits your theme.
- Personalized options: Some ornaments offer opportunities for personalization, like engraving names or adding initials. If you want to create a more customized decoration, consider ornaments that can be personalized.
By taking these factors into account, you can ensure that you select the perfect ornament to kickstart your decoration process. Each choice you make will contribute to the overall aesthetic and theme you want to achieve, making your ornament a true reflection of your personal style and creativity.
Gathering Supplies
Before you begin decorating your ornament, it’s important to gather all the necessary supplies. Having everything you need at hand will streamline the process and make it more enjoyable. Here’s a list of supplies you’ll likely need:
- Ornaments: Make sure you have the ornaments you selected in the previous step. You can have multiple ornaments if you plan on creating a set or want to experiment with different designs.
- Glitter and Paint: Choose a variety of glitter colors and paint that coordinate with your desired ornament design. This will add sparkle and vibrancy to your decoration.
- Ribbons and Bows: Select a range of ribbons and bows in different colors, widths, and textures. These will be used for hanging your ornament and adding decorative accents.
- Personalization Tools: If you plan on personalizing your ornament with names or initials, gather tools such as letter stencils, paint pens, or adhesive letters.
- Stickers or Adhesive Gems: These can be used to add extra embellishments to your ornament, such as snowflakes, stars, or other decorative shapes.
- Small Paintbrushes: These are essential for precise painting and applying glue or adhesive.
- Clear Sealant: To protect your ornament and ensure the longevity of your design, have a clear sealant handy to apply after decorating.
- Protective Coverings: Lay down newspaper, plastic sheets, or old cloth to protect your workspace from any unintended spills or messes.
Having all these supplies easily accessible will save you time and prevent any unnecessary interruptions during the decoration process. Stay organized by keeping everything in a designated area, so you can easily find what you need when inspiration strikes. With your supplies gathered, you’re ready to move on to the next step: prepping the ornament.
Prepping the Ornament
Before you dive into the fun part of decorating, it’s important to properly prep your ornament. This step ensures that the surface is clean and ready to accept the various embellishments you’ll be adding. Follow these steps to prep your ornament:
- Clean the ornament: Use a soft cloth or tissue to gently wipe down the surface of the ornament. This removes any dust or residue that may have accumulated, ensuring a smooth canvas for your decoration.
- Remove any existing decorations: If your ornament came with any pre-attached embellishments, such as ribbons or bows, carefully remove them. This will allow you to have a blank slate to work with and make your decorations more customizable.
- Check for damage: Inspect the ornament for any cracks, chips, or other defects that may affect its appearance. If you notice any damage, consider using a different ornament or find creative ways to incorporate the flaws into your design.
- Consider a base coat: For certain decoration techniques, like using glitter or paint, applying a base coat may be beneficial. This can be a layer of clear or colored paint that creates a foundation for your design and enhances its overall look.
- Protect sensitive areas: If there are any areas on the ornament that you want to keep untouched by glitter, paint, or other decorations, cover them with removable tape or painter’s tape. This will ensure that these areas stay clean and unaffected during the decoration process.
Taking the time to properly prep your ornament will result in a more professional-looking and durable decoration. It ensures that your efforts are focused on the creative aspects rather than dealing with any unexpected issues. Now that your ornament is primed and ready, it’s time to move on to the exciting part: adding glitter and paint!
Adding Glitter and Paint
One of the most visually appealing aspects of ornament decoration is the use of glitter and paint. These elements can add sparkle, texture, and vibrant colors to your ornament. Follow these steps to incorporate glitter and paint into your design:
- Choose your glitter: Select the colors and types of glitter that align with your desired ornament design. Fine glitter provides a subtle shimmer, while chunky glitter creates a more bold and eye-catching effect.
- Decide on your paint: Consider the color scheme and overall theme of your ornament when choosing paint. Acrylic paint works well for most surfaces and offers a wide range of colors to choose from.
- Apply paint: Use a small paintbrush to apply paint to the desired areas of the ornament. You can paint the entire surface or add intricate designs and patterns. Allow the paint to dry completely before moving on to the next step.
- Add glitter: Apply a thin, even layer of glue or adhesive to the areas you want to cover with glitter. Sprinkle the glitter over the glued areas, ensuring full coverage. Gently tap off any excess glitter and allow it to dry.
- Seal the glitter: To prevent the glitter from flaking off, apply a clear sealant over the glittered areas. This will provide a protective layer and help the glitter stay in place.
Remember to let each layer of paint and adhesive dry completely before moving on to the next step. This will ensure that your ornament decoration is clean and well-defined. Adding glitter and paint is just the beginning of your ornament transformation. Continue with the next steps to further enhance its appearance!
Decorating with Ribbons and Bows
Ribbons and bows are classic decorations that add charm and elegance to any ornament. They can be used to accentuate the shape of the ornament, create texture, or simply add a festive touch. Follow these steps to make your ornament stand out with ribbons and bows:
- Select the right ribbons: Choose ribbons in a variety of colors, widths, and patterns. Consider the overall theme and color scheme of your ornament, and select ribbons that complement it.
- Measure and cut: Determine the length of ribbon needed to wrap around or hang your ornament. Cut the ribbon to the desired length, leaving some extra for tying or creating bows.
- Loop or wrap: Depending on your design preference, either create a loop with the ribbon and tie it at the top of the ornament for hanging, or wrap the ribbon around the ornament in a spiral or crisscross pattern.
- Tie a bow: Use a separate piece of ribbon to tie a bow around the top of the ornament or as an accent on the side. Experiment with different bow styles, such as classic bows or fluffy bows, to achieve the desired look.
- Braid or weave: For a unique twist, braid or weave multiple ribbons together to create a decorative pattern around the ornament. This adds depth and visual interest.
- Secure and trim: Use clear tape, hot glue, or adhesive dots to secure the ribbons in place. Trim any excess ribbon to achieve a clean and polished appearance.
Ribbons and bows offer endless possibilities for creativity. Feel free to mix and match different colors and textures to create a truly personalized ornament. Don’t be afraid to experiment and let your imagination guide you in achieving the perfect ribbon and bow arrangement!
Creating a Theme
Adding a theme to your ornament decoration can make it more cohesive and visually appealing. A theme brings a sense of purpose and story to your design, allowing you to create a unique and memorable ornament. Here’s how to create a theme for your ornament:
- Choose a concept: Decide on a concept or idea that you want your ornament to represent. It could be a holiday, a specific season, a hobby, a favorite movie, or any other theme that inspires you.
- Select relevant decorations: Look for decorations that are associated with your chosen theme. For example, if you have a winter-themed ornament, you may include snowflakes, icicles, or snowmen.
- Consider color scheme: Select colors that align with your theme to maintain consistency and cohesiveness. For instance, a beach-themed ornament might incorporate shades of blue, sandy neutrals, and hints of tropical colors.
- Coordinate with other decorations: If you have other decorations in the same theme, such as a themed tree or a wreath, coordinate your ornament design with them. This creates a unified and harmonious overall display.
- Emphasize key elements: Highlight the key elements of your theme by incorporating them prominently in your ornament design. For example, if you have a sports-themed ornament, focus on the specific sport and its related equipment or symbols.
- Add relevant symbols or motifs: Consider using symbols or motifs that are easily recognizable and associated with your theme. This can enhance the visual impact and reinforce the theme you’ve chosen.
- Think outside the box: Don’t limit yourself to conventional themes. Get creative and explore unique and unexpected themes that reflect your personality or interests.
A themed ornament instantly captures attention and tells a story. Whether you’re going for a traditional celebration, a whimsical fantasy, or an unconventional theme, let your creativity shine through and create an ornament that truly stands out!
Personalizing with Names or Initials
Adding personalization to your ornament with names or initials adds a special touch and makes it uniquely yours. Whether it’s for yourself, a family member, or a loved one, here’s how you can personalize your ornament with names or initials:
- Choose the right method: Decide how you want to add the names or initials to your ornament. You have multiple options, such as engraving, stenciling, painting, using adhesive letters, or even hand-lettering.
- Engraving or etching: If your ornament allows for it, consider engraving or etching the names or initials onto the surface. This method provides a permanent and professional-looking personalization.
- Stencil and paint: Use letter stencils and paint to create a neat and uniform personalized design. Choose colors that complement your overall decoration and ensure the letters are easily readable.
- Adhesive letters or stickers: Another option is to use adhesive letters or stickers to spell out the names or initials. These are readily available at craft stores and offer a quick and easy way to personalize your ornament.
- Hand-lettering: If you have good handwriting skills, you can hand-write the names or initials using pens or markers specifically designed for writing on various surfaces. Practice on a separate sheet of paper before directly applying it to the ornament.
- Consider placement: Decide where on the ornament you want to place the personalization. It can be on the front, back, or even along the sides depending on the size and shape of the ornament.
- Coordinate with other decorations: Try to match the style and colors of the personalization with the overall theme and design of the ornament. This ensures that the personalization seamlessly integrates with the rest of the decoration.
Adding names or initials to your ornament gives it a personal and sentimental touch. It becomes a cherished keepsake that holds special meaning for you or the recipient. Take your time, choose the method that suits you best, and create a personalized ornament that will be treasured for years to come.
Using Stickers or Adhesive Gems
Stickers and adhesive gems are versatile and convenient decorations that can instantly enhance the look of your ornament. Whether you’re aiming for a glamorous sparkle or a fun and playful design, here’s how you can use stickers or adhesive gems to elevate your ornament:
- Select the right stickers and gems: Choose stickers and adhesive gems that match your desired ornament theme. Consider the color, shape, and size of the stickers and gems, ensuring they complement the overall design.
- Plan your design: Decide where you want to place the stickers or gems on the ornament. Whether you want to create a pattern, spell out a word, or simply add accents, planning ahead will help achieve a polished and cohesive look.
- Peel and stick: Peel off the backing of the sticker or adhesive gem and carefully place it on the ornament. Press down gently to ensure it adheres well to the surface. If repositioning is needed, carefully peel it off and reapply.
- Experiment with placement: Try different arrangements and placements to find the most visually appealing design. Play around with mixing and matching different stickers and gems to create a unique and eye-catching look.
- Create borders or frames: Use stickers or adhesive gems to create borders or frames around the edges of your ornament. This adds a touch of elegance and helps define the shape of the ornament.
- Use as accents: Use stickers or gems to accent specific areas or features on the ornament. For example, you can add gems as eyes for a snowman ornament or use stickers to create a festive border around a holiday-themed design.
- Coordinate with other elements: Ensure that the colors and styles of the stickers or gems coordinate with the other decoration elements on the ornament. Maintain a cohesive overall look by selecting stickers and gems that complement the theme and color palette.
Stickers and adhesive gems offer an easy and fuss-free way to add extra flair and interest to your ornament. They provide a wide range of design options, allowing you to easily customize and personalize your decoration. Let your creativity shine and transform your ornament with the magic of stickers and adhesive gems!
Adding a Message or Quote
Adding a meaningful message or quote to your ornament can give it a personal touch and make it even more special. Whether it’s a heartfelt sentiment, a favorite quote, or a simple message of joy, here’s how you can incorporate a message or quote into your ornament:
- Choose the right words: Decide on the message or quote you want to include on your ornament. It can be something meaningful, inspirational, or simply a festive greeting.
- Determine the placement: Consider the size and shape of your ornament to determine the best placement for the message or quote. It can be on the front, back, or even wrapped around the sides, depending on the space available.
- Select the font and style: Choose a font that complements the overall design of your ornament. Consider the style, size, and readability of the font to ensure the message or quote is clearly visible.
- Decide on the application method: There are various ways to add a message or quote to your ornament. You can use paint and a small brush, permanent markers, or even adhesive letters. Choose the method that suits your preference and the surface of the ornament.
- Practice before applying: If you’re using freehand writing, practice on a separate piece of paper or a similar surface to ensure you’re comfortable with the lettering style and spacing. This will help you achieve a neater and more professional result.
- Take your time: Adding a message or quote requires patience and attention to detail. Take your time to ensure that each letter is neatly written or applied, and that the spacing and alignment are consistent.
- Consider embellishments: Enhance the message or quote with additional decorative elements, such as small illustrations, flourishes, or thematic symbols. This can further emphasize the sentiment and add visual interest to the ornament.
- Revisit and revise: Step back from your ornament and review the message or quote. Make any necessary adjustments or revisions to ensure it looks exactly how you want it to.
Adding a message or quote to your ornament gives it a personal and heartfelt touch. Whether it’s a message of love, a favorite holiday saying, or a simple word of encouragement, let your ornament speak volumes with the power of words.
Finishing Touches
As you near the completion of your ornament decoration, it’s important to give it some final touches to ensure it looks polished and professionally done. These finishing touches will elevate your ornament and make it truly shine. Here are some suggestions for adding those final details:
- Inspect for any imperfections: Take a close look at your decorated ornament and make sure there are no smudges, uneven lines, or misplaced decorations. Use a clean cloth or cotton swab to gently wipe away any unwanted marks.
- Apply a protective sealant: To preserve your ornament and protect the decorations, consider applying a clear sealant as a final layer. This will provide a glossy finish and help prevent any damage or fading over time.
- Add additional embellishments: If you feel like your ornament needs an extra touch, consider adding more embellishments. This could be small bows, beads, sequins, or even miniature charms that complement the theme and design of your ornament.
- Adjust hanging mechanism: Ensure that your ornament has a secure and properly attached hanging mechanism. This could be a loop of ribbon, a hook, or an ornament hanger. Make any necessary adjustments to ensure it hangs straight and securely.
- Photograph your creation: Capture the beauty of your ornament by taking a photograph. This will allow you to save the memory of your decorated masterpiece and share it with others.
- Display with pride: Find the perfect spot to display your ornament. Whether it’s on a Christmas tree, a wreath, or simply showcased on a mantle or shelf, place it where it can be admired and appreciated.
- Share the joy: Consider giving your ornament as a gift to someone special. Sharing your creation and the love that went into making it can bring joy and meaningful connections.
- Enjoy the process: Remember to step back and appreciate the effort and creativity you put into designing and decorating your ornament. Embrace the joy and satisfaction of creating something beautiful with your own hands.
By paying attention to these finishing touches, you can ensure that your ornament is truly a work of art. Each detail contributes to the overall beauty and uniqueness of your creation, making it a wonderful addition to your holiday decor or a heartfelt gift for someone dear.