
Requirements for Watching Recorded Shows on Firestick
With the Amazon Firestick, you can easily watch your favorite TV shows and movies at your convenience. However, if you want to watch recorded shows on your Firestick, there are a few requirements you need to meet. Here’s what you need:
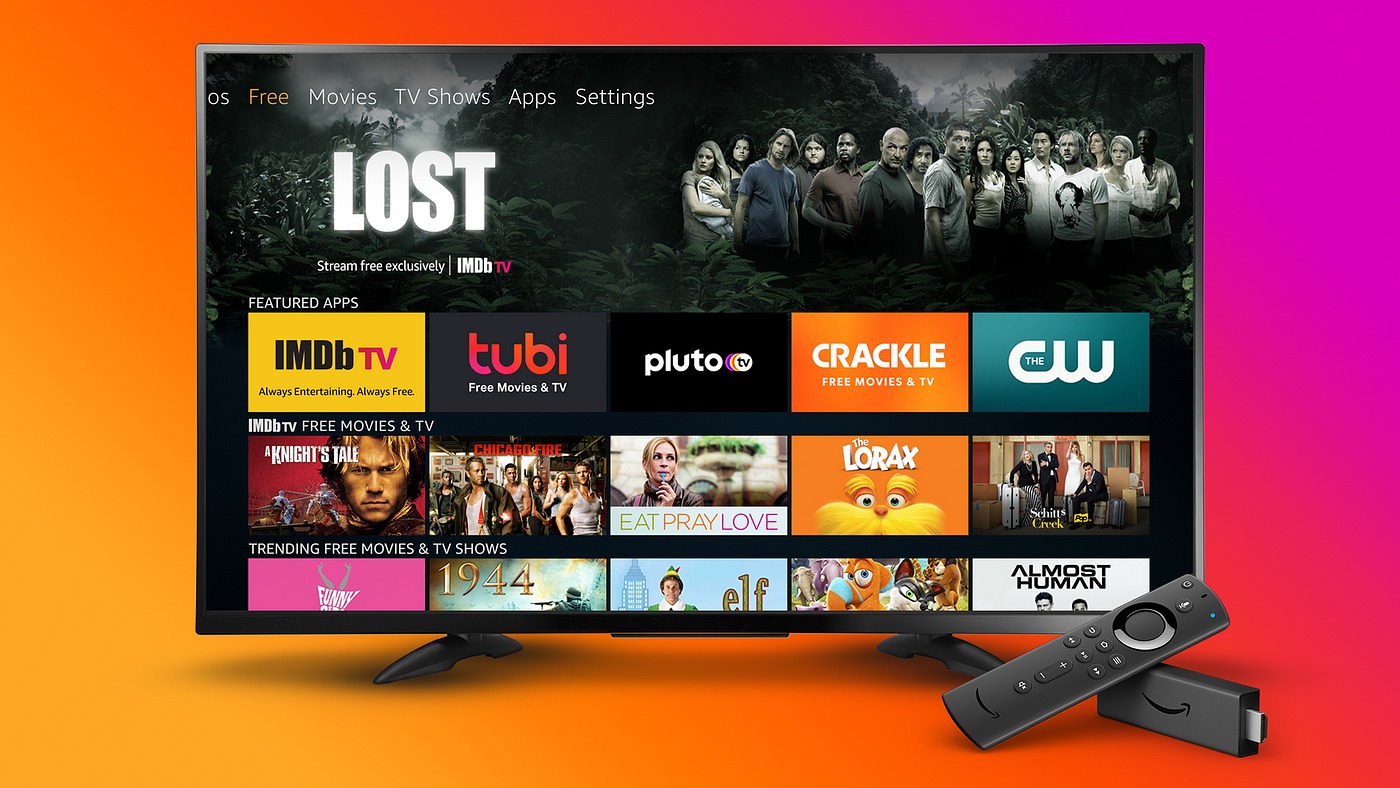
- An Amazon Firestick device: The first requirement is to have an Amazon Firestick device. This compact streaming media player connects to your TV’s HDMI port and allows you to access various streaming services and apps.
- A compatible TV: Ensure that you have a TV with an HDMI input port to connect your Firestick. Most modern TVs come with HDMI ports, so you should be good to go.
- Stable internet connection: To stream and watch recorded shows, you will need a reliable internet connection. A high-speed internet connection is recommended to avoid buffering and ensure a smooth viewing experience.
- A subscription to a TV provider: To access and watch recorded shows, you will need a subscription to a TV provider that offers a recording service. Make sure you have an active subscription or sign up for one before proceeding.
- The recording app: Depending on your TV provider, you may need to install a specific recording app on your Firestick device. Check with your TV provider for the recommended app and installation instructions.
Meeting these requirements will ensure that you can enjoy watching your favorite shows on your Firestick, even if you miss the original airing. Now that you know what you need, let’s move on to setting up your Amazon Firestick device in the next section.
Setting Up an Amazon Firestick Device
Setting up your Amazon Firestick device is the first step to watching recorded shows. Here’s a step-by-step guide to getting your Firestick ready:
- Connect the Firestick to your TV: Plug the Firestick into an available HDMI port on your TV. If your Firestick model comes with a power adapter, connect it to an electrical outlet as well.
- Switch input on your TV: Use your TV remote to switch the input to the HDMI port where you connected the Firestick.
- Power on the Firestick: Press and hold the home button on the Firestick remote to power it on. Follow the on-screen instructions to get started.
- Connect to Wi-Fi: Select your Wi-Fi network and enter the password to connect your Firestick to the internet. Make sure you have a stable internet connection.
- Sign in to your Amazon account: Enter your Amazon account credentials or create a new account if you don’t have one. This is necessary to access the Amazon ecosystem and install apps on your Firestick.
- Set up parental controls: If you have children or want to enable content restrictions, you can set up parental controls during the initial setup or later in the settings menu.
- Install updates: After the initial setup, check for software updates for your Firestick. This ensures that you have the latest features and security patches.
- Install the recording app: If your TV provider has a dedicated app for recording shows, search for it in the Amazon Appstore, or follow your provider’s instructions for installation.
Once you have completed the setup process, your Amazon Firestick device is ready to use. In the next section, we will explore how to install and configure the recording app with your TV provider.
Installing the App for Recording Shows
To watch recorded shows on your Firestick, you need to install the app provided by your TV provider. Here’s how to install the app for recording shows:
- Open the Amazon Appstore: On your Firestick home screen, navigate to the Amazon Appstore by selecting the ‘Apps’ option.
- Search for the recording app: Use the search bar at the top of the Appstore to search for the app recommended by your TV provider. Enter the app name or keywords related to recording shows.
- Select the app: Browse through the search results and select the recording app provided by your TV provider.
- Install the app: On the app’s page, click the ‘Get’ or ‘Download’ button to initiate the installation process. Wait for the app to download and install on your Firestick.
- Launch the app: Once the installation is complete, you can launch the app from either the app’s page or the Firestick home screen.
- Sign in with your TV provider credentials: When prompted, enter your TV provider’s credentials to log into the recording app. This will authenticate your subscription and give you access to the recorded shows.
Note that the installation steps may vary slightly depending on the specific recording app and TV provider you have. If you encounter any difficulties during the installation process, refer to the instructions provided by your TV provider or contact their customer support for assistance.
Now that you have successfully installed the recording app on your Firestick, you are ready to configure it with your TV provider. In the next section, we will explore how to set up the app with your TV provider’s account.
Configuring the Recording App with Your TV Provider
After installing the recording app for your TV provider on your Firestick, you’ll need to configure it with your TV provider account. Follow these steps to set up the app:
- Open the recording app: Launch the recording app from your Firestick’s app list or home screen.
- Sign in to your TV provider account: Enter your TV provider credentials (username and password) when prompted. This will verify your subscription and allow you to access the recorded shows.
- Link your TV provider account with the app: Some recording apps require you to link your TV provider account to the app. Follow the on-screen instructions to complete the linking process.
- Authorize the app: In some cases, you may need to authorize the app to access your TV provider account and provide relevant permissions. Grant the necessary permissions as requested.
- Choose your preferences: The recording app may offer customization options like language preferences, notification settings, or show recommendations. Set your preferences according to your preferences.
- Verify your account: Depending on your TV provider, you may need to verify your account through email or other means. Follow the verification steps if prompted.
- Complete the setup process: Once you have configured the recording app with your TV provider account, you should be all set to access and watch your recorded shows.
If you face any issues during the configuration process, consult the app’s documentation or reach out to your TV provider’s support team for assistance. With the app properly configured, you can now move on to scheduling your favorite shows for recording. This will ensure that you never miss an episode! We’ll explore this in the next section.
Scheduling Recordings for Your Favorite Shows
One of the great benefits of using a recording app on your Firestick is the ability to schedule recordings for your favorite shows. This ensures that you never miss an episode, even if you’re unable to watch it live. Here’s how to schedule recordings using the recording app:
- Open the recording app: Launch the recording app on your Firestick.
- Browse or search for your favorite show: Use the app’s interface to browse or search for the show you wish to record.
- Select the show: Once you find the show, select it to open the show’s page or details.
- Look for the recording option: Within the show’s page, look for the option to record or schedule the show. This may be labeled as “Record,” “Add to My Recordings,” or similar.
- Choose the recording preferences: If the app offers customization options for recordings, such as recording all episodes or only new episodes, select your preferred settings.
- Schedule the recording: Confirm your recording preferences and schedule the show for recording. The app may provide options to record single episodes, specific dates, or even entire seasons.
- Manage your scheduled recordings: Most recording apps have a dedicated section where you can manage your scheduled recordings. Here, you can view upcoming recordings, modify recording settings, or delete scheduled recordings if needed.
By scheduling recordings for your favorite shows, you can ensure that they are saved and ready for you to watch at your convenience. This feature gives you the flexibility to enjoy your shows on your own time, without missing out on any content.
Now that you have learned how to schedule recordings, it’s time to explore how to manage your recorded shows library. This will allow you to easily find and access your recorded shows whenever you want. Read on to the next section to find out more.
Managing Your Recorded Shows Library
Once you have recorded shows using your Firestick’s recording app, it’s important to know how to manage your recorded shows library efficiently. Here are some tips for managing your recorded shows:
- Access your recorded shows: Open the recording app on your Firestick to access your recorded shows library. Look for a dedicated section or tab where your recorded shows are stored.
- Organize your shows: If your app allows, create folders or categories to organize your recorded shows. This can make it easier to find specific shows or navigate through your library.
- Sort and filter options: Look for options to sort and filter your recorded shows based on criteria such as show name, date recorded, or genre. This can help you quickly find the shows you want to watch.
- Delete unwanted recordings: To free up space and keep your library clutter-free, periodically go through your recorded shows and delete any that you no longer want to keep. Be mindful of storage limitations on your Firestick.
- Manage storage: Some recording apps may have settings to manage your storage usage, such as adjusting the video quality or setting limits on the number of recordings you keep. Check the app’s settings for options related to storage management.
- Mark shows as watched: Once you’ve watched a recorded show, mark it as watched within the app. This can help you keep track of what you’ve already viewed.
- Sync across devices: If your recording app supports syncing across multiple devices, ensure that your recorded shows library is synced so you can access your recordings from different devices if needed.
By effectively managing your recorded shows library, you can maximize the benefits of recording shows on your Firestick. You’ll have a well-organized collection of recorded content, making it easy to find and enjoy the shows you love.
Now that you know how to manage your recorded shows library, let’s move on to the next section and discover how to find and play your recorded shows on your Firestick.
Finding and Playing Recorded Shows on Firestick
Now that you have recorded shows on your Firestick, it’s time to learn how to find and play them. Here’s how to locate and enjoy your recorded shows:
- Open the recording app: Launch the recording app on your Firestick by selecting it from the apps menu on your home screen.
- Navigate to your recorded shows library: Look for a section or tab within the app that is dedicated to your recorded shows. This is where you can find all the shows you have recorded.
- Browse or search for specific shows: Use the app’s interface to browse through your recorded shows or use the search function to find a specific show you want to watch.
- Select the show you want to watch: Once you have located the recorded show you want to watch, select it to open its details or playback options.
- Choose the playback option: Depending on the app and the specific show, you may have different playback options available. This can include options to resume playback, start from the beginning, or select a specific episode.
- Start watching the show: Once you have selected your preferred playback option, the recorded show will start playing on your Firestick. Sit back, relax, and enjoy!
- Use playback controls: During playback, you can use the playback controls on your Firestick remote to pause, rewind, fast-forward, or adjust the volume as needed.
- Switch between recorded shows: If you have multiple recorded shows in your library, you can switch between them by navigating back to the recorded shows section and selecting a different show to watch.
Finding and playing your recorded shows is a straightforward process, thanks to the user-friendly interfaces of most recording apps. Take some time to explore the features and options available within the app, as they may enhance your viewing experience.
In the next section, we will learn how to enable subtitles and customize audio preferences when watching recorded shows on your Firestick.
Enabling Subtitles and Audio Preferences
When watching recorded shows on your Firestick, you may have preferences for subtitles and audio settings. Here’s how you can enable subtitles and customize your audio preferences:
- During playback, locate the playback controls: While watching a recorded show, look for the playback controls on your Firestick remote. These usually include options for pause, play, rewind, fast-forward, and volume control.
- Access the subtitle settings: On the playback controls, there is usually an option or button to access the subtitle settings. It may be labeled as “CC” or “Subtitles.” Select it to open the subtitle settings menu.
- Enable subtitles: In the subtitle settings menu, you can choose to enable subtitles or closed captions for the show you are watching. Select the appropriate option to enable the subtitles. You may also have the option to customize the subtitle appearance, such as font size or color.
- Select your preferred audio language: If the recorded show offers audio in multiple languages, you can choose your preferred audio language in the audio settings. Look for an option labeled “Audio” or “Language” on the playback controls.
- Adjust the audio output: If you want to customize your audio experience further, you can adjust the audio output settings on your Firestick. Go to the Firestick settings menu, navigate to the “Audio” section, and explore options such as audio modes, equalizer settings, or surround sound settings.
- Enjoy your preferred settings: Once you have enabled subtitles and adjusted your audio preferences, continue watching the recorded show with your desired settings. The subtitles will be displayed on the screen, and the audio will be played according to your chosen language and audio output settings.
Enabling subtitles and customizing audio preferences can greatly enhance your viewing experience when watching recorded shows on your Firestick. It allows you to follow along with subtitles if needed and ensures that the audio is tailored to your preferences.
In the next section, we will explore how to customize playback options for your recorded shows, giving you even more control over your viewing experience.
Customizing Playback Options for Recorded Shows
When watching recorded shows on your Firestick, you have the ability to customize various playback options to enhance your viewing experience. Here’s how you can customize playback options for your recorded shows:
- During playback, locate the playback controls: While watching a recorded show, familiarize yourself with the playback controls on your Firestick remote. These usually include options for pause, play, rewind, fast-forward, and volume control.
- Utilize the playback controls: Experiment with the playback controls to pause/resume the show, rewind to previous scenes, fast-forward through commercials, and adjust the volume to your preferred level.
- Explore additional playback options: Many recording apps offer additional playback options to enhance your experience. Look for options such as “Skip Intro” to jump past the show’s opening sequence, “Jump to Scene” to navigate directly to a specific scene, or “Skip Spoilers” to avoid any spoilers when exploring show details.
- Use the seek bar: The seek bar, typically located on the playback controls or progress bar, allows you to easily navigate through the recorded show. Drag the seek bar to move forward or backward within the show’s timeline.
- Adjust playback speed: Some recording apps provide the option to adjust the playback speed. You can increase the speed to watch the show faster, or slow it down to catch specific details. Check for a “Playback Speed” option in the playback settings or controls.
- Take advantage of replay options: Certain recording apps offer replay options, such as instant replay or rewind options, which allow you to rewatch specific moments or scenes within the recorded show. Explore the app’s options to see if these features are available.
- Experiment with picture settings: If your Firestick and TV support it, you can adjust the picture settings to enhance the visual quality. Explore options such as brightness, contrast, color settings, or even modes like “Cinema” or “Vivid” to find your preferred picture settings.
Customizing playback options for your recorded shows gives you control over how you watch and interact with the content. From skipping intros to adjusting playback speed and exploring additional features, take advantage of these options to tailor the viewing experience to your preferences.
In the final section, we will address some common troubleshooting tips for any issues you may encounter while watching recorded shows on your Firestick.
Troubleshooting Common Issues with Recorded Shows on Firestick
While watching recorded shows on your Firestick, you may encounter some common issues that can disrupt your viewing experience. Here are some troubleshooting tips to help you address these issues:
- Poor video quality or buffering: If you experience poor video quality or buffering, check your internet connection. Ensure that you have a stable and high-speed internet connection. You can also try restarting your Firestick or clearing the app cache to improve performance.
- No audio or distorted audio: If you have no audio or notice distorted audio, check your TV’s volume settings and ensure that the audio cables are securely connected. You can also try adjusting the audio settings within the recording app or on your Firestick to troubleshoot the issue.
- Subtitle issues: If you encounter problems with subtitles, such as incorrect timing or missing subtitles, check the subtitle settings within the recording app. Ensure that the correct subtitle language is selected, and try toggling the subtitle options to see if that resolves the issue.
- Recording failures: If you are unable to record shows as expected, ensure that you have a valid subscription to the TV provider’s recording service. Check the app’s settings or contact your TV provider’s support for assistance if the issue persists.
- App crashes or freezing: If the recording app crashes or freezes frequently, make sure you have installed the latest app updates. You can also try closing other background apps on your Firestick and restarting it to free up resources. If the issue persists, consider uninstalling and reinstalling the app.
- Playback controls not working: If the playback controls on your Firestick remote are not responding, check if the remote’s batteries need to be replaced. You can also try unpairing and re-pairing the remote with your Firestick. If the issue continues, contact Amazon customer support for further assistance.
- Compatibility issues: If you experience compatibility issues between the recording app and your Firestick, ensure that both the app and the Firestick firmware are up to date. In some cases, certain apps may not be compatible with specific Firestick models; check the app’s compatibility requirements beforehand.
If you continue to experience issues with watching recorded shows on your Firestick despite following these troubleshooting tips, reach out to the app’s customer support or contact Amazon’s technical support for further assistance. They can provide specific guidance based on your device and app configuration.
By addressing common issues effectively, you can ensure a smooth and enjoyable viewing experience when watching recorded shows on your Firestick.