
Getting Started with Kodi on Xbox One
With Kodi’s wide range of media streaming capabilities and the versatility of Xbox One, combining the two opens up a world of entertainment possibilities. From movies and TV shows to music and live sports, Kodi on Xbox One provides a seamless and convenient way to access your favorite content.
Here are the steps to get started with Kodi on Xbox One:
- Ensure Your Xbox One is Updated: Before installing Kodi, make sure that your Xbox One is updated with the latest system software. This will ensure compatibility and a smooth installation process.
- Enable Unknown Sources on Xbox One: By default, Xbox One restricts the installation of apps from sources other than the Microsoft Store. To install Kodi, enable unknown sources by going to the settings menu, choosing the “System” tab, selecting “Developer options,” and enabling the “Allow apps from unknown sources” option.
- Install Kodi on Xbox One: Head over to the Microsoft Store on your Xbox One and search for “Kodi.” Click on the Kodi app and select “Install” to initiate the installation process. Once installed, you can find Kodi in your apps and pin it to your home screen for easy access.
- Add Add-ons and Repositories to Kodi: Kodi’s true power lies in its vast library of add-ons and repositories. These additional modules allow you to customize Kodi and stream content from various sources. Explore the available add-ons and repositories, and install the ones that cater to your specific content preferences.
- Configure Kodi on Xbox One: After installing add-ons, take some time to configure Kodi to optimize your experience. Set up your media sources, customize the interface, and adjust the settings according to your preferences. This will ensure that Kodi on Xbox One is personalized to your liking.
- Explore and Stream Content on Kodi: With Kodi set up on your Xbox One, you can now start exploring and streaming your favorite content. Whether you want to watch movies, catch up on TV shows, listen to music, or even access live sports, Kodi offers a user-friendly interface that makes it easy to navigate through your chosen add-ons and access the desired media.
By following these steps, you will have Kodi up and running on your Xbox One, allowing you to enjoy a wide variety of entertainment options.
Step 1: Ensure Your Xbox One is Updated
Before embarking on the installation of Kodi on your Xbox One, it’s crucial to ensure that your console is running the latest system software. Keeping your Xbox One up to date guarantees compatibility and a smooth installation process.
To check for updates and install them on your Xbox One, follow these steps:
- Power on your Xbox One: Turn on your Xbox One console and make sure it is connected to the internet.
- Navigate to the Settings menu: Press the Xbox button on your controller to bring up the guide. From there, scroll to the right until you reach the “Settings” tab.
- Select System: In the Settings menu, locate and select the “System” option. This will open up a range of settings related to your Xbox One’s system software.
- Check for updates: Within the System settings, you will find the “Updates & downloads” option. Click on it to access the update settings.
- Install updates: Your Xbox One will automatically check for available updates. If any updates are found, follow the on-screen prompts to download and install them. This may take some time, depending on the size of the update and your internet connection speed.
- Restart your Xbox One: Once the updates are installed, it is recommended to restart your console to ensure that the changes take effect properly. You can do this by going to the System settings, selecting the “Restart console” option, and confirming the restart.
By completing this step, you ensure that your Xbox One is running the latest software version, which prepares it for the smooth installation and operation of Kodi.
Step 2: Enable Unknown Sources on Xbox One
In order to install Kodi on your Xbox One, you’ll need to enable the option to install apps from unknown sources. By default, Xbox One only allows the installation of apps from the Microsoft Store. Enabling unknown sources will grant you the ability to install Kodi from an external source.
Here are the steps to enable unknown sources on your Xbox One:
- Open the Settings menu: Power on your Xbox One and navigate to the home screen. From there, scroll all the way to the right to access the Settings menu.
- Select the System tab: In the Settings menu, you’ll find various tabs at the top. Locate and select the “System” tab using your controller.
- Choose Developer options: Within the System tab, you’ll see several options. Scroll down and select “Developer options.”
- Enable unknown sources: In the Developer options, you’ll find the “Allow apps from unknown sources” option. Make sure this option is toggled ON. Enabling unknown sources will allow you to install apps that are not available in the Microsoft Store.
- Confirm your selection: Once you’ve enabled unknown sources, a warning message will appear informing you about the risks associated with installing apps from unknown sources. Review and acknowledge the risks, then proceed by selecting “Yes” to confirm your selection.
By following these steps, you’ve successfully enabled the installation of apps from unknown sources on your Xbox One. This paves the way for the installation of Kodi and other applications that enhance your entertainment experience.
Step 3: Install Kodi on Xbox One
Once you’ve enabled the option to install apps from unknown sources on your Xbox One, you’re ready to install Kodi. Kodi is available for download directly from the Microsoft Store, making the installation process simple and straightforward.
Follow these steps to install Kodi on your Xbox One:
- Power on your Xbox One: Ensure your console is turned on and connected to the internet.
- Access the Microsoft Store: From the home screen, scroll to the right to navigate to the Store tab.
- Search for Kodi: In the store, you can either browse the apps or use the search function to find specific apps. Type “Kodi” into the search bar and press enter.
- Select Kodi: The search results will display the Kodi app. Click on it to view more details.
- Initiate the installation: On the Kodi app page, click the “Install” button to begin the installation process. Wait for the download and installation to complete.
- Access Kodi: Once Kodi is installed, you can find it on your Xbox One’s home screen or in the “My Games & Apps” section. You can also pin it to your home screen for quick access.
With these steps completed, you now have Kodi installed on your Xbox One. This powerful media center app opens up a world of possibilities for streaming and enjoying your favorite content right from your console.
Step 4: Add Add-ons and Repositories to Kodi
One of the key features that sets Kodi apart is its extensive library of add-ons and repositories. These additional modules allow you to customize Kodi and expand its capabilities, giving you access to a wide range of content from various sources. By adding add-ons and repositories to Kodi on your Xbox One, you can enhance your streaming experience and access even more entertainment options.
Follow the steps below to add add-ons and repositories to Kodi:
- Launch Kodi: From your Xbox One’s home screen or app library, select the Kodi app to open it.
- Access the Add-ons section: In the Kodi interface, navigate to the “Add-ons” tab located in the main menu. Click on it to enter the Add-ons section.
- Select “Get Add-ons”: Within the Add-ons section, you’ll find various categories. Choose “Get Add-ons” to access the available add-ons and repositories.
- Explore the add-on categories: Browse through the different categories of add-ons, such as video add-ons, music add-ons, program add-ons, and more. Select the category that interests you to view the available options.
- Install the add-on or repository: Once you’ve found an add-on or repository that you want to install, click on it to open the details page. From there, you can choose to install the add-on or repository by selecting the “Install” button or by following the on-screen prompts.
- Configure the add-on: After installing an add-on or repository, take the time to configure it. Some add-ons may require additional settings or authentication to access their content. Follow the prompts or consult the add-on documentation for guidance on configuration.
- Enjoy the new add-ons: Once the installation and configuration are complete, you can find and use the new add-ons within the corresponding sections of Kodi. Explore the add-ons to discover new content and expand your streaming options.
By following these steps, you can easily add a variety of add-ons and repositories to Kodi on your Xbox One. This allows you to customize your entertainment experience and access a wide range of multimedia content.
Step 5: Configure Kodi on Xbox One
Configuring Kodi on your Xbox One is an essential step to optimize your streaming experience and tailor it to your specific preferences. By adjusting various settings and personalizing the interface, you can ensure that Kodi operates smoothly and matches your desired viewing preferences.
Follow these steps to configure Kodi on your Xbox One:
- Launch Kodi: From your home screen or app library on the Xbox One, select the Kodi app to open it.
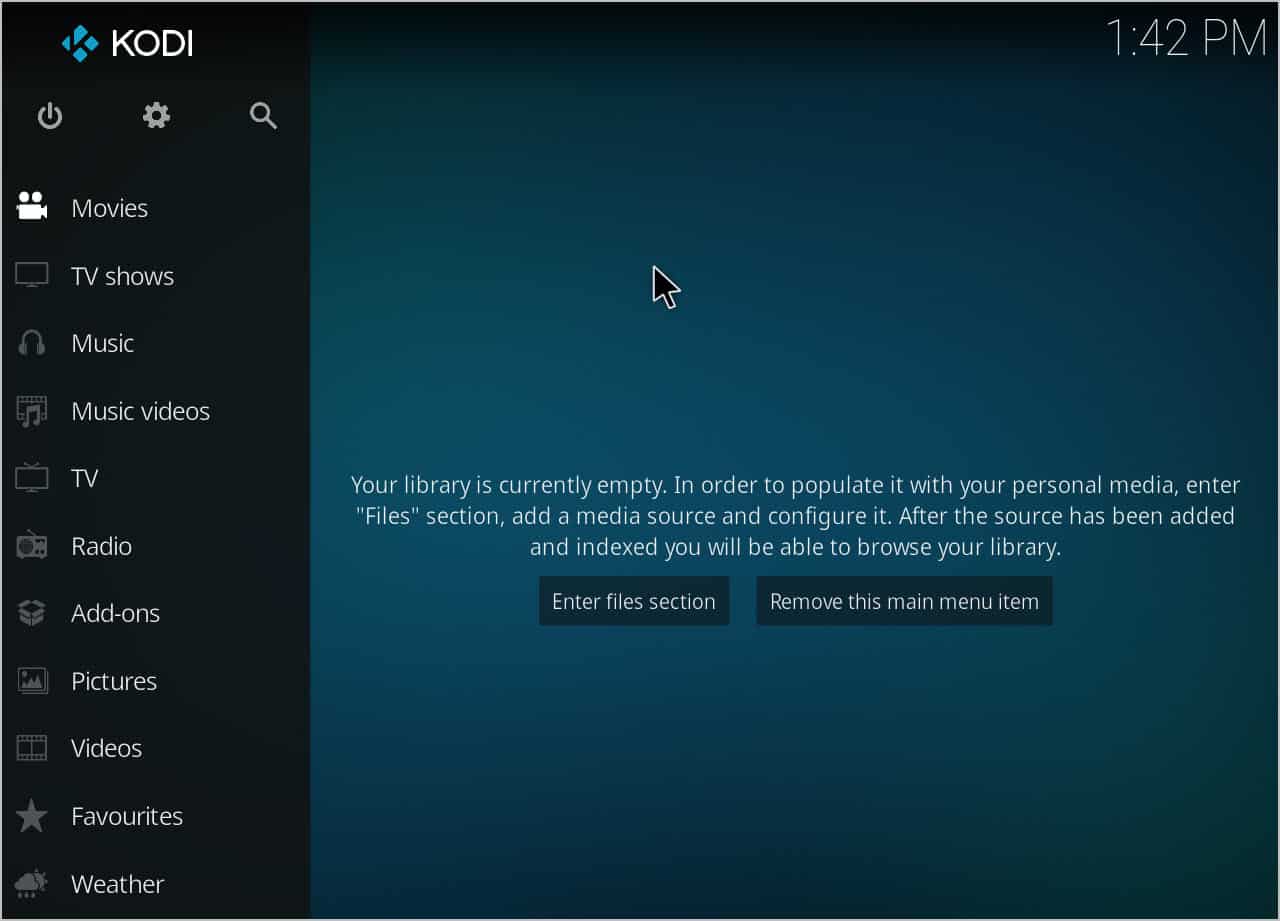
- Navigate to the Settings: In the Kodi interface, locate and click on the gear-shaped “Settings” icon, typically located at the top left or bottom left corner of the screen.
- Explore various settings: In the Kodi settings menu, you’ll find multiple categories, including Player Settings, Media Settings, Interface Settings, and more. Click on each category to explore the available options and customize Kodi to your liking.
- Set up media sources: Within the Media Settings or Library Options, you can specify the locations of your media files. Add your desired media sources, such as local folders or network shares, to ensure that Kodi can access and display your content.
- Customize the interface: In the Interface Settings, you can adjust the appearance and layout of Kodi to fit your preferences. This may include changing themes, modifying the home screen layout, or adjusting the colors and font sizes.
- Configure playback options: Visit the Player Settings to fine-tune the playback experience. You can adjust audio and video settings such as subtitles, audio passthrough, video upscaling, and more.
- Save your changes: After making any adjustments or configurations, make sure to save your changes before exiting the Settings menu. This ensures that your preferences are applied each time you access Kodi.
By following these steps and customizing the settings according to your preferences, you can optimize Kodi on your Xbox One for an enhanced streaming experience. Take your time to explore the various options and find the configuration that suits your needs best.
Step 6: Explore and Stream Content on Kodi
Now that Kodi is installed and configured on your Xbox One, it’s time to explore the vast array of content available and start streaming your favorite movies, TV shows, music, and more.
Here’s how you can explore and stream content on Kodi:
- Launch Kodi: Open the Kodi app on your Xbox One from the home screen or app library.
- Navigate through the main menu: Use your controller to navigate through the main menu options in Kodi. You’ll find sections for movies, TV shows, music, live TV, and more.
- Select a category: Choose the category that matches the type of content you want to stream. For example, if you want to watch a movie, select the “Movies” option.
- Browse through content: Within each category, you’ll find various options to browse through available content. Use the up, down, left, and right buttons on your controller to navigate through the content listings.
- Select the desired content: Once you find the content you want to stream, click on it to access more details, such as the title, description, and available playback options.
- Start streaming: Choose your preferred playback option, such as “Play,” “Resume,” or “Add to playlist,” and Kodi will start streaming the content on your Xbox One.
- Control playback: While streaming, you can use your controller or a compatible media remote to control the playback. Pause, resume, fast-forward, rewind, adjust volume, and perform other playback functions as needed.
With Kodi on your Xbox One, you have access to a wide range of content from various sources. Explore the different categories, browse through the available options, and enjoy streaming movies, TV shows, music, and more.
Troubleshooting Kodi on Xbox One
While Kodi on Xbox One is generally straightforward to set up and use, you may encounter occasional issues that can disrupt your streaming experience. However, many common problems can be easily resolved with a few troubleshooting steps. Here are some troubleshooting tips to help you overcome potential issues with Kodi on your Xbox One:
- No Sound or Audio Issues: If you are experiencing sound-related problems, ensure that your audio settings are correctly configured. Check both your Xbox One audio settings and the audio settings within Kodi. Also, verify that your TV or sound system is properly connected and functioning.
- Buffering or Streaming Problems: If you encounter buffering, stuttering, or slow streaming, it may be due to a weak internet connection. Check your network connection and ensure that your Xbox One is connected to a stable Wi-Fi or wired connection. You can also try reducing the video quality settings within Kodi to improve streaming performance.
- Add-on Issues: If specific add-ons or repositories are not functioning correctly, ensure that they are up-to-date. Some add-ons may require updates or have compatibility issues with certain versions of Kodi. You can check for updates within the add-on browser in Kodi and install any available updates to resolve issues.
- Crashing or Freezing: If Kodi on your Xbox One is frequently crashing or freezing, it could be caused by incompatible add-ons, corrupt files, or insufficient system resources. Try disabling recently installed add-ons and test if the issue persists. Clearing Kodi’s cache and ensuring that your Xbox One has enough available storage space can also help resolve these problems.
- Error Messages: Pay attention to any error messages displayed within Kodi. Error messages can provide valuable information about the issue at hand. Look up the specific error message online or consult community forums and Kodi support resources for guidance on how to address the specific error.
- Restart or Reinstall Kodi: If all else fails, try restarting your Xbox One and relaunching Kodi. In some cases, a simple restart can resolve certain issues. If problems persist, you may consider uninstalling and reinstalling Kodi on your Xbox One as a last resort.
By following these troubleshooting tips, you can address common issues that may arise when using Kodi on your Xbox One. Remember to check for updates, adjust settings, and seek assistance from community forums or Kodi support resources when needed.