
Check for Immediate Damage
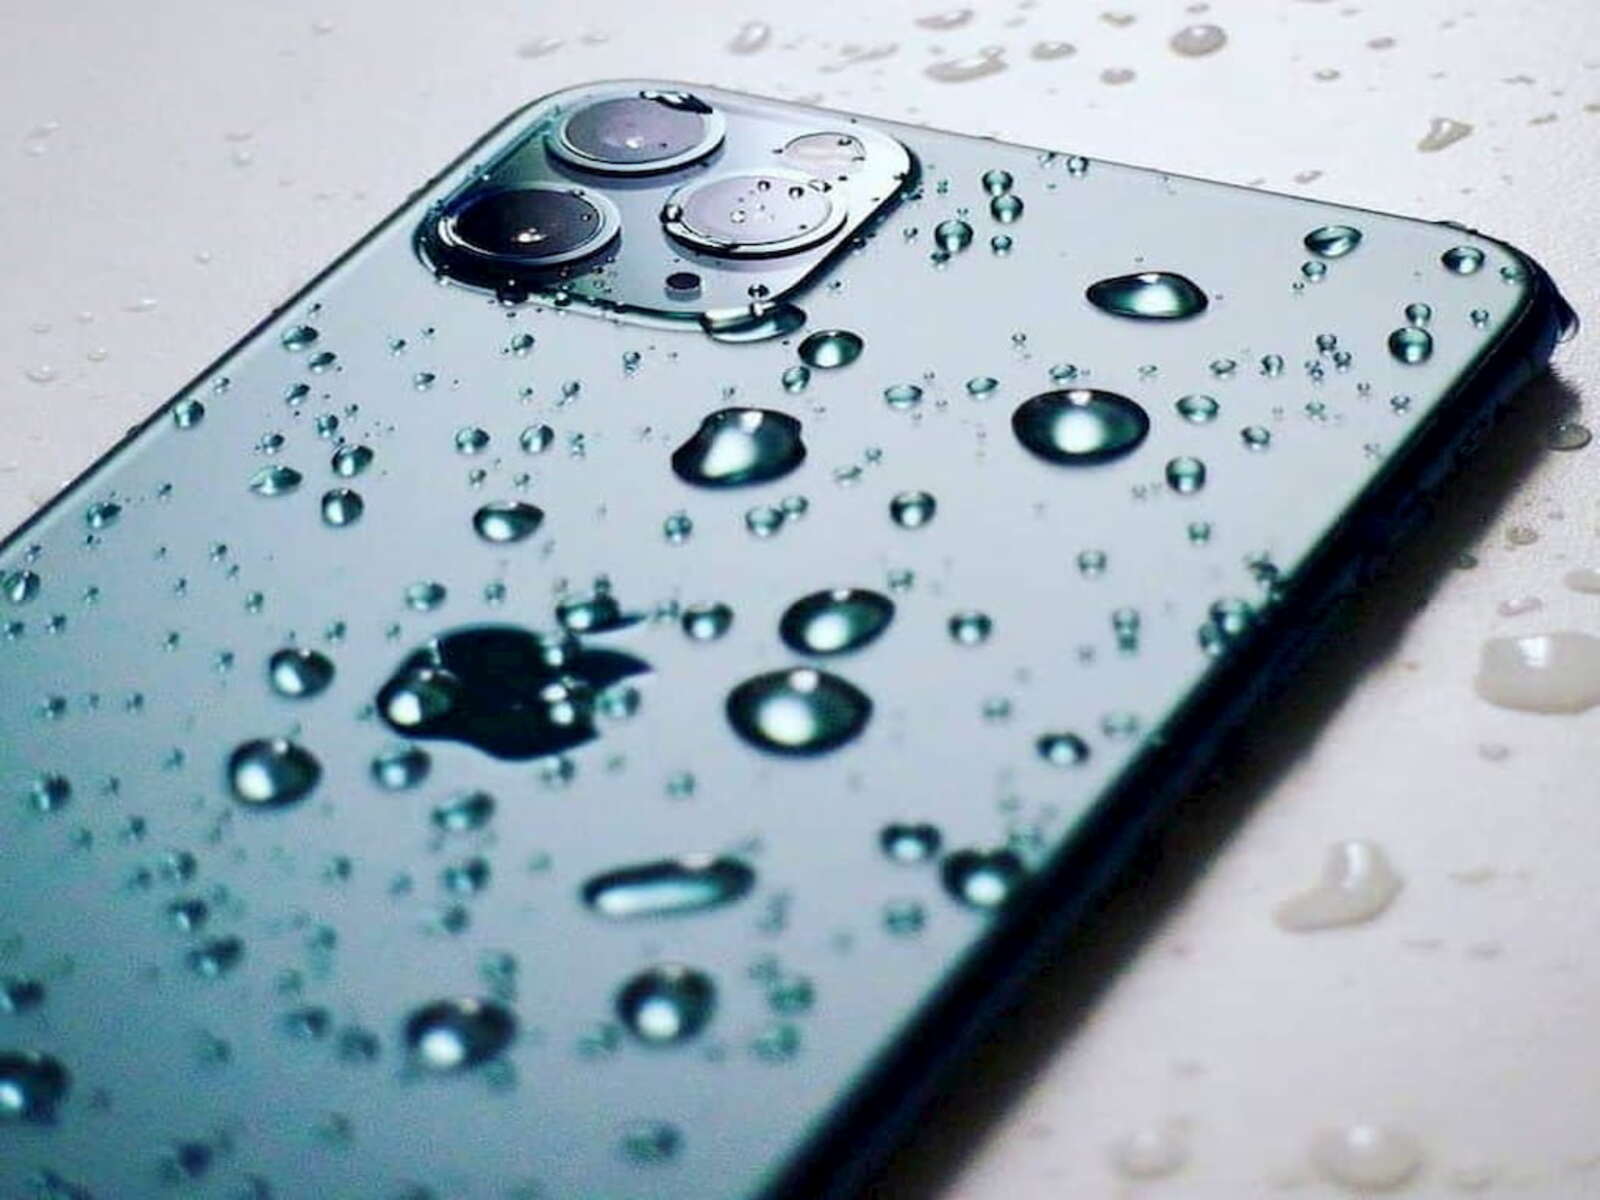
Accidentally dropping your phone in water can be a panic-inducing moment. However, it’s essential to stay calm and take immediate action to prevent further damage. The first step is to carefully examine your phone for any signs of immediate damage. Look for cracks, water seepage, or a non-responsive touchscreen. If you notice any of these issues, unfortunately, your phone may have suffered significant damage and require professional assistance.
On the other hand, if your phone appears to be undamaged, it doesn’t mean you’re in the clear just yet. Water can still infiltrate the internal components and cause long-term issues. Therefore, it’s crucial to proceed with the necessary steps to ensure the best chances of recovery.
One primary indicator of water damage is the presence of water in the charging port, headphone jack, or SIM card slot. If you see any water droplets or moisture in these areas, it’s a clear sign that your phone has been affected. In this case, you will need to follow the steps outlined below to salvage your device.
Remember, time is of the essence, and the longer your phone stays submerged in water, the higher the chances of irreparable damage. So, without delay, let’s move on to the next steps to salvage your water-damaged phone.
Turn Off Your Phone
After discovering that your phone has come into contact with water, the first crucial step is to turn it off immediately. Continuing to use a wet phone can cause short circuits, which may lead to irreversible damage. To turn off your phone, press and hold the power button until you see the power options on your screen. Then, select the “Power off” or “Shutdown” option.
If your phone is already unresponsive, and you cannot power it off using the normal method, do not panic. Instead, follow these steps to force a shutdown:
- Press and hold the power button and volume down button simultaneously for about 10 to 15 seconds.
- If your phone has a physical home button, press and hold the power button and the home button together for the same duration.
- Release the buttons when the phone powers off or vibrates, indicating a shutdown.
By turning off your phone, you minimize the risk of electrical currents flowing through the circuits and causing further damage. It also helps to prevent any potential short-circuits that could occur if the water reaches the internal components.
Please note that if your phone is already powered off when you discover the water damage, do not attempt to turn it back on. Proceed to the next steps to increase the chances of successful recovery.
Remove the SIM Card and Memory Card
After turning off your phone, the next step is to remove the SIM card and memory card, if applicable. These removable components can store valuable data and may need to be transferred to a different device for safekeeping or continued use. Additionally, removing these cards allows for better air circulation and drying of the phone’s internals.
To remove the SIM card, locate the SIM card tray on your phone. This is usually found on the side or top of the device, depending on the model. Use a SIM card ejector tool or a small paperclip to gently push into the tiny hole next to the tray. Apply slight pressure until the tray pops out. Take out the SIM card and set it aside.
If your phone has a memory card slot, locate it and gently push the card inwards to release it from the slot. Carefully remove the memory card from the phone and keep it in a safe place.
By removing these cards, you not only protect your data from potential water damage but also make the drying process more effective. It’s important to note that if your phone doesn’t have a removable memory card slot, skip this step and move on to the next one.
Now that you have successfully removed the SIM card and memory card, let’s proceed to the next steps to help dry out your phone and potentially save it from water damage.
Dry the Exterior
Once you’ve turned off your phone and removed the SIM card and memory card, the next step is to dry the exterior of your device. This helps to remove any excess water on the surface, reducing the risk of liquid seeping further into the internal components.
Start by gently wiping the phone with a soft, lint-free cloth or towel. Ensure that you pay attention to areas such as the screen, buttons, and ports where water can accumulate. Be careful not to rub too hard, as excessive force may push water deeper into the phone.
If your phone has a removable back cover, remove it and inspect the battery and battery compartment for any signs of moisture. If you notice water droplets or dampness, gently wipe them using a soft cloth.
Avoid using heat sources like hairdryers, as they can potentially damage the phone’s internal components. Heat can also cause rapid evaporation, leading to a buildup of moisture inside the device. Similarly, do not use compressed air, as it may force water deeper into the phone or damage delicate parts.
Remember to exercise caution while drying the exterior. A gentle and thorough approach will ensure that excess water is removed, giving your phone a better chance of recovery. Once the exterior is dry, you can proceed to the next steps to further dry out your water-damaged phone.
Use Rice or Silica Gel Packets
One of the most popular methods to remove moisture from a water-damaged phone is by using rice or silica gel packets. Both of these materials have the ability to absorb excess humidity, helping to dry out your device.
If you choose to use rice, place your phone in a sealable bag or container and completely cover it with uncooked rice. Rice acts as a desiccant and absorbs moisture from its surroundings. Leave your phone submerged in the rice for at least 24 to 48 hours to allow the rice to absorb the moisture from your device.
Alternatively, you can use silica gel packets if you happen to have any. These small packets contain silica gel, which is a highly effective moisture absorber. Place your phone and several silica gel packets in an airtight container or bag. Ensure that the packets are in contact with the phone, but avoid direct contact with the phone’s surface. Leave your device sealed with the silica gel packets for 24 to 48 hours.
Both rice and silica gel work by creating a low humidity environment, which encourages the evaporation of the remaining moisture inside your phone. However, it’s important to note that this method may not guarantee a full recovery, especially if the water damage is extensive. It’s merely a proactive approach to increasing the chances of saving your device.
After the recommended time has passed, carefully remove your phone from the rice or silica gel and proceed to the next steps to assess its condition and further dry out any remaining moisture.
Avoid Heat Sources and Direct Sunlight
While it may be tempting to speed up the drying process by exposing your water-damaged phone to heat sources or direct sunlight, it’s crucial to resist that urge. Heat can potentially cause more harm than good and further damage the internal components of your device.
Exposing your phone to high temperatures, such as placing it near a heater, using a hairdryer, or leaving it under direct sunlight, can lead to complications. Excessive heat can cause delicate components to expand and contract rapidly, potentially causing permanent damage or warping of the internal circuitry.
Furthermore, direct sunlight can also increase the temperature of your phone, prolonging the drying process and potentially creating additional problems. It’s important to keep your phone away from any heat sources and in a cool, dry place to avoid any further harm.
Instead, focus on providing a controlled and moderate environment for drying. Stick to the rice or silica gel method mentioned earlier, as they create a gentle and low-humidity environment that encourages natural evaporation. By allowing your phone to dry slowly and naturally, you give it the best chance of recovering from water damage.
By avoiding heat sources and direct sunlight, you minimize the risk of causing further damage to your phone. With patience and the right conditions, the drying process can be effective, increasing the chances of saving your water-damaged device. After ensuring you’re following the proper drying methods, proceed to the next steps to remove any remaining moisture and potentially revive your phone.
Remove Excess Moisture
Even after the initial drying steps, there may still be some residual moisture inside your water-damaged phone. To increase the chances of restoring your device, it’s crucial to remove any remaining moisture. Below are a few additional steps you can take to accomplish this:
1. Shake the phone gently: Holding your phone securely, give it a gentle shake to help dislodge any water droplets that may be trapped inside. Be careful not to shake it too forcefully, as you could potentially cause more damage.
2. Use a vacuum cleaner: If your phone has a removable cover and battery, you can use a small brush attachment on a vacuum cleaner to draw out moisture from the openings and crevices of your device. Ensure that the vacuum cleaner is set to a low suction power to avoid damaging any delicate components.
3. Pat dry with a clean cloth: Take a clean, soft cloth or towel and gently pat dry the exterior of your phone. Pay attention to the ports and crevices where moisture might be trapped. Avoid rubbing the phone too harshly, as this could push water further inside.
4. Use desiccant packs: If you have access to desiccant packs or moisture-absorbing materials like silica gel, place them in a bag with your phone and seal it tightly. Allow the moisture-absorbing properties of the packs to draw out any remaining dampness. Leave the phone with the desiccant packs for a few hours or overnight.
By taking these extra steps to remove excess moisture, you’re further minimizing the risk of corrosion and potential damage to the internal components of your phone. Once you’ve completed these steps, move on to the next section to allow your phone to thoroughly dry before attempting to power it on.
Leave the Phone to Dry
After removing excess moisture from your water-damaged phone, it’s important to give it sufficient time to dry completely. Leaving your phone undisturbed in a dry environment allows any remaining moisture to evaporate naturally, reducing the risk of further damage and increasing the chances of successful recovery.
Find a well-ventilated area with low humidity to place your phone. Ideally, you can use a clean and dry surface or a drying rack. Avoid placing it on surfaces that may retain moisture, such as a bathroom countertop or kitchen sink. Additionally, keep the phone away from any potential water sources to prevent accidental re-exposure.
It’s recommended to leave your phone to dry for at least 24 to 48 hours. The exact drying time may vary depending on factors such as the severity of the water damage, environmental conditions, and the specific model of your device. Patience is crucial during this stage, as rushing the process may lead to further complications.
To aid the drying process, you can place your phone near a fan or use a gentle, indirect source of airflow. However, ensure that the fan or airflow is not directly blowing onto the phone, as this can introduce dust particles or increase the risk of liquid getting into delicate components.
During the drying period, it’s important to resist the urge to power on your phone. Turning it on before it has fully dried can potentially cause short circuits and further damage. It’s recommended to wait until you are confident that your phone is completely dry before attempting to power it on.
By allowing your phone to thoroughly dry in a controlled environment, you give it the best chance of recovering from water damage. Once the recommended drying time has passed, you can move on to the next section to test your phone and assess its functionality.
Test the Phone
After the drying period, it’s time to put your water-damaged phone to the test. Testing the phone will help you assess its functionality and determine if it has fully recovered from the water damage. Here are some steps to follow during the testing phase:
1. Reassemble the phone: If you had removed any parts such as the battery or back cover, carefully reassemble them according to your device’s instructions. Ensure that all connections are secure.
2. Power on the phone: Press and hold the power button to turn on your device. Observe if it powers on smoothly without any issues. If your phone does not turn on or exhibits unusual behavior, such as continuous restarting or freezing, it may indicate unresolved water damage.
3. Test the buttons and touchscreen: Check if all the physical buttons on your phone, such as the volume buttons and home button, are functioning correctly. Also, test the touchscreen to see if it is responsive and accurate. If any buttons or the touchscreen are not working properly, further drying or professional assistance may be necessary.
4. Check audio and speakers: Make a test call and check if you can hear the caller and they can hear you clearly. Play music or audio to test the speakers. If the sound is distorted, muffled, or non-existent, there may still be water damage inside the phone.
5. Verify connectivity: Test the Wi-Fi, Bluetooth, and cellular network connectivity to ensure they are functioning correctly. Check if you can make calls, send messages, and connect to the internet without any issues.
If your phone passes all these tests and functions as expected, congratulations! It has successfully recovered from the water damage. However, even if your phone appears to be working fine initially, there is still a possibility of long-term effects due to the water exposure. Be vigilant and keep an eye out for any abnormal behavior or functionality in the coming days.
If your phone fails any of the tests or shows persistent issues, even after the drying process, it’s recommended to seek professional help from a certified technician or contact the phone’s manufacturer for further assistance.
Remember that water damage can be unpredictable, and not all phones can be fully restored. By conducting thorough testing, you can make an informed decision on whether to continue using the device or explore other options for repair or replacement.
Avoid Future Water Damage
Experiencing water damage with your phone can be a stressful and costly ordeal. Fortunately, there are preventive measures you can take to minimize the risk of future water damage. By following these precautions, you can protect your phone from potential accidents and ensure its longevity:
1. Invest in a waterproof case: Consider purchasing a waterproof case that fits your phone model. These cases provide an extra layer of protection against water and can prevent damage from accidental spills or drops in water.
2. Use a waterproof pouch: When going near water or engaging in activities where your phone might be exposed to moisture, such as swimming or boating, use a waterproof pouch or bag. These pouches create a barrier that keeps water out and still allows you to use and operate your phone.
3. Be cautious in wet environments: Avoid using your phone near bodies of water, such as pools, lakes, or the beach. It’s also important to protect your phone from moisture in humid environments, like steamy bathrooms or saunas.
4. Keep liquids away: Keep your phone away from any liquids, including drinks, water bottles, or sinks. Accidental spills can happen, so it’s best to maintain a safe distance to avoid any potential damage.
5. Regularly check for wear and tear: Inspect your phone for any cracks, loose seals, or damaged parts that could potentially allow water to seep in. If you notice any issues, promptly repair or replace the affected components to maintain water resistance.
6. Backup your data: Regularly back up your phone’s data to prevent loss in case of water damage or any other unexpected incidents. This ensures that your important files, photos, and contacts are safely stored elsewhere.
By following these preventive measures, you can significantly reduce the risk of water damage to your phone. Remember that prevention is always better than dealing with the consequences of water damage. Taking these precautions will help extend the lifespan of your phone and save you from unnecessary expenses and stress in the future.