
Checking Compatibility
Before attempting to use your iPhone headset microphone on your PC, it’s important to ensure that the two devices are compatible. The compatibility of the iPhone headset with your PC will depend on various factors, including the type of headset you have and the specific ports available on your computer. Here’s how you can check the compatibility of your iPhone headset with your PC:
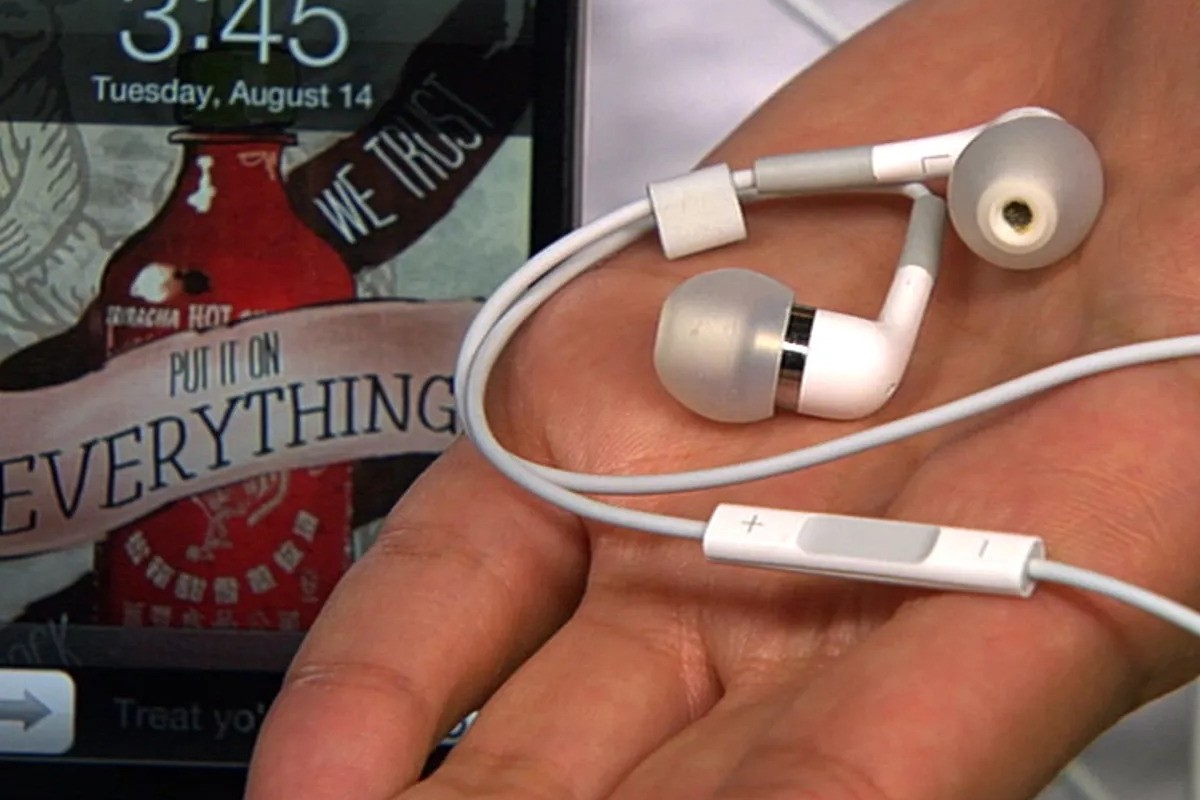
- Headset Type: First, determine the type of iPhone headset you have. If you have the standard wired EarPods or a Lightning connector headset, you can proceed with the following steps. However, if you have a Bluetooth headset, your PC will need to have Bluetooth capability for the two devices to connect wirelessly.
- PC Ports: Check the available ports on your PC. If your iPhone headset has a standard 3.5mm headphone jack, ensure that your computer has a corresponding audio input/output port. Some PCs may have separate ports for audio input and output, so it’s essential to identify the correct port for your headset.
- Adapter Compatibility: If your PC doesn’t have a 3.5mm audio jack or if your headset has a Lightning connector and your PC only has USB ports, you may need an adapter to connect the two devices. Ensure that the adapter is compatible with both your iPhone headset and your PC before proceeding.
By checking the compatibility of your iPhone headset and your PC, you can determine whether the necessary physical connections can be established. Once you’ve confirmed compatibility, you can proceed with connecting your iPhone headset to your PC and adjusting the settings to enable the microphone functionality.
Connecting Your iPhone Headset to Your PC
Once you have confirmed the compatibility of your iPhone headset with your PC, you can proceed with connecting the two devices. The process may vary depending on the type of iPhone headset you have and the available ports on your computer. Below are the steps to connect your iPhone headset to your PC:
- Wired Headset Connection: If you have the standard wired EarPods with a 3.5mm headphone jack, simply insert the headphone plug into the audio output port on your PC. For a headset with a Lightning connector, you may need an appropriate adapter to connect it to a USB port on your computer.
- Bluetooth Connection: If you have a Bluetooth-enabled iPhone headset, ensure that Bluetooth is enabled on your PC. Then, follow the pairing instructions for your specific headset model to establish a wireless connection between the iPhone headset and your computer.
- Adapter Usage: If you require an adapter to connect your iPhone headset to your PC, carefully follow the manufacturer’s instructions for using the adapter. Ensure that the adapter is securely connected to both the headset and the PC to facilitate proper functionality.
By successfully connecting your iPhone headset to your PC, you establish the physical link necessary for the two devices to communicate. Once the connection is established, you can proceed to adjust the settings on your PC to enable the microphone functionality of your iPhone headset.
Adjusting Settings on Your PC
After connecting your iPhone headset to your PC, it’s essential to configure the settings on your computer to recognize and utilize the headset’s microphone. Depending on your operating system and audio settings, the steps to adjust the settings may vary. Here’s how you can adjust the settings on your PC to enable the microphone functionality of your iPhone headset:
- Accessing Sound Settings: Navigate to the sound settings on your PC. This can usually be done by right-clicking the speaker icon in the taskbar and selecting “Open Sound settings” or a similar option based on your operating system.
- Selecting Input Device: Once in the sound settings, locate the input or recording tab. Here, you should see a list of available input devices. Choose your iPhone headset as the default input device to ensure that the PC recognizes the headset’s microphone.
- Adjusting Levels: After selecting the iPhone headset as the input device, you may need to adjust the input volume levels to optimize the microphone’s performance. Test the microphone by speaking into it and monitoring the input level indicators to ensure that it’s capturing sound effectively.
- Enabling Microphone Access: In some cases, you may need to grant microphone access to specific apps or programs on your PC. Check the privacy settings and app permissions to ensure that the microphone of your iPhone headset is allowed to be used by the applications you intend to use it with.
By adjusting the settings on your PC to recognize and utilize the microphone of your iPhone headset, you ensure that the headset’s audio input is properly configured for use in various applications and communication purposes. Once the settings are adjusted, you can proceed to test the microphone to verify its functionality.
Testing the Microphone
Once you have connected your iPhone headset to your PC and adjusted the necessary settings, it’s crucial to test the microphone to ensure that it’s functioning as expected. Testing the microphone allows you to verify the audio input quality and confirm that the PC is receiving sound from the headset. Here’s how you can test the microphone of your iPhone headset on your PC:
- Using Built-in Apps: Many operating systems have built-in apps or utilities that allow you to test the microphone. For example, Windows has the “Voice Recorder” app, while macOS has the “Voice Memos” app. Open the relevant app and record a short audio clip while speaking into the microphone of your iPhone headset.
- Online Microphone Test: There are various websites that offer online microphone tests, allowing you to check the functionality of your microphone through a web browser. These tests typically involve speaking into the microphone, and the website provides feedback on the audio input levels and quality.
- Communication Apps: Use communication or conferencing apps such as Skype, Zoom, or Microsoft Teams to make a test call or join a test meeting. During the call or meeting setup, you can configure the audio settings to ensure that the microphone input is coming from your iPhone headset.
- Sound Recognition: Speak into the microphone and observe the sound recognition indicators on your PC. These indicators may include visual level meters or input level bars that show the intensity of the sound being captured by the microphone.
By testing the microphone of your iPhone headset on your PC, you can confirm that the audio input is clear and that the PC is effectively receiving sound from the headset. If the microphone test is successful, you can proceed to use the headset for various communication, recording, or voice input purposes on your PC.
Troubleshooting Common Issues
While connecting and using your iPhone headset microphone on your PC, you may encounter common issues that can affect its functionality. Understanding and addressing these issues can help ensure a seamless experience when utilizing the headset for audio input. Here are some common issues and troubleshooting steps:
- No Sound Input: If your PC does not detect any sound input from the iPhone headset’s microphone, check the connection to ensure that the headset is securely plugged in. Additionally, verify that the microphone is selected as the default input device in the sound settings on your PC.
- Low Volume or Muffled Sound: If the microphone input is low or the sound appears muffled, adjust the input volume levels in the sound settings on your PC. Ensure that the microphone port or adapter is free from debris or obstructions that could affect sound quality.
- Interference or Distortion: If you experience interference or distortion in the microphone input, move away from potential sources of electromagnetic interference, such as other electronic devices or power sources. Additionally, try using the headset in a different location to rule out environmental factors.
- Driver Compatibility: In some cases, your PC may require specific drivers to fully support the microphone functionality of the iPhone headset. Check for driver updates for your audio hardware or the headset itself to ensure compatibility with your operating system.
- App-Specific Issues: Certain apps or programs may have unique settings or permissions related to microphone usage. Verify that the app you are using has access to the microphone and that the microphone input is correctly configured within the app’s settings.
- Hardware Damage: If none of the troubleshooting steps resolve the issues, inspect the headset for any physical damage or wear that could affect its functionality. Consider testing the headset on another device to determine if the issues are specific to the PC.
By troubleshooting common issues related to using your iPhone headset microphone on your PC, you can address potential obstacles that may impact the headset’s performance. Implementing these troubleshooting steps can help you identify and resolve issues, ensuring that the microphone functions optimally for your audio input needs.