
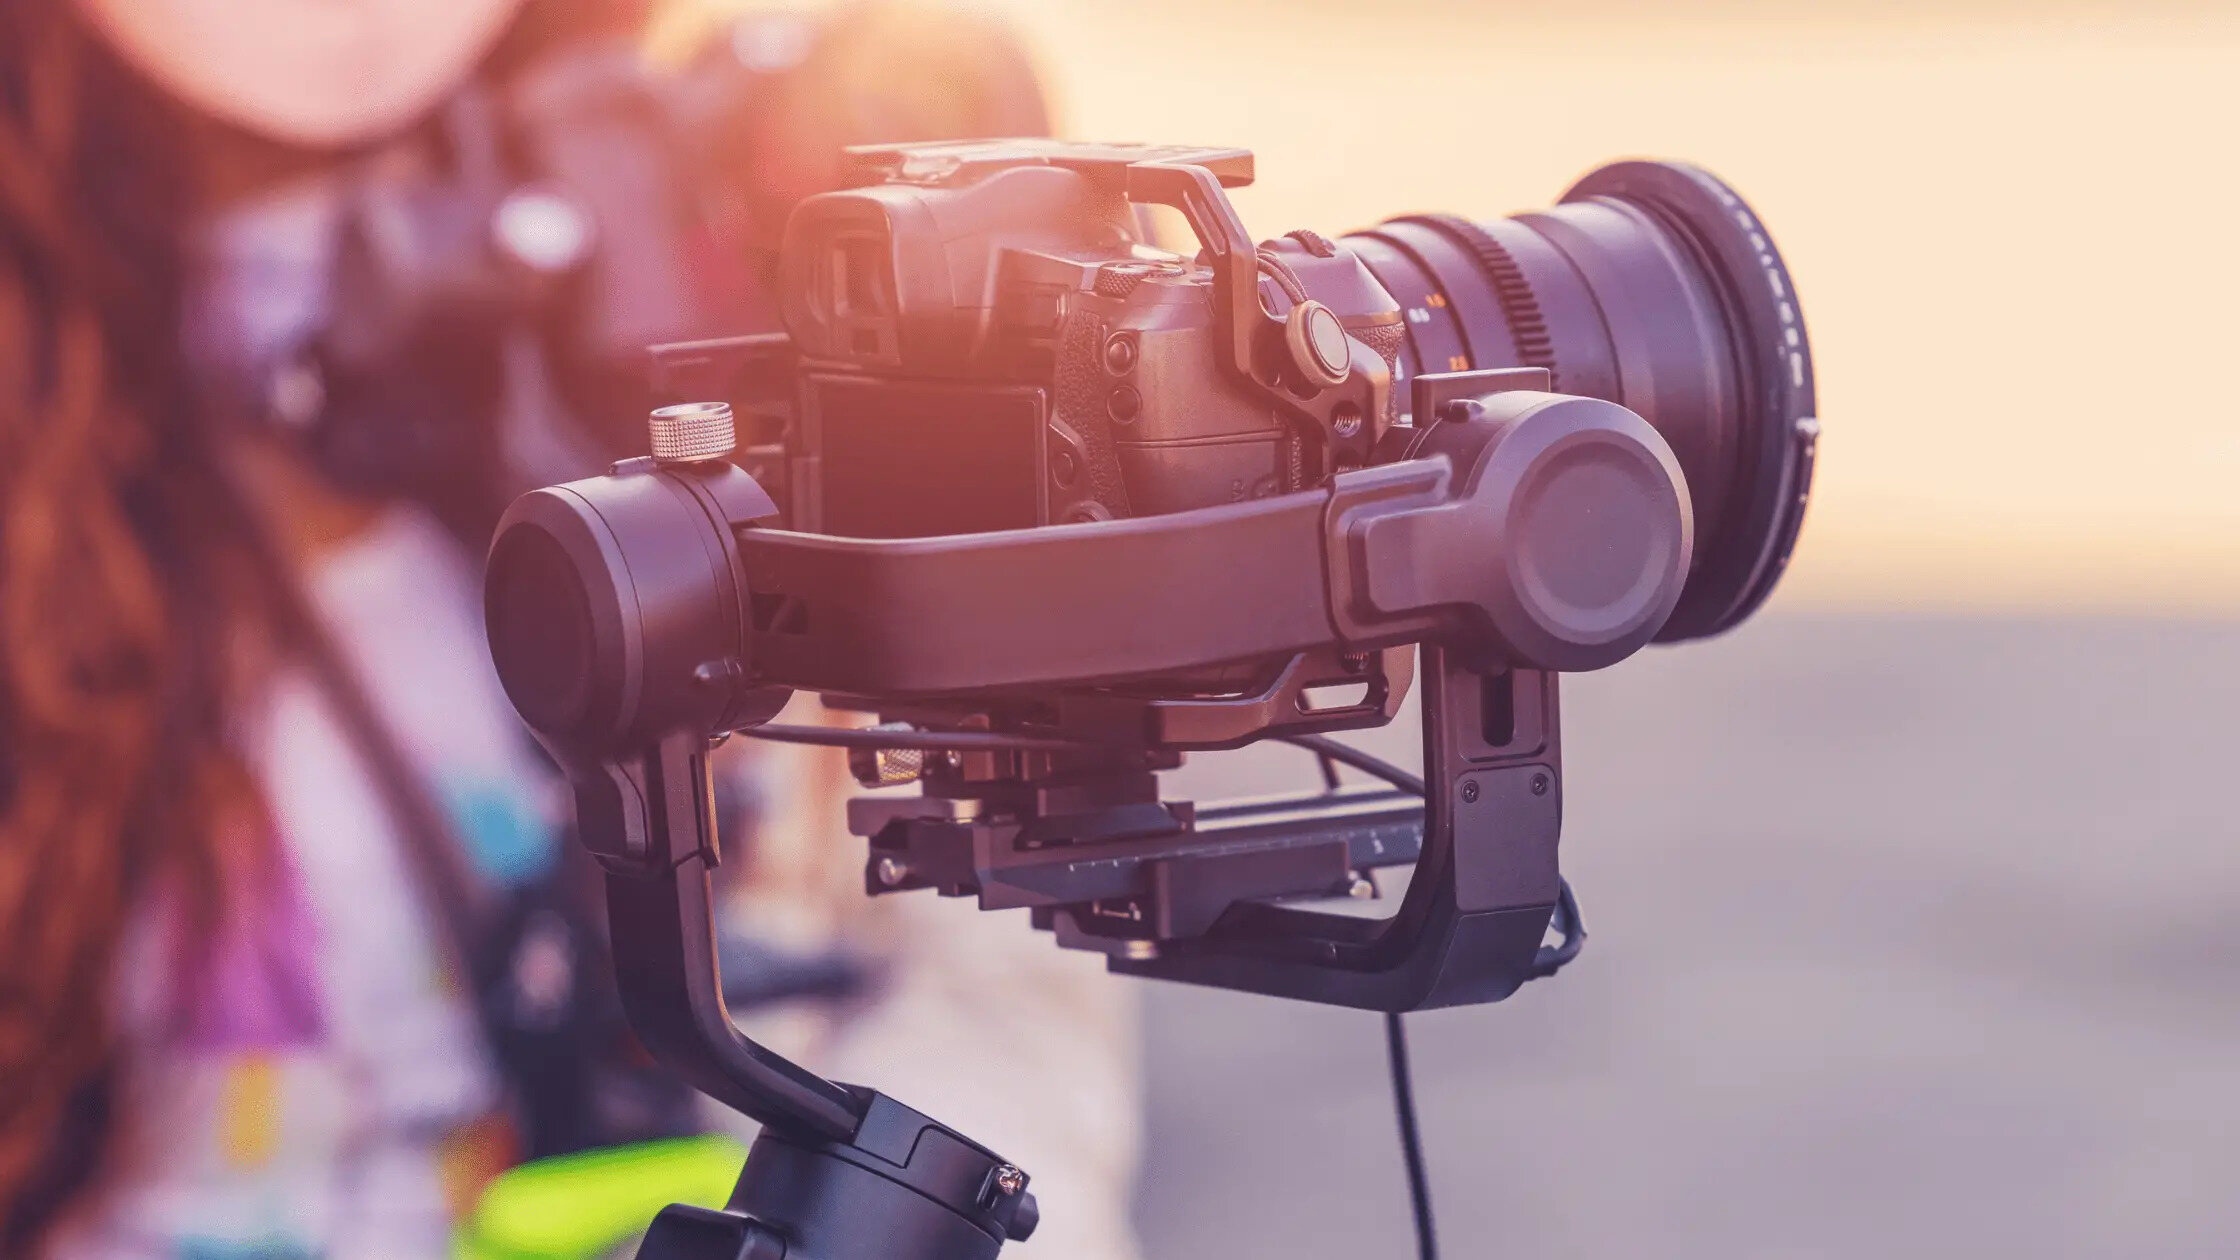
Common Causes of Shaking
When your gimbal starts shaking unexpectedly, it can be frustrating and disruptive to your filming or photography. Understanding the common causes of this issue can help you troubleshoot and resolve it effectively.
- Imbalanced Payload: One of the most frequent causes of shaking in a gimbal is an imbalanced payload. If the weight distribution of your camera and lens is not properly adjusted, the gimbal may struggle to stabilize the setup, resulting in unwanted vibrations and shaking.
- Loose Connections: Another potential culprit is loose connections between the gimbal and the camera. Vibrations from movement or handling can exacerbate this issue, leading to shaking during operation.
- Outdated Firmware: Obsolete firmware can also contribute to shaking problems. Ensuring that your gimbal’s firmware is up to date is crucial for optimal performance and stability.
- Motor Strength Settings: Inadequate or excessive motor strength settings can cause shaking. Finding the right balance in motor power is essential for smooth operation.
- Physical Damage: Damage to the gimbal or its components, whether visible or internal, can lead to shaking. Regularly inspecting your equipment for signs of wear and tear is essential for preventing this issue.
By familiarizing yourself with these common causes, you can take proactive measures to address shaking problems with your gimbal and ensure that your filming and photography endeavors proceed smoothly.
Balancing Your Gimbal Properly
Properly balancing your gimbal is a fundamental step in preventing shaking issues and optimizing its performance. Follow these essential guidelines to ensure that your gimbal is balanced effectively:
- Mounting the Camera: Begin by securely mounting your camera onto the gimbal, ensuring that it is centered and stable. Proper alignment is crucial for achieving balance.
- Adjusting the Roll Axis: Next, adjust the roll axis to ensure that the camera remains level when the gimbal is powered on. This step is essential for stabilizing your shots and minimizing shaking.
- Setting the Tilt Axis: Properly setting the tilt axis helps distribute the weight of the camera and lens evenly, contributing to improved balance and stability during operation.
- Calibrating the Pan Axis: Calibrating the pan axis ensures that the gimbal responds accurately to horizontal movements, enhancing its overall stability and reducing the likelihood of shaking.
- Testing and Fine-Tuning: After making initial adjustments, thoroughly test the gimbal’s balance and make fine-tuning adjustments as needed. This iterative process is essential for achieving optimal balance and minimizing shaking.
By meticulously balancing your gimbal according to these guidelines, you can significantly reduce the risk of shaking during operation, allowing you to capture smooth, professional-quality footage with confidence.
Checking for Loose Connections
Loose connections between your camera and the gimbal can be a common cause of shaking during operation. Conducting thorough checks for any loose or insecure connections is essential for troubleshooting and resolving this issue effectively.
Begin by examining the physical connection points between the camera and the gimbal. Ensure that the mounting plate or bracket securely holds the camera in place, minimizing any potential movement or instability. Additionally, inspect the cable connections, including the power and data cables, to verify that they are firmly plugged in and free from damage.
During this inspection, pay close attention to any signs of wear or fraying on the cables, as these issues can lead to intermittent connections and unwanted vibrations. If any cables show signs of damage, it is crucial to replace them promptly to maintain the integrity of the connections and prevent shaking during gimbal operation.
Once you have visually inspected the connections, gently wiggle the cables and mounting points to check for any excessive play or movement. Any noticeable looseness should be addressed immediately to ensure a secure and stable connection between the camera and the gimbal.
By diligently checking for and addressing any loose connections, you can minimize the risk of shaking and instability in your gimbal setup, allowing you to focus on capturing smooth, professional-quality footage without disruptions.
Calibrating Your Gimbal
Calibrating your gimbal is a crucial step in addressing shaking issues and ensuring its optimal performance. Proper calibration helps the gimbal accurately interpret and respond to movements, contributing to smooth and stable operation. Follow these essential steps to calibrate your gimbal effectively:
- Level Calibration: Begin by ensuring that the gimbal is placed on a flat and stable surface. Initiate the level calibration process according to the manufacturer’s instructions, allowing the gimbal to establish a level reference for accurate stabilization.
- Axis Calibration: Proceed to calibrate each axis of the gimbal, including the pan, tilt, and roll axes. This process fine-tunes the gimbal’s responsiveness to movements along each axis, promoting precise and stable operation.
- Auto-Tune Function: Some advanced gimbals offer an auto-tune function, which automatically adjusts various parameters based on the specific payload and environmental conditions. Utilize this feature if available to optimize the gimbal’s performance for your particular setup.
- Testing and Adjustment: After completing the calibration process, thoroughly test the gimbal’s performance in different scenarios and shooting conditions. Make any necessary adjustments to the calibration settings based on the observed behavior of the gimbal.
By diligently calibrating your gimbal according to these guidelines, you can enhance its stability and responsiveness, effectively minimizing shaking and ensuring that your footage is consistently smooth and professional-looking.
Updating Firmware
Keeping your gimbal’s firmware up to date is essential for addressing shaking issues and maintaining optimal performance. Firmware updates often include bug fixes, stability improvements, and new features that can directly impact the gimbal’s functionality. Follow these steps to ensure that your gimbal’s firmware is updated:
- Check for Updates: Regularly visit the manufacturer’s website or utilize the dedicated mobile app to check for available firmware updates for your gimbal model. Manufacturers frequently release updates to address performance issues and enhance stability.
- Review Release Notes: Before initiating the update process, carefully review the release notes accompanying the firmware update. These notes often detail the specific improvements and fixes included in the update, giving you insight into how it may address shaking or stability issues.
- Backup Settings: If your gimbal allows for custom settings and profiles, consider backing up these configurations before performing the firmware update. This precaution ensures that your personalized settings are preserved in case the update resets the gimbal’s parameters.
- Follow Update Instructions: Adhere to the manufacturer’s instructions for updating the firmware, whether it involves connecting the gimbal to a computer or using a mobile app. Ensure that the update process is uninterrupted and follow any prompts or on-screen instructions carefully.
- Test and Verify: After completing the firmware update, thoroughly test the gimbal in various shooting scenarios to verify its stability and performance. If shaking issues persist, consider contacting customer support for further assistance.
By proactively updating your gimbal’s firmware and staying current with the latest software releases, you can leverage performance improvements and bug fixes to mitigate shaking issues and maintain the stability of your gimbal during operation.
Adjusting Motor Strength
Optimizing the motor strength settings of your gimbal can significantly impact its stability and ability to mitigate shaking during operation. Understanding how to adjust the motor strength according to your specific shooting conditions and equipment is essential for achieving smooth and steady footage. Follow these steps to effectively adjust the motor strength settings of your gimbal:
- Assess Payload Weight: Consider the combined weight of your camera, lens, and any additional accessories mounted on the gimbal. Heavier payloads may require higher motor strength settings to maintain stability, while lighter setups may benefit from reduced motor power to prevent overshooting and shaking.
- Consult User Manual: Refer to the user manual or documentation provided by the gimbal manufacturer for guidance on adjusting motor strength settings. The manual often includes recommended settings based on different payload weights and shooting scenarios.
- Gradual Adjustment: Make incremental adjustments to the motor strength settings, testing the gimbal’s performance after each change. This iterative approach allows you to find the optimal balance of motor power to minimize shaking without compromising responsiveness.
- Observe Performance: Pay close attention to the gimbal’s behavior during movements and changes in direction. If you notice excessive vibration or shaking, consider reducing the motor strength slightly to achieve smoother operation.
- Dynamic Shooting Conditions: When shooting in dynamic environments or engaging in rapid movements, such as tracking fast subjects or panning quickly, adjusting the motor strength to suit the specific demands of the scene can help maintain stability and minimize shaking.
By carefully adjusting the motor strength settings of your gimbal based on payload weight and shooting conditions, you can optimize its performance to effectively counteract shaking, resulting in consistently smooth and professional-quality footage.
Inspecting for Physical Damage
Regularly inspecting your gimbal for physical damage is crucial for identifying potential issues that may contribute to shaking during operation. By conducting thorough visual examinations and functional checks, you can proactively address any damage and maintain the stability of your gimbal. Follow these steps to effectively inspect your gimbal for physical damage:
- Visual Examination: Begin by visually inspecting the exterior of the gimbal, paying close attention to the motor arms, joints, and mounting points. Look for any visible signs of impact, scratches, or misalignment that may indicate physical damage.
- Check Moving Parts: Carefully examine the moving parts of the gimbal, including the motorized axes and gimbal arms, for any irregularities or restrictions in movement. Smooth and unhindered motion is essential for stabilizing the camera and minimizing shaking.
- Test Balancing: Verify that the gimbal can be balanced effectively with your camera setup, as difficulty in achieving proper balance may indicate underlying damage or misalignment affecting its functionality.
- Inspect Cables and Connectors: Examine the cables, connectors, and wiring harnesses for any signs of fraying, pinching, or damage. Secure connections and intact wiring are essential for ensuring stable operation and preventing intermittent shaking caused by electrical issues.
- Functional Testing: Power on the gimbal and observe its behavior during initialization and operation. Listen for any unusual sounds, such as grinding or clicking, which may indicate internal damage or mechanical issues contributing to shaking.
By diligently inspecting your gimbal for physical damage and irregularities, you can promptly address any issues that may lead to shaking during operation, ensuring that your equipment remains in optimal condition for capturing smooth and stable footage.
Using the Right Settings
Utilizing the correct settings on your gimbal is essential for minimizing shaking and optimizing its performance to deliver smooth and stable footage. By understanding and adjusting various parameters, you can tailor the gimbal’s behavior to suit different shooting scenarios and equipment configurations. Follow these guidelines to ensure that you are using the right settings for your gimbal:
- Follow Manufacturer Recommendations: Refer to the manufacturer’s guidelines and recommendations for setting up and configuring your gimbal. These instructions often provide valuable insights into achieving optimal stability and reducing shaking during operation.
- Custom Profiles: Take advantage of any custom profile settings offered by your gimbal, allowing you to save and recall specific configurations tailored to different cameras, lenses, or shooting styles. Custom profiles enable quick adjustments for varying shooting conditions, contributing to smoother footage.
- Smoothness and Responsiveness: Adjust the smoothness and responsiveness settings on your gimbal to achieve the desired balance between fluid motion and precise control. Fine-tuning these parameters can help mitigate shaking while maintaining natural and seamless camera movements.
- Stabilization Modes: Familiarize yourself with the available stabilization modes, such as follow mode, lock mode, or POV mode, and understand how each mode influences the gimbal’s behavior. Selecting the appropriate mode for the specific shooting scenario can enhance stability and reduce shaking.
- Auto-Tune Functionality: If your gimbal offers auto-tune or self-calibration features, utilize these functions to automatically optimize the gimbal’s settings based on the attached equipment and shooting conditions. This automated process can streamline the setup and contribute to improved stability.
By carefully configuring and adjusting the settings of your gimbal according to these guidelines, you can effectively minimize shaking and ensure that the gimbal operates at its full potential, delivering consistently smooth and professional-quality footage.
Contacting Customer Support
When troubleshooting shaking issues with your gimbal, reaching out to the manufacturer’s customer support can provide valuable assistance and guidance in resolving the problem. Customer support representatives are equipped with expertise and resources to help address technical issues and ensure the optimal performance of your gimbal. Follow these steps when contacting customer support:
- Provide Detailed Description: When initiating contact, provide a comprehensive description of the shaking issue, including when it occurs, the specific circumstances, and any troubleshooting steps you have already taken. Clear and detailed information can aid the support team in diagnosing the problem effectively.
- Share Equipment Specifications: Communicate the details of your camera, lens, and any additional accessories used with the gimbal. Understanding your equipment setup allows the support team to offer tailored recommendations and settings adjustments to mitigate shaking.
- Request Firmware and Software Updates: Inquire about the latest firmware and software updates for your gimbal model. Customer support can guide you through the update process and inform you of any bug fixes or stability improvements that may address shaking issues.
- Seek Calibration Assistance: If calibration is recommended as part of the troubleshooting process, request guidance on the proper calibration procedures specific to your gimbal model. Customer support can provide step-by-step instructions or troubleshooting tips to ensure accurate calibration.
- Explore Warranty Coverage: If the gimbal exhibits shaking issues that cannot be resolved through troubleshooting, inquire about warranty coverage and potential repair options. Customer support can assist in facilitating warranty claims or arranging for professional inspection and servicing of the gimbal.
By proactively engaging with customer support and leveraging their expertise, you can effectively address shaking issues with your gimbal, ensuring that it operates smoothly and reliably for your filming and photography needs.