
Check the Charging Cable
When your headset refuses to charge, the first step is to examine the charging cable. A damaged or faulty cable can be the culprit behind the charging issue. Begin by carefully inspecting the entire length of the cable, paying close attention to any fraying, kinks, or exposed wires. If any damage is detected, it’s essential to replace the cable with a new, compatible one. Additionally, ensure that the cable is securely connected to both the headset and the power source. Sometimes, a loose connection can prevent the charging process from initiating.
Furthermore, it’s crucial to verify that the charging cable is functioning correctly. You can do this by using the cable to charge another device, such as a smartphone or tablet. If the cable fails to charge other devices, it’s evident that the issue lies with the cable itself. In this scenario, acquiring a new, functional charging cable is imperative to resolve the charging problem with your headset.
By meticulously examining the charging cable and confirming its proper functionality, you can effectively eliminate this component as the cause of the charging issue. If the cable is in good condition and functions correctly with other devices, it’s time to move on to the next troubleshooting step.
Inspect the Charging Port
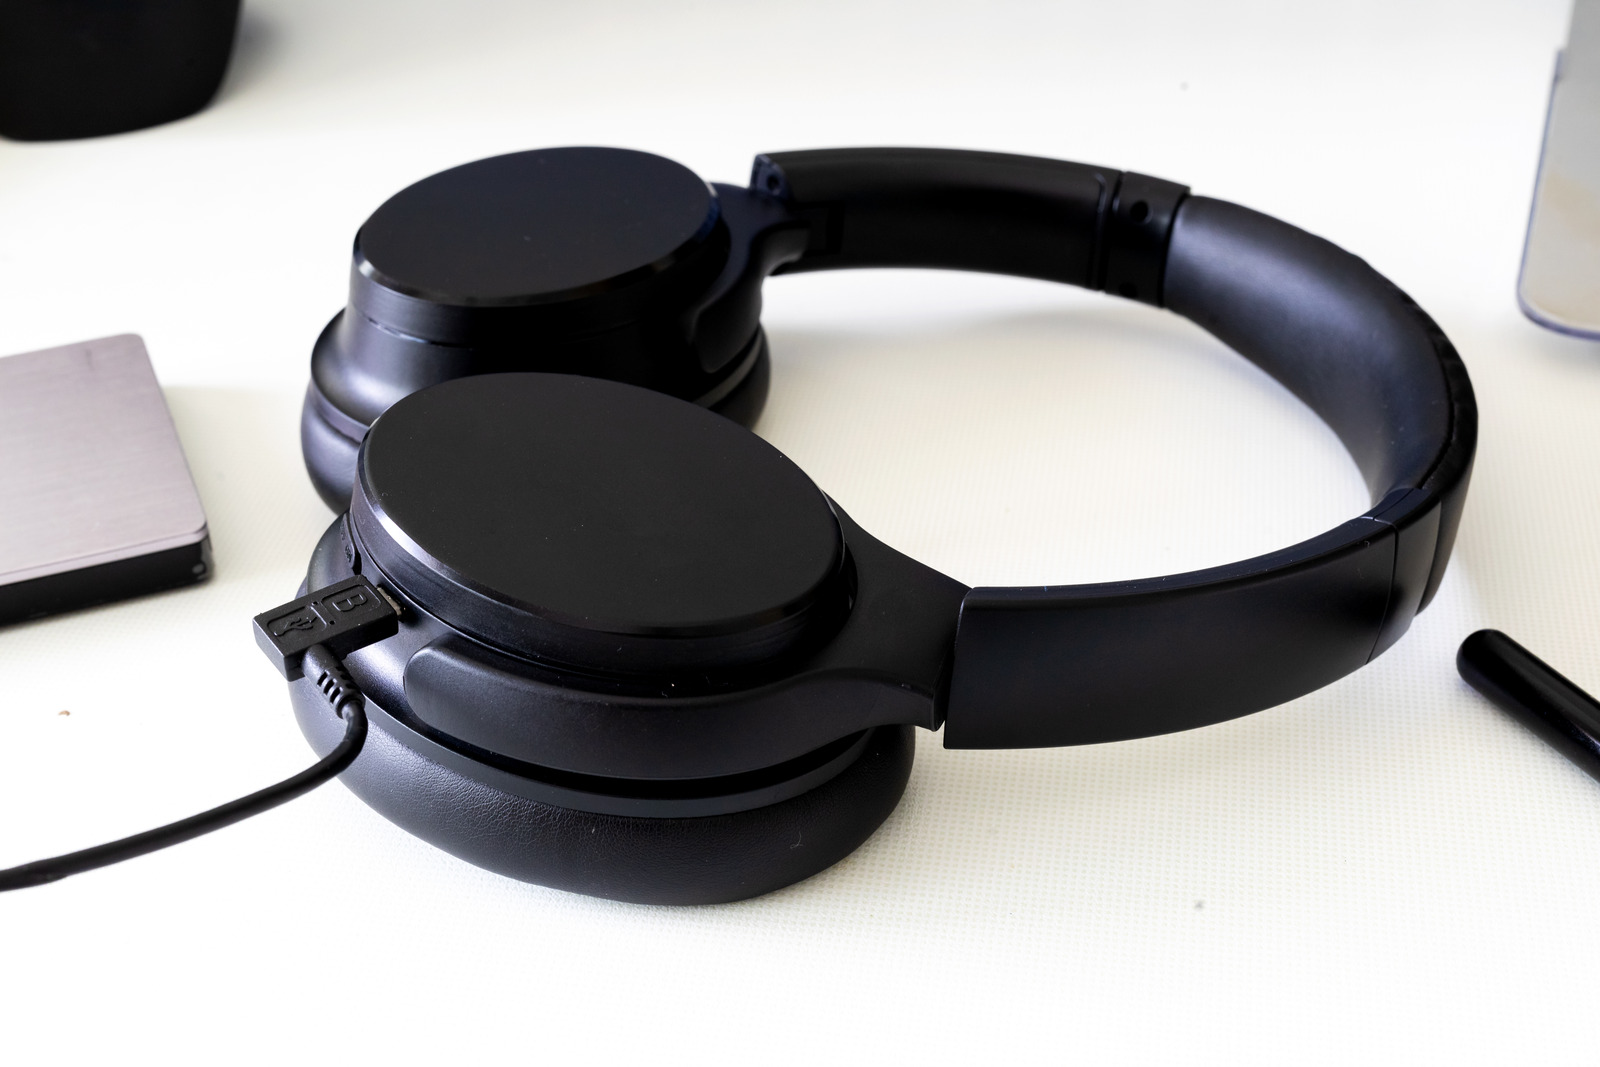
After assessing the charging cable, the next step in troubleshooting a non-charging headset involves inspecting the charging port. The charging port is a critical interface that facilitates the transfer of power from the cable to the headset’s battery. Over time, the port may accumulate debris, dust, or lint, hindering the connection and impeding the charging process. Begin by visually examining the charging port for any foreign objects or blockages. Use a flashlight or a well-lit area to ensure a thorough inspection.
If any obstructions are detected, refrain from using sharp objects to clean the port, as this can cause damage. Instead, employ a can of compressed air or a soft, clean toothbrush to gently dislodge and remove any debris. Exercise caution and patience during this process to prevent causing harm to the delicate components within the port.
It’s also essential to verify that the charging port is free from physical damage. Inspect the port for bent or misaligned pins, as these can obstruct the connection and prevent successful charging. If any damage is observed, it may be necessary to seek professional repair or replacement of the charging port.
By meticulously examining and, if necessary, cleaning the charging port, you can effectively eliminate potential obstructions or damage as the cause of the charging issue. If the port appears to be clean and undamaged, it’s time to proceed to the next troubleshooting step.
Clean the Charging Port
When troubleshooting a headset that refuses to charge, it’s essential to consider the cleanliness of the charging port. Over time, dust, lint, and debris can accumulate within the port, impeding the connection and hindering the charging process. To address this, begin by gently inspecting the charging port for any visible buildup. Use a flashlight or ensure ample lighting to facilitate a thorough examination.
If debris is present, refrain from using sharp objects to clean the port, as this can lead to damage. Instead, employ a can of compressed air to dislodge and remove any accumulated particles. Hold the headset in a position that prevents the dislodged debris from further entering the port. Exercise patience and care during this process to avoid causing harm to the internal components of the port.
For more stubborn debris or residue, a soft, clean toothbrush can be utilized to delicately brush the interior of the port. However, it’s crucial to exercise extreme caution and avoid applying excessive force. The goal is to gently dislodge and remove any remaining particles without causing damage to the port.
Following the cleaning process, visually inspect the charging port once more to ensure that it is free from debris and appears clean. This meticulous approach can effectively eliminate potential obstructions within the port, allowing for a successful charging connection. If the port remains visibly obstructed or the charging issue persists, it’s time to proceed to the next troubleshooting step.
Try a Different Power Source
When facing a headset that refuses to charge, exploring alternative power sources can be a crucial troubleshooting step. Begin by disconnecting the charging cable from the current power outlet or USB port and connecting it to a different power source. If the headset was initially connected to a wall outlet, try using a different outlet to rule out potential issues with the specific outlet or its power supply. Similarly, if the headset was connected to a computer or a USB power source, attempt to charge it using a different USB port or a separate power adapter.
It’s essential to ensure that the alternative power source is functional and capable of delivering the necessary power to charge the headset. Test the power source by using it to charge another device, such as a smartphone or tablet, to verify its functionality. If the alternative power source successfully charges other devices, it can be considered viable for testing the headset.
By attempting to charge the headset using a different power source, you can determine whether the original power outlet or USB port was the underlying issue. If the headset begins to charge when connected to an alternative power source, it indicates that the initial power source may have been the cause of the charging problem. However, if the issue persists despite using different power sources, it’s time to proceed to the next troubleshooting step.
Reset the Headset
When troubleshooting a headset that refuses to charge, performing a reset can help address underlying issues that may be hindering the charging process. Resetting the headset involves clearing any temporary data or settings that could be contributing to the charging problem. The method for resetting the headset may vary depending on the model and manufacturer, so it’s essential to refer to the product manual or the manufacturer’s official guidelines for specific instructions.
A common method for resetting a headset involves powering it off, disconnecting it from the charging cable, and allowing it to remain disconnected for a specified period, typically a few minutes. During this time, any residual charge within the headset dissipates, and the device effectively resets. After the waiting period, reconnect the headset to the charging cable and attempt to initiate the charging process.
If the headset features a reset button or a specific reset procedure outlined in the product manual, follow the provided instructions to perform a reset. This may involve pressing and holding designated buttons or switches for a specified duration to reset the device. Ensure that the headset is not connected to any power source during the reset process.
By performing a reset, you can potentially resolve software or firmware-related issues that could be impeding the charging functionality of the headset. If the reset procedure is successful, the headset should respond by initiating the charging process. However, if the charging issue persists following the reset, it’s time to proceed to the next troubleshooting step.
Contact Customer Support
When all troubleshooting attempts fail to resolve the charging issue with your headset, reaching out to the manufacturer’s customer support can provide valuable assistance. Customer support representatives are equipped with the knowledge and expertise to address complex technical issues and can offer tailored guidance to help rectify the problem.
Prior to contacting customer support, gather essential information about the headset, including the model number, serial number, and any relevant details about the charging issue you have encountered. This information will enable the support team to better understand the specific nature of the problem and provide targeted assistance.
Initiate contact with the customer support team through the manufacturer’s official channels, such as a dedicated support hotline, email, or live chat platform. Clearly articulate the steps you have taken to troubleshoot the charging problem, including any relevant details about the headset’s behavior and any error messages displayed, if applicable. Providing a comprehensive overview of the troubleshooting steps you have undertaken will assist the support team in offering tailored solutions.
Be prepared to follow any additional instructions or diagnostic steps provided by the customer support representative. This may include performing specific tests or providing further details about the headset’s behavior to aid in diagnosing the root cause of the charging issue.
Customer support representatives can also provide information about warranty coverage, repair options, or potential replacement of the headset if the issue cannot be resolved through troubleshooting. Additionally, they may offer insights into common charging-related issues specific to your headset model and provide recommendations for addressing them effectively.
By contacting customer support, you can benefit from the expertise of the manufacturer’s support team and explore comprehensive solutions to the charging problem, ultimately ensuring that your headset receives the necessary attention to restore its charging functionality.