
Checking the Battery Type
Before replacing the battery in your Swiffer Wet Jet, it’s crucial to identify the correct battery type to ensure compatibility and optimal performance. The Swiffer Wet Jet typically uses a 3-volt lithium battery, which is readily available at most hardware or electronics stores. To verify the specific battery type required for your Swiffer Wet Jet, follow these simple steps:
- Consult the User Manual: The user manual that came with your Swiffer Wet Jet contains valuable information, including the battery specifications. Locate the section pertaining to battery replacement and take note of the recommended battery type.
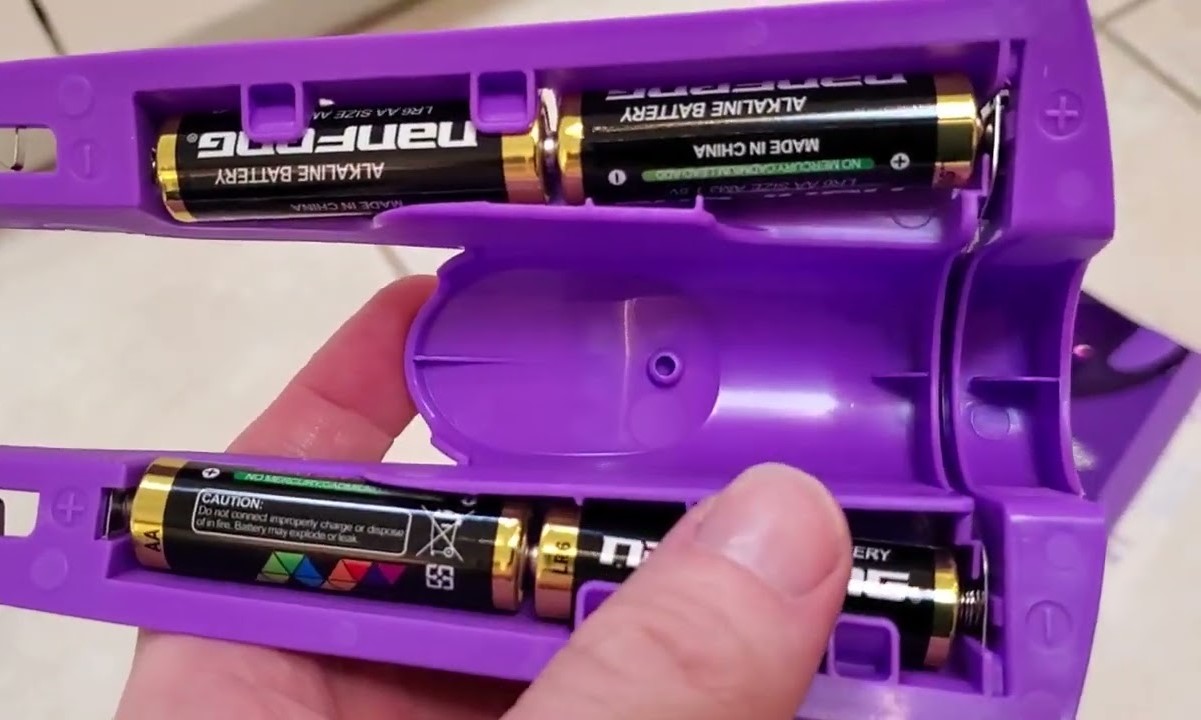
- Examine the Existing Battery: If you have the original battery installed, carefully remove it from the Swiffer Wet Jet and inspect it for any printed information regarding its voltage and type. This can provide direct insight into the battery required for replacement.
- Manufacturer’s Website: Visit the official Swiffer website or contact customer support for detailed information on the compatible battery type. The manufacturer’s website often provides comprehensive product specifications and support resources.
By confirming the correct battery type, you can proceed with confidence to the next steps of replacing the battery in your Swiffer Wet Jet.
Removing the Old Battery
Once you’ve identified the correct battery type for your Swiffer Wet Jet, the next step is to remove the old battery. Follow these steps to safely and effectively remove the old battery:
- Prepare the Work Area: Start by ensuring that the Swiffer Wet Jet is turned off and that the area is well-lit. Lay down a clean, soft cloth to place the Swiffer Wet Jet on during the battery replacement process, protecting both the device and the surface it rests on.
- Access the Battery Compartment: Locate the battery compartment on the Swiffer Wet Jet. This is typically situated near the handle or at the bottom of the device. Depending on the model, you may need to use a screwdriver to open the compartment.
- Remove the Old Battery: Carefully extract the old battery from the compartment, taking note of its orientation. Some batteries may have a specific insertion direction, so observe how the old battery is positioned before removing it.
- Dispose of the Old Battery Responsibly: Once the old battery is removed, it’s essential to dispose of it properly. Lithium batteries should be recycled in accordance with local regulations. Many electronic retailers and recycling centers accept used batteries for safe disposal.
By following these steps, you can safely remove the old battery from your Swiffer Wet Jet, paving the way for the installation of a new, fully functional battery.
Installing the New Battery
With the old battery removed from your Swiffer Wet Jet, it’s time to install the new battery. This straightforward process requires attention to detail and precision to ensure the proper functioning of your Swiffer Wet Jet. Follow these steps for a successful battery installation:
- Verify the Battery Orientation: Before inserting the new battery, confirm its orientation. Most batteries have markings to indicate the correct insertion direction. Align the positive and negative terminals of the battery with the corresponding contacts in the battery compartment.
- Securely Insert the New Battery: Gently place the new battery into the battery compartment, ensuring a snug fit. Take care to avoid forcing the battery into place, as this can damage the contacts or the battery itself. It should slide in smoothly and securely.
- Close the Battery Compartment: If the battery compartment has a cover or door, carefully close and secure it. Ensure that it is properly fastened to prevent the battery from dislodging during use.
- Perform a Functionality Check: Turn on your Swiffer Wet Jet to confirm that the new battery is functioning correctly. If the device powers up and operates as expected, the new battery has been successfully installed.
By following these steps, you can confidently install a new battery in your Swiffer Wet Jet, restoring its power and ensuring uninterrupted cleaning performance.
Testing the Swiffer Wet Jet
After replacing the battery in your Swiffer Wet Jet, it’s essential to conduct a thorough test to ensure that the device is functioning optimally. Testing the Swiffer Wet Jet after a battery replacement allows you to confirm that the new battery is operating as intended and that the device is ready for use. Follow these steps to conduct a comprehensive test:
- Power On the Swiffer Wet Jet: Turn on the Swiffer Wet Jet by pressing the power button or trigger, depending on the model. Listen for any audible indicators of power, such as a motorized sound or LED lights.
- Check Spray Functionality: Activate the spray function to dispense cleaning solution onto a test surface. Observe the spray pattern and ensure that the solution is being distributed evenly and effectively.
- Test Mop Movement: Push the Swiffer Wet Jet across the test surface to verify that the mop attachment moves smoothly and efficiently. Pay attention to any unusual noises or resistance that may indicate an issue with the device’s functionality.
- Inspect Battery Life: Use the Swiffer Wet Jet continuously for a few minutes to gauge the battery life and overall performance. A properly installed battery should provide consistent power throughout the testing period.
- Verify Overall Performance: Evaluate the overall performance of the Swiffer Wet Jet during the test, taking note of any irregularities or malfunctions. Ensure that all components, including the spray mechanism and mop attachment, are operating as expected.
By conducting a thorough test of the Swiffer Wet Jet, you can confirm that the new battery replacement has been successful and that the device is ready to tackle cleaning tasks with efficiency and reliability.