
Unboxing Your HP Docking Station
Unboxing your new HP Docking Station is an exciting first step toward enhancing your laptop experience. The sleek packaging and thoughtful design of the docking station indicate the quality product inside. Here’s a simple guide to help you unbox and set up your HP Docking Station effortlessly.
Step 1: Unveiling the Contents
Upon opening the box, you’ll find the HP Docking Station nestled securely within protective packaging. Carefully remove the docking station and set it aside. Underneath, you’ll discover a power adapter, a user manual, and any additional accessories included with your specific model.
Step 2: Familiarizing Yourself with the Docking Station
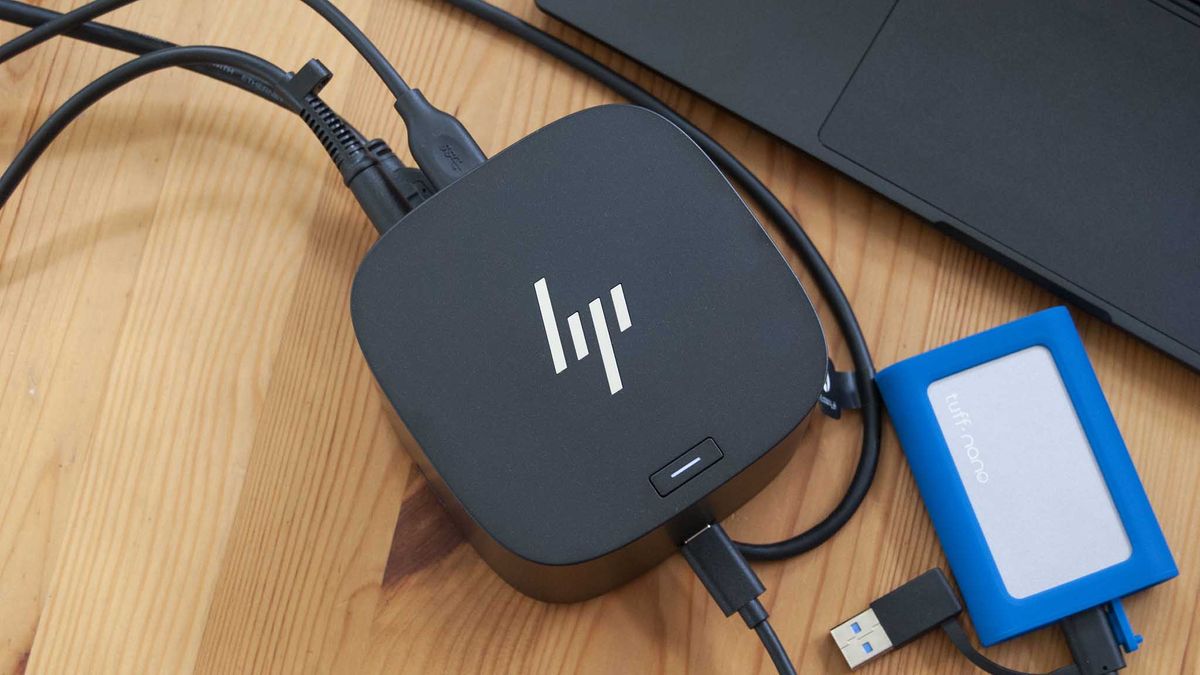
Take a moment to inspect the docking station and familiarize yourself with its various ports and connectors. Depending on the model, you may find USB-C, USB-A, HDMI, DisplayPort, Ethernet, audio, and power ports. Understanding the layout of the docking station will streamline the setup process.
Step 3: Connecting the Power Adapter
Locate the power adapter and connect it to the designated port on the docking station. Then, plug the power adapter into a power outlet. This step ensures that your docking station receives the necessary power supply to function properly.
Step 4: Positioning the Docking Station
Choose an accessible and well-ventilated location for your docking station near your laptop setup. Ensure that there is ample space for the various cables and connectors to reach your laptop and external devices comfortably.
Step 5: Recycling the Packaging
Before proceeding with the setup, responsibly dispose of the packaging materials. Consider recycling or reusing the cardboard and plastic components to minimize environmental impact.
By following these steps, you can swiftly unbox your HP Docking Station and prepare it for seamless integration with your laptop and peripherals.
Connecting Your HP Docking Station to Your Laptop
Once you’ve unboxed your HP Docking Station, the next crucial step is to establish a stable connection between the docking station and your laptop. This process is straightforward and significantly enhances your laptop’s functionality. Here’s a step-by-step guide to help you seamlessly connect the two devices.
Step 1: Positioning Your Laptop and Docking Station
Place your laptop within close proximity to the docking station, ensuring that the docking station’s cables can comfortably reach the laptop’s ports. This proximity facilitates a secure and efficient connection between the two devices.
Step 2: Connecting the Docking Station to Your Laptop
Identify the appropriate cable for your laptop model. Most HP Docking Stations utilize USB-C or USB-A cables to connect to the laptop. Carefully plug the cable into the corresponding port on your laptop. Ensure that the connection is secure to prevent any disruptions during use.
Step 3: Securing Additional Connections
If your docking station features additional connection options, such as HDMI, DisplayPort, or Ethernet, consider connecting these to your laptop as well. These connections enable seamless integration with external monitors, wired networks, and other peripherals, enhancing your overall computing experience.
Step 4: Powering Up the Docking Station
Ensure that the power adapter connected to the docking station is plugged into a power outlet. This step guarantees that the docking station is powered and ready to provide the necessary connectivity and functionality to your laptop and external devices.
Step 5: Verifying the Connection
Once all the connections are in place, power on your laptop and observe the automatic recognition of the docking station. Your laptop should seamlessly detect and configure the additional peripherals connected to the docking station, streamlining the setup process.
By following these steps, you can effortlessly establish a robust connection between your HP Docking Station and your laptop, unlocking a multitude of connectivity options and enhancing your productivity.
Connecting External Devices to Your HP Docking Station
Expanding the capabilities of your laptop is as simple as connecting external devices to your HP Docking Station. This step allows you to seamlessly integrate peripherals and enhance your overall computing experience. Here’s a comprehensive guide to effortlessly connect external devices to your docking station.
Step 1: Identifying Available Ports
Inspect the various ports on your docking station, including USB, HDMI, DisplayPort, audio, and Ethernet ports. These ports enable you to connect a wide range of devices, such as external monitors, keyboards, mice, printers, and networking equipment, expanding your laptop’s functionality.
Step 2: Connecting Monitors and Displays
If you have external monitors or displays, utilize the available HDMI or DisplayPort connections on the docking station to connect these devices. This allows you to extend your desktop workspace, facilitating multitasking and improving productivity.
Step 3: Integrating USB Peripherals
Utilize the USB ports on the docking station to connect peripherals such as keyboards, mice, printers, external storage devices, and other USB-enabled accessories. These connections streamline your workflow and provide convenient access to essential peripherals.
Step 4: Audio and Networking Connectivity
Should you require audio output or networking capabilities, the docking station’s audio and Ethernet ports offer seamless integration with external speakers, headphones, microphones, and wired networks, ensuring a comprehensive computing environment.
Step 5: Powering Up the Devices
Once all the external devices are connected to the docking station, ensure that they are powered on and functioning correctly. This step allows your laptop to recognize and configure the connected peripherals, providing a seamless and efficient user experience.
By following these steps, you can effortlessly connect a diverse array of external devices to your HP Docking Station, transforming your laptop into a versatile workstation tailored to your specific computing needs.
Configuring Your HP Docking Station Settings
Configuring the settings of your HP Docking Station is a pivotal step in optimizing its performance and ensuring seamless integration with your laptop and external devices. By customizing the settings to align with your specific requirements, you can maximize productivity and streamline your computing experience. Here’s a comprehensive guide to help you configure the settings of your docking station effortlessly.
Step 1: Accessing the Docking Station Software
Many HP Docking Stations come with dedicated software that allows you to manage and customize various settings. Install the provided software on your laptop, and launch the application to access the docking station’s settings interface.
Step 2: Display Configuration
If you have connected external monitors or displays to the docking station, navigate to the display settings within the docking station software. Here, you can configure the display arrangement, resolution, orientation, and other display-related preferences to optimize your workspace.
Step 3: Peripheral Management
Explore the options for managing connected peripherals, such as USB devices, audio equipment, and networking components. Customize the behavior and functionality of these peripherals to suit your workflow, ensuring seamless interaction with your laptop and external devices.
Step 4: Power and Performance Settings
Depending on the docking station model, you may have access to power and performance settings that allow you to optimize energy consumption, prioritize device charging, and fine-tune performance parameters. Adjust these settings to align with your preferences and requirements.
Step 5: Firmware Updates
Check for firmware updates for your docking station within the software interface. Keeping the docking station’s firmware up to date ensures compatibility with the latest devices, resolves potential issues, and enhances overall stability and performance.
Step 6: Saving and Applying Settings
Once you have configured the settings to your satisfaction, ensure to save and apply the changes within the docking station software. This finalizes the customization process and ensures that your preferences are reflected in the docking station’s operation.
By following these steps, you can effectively configure the settings of your HP Docking Station, tailoring its functionality to suit your specific needs and optimizing your computing environment for enhanced productivity.
Troubleshooting Common Issues with Your HP Docking Station
While HP Docking Stations are designed for seamless functionality, encountering occasional issues is not uncommon. Understanding how to troubleshoot common problems ensures that you can swiftly resolve any disruptions and continue benefiting from the enhanced connectivity and productivity that the docking station offers. Here’s a comprehensive guide to troubleshooting common issues with your HP Docking Station.
Issue 1: Connectivity Problems
If you experience connectivity issues with the docking station, start by checking the connections between the docking station, your laptop, and external devices. Ensure that all cables are securely plugged in and that the ports are free from debris or damage. Restarting the docking station and your laptop can also resolve intermittent connectivity issues.
Issue 2: Display and Audio Anomalies
If external monitors connected to the docking station exhibit display abnormalities or if audio output is disrupted, verify the display and audio settings on your laptop and within the docking station software. Ensure that the drivers for your graphics and audio devices are up to date, as outdated drivers can lead to compatibility issues.
Issue 3: Power and Charging Concerns
If your laptop does not charge or if the docking station intermittently loses power, inspect the power adapter and connections for any signs of damage. Additionally, check the power outlet and consider using a different outlet to rule out electrical issues. Verifying the power settings within the docking station software can also address power-related concerns.
Issue 4: Peripheral Recognition Problems
If connected peripherals, such as USB devices or networking equipment, are not recognized by the docking station, confirm that the peripherals are functional by testing them with another device. Reconnecting the peripherals to different ports on the docking station can also resolve recognition issues. Updating the docking station’s firmware and drivers is advisable to ensure compatibility.
Issue 5: Overheating and Performance Degradation
If the docking station exhibits signs of overheating or if its performance degrades over time, ensure that the ventilation ports are unobstructed and that the docking station is placed on a stable surface with adequate airflow. Cleaning the docking station’s exterior with compressed air can mitigate overheating issues.
By addressing these common issues and following the troubleshooting steps outlined, you can effectively resolve disruptions in the functionality of your HP Docking Station, ensuring a reliable and seamless computing experience.