
What is ROBOTC Joystick Setup?
ROBOTC is a powerful programming language and development environment for programming VEX and LEGO MINDSTORMS robots. It provides a user-friendly interface and a range of features that make it easy to control and program robots for various applications. One of the key features of ROBOTC is its support for joystick control, which allows users to interact with and control their robots using a physical joystick device.
ROBOTC joystick setup involves configuring the software to recognize and respond to input from a joystick, enabling users to intuitively control their robots with precision and ease. By setting up a joystick in ROBOTC, users can take advantage of the joystick’s analog inputs and buttons to create more dynamic and responsive robot behaviors.
Whether you’re a student, educator, or robotics enthusiast, understanding how to set up and configure a joystick in ROBOTC is essential for creating engaging and interactive robotics projects. With the ability to map joystick inputs to specific robot actions, users can enhance the functionality and interactivity of their robots, opening up a world of possibilities for creative and innovative robotics programming.
Connecting the Joystick to the Computer
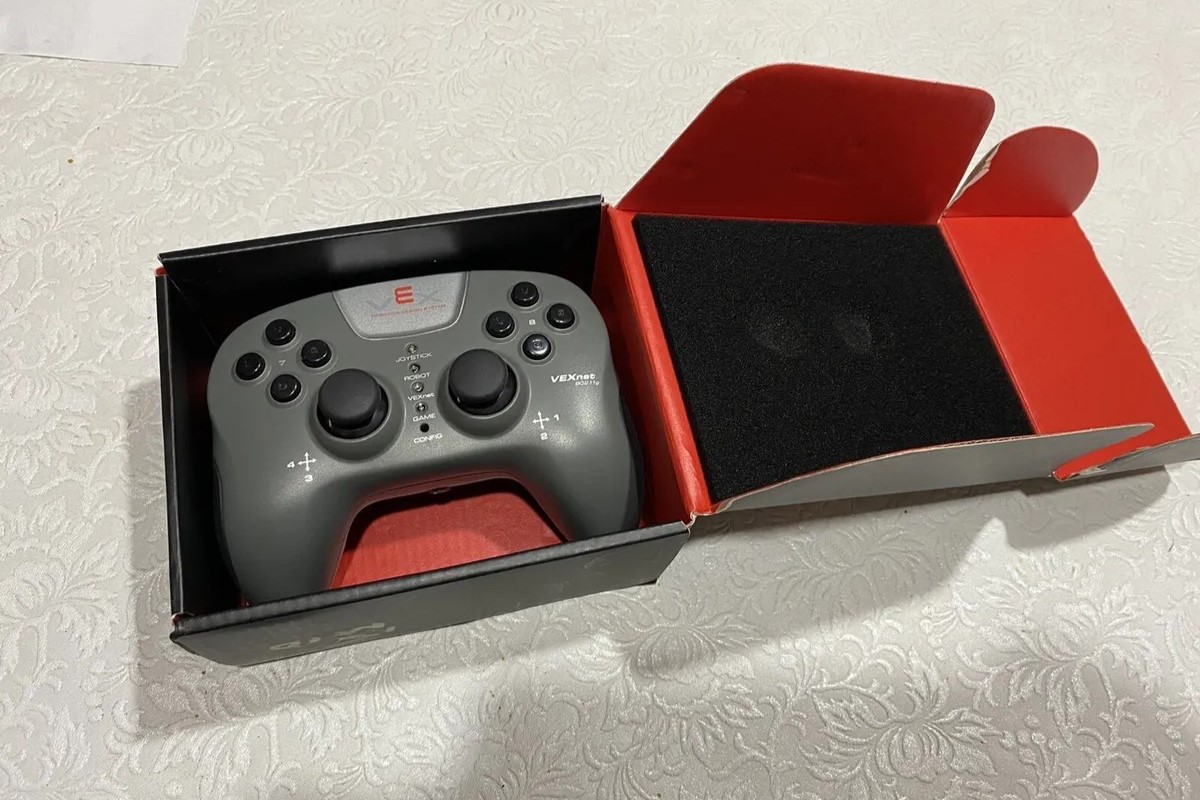
Before diving into the ROBOTC joystick setup process, it’s essential to establish a physical connection between the joystick and the computer. This step is crucial for ensuring that ROBOTC can recognize and communicate with the joystick seamlessly.
To begin, locate an available USB port on your computer and insert the USB cable that is connected to the joystick. Once the joystick is connected, the computer should automatically detect the new device and begin the installation process for the necessary drivers. If the automatic installation does not occur, you may need to manually install the drivers to enable proper communication between the joystick and the computer.
It’s important to use a high-quality USB cable to connect the joystick to the computer, as a reliable connection is essential for accurate and responsive joystick input. Additionally, ensure that the joystick is powered on and in a ready state before connecting it to the computer to facilitate a smooth setup process.
Once the joystick is successfully connected to the computer, it’s time to move on to the next step in the ROBOTC joystick setup process: installing the necessary drivers to enable seamless communication between the joystick and the ROBOTC programming environment.
Installing the Necessary Drivers
After connecting the joystick to the computer, the next crucial step in the ROBOTC joystick setup process is installing the required drivers. Drivers are essential software components that enable the operating system to recognize and interact with the connected joystick, allowing for seamless communication and input recognition within the ROBOTC environment.
When the joystick is initially connected to the computer, the operating system may attempt to automatically install the necessary drivers. However, in some cases, manual intervention may be required to ensure that the correct drivers are installed for the specific joystick model being used.
To install the drivers manually, users can typically visit the manufacturer’s website or refer to the documentation that accompanies the joystick to locate the appropriate drivers for their operating system. Once the correct drivers have been identified and downloaded, they can be installed by following the provided instructions, which may involve running an installation wizard or executing a setup file.
It’s important to ensure that the drivers are obtained from a reputable source, such as the official website of the joystick’s manufacturer, to avoid compatibility issues and potential security risks associated with downloading drivers from unknown or unverified sources.
Once the drivers are successfully installed, the operating system should recognize the joystick as a valid input device, paving the way for seamless integration with the ROBOTC programming environment. With the drivers in place, users can proceed to configure the joystick within ROBOTC, enabling precise and intuitive control over their robotic creations.
Configuring the Joystick in ROBOTC
Once the joystick is physically connected to the computer and the necessary drivers are installed, the next step in the ROBOTC joystick setup process involves configuring the joystick within the ROBOTC programming environment. This configuration enables ROBOTC to recognize the joystick inputs and map them to specific robot control actions, allowing for seamless and intuitive control over robotic devices.
To begin the configuration process, open the ROBOTC programming environment on the computer. Navigate to the “Robot” menu and select “Joystick Control – Setup.” This action will launch the Joystick Control Setup window, where users can define the joystick inputs and assign them to specific robot control functions.
Within the Joystick Control Setup window, users can map the analog inputs from the joystick, such as joysticks, triggers, and thumbsticks, to drive motors, arm mechanisms, or other robot components. Additionally, users can assign buttons on the joystick to trigger specific actions or commands within the robot’s programming logic.
ROBOTC provides a user-friendly interface for configuring joystick inputs, allowing users to visually map the joystick axes and buttons to corresponding robot actions. By following the on-screen prompts and utilizing the intuitive controls within the Joystick Control Setup window, users can create a customized joystick control scheme that aligns with the specific requirements of their robotics project.
It’s important to thoroughly test and validate the configured joystick inputs within ROBOTC to ensure that the mapping is accurate and the controls are responsive. This may involve running test programs or simulations within ROBOTC to observe how the joystick inputs translate to robot movements or actions.
By configuring the joystick in ROBOTC, users can harness the full potential of joystick control, enabling precise and dynamic interaction with their robotic creations. This level of control opens up new possibilities for creating engaging and interactive robotics projects, making the ROBOTC joystick setup an essential component of the robotics programming workflow.
Testing the Joystick Controls in ROBOTC
After configuring the joystick in the ROBOTC programming environment, the next crucial step is to test the functionality of the joystick controls to ensure that they accurately and effectively control the robot’s movements and actions. Testing the joystick controls allows users to validate the mapping of joystick inputs to specific robot behaviors and fine-tune the control scheme for optimal performance.
To begin testing the joystick controls, users can create a simple program within ROBOTC that incorporates the configured joystick inputs to drive the robot’s motors or actuate its mechanisms. This program should include logic that interprets the joystick inputs and translates them into appropriate commands for the robot, such as driving forward, turning, or manipulating an arm or gripper.
Once the program is created, it can be uploaded to the robot’s control system, allowing users to observe how the joystick inputs directly influence the robot’s behavior. By physically interacting with the joystick and observing the robot’s response, users can evaluate the responsiveness and accuracy of the joystick controls, making adjustments as needed to refine the control scheme.
During the testing phase, it’s important to pay close attention to how the robot reacts to different joystick inputs, ensuring that the movements and actions align with the intended control scheme. This may involve fine-tuning the sensitivity of the joystick axes, adjusting the mapping of buttons, or refining the logic that interprets the joystick inputs within the program.
Additionally, users can leverage the ROBOTC debugger and monitoring tools to observe the real-time values of the joystick inputs as they are received by the robot’s control system. This visibility into the raw joystick data can provide valuable insights into how the joystick inputs are being interpreted and utilized within the robot’s programming logic.
By thoroughly testing the joystick controls in ROBOTC, users can validate the effectiveness of the configured control scheme and make informed adjustments to optimize the responsiveness and precision of the joystick inputs. This iterative testing and refinement process ultimately leads to a well-tuned joystick control setup that empowers users to interact with their robots intuitively and effectively.