
Step 1: Power Off the Device
Before removing the SIM card from your Samsung device, it’s crucial to power off the device to prevent any potential damage and ensure a safe removal process. Here’s a step-by-step guide to power off your Samsung device:
1. Locate the Power Button: The power button is typically located on the right side of the device for Samsung smartphones. For Samsung tablets, the power button is usually situated on the top edge. Press and hold the power button until the power-off menu appears on the screen.
2. Select “Power Off”: Once the power-off menu is displayed, tap on the “Power Off” option. This action initiates the shutdown process of your Samsung device.
3. Confirm the Shutdown: A confirmation prompt may appear on the screen, asking you to confirm the shutdown. Tap “OK” or follow the on-screen instructions to confirm the power-off process.
4. Wait for the Device to Power Off: Allow your Samsung device to complete the shutdown process. You may notice the screen turning black or displaying the Samsung logo, indicating that the device is powering off.
By following these steps, you can safely power off your Samsung device in preparation for the SIM card removal process. Ensuring that the device is powered off minimizes the risk of any potential damage to the SIM card or the device itself during the removal and reinsertion process.
Step 2: Locate the SIM Card Tray
After powering off your Samsung device, the next step is to locate the SIM card tray. The SIM card tray houses the SIM card and is an essential component of the device. Here’s how to locate the SIM card tray on your Samsung device:
1. Identify the SIM Card Tray Slot: Depending on the model of your Samsung device, the SIM card tray slot may be located on the top, bottom, or sides of the device. Look for a small pinhole or a tray with a tiny indentation, which indicates the presence of the SIM card tray.
2. Refer to the Device Manual: If you are unsure about the exact location of the SIM card tray on your specific Samsung device, refer to the device manual or visit the official Samsung support website for detailed instructions. The manual provides visual aids and clear instructions for locating the SIM card tray.
3. Use a SIM Ejector Tool: Samsung devices typically come with a SIM ejector tool, a small pin-like tool designed for ejecting the SIM card tray. The SIM ejector tool is often included in the device packaging. If you have the SIM ejector tool, refer to the manual to understand its usage and locate the SIM card tray accordingly.
4. Check for Labels or Indicators: Some Samsung devices feature labels or indicators near the SIM card tray slot, providing guidance on its location. Look for icons or text that resemble a SIM card, indicating the presence of the SIM card tray in that area.
Locating the SIM card tray is the crucial first step in the process of removing the SIM card from your Samsung device. Once you have successfully identified the SIM card tray, you can proceed with the subsequent steps to eject and remove the SIM card safely.
Step 3: Eject the SIM Card Tray
Once you have located the SIM card tray on your Samsung device, the next step is to eject the tray in preparation for removing the SIM card. Ejecting the SIM card tray allows you to access the SIM card and proceed with its removal. Here’s a detailed guide on how to eject the SIM card tray from your Samsung device:
1. Retrieve the SIM Ejector Tool: If your Samsung device includes a SIM ejector tool, ensure that it is readily available. The SIM ejector tool is a small, pointed instrument designed specifically for ejecting the SIM card tray. If you cannot locate the original SIM ejector tool, a small paperclip can serve as an alternative for this purpose.
2. Insert the SIM Ejector Tool: Gently insert the SIM ejector tool or the unfolded paperclip into the small pinhole located near the SIM card tray. Apply light pressure to engage the internal mechanism that releases the SIM card tray. Ensure that the insertion is straight and does not exert excessive force on the device.
3. Apply Even Pressure: Once the SIM ejector tool is inserted into the pinhole, apply even pressure to activate the ejection mechanism. You may feel a slight resistance as the SIM card tray begins to protrude from the device. Avoid using excessive force to prevent any damage to the SIM card tray or the device itself.
4. Gently Remove the SIM Card Tray: Once the SIM card tray is partially ejected, carefully pull it out from the device using your fingers. Exercise caution and ensure a smooth, steady removal to prevent any accidental damage to the tray or the device. Place the device and the ejected tray on a stable surface to proceed with the SIM card removal.
Ejecting the SIM card tray from your Samsung device is a critical step in the process of removing the SIM card. By following these steps carefully, you can safely access the SIM card and proceed with the next phase of the removal process.
Step 4: Remove the SIM Card
With the SIM card tray ejected from your Samsung device, the next step is to carefully remove the SIM card from the tray. The SIM card contains vital information and must be handled with care during the removal process. Here’s a step-by-step guide on how to remove the SIM card from the tray:
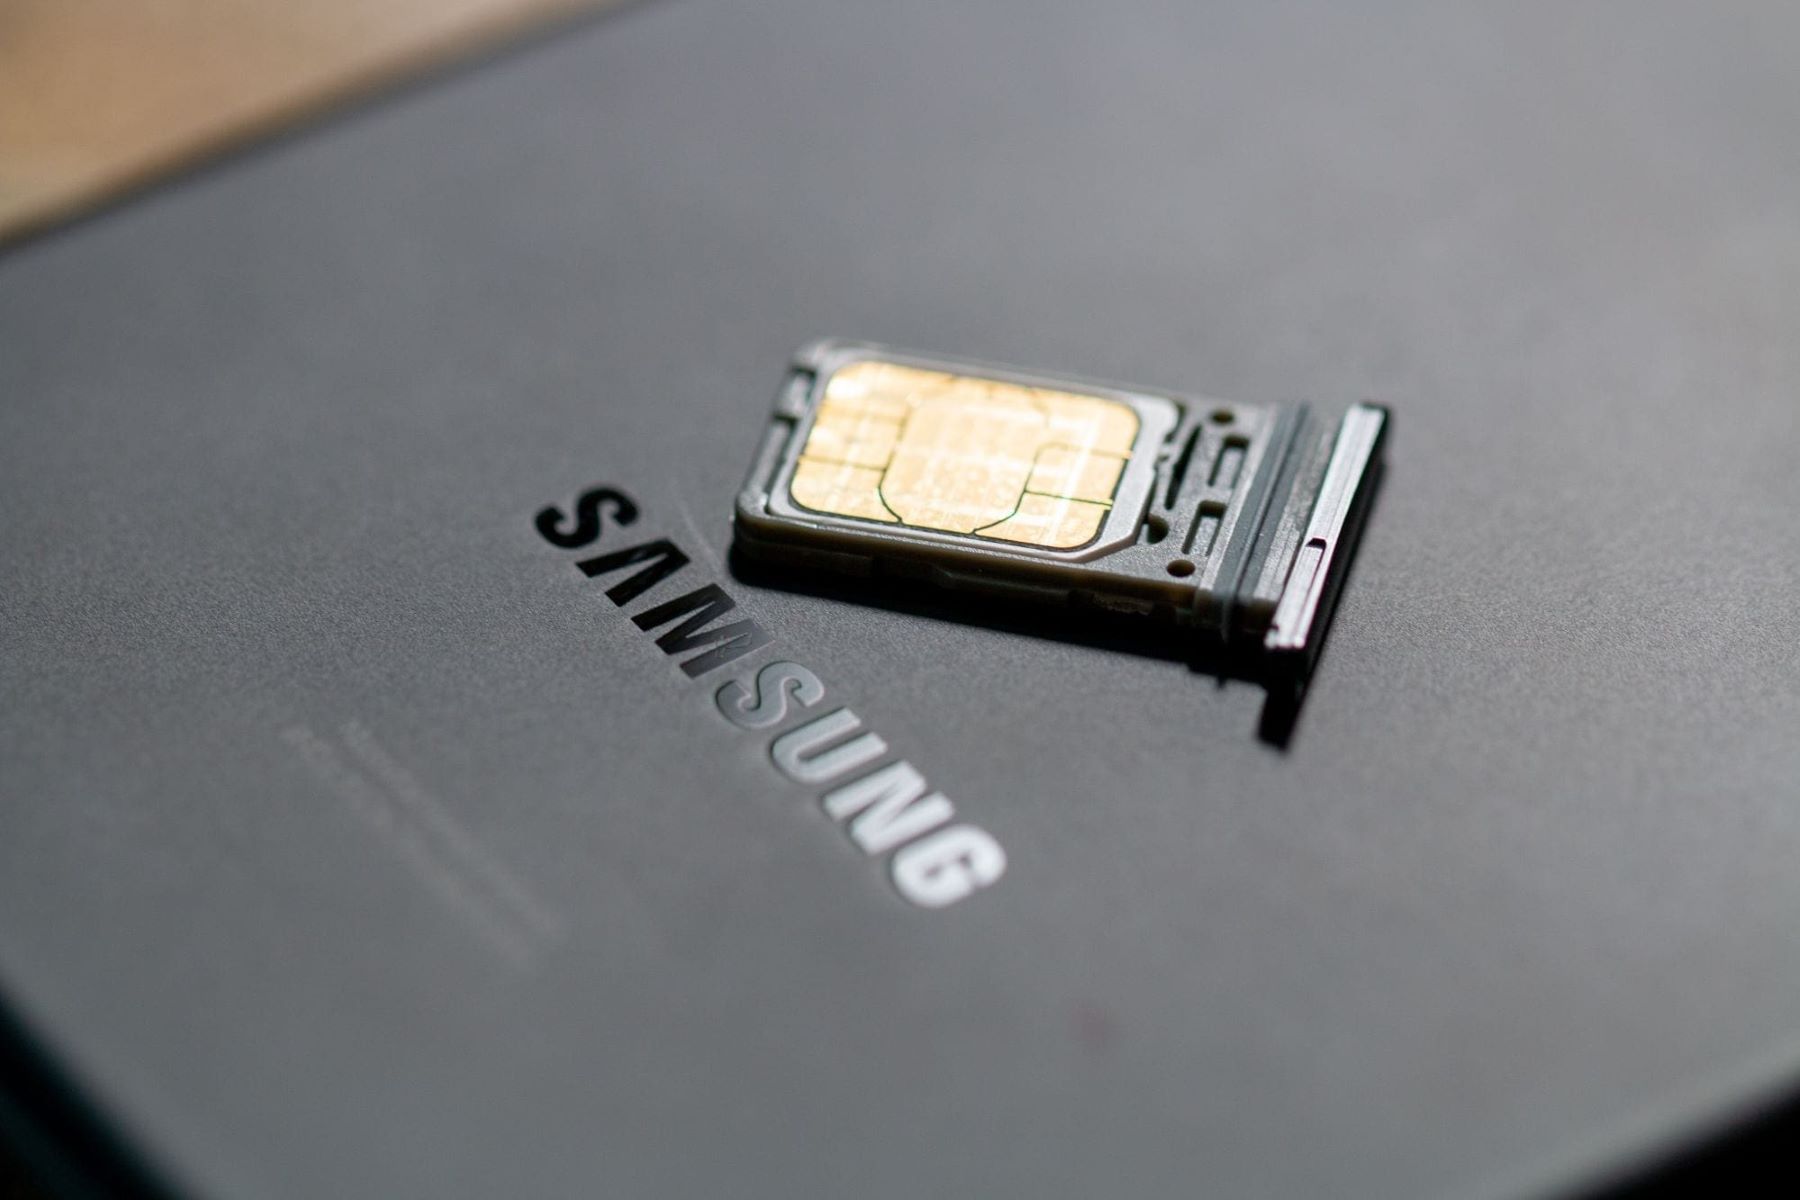
1. Identify the SIM Card: Upon removing the SIM card tray from the device, locate the SIM card within the tray. The SIM card is a small, rectangular card typically made of plastic or metal, and it contains the subscriber’s information and network data.
2. Gently Remove the SIM Card: Using your fingers, carefully lift the SIM card from the tray. Hold the SIM card by its edges to avoid touching the metal contacts or the exposed circuitry. Ensure that the SIM card remains level and does not bend during the removal process.
3. Inspect the SIM Card: Before proceeding, take a moment to inspect the SIM card for any visible damage, such as scratches, cracks, or deformities. It’s essential to handle the SIM card delicately and avoid any actions that may compromise its integrity or functionality.
4. Place the SIM Card in a Safe Location: Once the SIM card is removed from the tray, place it in a secure and easily accessible location. Avoid exposing the SIM card to extreme temperatures, moisture, or physical stress. Keeping the SIM card in a safe place ensures that it remains protected until it is ready for reinsertion.
By following these steps, you can safely remove the SIM card from the tray without causing any damage to the card or the device. Handling the SIM card with care is crucial to maintaining its functionality and preserving the integrity of the subscriber’s information stored on the card.
Step 5: Reinsert the SIM Card Tray
After removing the SIM card from your Samsung device, the next step is to reinsert the SIM card tray securely. Proper reinsertion of the SIM card tray ensures that the SIM card is correctly positioned and the device functions seamlessly. Here’s a detailed guide on how to reinsert the SIM card tray into your Samsung device:
1. Align the SIM Card Tray: Before reinserting the SIM card tray, ensure that the SIM card is placed securely within the tray. Align the SIM card tray in a way that allows the SIM card to fit snugly without any protrusions or misalignments.
2. Position the SIM Card Tray: Gently position the SIM card tray back into the designated slot on your Samsung device. Ensure that the tray slides smoothly into place without any obstruction. Avoid applying excessive force, as this may damage the tray or the device’s SIM card slot.
3. Verify Proper Alignment: Once the SIM card tray is reinserted, visually inspect the device to ensure that the tray is aligned correctly and sits flush with the device’s frame. Any misalignment or protrusion may indicate that the tray is not inserted properly, requiring adjustment before proceeding.
4. Secure the SIM Card Tray: Press the SIM card tray gently but firmly to secure it in place within the device. Ensure that the tray does not wobble or feel loose, as a secure fit is essential for maintaining the integrity of the SIM card and preventing any connectivity issues.
5. Power On the Device: Once the SIM card tray is securely reinserted, power on your Samsung device. Allow the device to complete the startup process, and verify that the device recognizes the SIM card and establishes network connectivity.
By following these steps, you can effectively reinsert the SIM card tray into your Samsung device, ensuring that the SIM card is securely positioned and the device operates without any disruptions. Proper reinsertion of the SIM card tray is crucial for maintaining the functionality and connectivity of your Samsung device.
Step 6: Power On the Device
After reinserting the SIM card tray into your Samsung device, the final step is to power on the device and verify that the SIM card is recognized, ensuring seamless connectivity. Here’s a comprehensive guide on how to power on your Samsung device after reinserting the SIM card tray:
1. Press the Power Button: Locate the power button on your Samsung device, typically situated on the right side of smartphones or the top edge of tablets. Press and hold the power button until the device’s screen displays the manufacturer’s logo or the startup animation.
2. Wait for the Device to Boot Up: Allow the device to complete the startup process, which includes initializing the operating system and establishing network connectivity. Depending on the device model and specifications, the startup process may take a few moments to complete.
3. Verify SIM Card Recognition: Once the device has powered on, check for the presence of the network signal indicator, typically displayed in the status bar or the notification panel. Additionally, navigate to the device’s settings and locate the SIM card management section to verify that the SIM card is recognized and operational.
4. Test Connectivity: Make a test call, send a text message, or access mobile data to ensure that the device establishes connectivity using the reinserted SIM card. Verifying the functionality of the SIM card confirms that the reinsertion process was successful and that the device operates seamlessly with the SIM card in place.
5. Ensure Proper Functionality: Check for any error messages, network connectivity issues, or SIM card-related notifications. If the device operates without any disruptions and maintains consistent connectivity, it indicates that the SIM card has been reinserted properly, and the device is fully operational.
By following these steps, you can effectively power on your Samsung device after reinserting the SIM card tray, ensuring that the device recognizes the SIM card and establishes seamless connectivity. Verifying the proper functionality of the device confirms the successful reinsertion of the SIM card and allows you to resume using your Samsung device without any interruptions.