
Step 1: Open the Photos App
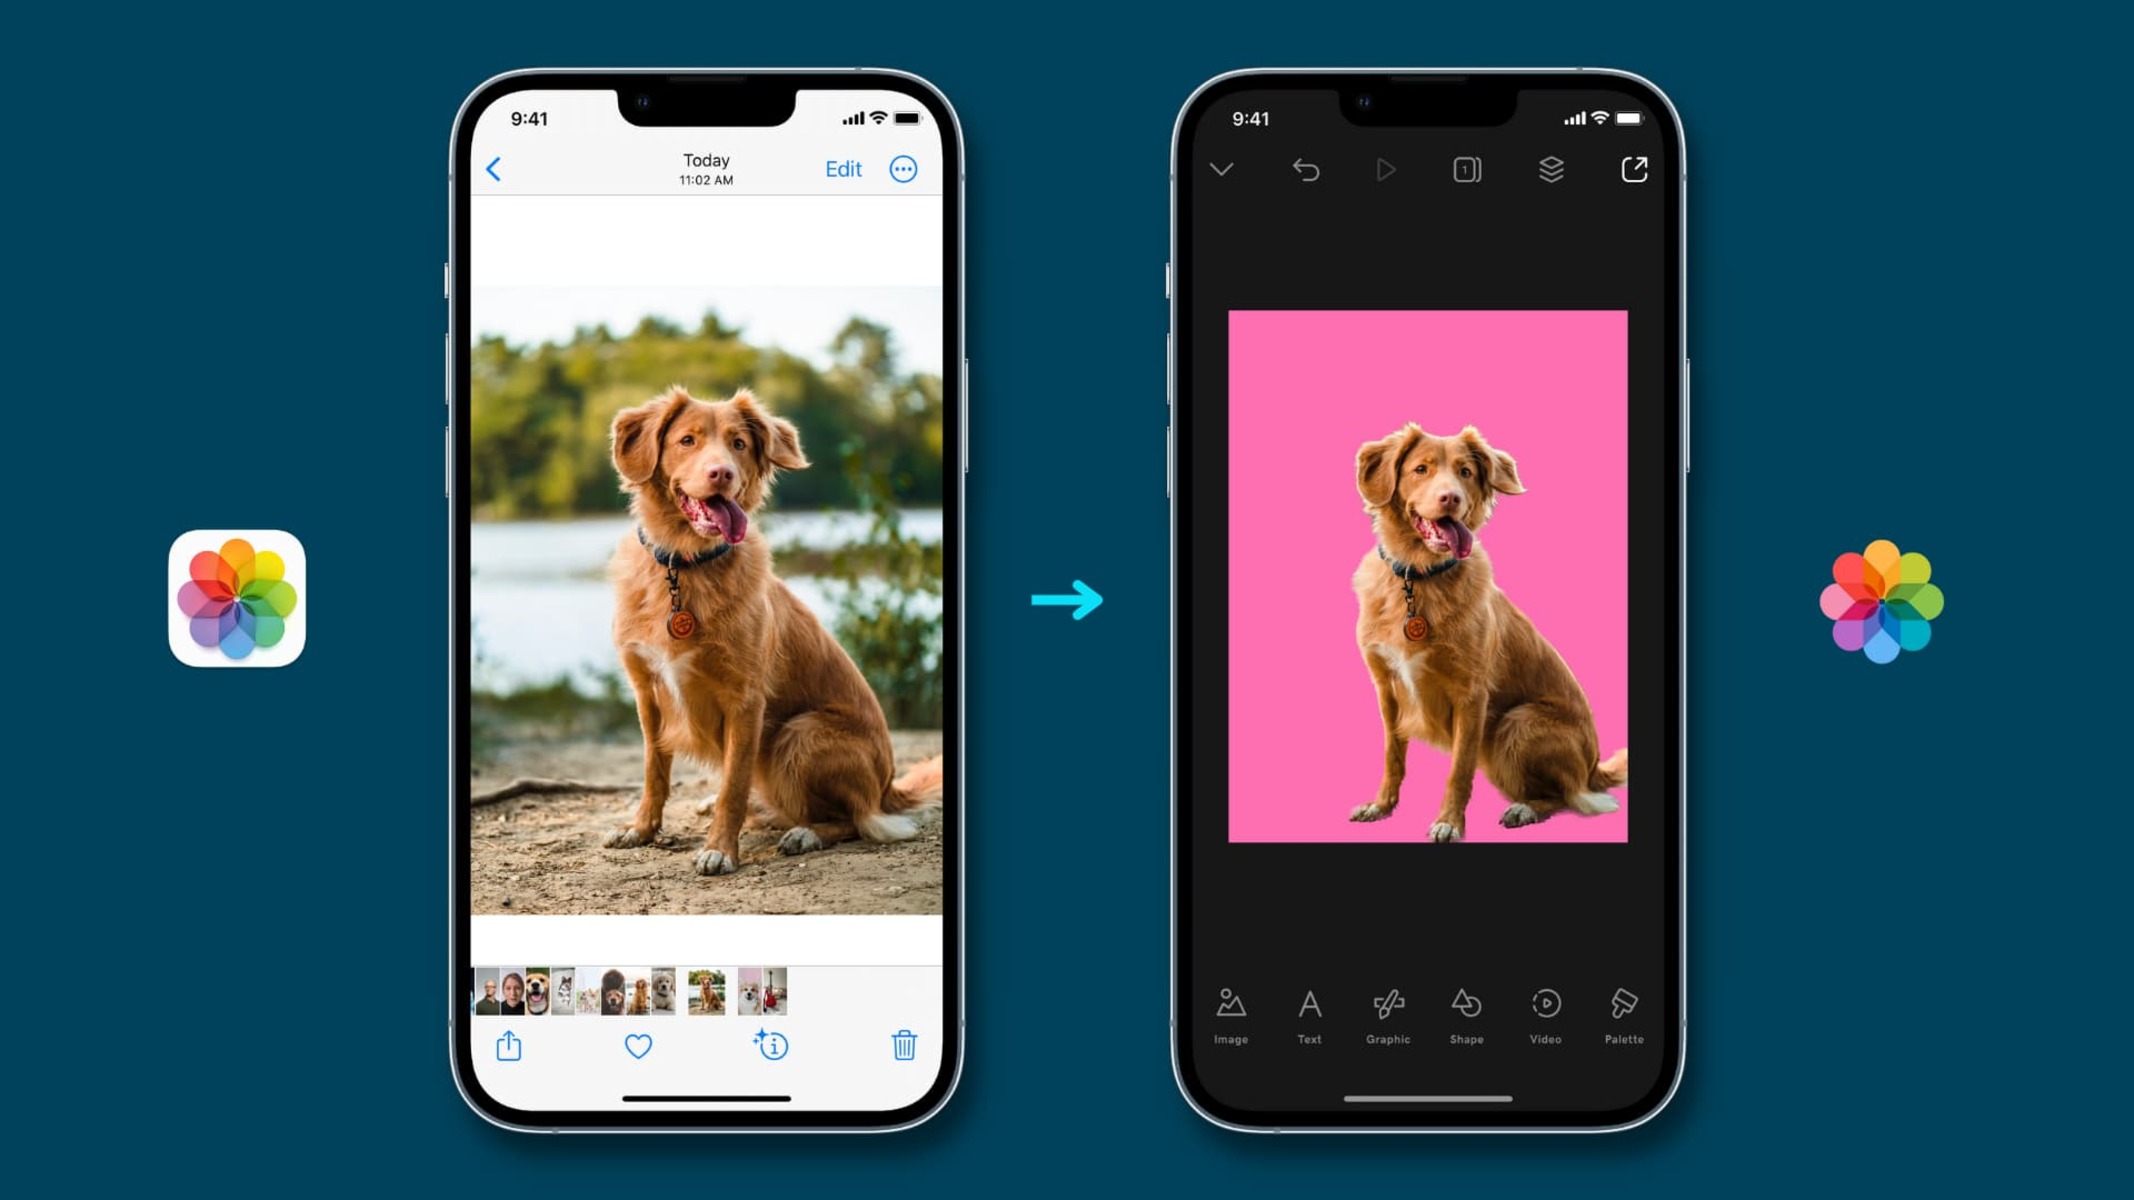
To begin the process of removing the background from your iPhone 13 photos, the first step is to open the Photos app. This app serves as the gateway to accessing and editing your captured memories. Upon unlocking your iPhone 13, you can easily locate the Photos app icon, which resembles a multicolored flower. Tapping on this icon will launch the app, revealing a treasure trove of your captured moments.
Once inside the Photos app, you will be greeted by a visually appealing interface that showcases your photos and videos in a neatly organized manner. The app's user-friendly design ensures that navigating through your media collection is a seamless experience. Whether you've captured breathtaking landscapes, cherished family portraits, or delightful candid shots, the Photos app acts as a digital sanctuary for your visual stories.
As you explore the app, you'll notice the intuitive organization of your photos into Moments, Collections, and Years, allowing you to effortlessly browse through your memories based on the time and location they were captured. This thoughtful arrangement enables you to relive your experiences and easily locate the specific photo you wish to edit.
Moreover, the Photos app offers convenient search functionality, empowering you to swiftly locate a particular photo by entering relevant keywords or phrases. This feature proves invaluable when you have an extensive collection of photos and need to find a specific image promptly.
In addition to its organizational prowess, the Photos app also provides seamless integration with iCloud, ensuring that your photos are securely backed up and readily accessible across your Apple devices. This synchronization enables you to edit your photos on one device and seamlessly continue the process on another, offering a cohesive and interconnected editing experience.
By opening the Photos app on your iPhone 13, you embark on a journey to unlock the full potential of your captured memories. This initial step sets the stage for the subsequent process of selecting and editing your desired photo, ultimately leading to the transformative removal of the background to create visually stunning and personalized images.
With the Photos app as your starting point, you are poised to embark on a creative and empowering editing journey, breathing new life into your cherished photos with the remarkable capabilities of your iPhone 13.
This step marks the beginning of a transformative editing process, laying the foundation for the seamless removal of backgrounds from your photos, and unlocking the potential to unleash your creativity and personalize your visual narratives.
Step 2: Select the Photo
After launching the Photos app on your iPhone 13, the next pivotal step in the process of removing the background from your photos is to select the specific image you wish to edit. This seemingly simple action holds the power to unlock a world of creative possibilities, allowing you to transform your captured moments into personalized works of art.
As you navigate through the Photos app, you'll encounter a captivating mosaic of your visual memories, each photo encapsulating a unique story and evoking a myriad of emotions. Whether it's a breathtaking landscape bathed in golden sunlight, a heartwarming family portrait capturing joyous smiles, or a candid shot immortalizing a spontaneous moment, each photo represents a fragment of your life's tapestry.
To select a photo for background removal, you can effortlessly browse through your collection by swiping through the visually engaging interface or tapping on specific Moments, Collections, or Years to narrow down your search. The app's seamless navigation ensures that locating your desired photo is a smooth and intuitive experience, allowing you to focus on the creative process without unnecessary obstacles.
Once you've identified the photo you intend to edit, a simple tap on the image will bring it into full view, offering a closer glimpse into the captured scene. This immersive viewing experience enables you to appreciate the finer details of the photo, from the play of light and shadow to the vibrant hues that breathe life into the composition.
Furthermore, the Photos app provides convenient options for organizing and categorizing your photos, allowing you to mark favorites, create albums, and apply tags to streamline your editing workflow. These organizational features empower you to curate your collection with precision, ensuring that the editing process is efficient and tailored to your creative vision.
By selecting the photo that resonates with you, you embark on a transformative journey of self-expression and visual storytelling. Each tap and swipe within the Photos app brings you closer to unleashing your creativity, as you prepare to embark on the next steps of the background removal process, ultimately shaping your photos into captivating visual narratives that reflect your unique perspective and artistic flair.
Step 3: Tap Edit
Upon selecting the desired photo within the Photos app on your iPhone 13, the next pivotal action in the process of removing the background involves tapping the "Edit" option. This seemingly simple yet transformative step serves as the gateway to a realm of creative possibilities, empowering you to mold your captured moments into personalized works of art.
As you tap the "Edit" button, the photo unfurls a canvas of potential, inviting you to explore a myriad of editing tools and enhancements that can breathe new life into your visual narratives. The interface seamlessly transitions to the editing mode, signaling the commencement of a transformative journey where your creative vision takes center stage.
The "Edit" option unveils a suite of powerful editing tools that are thoughtfully designed to cater to a spectrum of artistic inclinations and editing requirements. From adjusting lighting and color balance to applying artistic filters and effects, the editing interface empowers you to tailor the visual aesthetics of your photo with precision and finesse.
Furthermore, the "Edit" feature offers intuitive controls that enable you to crop, straighten, and rotate the photo, allowing you to refine the composition and framing to align with your artistic sensibilities. This level of control over the visual elements of the photo ensures that your creative vision is faithfully translated into the final composition.
In addition to these fundamental editing capabilities, tapping the "Edit" option grants access to advanced tools such as retouching, red-eye correction, and noise reduction, providing a comprehensive suite of enhancements to elevate the visual appeal of your photo. These tools empower you to refine the finer details of the image, ensuring that every aspect aligns with your artistic intent.
Moreover, the "Edit" interface seamlessly integrates with third-party editing apps and extensions, offering a seamless and expansive editing ecosystem that amplifies your creative potential. This integration enables you to leverage specialized editing tools and effects, further enriching the editing process and allowing you to craft visually stunning compositions with ease.
By tapping the "Edit" option, you embark on a transformative journey of self-expression and visual storytelling, where each adjustment and enhancement brings you closer to realizing your creative vision. This pivotal step sets the stage for the subsequent actions of background removal, ultimately shaping your photos into captivating visual narratives that reflect your unique perspective and artistic flair.
Step 4: Tap the Three Dots
After entering the editing interface by tapping the "Edit" option within the Photos app on your iPhone 13, the next crucial step in the process of removing the background from your photos involves tapping the "Three Dots" icon. This unassuming yet powerful symbol serves as the gateway to a treasure trove of advanced editing tools and features, unlocking a realm of creative possibilities that elevate your visual narratives to new heights.
Upon tapping the "Three Dots" icon, a menu of editing options gracefully unfurls, presenting a diverse array of tools and enhancements that cater to a spectrum of artistic inclinations and editing requirements. This menu serves as a digital palette, offering an assortment of brushes, effects, and adjustments that empower you to sculpt your photos with precision and finesse.
The "Three Dots" menu grants access to a wealth of advanced editing capabilities, including the ability to fine-tune exposure, contrast, and color balance with nuanced precision. These adjustments enable you to imbue your photos with a captivating visual allure, ensuring that every hue and tone harmonizes to convey your artistic intent.
Furthermore, the menu offers specialized tools for refining details and textures, allowing you to enhance the intricate elements of your photo with meticulous care. Whether it's sharpening fine details, smoothing skin tones, or accentuating textures, these tools enable you to infuse your photos with a captivating level of depth and clarity.
In addition to these fundamental editing capabilities, the "Three Dots" menu provides seamless integration with third-party editing apps and extensions, expanding the creative horizon by offering access to a rich ecosystem of specialized tools and effects. This integration empowers you to experiment with a diverse range of artistic styles and visual treatments, fostering a dynamic and expansive editing experience.
By tapping the "Three Dots" icon, you embark on a transformative journey of self-expression and visual storytelling, where each adjustment and enhancement brings you closer to realizing your creative vision. This pivotal step sets the stage for the subsequent actions of background removal, ultimately shaping your photos into captivating visual narratives that reflect your unique perspective and artistic flair.
Step 5: Choose Markup
Upon tapping the "Three Dots" icon within the editing interface of the Photos app on your iPhone 13, the next pivotal step in the process of removing the background from your photos involves choosing the "Markup" option. This transformative action serves as a gateway to a versatile set of annotation and editing tools, empowering you to unleash your creativity and personalize your visual narratives with precision and flair.
The "Markup" option presents a comprehensive suite of annotation tools that enable you to embellish your photos with a myriad of expressive elements. From freehand drawing and text insertion to shape creation and signature placement, the "Markup" feature offers a canvas of creative possibilities, allowing you to infuse your photos with personalized touches that resonate with your artistic vision.
Upon selecting the "Markup" option, the editing interface seamlessly transitions to a dynamic canvas where you can wield an array of annotation tools with effortless finesse. The intuitive controls and responsive interface ensure that your creative impulses flow unhindered, empowering you to embellish your photos with a captivating array of annotations and visual enhancements.
Furthermore, the "Markup" feature offers a spectrum of color options, line styles, and brush sizes, providing a versatile palette that caters to a diverse range of artistic inclinations. Whether you prefer bold and vibrant strokes or subtle and nuanced annotations, the customization options within the "Markup" interface enable you to tailor the visual aesthetics of your annotations with precision and flair.
In addition to its annotation capabilities, the "Markup" feature seamlessly integrates with text input, enabling you to infuse your photos with personalized messages, captions, or annotations that enrich the storytelling aspect of your visual narratives. This integration empowers you to craft immersive and engaging compositions that resonate with your audience on a deeper level.
By choosing the "Markup" option, you embark on a transformative journey of self-expression and visual storytelling, where each annotation and enhancement brings you closer to realizing your creative vision. This pivotal step sets the stage for the subsequent actions of background removal, ultimately shaping your photos into captivating visual narratives that reflect your unique perspective and artistic flair.
Step 6: Select the Eraser Tool
Having navigated through the creative landscape of the Markup feature, the next crucial step in the process of removing the background from your photos on the iPhone 13 involves selecting the Eraser tool. This pivotal action marks the transition from annotation and embellishment to precise and targeted editing, empowering you to sculpt the visual elements of your photo with finesse and artistry.
Upon choosing the Eraser tool, the editing interface seamlessly adapts to accommodate this transformative tool, presenting a dynamic canvas where you can wield the eraser with precision and control. The intuitive controls and responsive nature of the Eraser tool ensure that your creative intent is faithfully translated into the editing process, allowing you to seamlessly remove the background with nuanced accuracy.
The Eraser tool offers a spectrum of brush sizes and opacities, providing a versatile palette that caters to a diverse range of editing requirements. Whether you seek to delicately erase intricate details or swiftly remove larger background elements, the customization options within the Eraser tool interface enable you to tailor the editing process to align with your artistic vision.
Furthermore, the Eraser tool seamlessly integrates with zoom and pan functionalities, empowering you to navigate through the photo with precision and focus on specific areas that require background removal. This seamless integration ensures that every stroke of the eraser is executed with meticulous care, allowing you to sculpt the composition with unparalleled accuracy.
In addition to its fundamental erasing capabilities, the Eraser tool offers seamless integration with undo and redo functionalities, providing a safety net that empowers you to experiment with confidence. This integration ensures that the editing process is fluid and forgiving, allowing you to refine the background removal with ease and assurance.
By selecting the Eraser tool, you embark on a transformative journey of self-expression and visual storytelling, where each stroke of the eraser brings you closer to realizing your creative vision. This pivotal step sets the stage for the subsequent actions of background removal, ultimately shaping your photos into captivating visual narratives that reflect your unique perspective and artistic flair.
Step 7: Start Erasing the Background
As you delve into the intricate process of background removal within the Photos app on your iPhone 13, the pivotal moment arrives as you commence erasing the background from your selected photo. This transformative action marks the culmination of your creative vision, empowering you to sculpt the visual narrative with precision and artistry.
Upon initiating the background erasing process, the interface seamlessly adapts to accommodate this pivotal task, presenting a dynamic canvas where you can wield the eraser with finesse and control. The intuitive controls and responsive nature of the eraser tool ensure that your creative intent is faithfully translated into the editing process, allowing you to seamlessly remove the background with nuanced accuracy.
As you navigate through the photo with the eraser tool, a sense of artistic empowerment envelops you, as each stroke of the eraser brings you closer to realizing your creative vision. Whether delicately erasing intricate details or swiftly removing larger background elements, the customization options within the eraser tool interface enable you to tailor the editing process to align with your artistic sensibilities.
The eraser tool offers a spectrum of brush sizes and opacities, providing a versatile palette that caters to a diverse range of editing requirements. This level of customization ensures that every stroke of the eraser is executed with meticulous care, allowing you to sculpt the composition with unparalleled accuracy.
Furthermore, the eraser tool seamlessly integrates with zoom and pan functionalities, empowering you to navigate through the photo with precision and focus on specific areas that require background removal. This seamless integration ensures that every stroke of the eraser is executed with meticulous care, allowing you to refine the background removal with ease and assurance.
As you immerse yourself in the process of erasing the background, a sense of creative liberation permeates the editing journey, as you witness the photo transform before your eyes. Each precise stroke of the eraser brings you closer to unveiling the visual narrative that aligns with your artistic vision, ultimately shaping your photo into a captivating composition that reflects your unique perspective and creative flair.
This pivotal step sets the stage for the subsequent actions of background removal, marking the culmination of your creative journey within the Photos app on your iPhone 13.
Step 8: Save the Edited Photo
After meticulously refining the background removal and sculpting your photo to align with your creative vision, the final step in this transformative process is to save the edited masterpiece. This pivotal action ensures that your artistic endeavors are preserved and ready to be shared, cherished, or further enhanced.
Upon completing the background removal and any additional edits, the Photos app seamlessly facilitates the saving process, offering intuitive options to preserve your meticulously crafted composition. Tapping the "Done" button signals the culmination of your editing journey, prompting the app to present the choice to "Save as a New Photo" or "Save over the Original."
Opting to "Save as a New Photo" preserves the original image while creating a distinct copy that encapsulates your artistic modifications. This approach ensures that your creative endeavors are safeguarded, allowing you to explore alternative editing paths without altering the original photo. This preservation of the original composition serves as a testament to the evolution of your artistic vision, capturing each iteration as a unique chapter in the visual narrative.
On the other hand, choosing to "Save over the Original" seamlessly replaces the initial photo with your meticulously edited masterpiece. This approach streamlines your editing workflow, ensuring that the refined composition seamlessly integrates into your photo collection. This decisive action marks the definitive transformation of the original photo, imbuing it with the essence of your creative ingenuity.
Furthermore, the Photos app offers seamless integration with iCloud, ensuring that your edited photos are securely backed up and readily accessible across your Apple devices. This synchronization empowers you to seamlessly access and share your edited masterpieces, fostering a cohesive and interconnected editing experience.
As you save the edited photo, a sense of fulfillment and creative accomplishment envelops you, knowing that your artistic vision has been faithfully translated into a captivating visual narrative. Each tap and selection within the Photos app serves as a testament to your creative journey, culminating in the preservation of your meticulously crafted composition.
In essence, saving the edited photo marks the culmination of your artistic endeavors within the Photos app on your iPhone 13, ensuring that your visual narratives are preserved and ready to be shared, cherished, or further enhanced.