
Checking Your Chromebook’s File Download Settings
Before making any changes to your Chromebook’s file download settings, it’s important to familiarize yourself with the current configuration. Here’s how you can check your Chromebook’s file download settings:
1. Open the Chrome browser on your Chromebook.
2. Click the three-dot menu icon located at the top-right corner of the browser window.
3. Select “Settings” from the dropdown menu.
4. Scroll down and click on “Advanced” to expand the advanced settings options.
5. Locate the “Privacy and security” section, and then click on “Site Settings”.
6. In the Site Settings menu, scroll down to find the “Downloads” option.
Once you have reached the “Downloads” section, you will see several settings related to file downloads:
– Ask where to save each file before downloading: If this option is enabled, Chrome will prompt you to choose the download location for every file you download.
– Download location: This displays the current default download location on your Chromebook. By default, Chrome saves downloaded files in the “Downloads” folder in your Chromebook’s local storage.
By understanding how your Chromebook’s file download settings are currently configured, you can make informed decisions when it comes to customizing them to suit your preferences. In the next sections, we will explore how to change the default download location, modify the download behavior, block dangerous file types, clear download history, and reset the file download settings to their default values.
Changing the Default Download Location
By default, Chrome saves downloaded files in the “Downloads” folder on your Chromebook. However, you have the flexibility to change the default download location to a different folder or even an external storage device. Here’s how you can do it:
1. Open the Chrome browser on your Chromebook.
2. Click the three-dot menu icon located at the top-right corner of the browser window.
3. Select “Settings” from the dropdown menu.
4. Scroll down and click on “Advanced” to expand the advanced settings options.
5. Locate the “Downloads” section and click on “Change” next to the current download location.
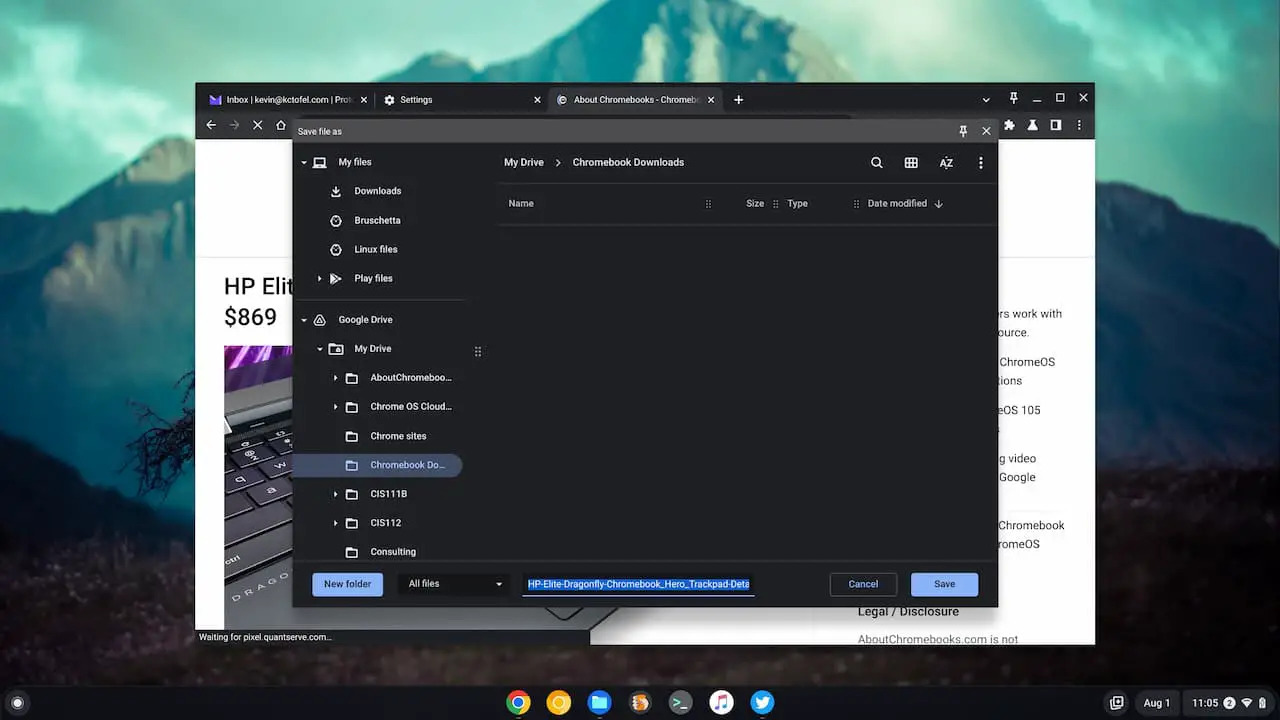
A file browser window will appear, allowing you to browse and choose the new location where you want your downloaded files to be saved. You can select an existing folder or create a new one to serve as the new default download location.
It’s important to select a location that is easily accessible and suits your organizational preferences. For example, you may choose to save files directly to an external storage device like a USB drive or an SD card.
Once you have chosen the new download location, Chrome will save all future downloads to that location, and you won’t need to manually specify the destination each time you download a file.
Remember, you can always change the download location again in the future by following the same steps. By customizing the default download location, you can keep your files organized and conveniently locate them whenever you need them.
Changing the Download Behavior
Chromebook allows you to modify the download behavior to suit your preferences. Whether you want files to automatically download or prompt you before each download, here’s how you can change the download behavior:
1. Open the Chrome browser on your Chromebook.
2. Click the three-dot menu icon located at the top-right corner of the browser window.
3. Select “Settings” from the dropdown menu.
4. Scroll down and click on “Advanced” to expand the advanced settings options.
5. Locate the “Downloads” section.
Within the “Downloads” section, you will find the following options related to the download behavior:
– Ask where to save each file before downloading: If this option is enabled, Chrome will prompt you to choose the download location for every file you download.
– Download files without asking: When this option is enabled, Chrome will automatically download files to the default download location without showing any prompts.
To change the download behavior, simply toggle the button next to your desired option. If you prefer Chrome to ask you before each download, enable the “Ask where to save each file before downloading” option. On the other hand, if you want files to download without any prompts, enable the “Download files without asking” option.
Customizing the download behavior according to your preferences can streamline the downloading process. Whether you like to have full control over the download location or prefer a more automated approach, Chrome provides the flexibility to adapt to your needs.
Blocking Dangerous File Types
Ensuring the safety and security of your Chromebook is essential, and one way to protect against potential threats is by blocking dangerous file types from being downloaded. Chrome allows you to customize this setting to minimize the risk of downloading malicious files. Follow these steps to block dangerous file types:
1. Open the Chrome browser on your Chromebook.
2. Click the three-dot menu icon located at the top-right corner of the browser window.
3. Select “Settings” from the dropdown menu.
4. Scroll down and click on “Advanced” to expand the advanced settings options.
5. Locate the “Downloads” section.
6. In the “Downloads” section, you will find an option called “Protect you and your device from dangerous sites.” Enable this option by toggling the button next to it.
When this option is enabled, Chrome’s built-in security features will identify dangerous file types and prevent them from being downloaded onto your Chromebook. This includes files that are known to contain malware, viruses, or other potential threats.
By blocking dangerous file types, you can reduce the risk of inadvertently downloading harmful files, thereby safeguarding your Chromebook and the data stored on it. It’s important to keep this setting enabled to ensure the highest level of security.
However, it’s worth noting that no security measure is foolproof. It’s always recommended to exercise caution when downloading files from the internet and to ensure the source is trustworthy.
Clearing Download History on Chromebook
If you want to maintain privacy and keep your download history clean on your Chromebook, you can easily clear the download history. Here’s how you can do it:
1. Open the Chrome browser on your Chromebook.
2. Click the three-dot menu icon located at the top-right corner of the browser window.
3. Select “Settings” from the dropdown menu.
4. Scroll down and click on “Advanced” to expand the advanced settings options.
5. Locate the “Privacy and security” section.
6. Click on “Clear browsing data”.
Once you have clicked on “Clear browsing data”, a pop-up window will appear with various browsing data options to choose from. Select the following options:
– Browsing history: This will remove your entire browsing history, including the download history.
– Cookies and other site data: This will clear cookies and other cached data from websites.
– Cached images and files: This will remove any locally stored images and files.
You can customize the time range for which you want to clear the browsing data. If you only wish to remove the download history, you can select the appropriate time range or choose “All time” to delete the entire history.
After selecting the desired options, click on the “Clear data” button to initiate the clearing process. Be aware that this action cannot be undone, so make sure you have backed up any important data or downloads before proceeding.
By clearing your download history, you can maintain privacy and keep your Chromebook tidy. It also helps free up storage space, especially if you frequently download files.
Resetting File Download Settings to Default
If you have made various changes to your file download settings on your Chromebook and want to revert them back to the default configuration, you can easily reset the settings. Here’s how you can do it:
1. Open the Chrome browser on your Chromebook.
2. Click the three-dot menu icon located at the top-right corner of the browser window.
3. Select “Settings” from the dropdown menu.
4. Scroll down and click on “Advanced” to expand the advanced settings options.
5. Locate the “Downloads” section.
6. At the bottom of the “Downloads” section, you will find a link labeled “Restore settings to their original defaults”. Click on this link.
By clicking on the “Restore settings to their original defaults” link, Chrome will reset all the file download settings to their default values.
Keep in mind that resetting the file download settings will affect all the changes you have made, including the default download location, download behavior, and any blocked file types. It’s recommended to review your settings after the reset to ensure they align with your preferences.
Resetting the file download settings can be useful if you have made multiple changes and want a fresh start or if you’re experiencing any issues with your current settings. It allows you to go back to the default configuration and then customize them as needed.