
What is a MIDI Connector?
A MIDI (Musical Instrument Digital Interface) connector is a standard interface used in the music industry to connect electronic musical instruments, computers, and audio equipment. It allows these devices to communicate and synchronize with each other. The MIDI connector typically consists of a 5-pin DIN connector, which is a circular connector with five pins arranged in a semi-circular pattern.
MIDI connectors are widely used for transmitting musical performance data, such as note information, pitch, velocity, vibrato, panning, and clock signals. These connectors are essential for connecting keyboards, synthesizers, drum machines, and other electronic musical instruments to recording equipment, computers, and other MIDI-compatible devices.
The MIDI protocol enables electronic musical instruments and other devices to exchange control information and synchronize their performance. This allows musicians and producers to record, edit, and play back music with precision and flexibility. MIDI connectors have become a standard feature in music production studios, live performances, and home recording setups due to their versatility and reliability.
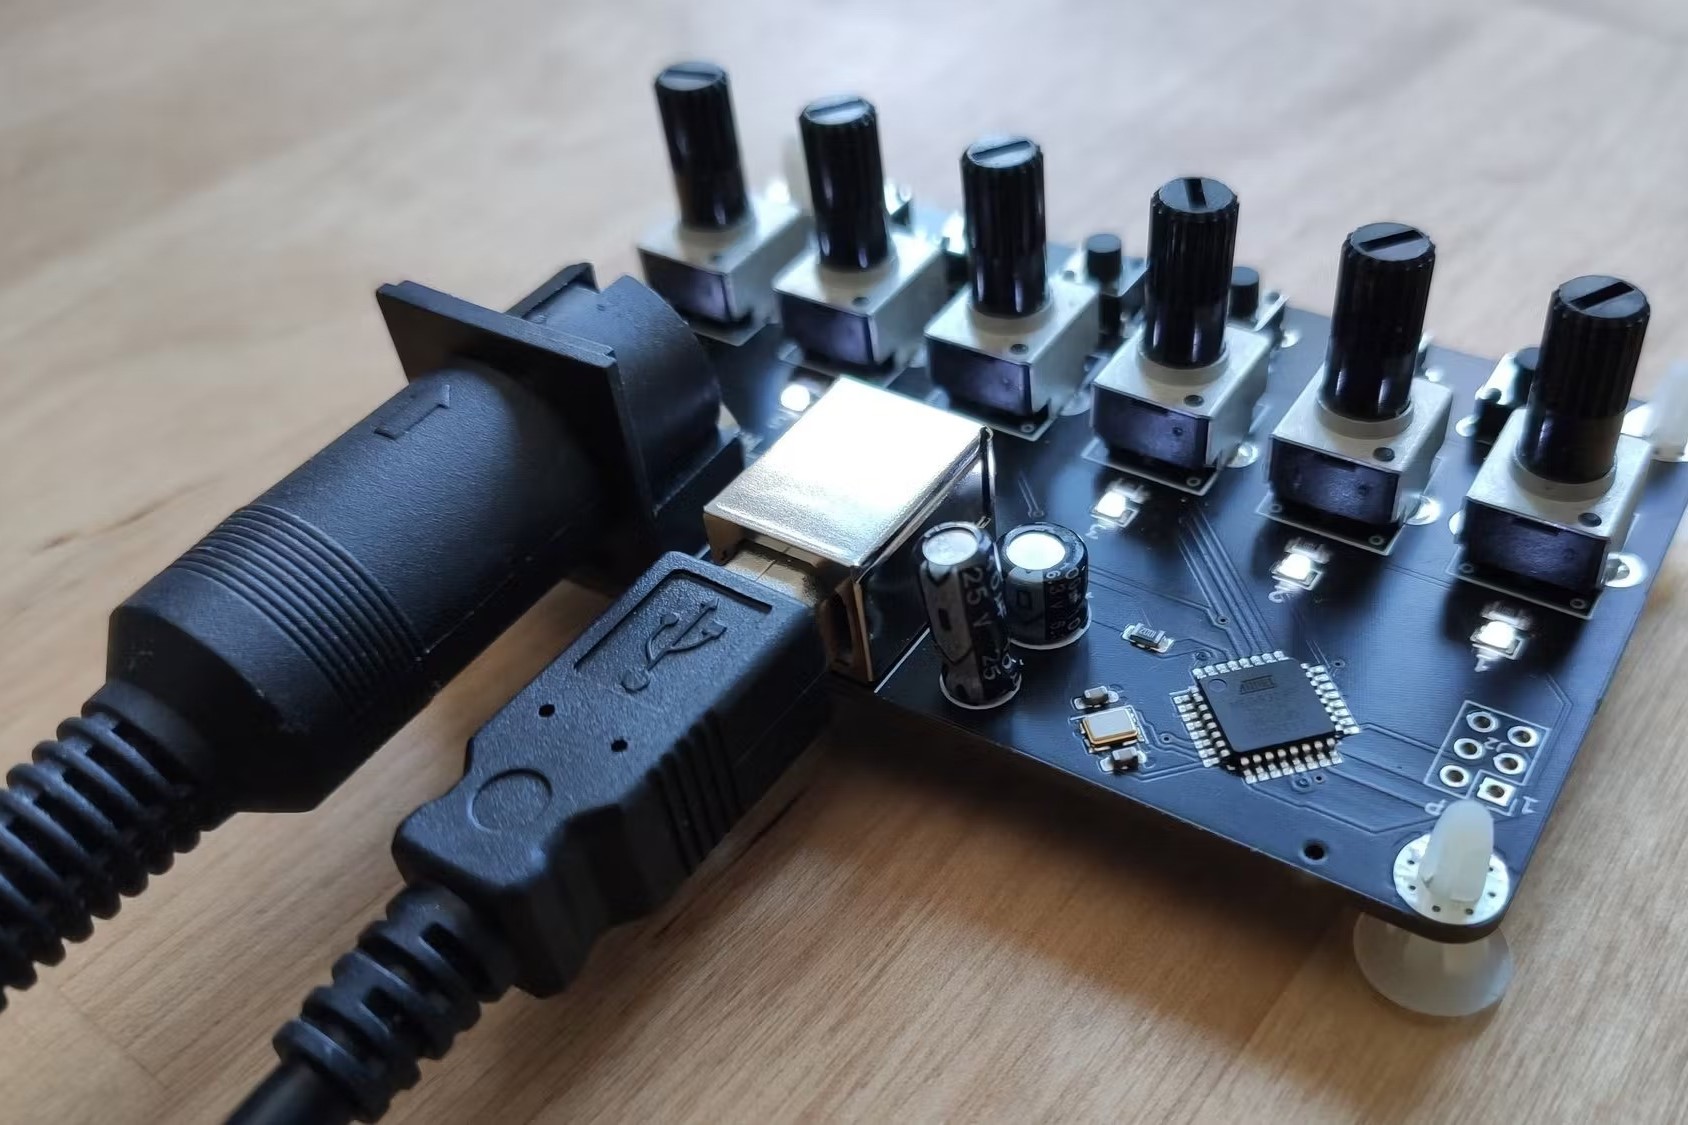
In addition to the traditional 5-pin DIN MIDI connectors, modern MIDI equipment also utilizes USB and other digital interfaces for MIDI communication. These advancements have expanded the capabilities of MIDI technology, allowing for faster data transfer and compatibility with a wider range of devices.
Understanding the role and functionality of a MIDI connector is crucial for musicians, producers, and audio engineers who work with electronic musical instruments and recording equipment. It forms the backbone of many music production setups and facilitates seamless communication between different components of a music system.
Understanding the Pins on a MIDI Connector
Each MIDI connector comprises five pins that serve distinct purposes in facilitating communication between MIDI-compatible devices. Understanding the function of each pin is essential for troubleshooting, cable construction, and identifying the data-carrying pin.
The five pins on a MIDI connector are labeled as follows:
- Pin 1 (Shield): This pin is connected to the cable shield and provides grounding for the connector, reducing electromagnetic interference.
- Pin 2 (Data Minus): Also known as the “cold” pin, it carries the inverted signal of the MIDI data stream.
- Pin 3 (Data Plus): Also known as the “hot” pin, it carries the non-inverted signal of the MIDI data stream.
- Pin 4 (Not Connected): This pin is not connected and is often left unused in MIDI applications.
- Pin 5 (Power): In some cases, this pin provides a 5-volt power supply to MIDI devices, although it is not utilized in all MIDI applications.
Understanding the pin configuration is crucial for correctly wiring MIDI cables and identifying the data-carrying pin when necessary. The Data Plus and Data Minus pins are particularly important, as they carry the MIDI data stream, while the Shield pin provides grounding to minimize interference.
When constructing or repairing MIDI cables, it’s essential to ensure that the pins are connected correctly to maintain the integrity of the MIDI signal. Additionally, having a clear understanding of the pin functions enables users to troubleshoot connectivity issues and identify potential sources of signal loss or distortion.
By comprehending the roles of each pin on a MIDI connector, musicians, audio engineers, and technicians can effectively utilize MIDI technology and maintain the reliability of their MIDI setups.
Identifying the Data-Carrying Pin
Identifying the data-carrying pin on a MIDI connector is essential for troubleshooting connectivity issues and ensuring the proper transmission of MIDI data between devices. The data-carrying pin, also known as the “hot” pin, is responsible for carrying the non-inverted signal of the MIDI data stream. This pin plays a critical role in maintaining the integrity of the MIDI communication and must be accurately identified when working with MIDI equipment.
Several methods can be employed to identify the data-carrying pin on a MIDI connector, including visual inspection and the use of a multimeter. Visual inspection involves examining the pinout of the MIDI connector and identifying the pin designated as the “Data Plus” or “hot” pin. Manufacturers often label the pins on MIDI connectors, making it relatively straightforward to locate the data-carrying pin based on the provided pinout information.
However, in cases where the MIDI connector is unmarked or the pinout information is unavailable, utilizing a multimeter becomes a valuable technique for pinpointing the data-carrying pin. A multimeter allows for the measurement of electrical continuity and can help determine which pin carries the active MIDI signal.
Identifying the data-carrying pin is crucial for constructing MIDI cables, diagnosing connectivity issues, and ensuring the proper functioning of MIDI devices. By accurately identifying and understanding the role of the data-carrying pin, users can maintain reliable MIDI communication and troubleshoot potential signal transmission problems effectively.
Using a Multimeter to Identify the Data-Carrying Pin
When faced with unmarked or unlabeled MIDI connectors, using a multimeter can be a valuable technique for identifying the data-carrying pin. A multimeter is a versatile tool that measures various electrical properties, including voltage, resistance, and continuity. To determine the data-carrying pin on a MIDI connector using a multimeter, follow these steps:
- Set the Multimeter to Continuity Mode: Start by setting the multimeter to continuity mode, which is usually denoted by a sound or light indicator when a circuit is complete. This mode allows you to determine if there is a continuous electrical path between the multimeter’s probes.
- Probe the Pins: With the multimeter set to continuity mode, carefully probe each pin on the MIDI connector while ensuring the connector is not connected to any devices. Begin by probing Pin 2 (Data Minus) and Pin 3 (Data Plus) to identify which pin carries the active MIDI signal.
- Observe the Multimeter Reading: As you probe the pins, observe the multimeter’s reading. When the data-carrying pin is probed, the multimeter should indicate continuity, confirming that the pin carries the active MIDI signal. This pin corresponds to the “hot” or non-inverted signal of the MIDI data stream.
- Verify the Results: After identifying the data-carrying pin, verify the results by cross-checking with the MIDI connector’s pinout information if available. This helps ensure that the correct pin has been identified for future reference and cable construction.
Using a multimeter to identify the data-carrying pin on a MIDI connector is a precise and effective method, especially when dealing with unmarked or undocumented connectors. By leveraging the multimeter’s continuity mode, users can confidently determine the active MIDI signal pin and proceed with wiring or troubleshooting MIDI connections with accuracy.
It’s important to exercise caution and adhere to safety practices when working with a multimeter to prevent electrical hazards and damage to the MIDI equipment. With proper technique and attention to detail, the multimeter serves as a valuable ally in identifying the data-carrying pin on MIDI connectors.
Testing the Data-Carrying Pin
Once the data-carrying pin on a MIDI connector has been identified, it’s essential to conduct a thorough test to ensure the accuracy of the identification and verify the integrity of the MIDI signal transmission. Testing the data-carrying pin involves confirming its functionality and assessing the quality of the MIDI signal to guarantee reliable communication between MIDI devices.
The following steps outline the process of testing the data-carrying pin on a MIDI connector:
- Prepare the Testing Setup: Before initiating the test, ensure that the MIDI connector is unconnected to any devices and that the testing environment is free from electrical interference. This helps maintain the accuracy of the test results.
- Use a MIDI Signal Tester: Employ a MIDI signal tester or MIDI diagnostic tool to assess the signal quality and integrity of the data-carrying pin. These specialized tools provide insights into the MIDI signal strength, noise levels, and potential signal loss, allowing for a comprehensive evaluation of the data-carrying pin’s performance.
- Observe the Signal Output: Connect the MIDI signal tester to the identified data-carrying pin and observe the signal output displayed by the tester. A reliable data-carrying pin should yield a clean and robust MIDI signal, indicating its ability to transmit the MIDI data stream effectively.
- Verify Signal Integrity: Analyze the signal integrity and consistency to ensure that the data-carrying pin maintains a stable and distortion-free MIDI signal. Any irregularities or anomalies in the signal output may indicate issues with the data-carrying pin or the overall MIDI connector integrity.
By conducting a comprehensive test of the data-carrying pin, users can validate the accuracy of the pin identification and ascertain the functionality of the MIDI connector. This process is instrumental in maintaining the reliability of MIDI communication and diagnosing potential signal transmission issues that may affect the performance of MIDI devices and equipment.
Regular testing of the data-carrying pin is recommended as part of routine maintenance and troubleshooting procedures, ensuring that MIDI connectors remain in optimal working condition and capable of facilitating seamless communication between MIDI-compatible devices.