
Why Replace the Face Foam?
The face foam on your HTC Vive plays a crucial role in providing comfort and hygiene during your VR gaming sessions. Over time, the foam can become worn out, damaged, or accumulate dirt, sweat, and bacteria. This can lead to discomfort, skin irritations, and even a less immersive experience. That’s why it’s important to regularly replace the face foam to ensure optimal comfort and cleanliness while using your HTC Vive.
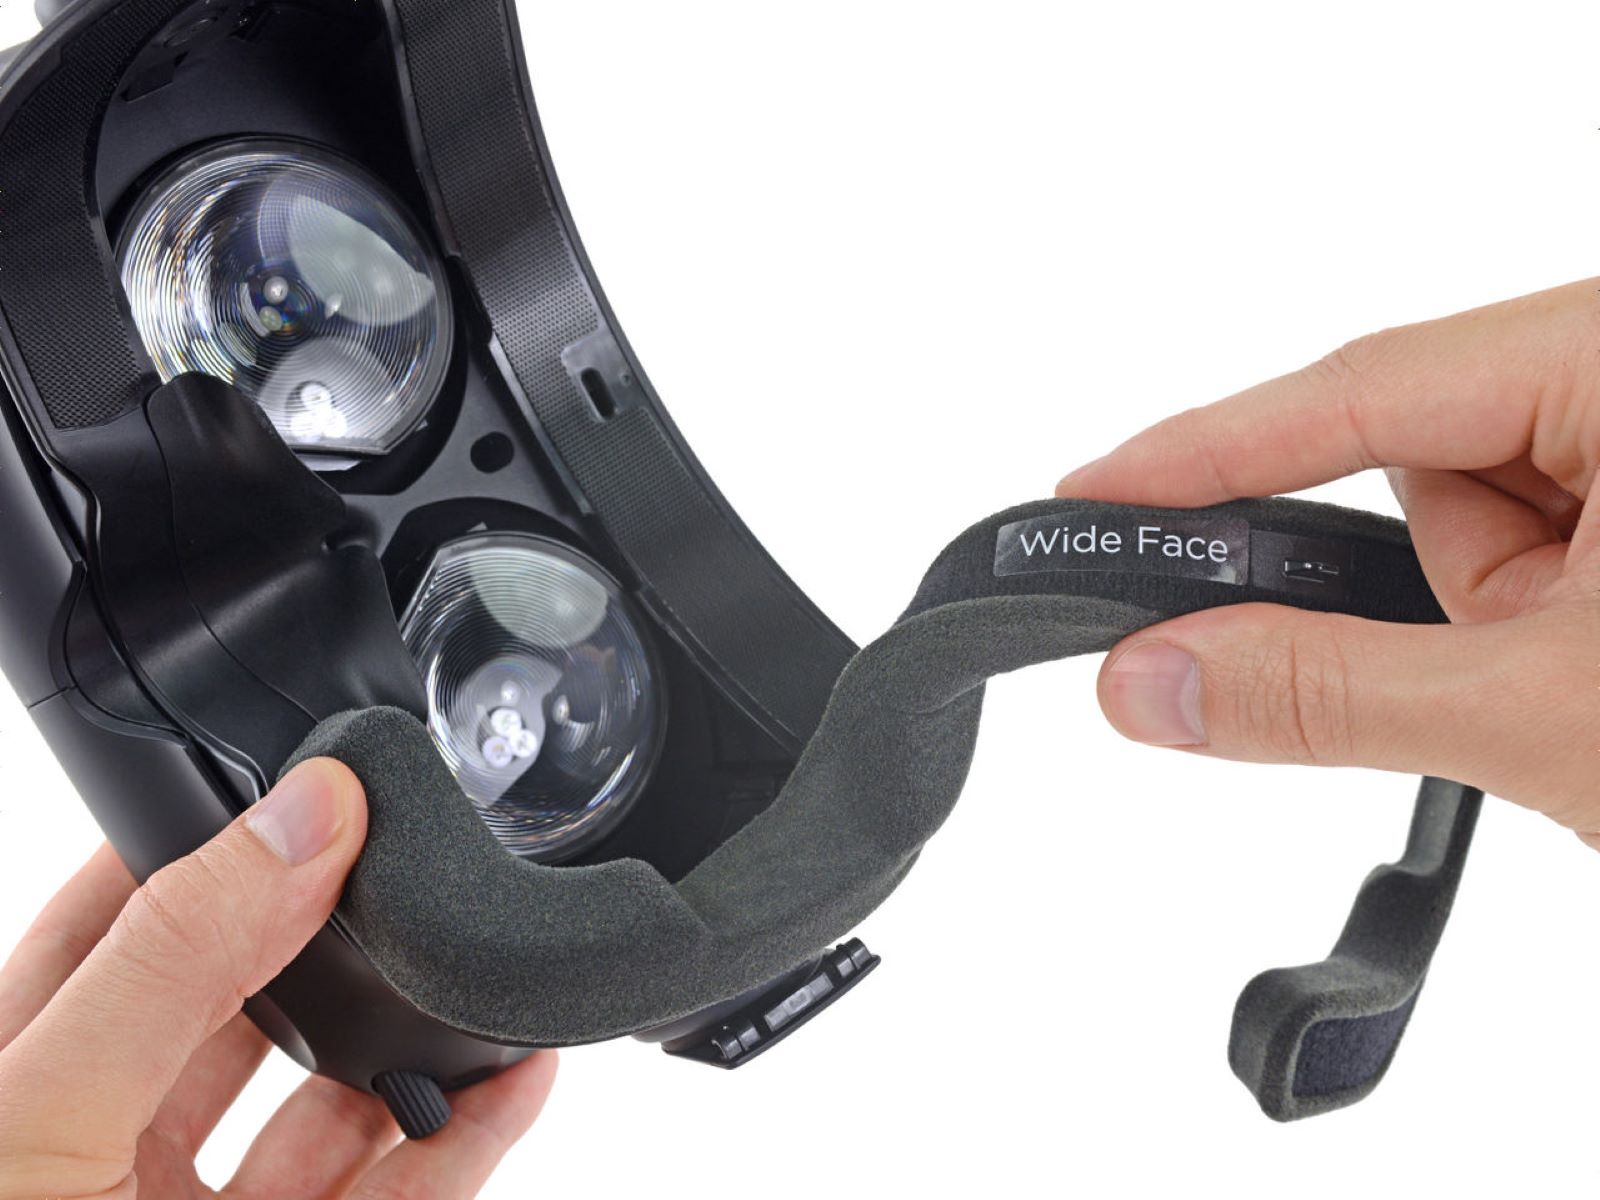
Replacing the face foam also allows you to customize your VR experience. There are various types of foam available, each with different thicknesses and materials. Some people prefer thicker foam for enhanced comfort, while others opt for thinner foam for a wider field of view. By replacing the face foam, you can choose the option that best suits your preferences and needs.
Moreover, if you regularly share your HTC Vive with friends or family members, replacing the face foam is essential for maintaining hygiene and preventing the spread of germs. This is especially important during times when personal cleanliness is a priority. By having spare face foam and regularly replacing it, you can ensure that everyone enjoys a clean and safe VR experience.
Lastly, replacing the face foam can prolong the lifespan of your HTC Vive. As the foam deteriorates, it may not provide the necessary padding and protection for the device. This can lead to increased pressure on the lenses and other delicate components, potentially causing damage over time. By replacing the face foam, you can prevent such issues and ensure that your HTC Vive remains in optimal condition for longer.
What You Will Need
Before you begin replacing the face foam on your HTC Vive, it’s important to gather the necessary tools and materials. Here’s a list of what you’ll need:
- New face foam replacement kit: Ensure you have the correct foam replacement kit that is compatible with your HTC Vive model. You can find these kits online or at VR specialty stores.
- Small screwdriver or tool: You’ll need a small screwdriver or a tool that can help you remove any screws holding the current face foam in place. Make sure it’s the appropriate size for the screws.
- Clean cloth: Prepare a clean, lint-free cloth that you can use to wipe down the HTC Vive and remove any dirt or residue before attaching the new face foam.
These are the basic items you’ll need to successfully replace the face foam on your HTC Vive. It’s always a good idea to double-check the instructions provided with your foam replacement kit, as there may be additional tools or materials recommended by the manufacturer.
Once you have gathered all the necessary items, you’ll be ready to proceed with the face foam replacement process. So, gather your tools and let’s move on to the next steps.
Step 1: Removing the Old Face Foam
To begin the process of replacing the face foam on your HTC Vive, follow these steps to remove the old foam:
- Power off your HTC Vive: Before making any changes, it’s important to turn off your HTC Vive and unplug all the cables to ensure safety and prevent any accidental damage.
- Locate the faceplate: The faceplate is the part of the device that covers the foam. Gently press on the sides to detach it from the main unit.
- Identify the screws: Once the faceplate is removed, you’ll see small screws holding the old face foam in place. Use a small screwdriver or tool to carefully unscrew them. Keep these screws in a safe place for later use.
- Remove the old foam: With the screws removed, you can now detach the old face foam from the HTC Vive. Take it out carefully, making sure not to damage any other components. Dispose of the old foam properly.
- Clean the area: Use a clean cloth to wipe down the area where the old foam was attached. Remove any dirt, sweat, or residue to ensure a clean surface for attaching the new face foam.
By following these steps, you will successfully remove the old face foam from your HTC Vive. Take your time and be gentle while handling the device to avoid any unnecessary damage. With the old foam removed, you’re now ready to move on to the next step – preparing the new face foam.
Step 2: Preparing the New Face Foam
After successfully removing the old face foam from your HTC Vive, it’s time to prepare the new face foam for installation. Follow these steps to get the new foam ready:
- Inspect the new foam: Take a moment to inspect the new face foam replacement kit. Ensure that it matches the specifications of your HTC Vive model and that all necessary components are included.
- Remove any protective covers: If the new foam comes with any protective covers or packaging, carefully remove them, making sure not to damage the foam itself. This will allow for a smooth and clean installation.
- Clean the new foam: Before attaching the new foam, it’s a good idea to give it a quick wipe-down with a clean cloth. This will remove any dust or debris that may have accumulated during storage or shipping.
- Check for any alignment guides or markings: Some foam replacement kits may include alignment guides or markings to help you position the foam correctly. Take a look at the instructions or examine the foam itself for any indicators.
By following these steps, you will ensure that the new face foam is prepared and ready for installation. Taking the time to inspect and clean the foam beforehand will contribute to a successful and comfortable replacement process. Now that the new foam is ready, it’s time to move on to the next step – attaching the new face foam to your HTC Vive.
Step 3: Attaching the New Face Foam
With the new face foam prepared, it’s time to attach it to your HTC Vive. Follow these steps to ensure a secure and comfortable installation:
- Position the new foam: Carefully align the new face foam with the designated area on your HTC Vive where the old foam was previously attached. Make sure it fits snugly and covers the entire area for optimal comfort and support.
- Secure the foam: Depending on the foam replacement kit you have, there may be adhesive strips or hooks provided for securing the foam in place. Follow the manufacturer’s instructions and use these attachments as directed.
- Press firmly: Once the foam is in the desired position and any adhesive strips or hooks are attached, press firmly on the foam to ensure it adheres properly to your HTC Vive. This will prevent any shifting or discomfort during use.
- Double-check the alignment: Take a step back and examine the foam’s alignment. Make any necessary adjustments to ensure it is positioned correctly and evenly across your face for an optimal VR experience.
It’s important to note that different foam replacement kits may have slight variations in the installation process. Be sure to read and follow the specific instructions provided with your foam replacement kit for the best results.
Once you have attached the new face foam securely to your HTC Vive, you’re ready to move on to the final step – testing the new face foam to ensure it provides the comfort and functionality you desire.
Step 4: Testing the New Face Foam
Now that you have successfully attached the new face foam to your HTC Vive, it’s time to test it out and ensure it meets your comfort and functionality needs. Follow these steps to properly test the new face foam:
- Put on your HTC Vive: Carefully wear your HTC Vive as you normally would during a VR gaming session. Make sure the headset is adjusted properly for a comfortable fit.
- Assess comfort levels: Pay attention to how the new face foam feels against your skin. Is it providing enough cushioning and support? Does it feel comfortable and secure? Take note of any areas that may feel uncomfortable or require further adjustments.
- Check for proper airflow: While wearing the HTC Vive, assess the airflow around your face. The new foam should not impede ventilation, as proper airflow is necessary to prevent heat buildup and fogging of the lenses.
- Test the fit: Move your head and make various facial expressions to ensure the new face foam stays in place and doesn’t shift or slide during use. It should provide a stable and secure fit to enhance your VR experience.
- Evaluate visual clarity: Lastly, check the visual clarity of the VR display. Ensure that the foam is not obstructing your view or pressing too tightly against your face, which could impact the quality of the visuals.
By going through these testing steps, you can assess the performance of the new face foam and make any necessary adjustments to ensure optimal comfort and functionality. If you encounter any issues or discomfort, refer back to the instructions provided with your foam replacement kit for troubleshooting tips or consider contacting customer support for assistance.
Congratulations! You have successfully replaced the face foam on your HTC Vive and tested its performance. With a fresh foam, you can now enjoy a comfortable and immersive VR experience. Remember to periodically clean and inspect the face foam for maintenance and hygiene purposes. Get ready to dive back into your favorite virtual worlds with renewed comfort and enjoyment!
Additional Tips and Considerations
As you replace the face foam on your HTC Vive, here are some additional tips and considerations to keep in mind:
- Consider foam material: There are different foam materials available, such as foam pads, memory foam, and silicone covers. Research and choose the material that best suits your comfort preferences.
- Regularly clean the face foam: To maintain hygiene and prevent odors, it’s recommended to clean the face foam regularly. Use mild soap and water or a disinfectant wipe to gently wipe down the foam. Allow it to fully dry before reattaching it to your HTC Vive.
- Have spare face foam: It’s always useful to have spare face foam on hand. That way, you can easily replace the foam when needed without having to wait for a replacement to arrive.
- Consider ergonomic accessories: If you find that the face foam alone is not providing enough comfort, consider investing in additional ergonomic accessories, such as face cushions or forehead pads.
- Check for compatibility: Before purchasing a foam replacement kit, double-check if it is compatible with your specific HTC Vive model. Different models may have slight variations in the design.
Remember, the comfort and hygiene of your HTC Vive experience greatly depend on the quality and condition of the face foam. By following these additional tips and considerations, you can ensure a comfortable and enjoyable VR gaming experience with your HTC Vive.