
What is DOSBox?
DOSBox is a free and open-source emulator that allows you to run old MS-DOS-based programs and games on modern operating systems. MS-DOS, or Microsoft Disk Operating System, was the standard operating system for IBM-compatible personal computers in the 1980s and 1990s.
With the advancement of technology, modern operating systems no longer support running MS-DOS programs natively. However, many nostalgic users still have cherished memories associated with those old programs and games. That’s where DOSBox comes in, providing a solution to revive and relive those nostalgic experiences.
DOSBox creates a virtual environment that emulates the hardware and software of an MS-DOS system. It allows you to install and run old DOS applications, play classic DOS games, and even execute commands as if you were using a real MS-DOS machine.
One of the key advantages of DOSBox is its cross-platform compatibility. It is available for Windows, macOS, Linux, and many other operating systems, enabling you to enjoy your favorite MS-DOS programs regardless of the platform you’re using.
DOSBox provides extensive support for emulating various hardware components, including graphics cards, sound cards, and input devices. It also offers customizable options to adjust the performance and settings of the virtual machine, ensuring optimal compatibility for different programs and games.
Moreover, DOSBox supports mounting directories and disk images as virtual drives, allowing you to easily access and manage files within the emulated environment. This flexibility gives you the freedom to organize and run your DOS programs efficiently.
Whether you’re a vintage computing enthusiast, a retro gaming fanatic, or someone who simply wants to revisit the software of the past, DOSBox offers a reliable and user-friendly solution. It preserves the legacy of MS-DOS and provides a platform for preserving and experiencing the golden era of computing.
Downloading and Installing DOSBox
Downloading and installing DOSBox is a simple process that can be completed in just a few steps. Here’s a guide to help you get started:
- Visit the official DOSBox website at https://www.dosbox.com.
- Navigate to the “Downloads” section of the website.
- Choose the appropriate version of DOSBox for your operating system. DOSBox is available for Windows, macOS, Linux, and other platforms.
- Click on the download link to start the download. The file size is relatively small, making it a quick and efficient process.
- Once the download is complete, locate the downloaded file and run the installer.
- Follow the on-screen instructions to complete the installation. The installer will guide you through the necessary configuration and setup options.
- By default, DOSBox installs in the Program Files directory on Windows or the Applications directory on macOS. You can choose a different installation location if desired.
- After the installation is complete, you will find the DOSBox shortcut or executable file available in your system’s application or program list.
- Launch DOSBox by double-clicking the shortcut or executable file.
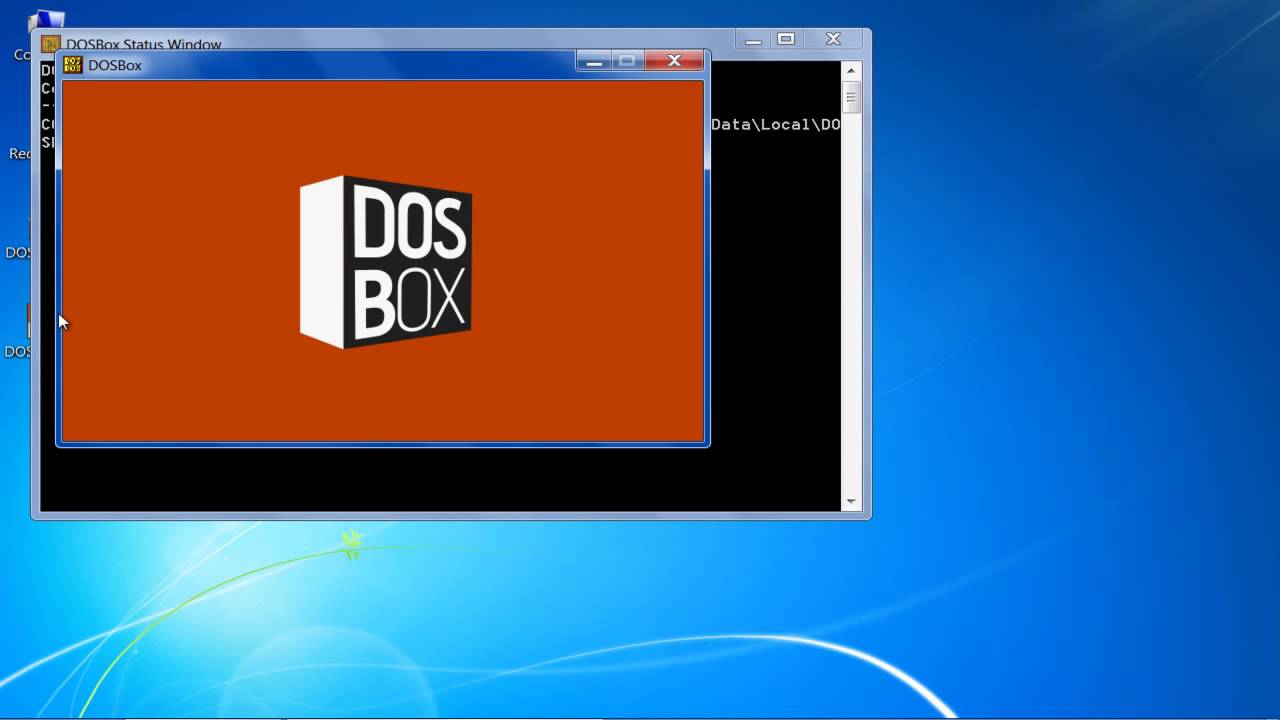
- Once DOSBox is running, you will see a command prompt-like interface, indicating that the emulator is ready to use.
And that’s it! You have successfully downloaded and installed DOSBox on your system. Now you are ready to start enjoying the world of MS-DOS applications and games.
It’s worth noting that DOSBox may require additional configuration depending on your specific needs and preferences. We will explore these customization options in a later section. But for now, you have completed the initial steps to set up DOSBox on your computer, opening up a gateway to the past and allowing you to relive those classic experiences.
Getting Familiar with the DOSBox Interface
When you launch DOSBox, you will be greeted with a simple and straightforward command prompt-like interface. While it may initially appear intimidating to those unfamiliar with MS-DOS, the interface is designed to provide easy navigation and control. Let’s explore the key elements of the DOSBox interface:
- Prompt: At the beginning of each line, you will see a prompt showing the current virtual drive and directory, typically displaying “Z:\”. This indicates that you are currently at the root of the Z drive, which is the default virtual drive within DOSBox.
- Command Entry: To execute commands, simply type them after the prompt and press Enter. DOS commands, such as “dir” to display directory contents, or “cd” to change directories, can be used just as they would in traditional MS-DOS.
- Keyboard Shortcuts: DOSBox provides several useful keyboard shortcuts to enhance your experience. Pressing “Ctrl+F1” opens the DOSBox configuration file, while “Ctrl+F4” closes the DOSBox window. “Alt+Enter” toggles between full-screen and windowed mode.
- Status Bar: The bottom of the DOSBox window displays a status bar, showing relevant information such as the current virtual drive, frames per second (FPS), and other details. This bar can be customized or hidden altogether if desired.
- Function Keys: The function keys (F1 to F9) are assigned certain functions within DOSBox. For example, pressing “F1” opens the DOSBox help file, while “F10” closes DOSBox.
- Configuration: DOSBox allows you to customize its behavior through the configuration file. This file can be accessed by navigating to the DOSBox installation directory and locating the “dosbox.conf” file. It can be edited with a simple text editor, enabling you to modify various settings to suit your preferences.
By becoming familiar with these elements, you will quickly feel comfortable navigating and interacting with the DOSBox interface. Remember, the DOSBox environment is virtual and independent of your host operating system, allowing you to experience the charm of MS-DOS without any potential risks to your computer.
Now that you have a solid understanding of the DOSBox interface, it’s time to learn how to mount drives and run programs within the emulator. We will explore these topics in the next section, helping you unlock the full potential of DOSBox.
Mounting Drives and Running Programs
One of the key features of DOSBox is its ability to mount drives and run programs within the emulator. By mounting a drive, you can access files and directories on your computer’s storage and execute programs as if you were running them on an MS-DOS machine. Let’s dive into how you can mount drives and run programs in DOSBox:
Mounting Drives:
DOSBox allows you to mount both physical drives and virtual disk images as virtual drives within the emulator. This makes it convenient to access and work with files and directories. Here’s how to mount a drive in DOSBox:
- Ensure that DOSBox is running and you can see the command prompt interface.
- Type “mount” followed by the drive letter and the directory path of the drive you want to mount. For example, to mount the C:\ drive, type “mount c c:\” and press Enter.
- If the drive is successfully mounted, you will receive a confirmation message. You can now access files and directories on the mounted drive as if it were an actual drive on your system.
- To switch between mounted drives, use the “C:”, “D:”, “E:”, etc. commands to change the virtual drive letter as needed.
Running Programs:
Once you have mounted a drive, you can run programs within DOSBox. Here’s how to run a program:
- Navigate to the directory where the program file is located. Use the “cd” command to change directories, just like you would in traditional MS-DOS.
- Once you are in the desired directory, type the name of the program file followed by any required command line parameters. For example, if the program file is called “myprogram.exe”, type “myprogram.exe” and press Enter.
- The program should now execute within DOSBox, and you can interact with it as if you were using an MS-DOS machine.
- When you are finished with the program, you can exit it by following the program-specific instructions (e.g., pressing a certain key combination or typing “exit” at the program’s command prompt).
Mounting drives and running programs in DOSBox provides a seamless way to experience and utilize MS-DOS applications and games. By mastering these techniques, you can dive into your collection of nostalgic software and explore the rich history of computing.
In the next section, we will explore how to manage files and directories within DOSBox, giving you the tools to organize and navigate your virtual MS-DOS environment.
Managing Files and Directories
Within the DOSBox environment, you have full control over managing files and directories, allowing you to organize and navigate your virtual MS-DOS environment efficiently. Here are some essential commands and techniques to help you manage files and directories in DOSBox:
Viewing Files and Directories:
Use the following commands to view files and directories within DOSBox:
- dir: This command displays the contents of the current directory, including files and subdirectories. Running “dir” without any additional parameters will show a list of all files and directories.
- cd: The “cd” command allows you to change directories. Use “cd [directory name]” to navigate to a specific directory. For example, “cd games” will navigate to the “games” directory.
- cd..: With this command, you can move up one level in the directory hierarchy. For example, if you are in the “games” directory, running “cd..” will take you back to the parent directory.
Creating and Deleting Files and Directories:
Here’s how you can create and delete files and directories in DOSBox:
- mkdir: The “mkdir” command is used to create a new directory. Type “mkdir [directory name]” to create a directory with the specified name.
- rd: Use the “rd” command to remove a directory. Type “rd [directory name]” to delete the specified directory. Note that the directory must be empty for this command to work.
- del: The “del” command allows you to delete a file. Use “del [file name]” to remove the specified file.
Copying and Moving Files and Directories:
Copy or move files and directories with the following commands:
- copy: This command is used to make a copy of a file. Type “copy [source file] [destination file]” to create a copy of the source file with the specified destination.
- xcopy: The “xcopy” command copies directories and their contents. Use “xcopy [source directory] [destination directory]” to copy the source directory and its contents to the specified destination directory.
- move: The “move” command is used to move a file or directory. Type “move [source file or directory] [destination directory]” to move the source file or directory to the specified destination directory.
By utilizing these commands, you can efficiently manage files and directories within DOSBox, allowing you to organize your programs, games, and other files to your heart’s content. Whether you’re creating new directories, deleting unwanted files, or moving files between directories, DOSBox provides a familiar MS-DOS experience when it comes to managing your files.
Next, we will delve into customizing DOSBox settings to optimize your experience and ensure compatibility with various programs and games.
Customizing DOSBox Settings
DOSBox offers a range of customizable settings that allow you to tailor the emulator to your specific preferences and optimize its performance. By adjusting these settings, you can ensure compatibility with different programs and games, enhance the visual and audio experience, and streamline your overall DOSBox usage. Let’s explore some of the key settings you can customize:
Configuration File:
The DOSBox configuration file, typically named “dosbox.conf,” contains various parameters that control the behavior and performance of the emulator. You can modify this file using a text editor to adjust settings such as CPU speed, graphics settings, sound settings, and more. Access the configuration file by navigating to the DOSBox installation directory.
Autoexec Section:
The autoexec section of the configuration file allows you to specify DOS commands that are executed automatically when DOSBox starts. You can use this section to mount drives, set up environment variables, load TSR (Terminate and Stay Resident) programs, and perform other actions that you want to automate.
Graphics Settings:
DOSBox provides various options to customize the graphics settings to suit your preferences and improve the visual experience. Some key graphics settings include aspect ratio correction, window size, fullscreen mode, screen resolution, and scaling algorithms. Adjusting these settings can enhance the visual quality and ensure optimal display of DOS programs and games.
Sound Settings:
Sound settings in DOSBox allow you to configure the sound output and quality of the emulator. You can choose between different sound devices, set the sample rate, adjust the sound buffer size, and configure other options related to audio emulation. These settings are crucial for ensuring accurate sound reproduction and compatibility with various DOS games.
Keyboard and Mouse:
DOSBox provides options to customize the keyboard and mouse behavior within the emulator. You can define key mappings, adjust the mouse sensitivity and cursor speed, and configure other input-related settings. These options allow you to emulate the feel of a real MS-DOS environment or optimize the input for modern hardware.
Networking:
If you need to enable networking capabilities within DOSBox, you can configure network settings to establish connections with other computers or access network resources. DOSBox provides support for various networking protocols, allowing you to set up TCP/IP connections, file sharing, and other network-related functionalities.
By exploring and adjusting these settings, you can personalize your DOSBox experience and optimize it for specific applications or games. It’s worth mentioning that modifying certain settings may require some trial and error, as each program or game may have different requirements or compatibility constraints.
Now that you have an understanding of the customizable options available in DOSBox, you can fine-tune the emulator to suit your needs. In the next section, we will address some common troubleshooting issues that you may encounter while using DOSBox.
Troubleshooting Common Issues
While DOSBox is a reliable emulator, you may encounter some common issues while using it. Here are some troubleshooting tips to help you resolve these issues and ensure a smooth experience:
1. Program or Game Compatibility:
Make sure that the program or game you are trying to run is compatible with DOSBox. Some programs may require specific settings or modifications within DOSBox to function correctly. Refer to the program’s documentation or online resources to determine any specific requirements or compatibility issues.
2. Performance and Speed:
If you experience performance issues or slow gameplay, you can adjust the CPU cycles setting within DOSBox. Increasing the number of cycles can improve performance, while decreasing it can slow down the emulation. Experiment with different settings to find the optimal balance for your hardware and the program or game you are running.
3. Graphics and Display:
If you encounter visual glitches, incorrect aspect ratio, or other display-related issues, try adjusting the graphics settings within DOSBox. You can modify the screen resolution, enable aspect ratio correction, or experiment with different scaling algorithms to improve the visual experience. Additionally, updating your graphics card drivers may resolve compatibility issues.
4. Sound and Audio:
If you are facing problems with sound output or getting no sound at all, check the sound settings within DOSBox. Ensure that the correct sound device is selected and that the sample rate and buffer size are appropriate for your system. Additionally, updating your sound card drivers may help resolve any sound-related issues.
5. Keyboard and Mouse:
If you are experiencing issues with keyboard or mouse input within DOSBox, check the key mapping settings to ensure that the correct keys are assigned. You can customize the key mappings within DOSBox to match your preferences or to emulate the original MS-DOS environment. If your mouse is not working as expected, make sure that the mouse integration option is enabled in the DOSBox configuration file.
6. File and Directory Access:
If you are unable to access files or directories within DOSBox, ensure that the drives are correctly mounted. Use the “mount” command to mount the desired drives or disk images within DOSBox. Make sure the paths are correct, and the mounted drives contain the required files or directories.
By following these troubleshooting tips, you can overcome common issues and enjoy a seamless experience within DOSBox. Remember, the DOSBox community is vast and supportive, so if you encounter any persistent issues, don’t hesitate to seek assistance from online forums, guides, or communities dedicated to DOSBox.
With troubleshooting knowledge in hand, you are now equipped to make the most of DOSBox and relish the nostalgia of classic MS-DOS programs and games.