
Choose the Right Thermometer
When it comes to measuring body temperature accurately and effectively, choosing the right thermometer is crucial. With so many options available in the market, it can be overwhelming to make a decision. However, understanding the different types of thermometers and their features can help you make an informed choice. Here are some factors to consider when selecting a thermometer:
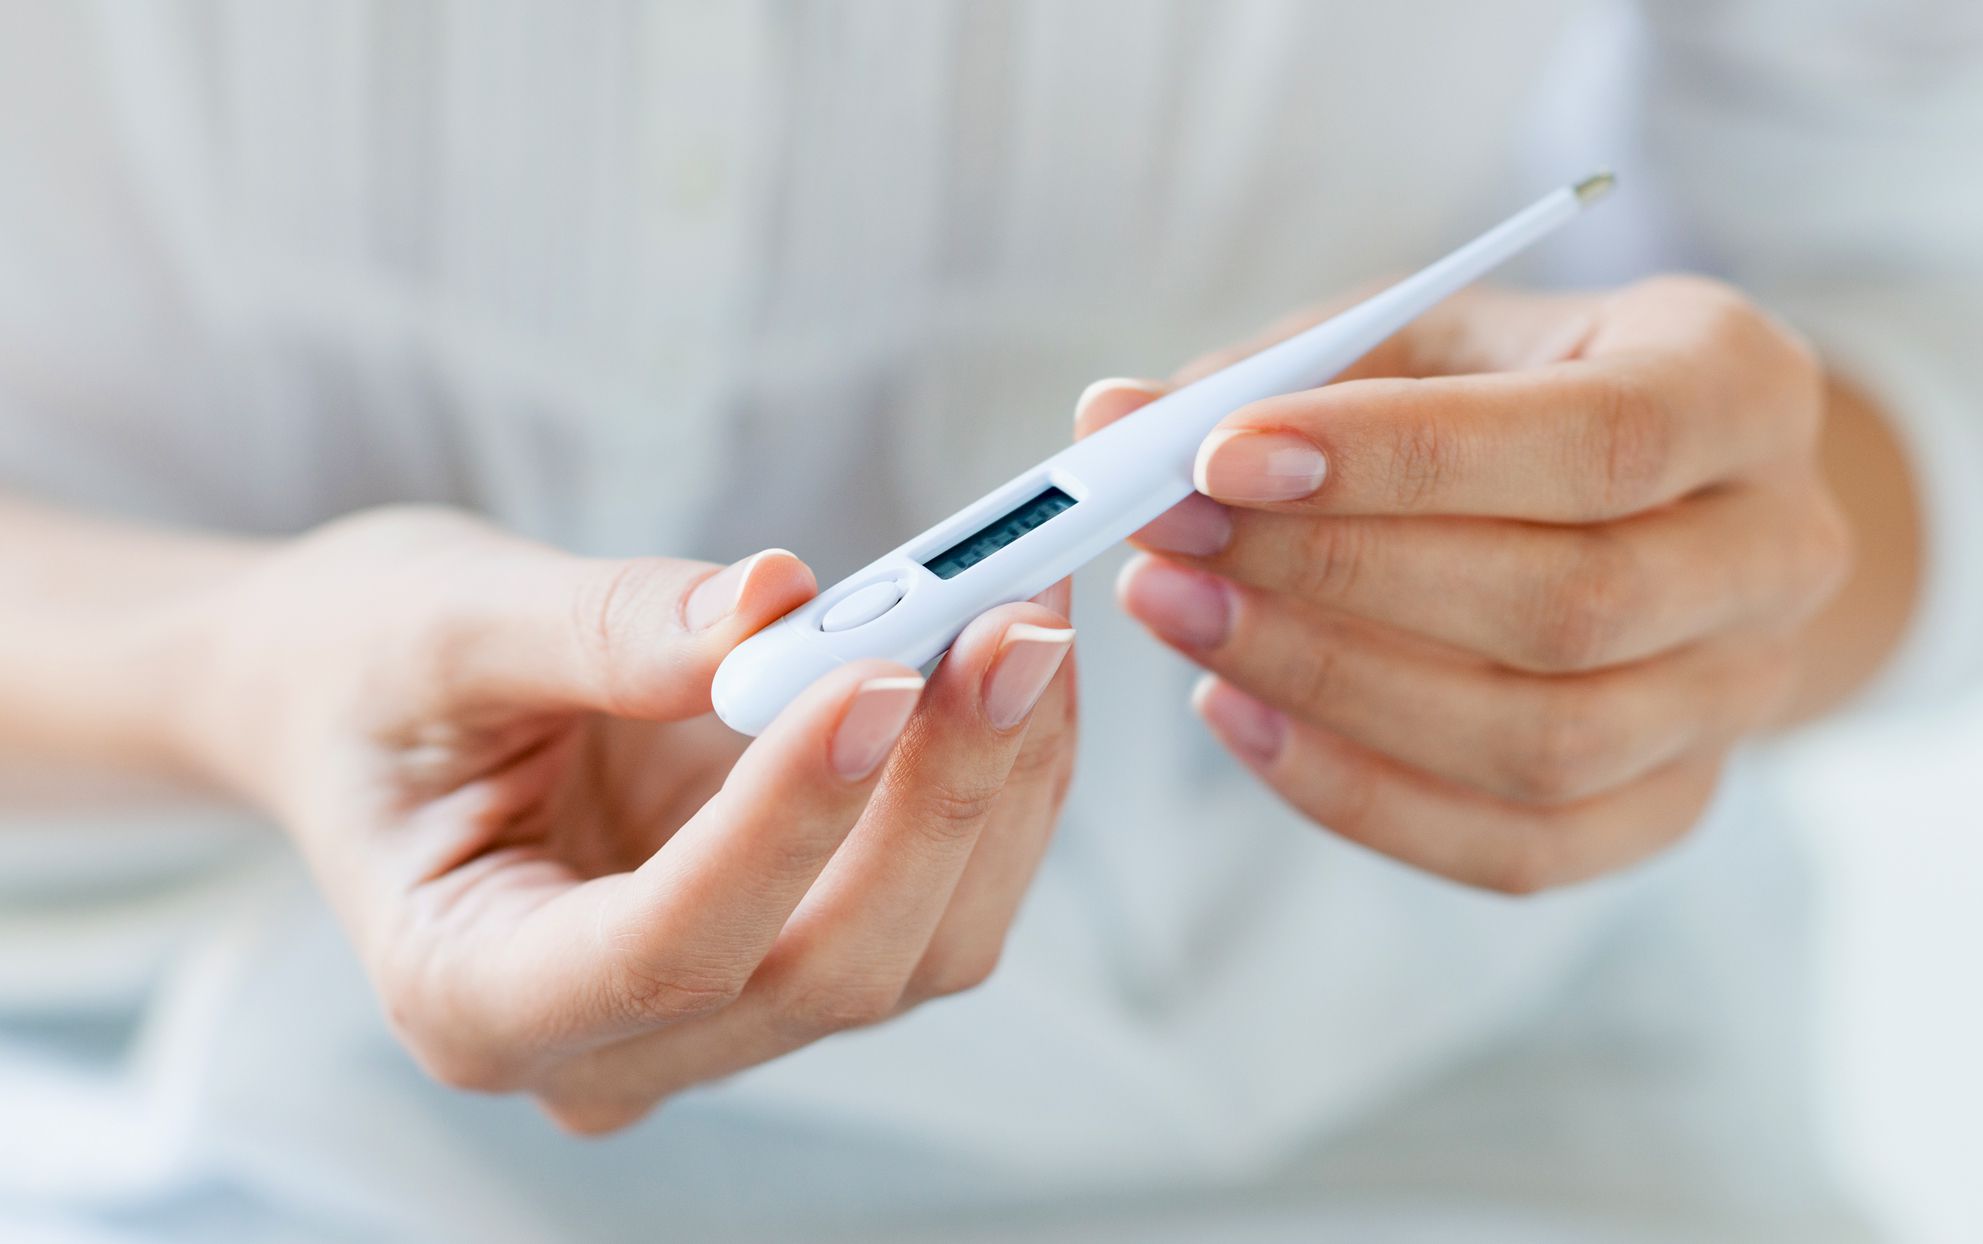
- Digital Thermometers: Digital thermometers are a popular choice due to their ease of use and accurate readings. They come in various forms, such as oral, rectal, and ear thermometers. Digital thermometers provide quick results and are suitable for people of all ages.
- Infrared Thermometers: Infrared thermometers are non-contact thermometers that can measure body temperature from a distance. They are ideal for individuals who prefer a hassle-free and hygienic option. However, it’s important to note that readings may vary depending on factors such as skin tone and ambient temperature.
- Smart Thermometers: Smart thermometers have gained popularity in recent years. These thermometers can connect to smartphones or other devices via Bluetooth or Wi-Fi, allowing you to track and monitor temperature trends over time. Some even come with additional features like fever alerts and reminders for medication.
- Disposable Thermometers: Disposable thermometers are convenient for use in medical settings or when traveling. They are single-use thermometers that offer accurate readings but need to be discarded after each use.
- Multifunctional Thermometers: Multifunctional thermometers combine various features and modes, such as forehead scanning, ear temperature measurement, and ambient temperature measurement. These versatile thermometers cater to different preferences and provide multiple measurement options.
Consider your specific needs, the intended user (adults, children, or infants), and the purpose of temperature measurement when selecting a thermometer. Additionally, ensure that the chosen thermometer is easy to read, has a reliable and quick response time, and is manufactured by a reputable brand. By choosing the right thermometer, you can ensure accurate temperature readings and make informed decisions about your health and well-being.
Prepare the Thermometer
Preparing the thermometer before use is essential to ensure accurate temperature measurements. Follow these steps to properly prepare your thermometer:
- Read the Instructions: Every thermometer is different, so it’s important to carefully read the manufacturer’s instructions. This will provide specific guidelines on how to prepare and use the thermometer correctly.
- Check Battery Life: Make sure the thermometer has sufficient battery power to provide accurate readings. If the battery is low, replace it before proceeding.
- Sanitize the Thermometer: Clean the thermometer with a mild soap and warm water or use disinfectant wipes to sanitize it. Be sure to follow the manufacturer’s instructions for cleaning and disinfection, as different thermometers may have specific cleaning requirements.
- Inspect for Damage: Before use, check the thermometer for any signs of damage such as cracks, breakage, or worn-out components. A damaged thermometer may provide inaccurate readings, so it’s important to replace it if needed.
- Prepare the Probe: Depending on the type of thermometer, you may need to attach a disposable probe cover or clean the probe with an alcohol swab. This helps to maintain hygiene and prevent cross-contamination.
By following these preparation steps, you ensure that your thermometer is ready for use and can provide accurate temperature measurements. Proper sanitation and maintenance will not only yield reliable results but also help in preventing the spread of germs and infections. Remember, a well-prepared thermometer is an essential tool for monitoring and maintaining health.
Turn on the Thermometer
Before taking measurements, it’s important to turn on the thermometer and allow it to initialize. Follow these simple steps to turn on your thermometer:
- Locate the Power Button: Look for the power button on your thermometer. It is typically located on the front or side of the device. Refer to the instruction manual if you’re unsure.
- Press and Hold: Press and hold the power button for a few seconds until the thermometer activates. You may see a display screen or a light indicating that the device is turning on.
- Wait for Initialization: After turning on the thermometer, give it a few seconds to initialize. During this time, the device is calibrating and preparing to take accurate temperature measurements.
- Check the Display: Once the thermometer has initialized, check the display to ensure that it is functioning properly. Some thermometers may show specific instructions or symbols to indicate readiness for use.
It’s important to note that the process of turning on a thermometer may vary slightly depending on the type and model you’re using. Always refer to the manufacturer’s instructions for precise steps and additional features specific to your thermometer.
By following these steps, you will have successfully turned on your thermometer and prepared it for use. Taking the time to properly initialize the device ensures accurate and reliable temperature measurements, giving you peace of mind and accurate information about your health.
Wait for the Ready Signal
After turning on your thermometer, it’s important to wait for the ready signal before taking a temperature reading. This signal indicates that the thermometer is properly calibrated and ready to provide an accurate measurement. Here’s what you should do:
- Patience is Key: Depending on the type of thermometer you’re using, the time it takes for the ready signal to appear may vary. It’s important to be patient and wait for the appropriate amount of time.
- Observe the Display: While waiting, keep an eye on the display screen of your thermometer. Some models have a progress bar or animation that shows the calibration process. Others may display a “Ready” or similar message.
- Follow the Instructions: Refer to the instruction manual for your thermometer to understand the average waiting time for the ready signal. It’s essential to adhere to these guidelines to ensure accurate temperature readings.
- Avoid Interference: During the waiting period, avoid any interference that may affect the thermometer’s calibration. Keep the thermometer away from direct sunlight, extreme temperatures, or electronic devices that emit electromagnetic waves.
Remember, the waiting time for the ready signal is crucial for obtaining accurate temperature readings. Rushing the process or taking measurements before the signal appears may result in unreliable results.
By patiently waiting for the ready signal, you ensure that your thermometer is properly calibrated and ready to provide precise temperature measurements. This step is crucial for obtaining accurate information about your health and making informed decisions regarding your well-being.
Insert the Thermometer
Once the thermometer is turned on and the ready signal appears, it’s time to insert the thermometer into the appropriate location to measure the body temperature accurately. Follow these steps to insert the thermometer:
- Select the Measuring Site: Depending on the type of thermometer you’re using and the age of the person you’re measuring, choose the appropriate measuring site. Common options include the mouth, armpit, ear, or rectum. Follow the manufacturer’s instructions for the recommended site for your specific thermometer.
- Prepare the Site: Clean and dry the measuring site if necessary. For oral measurements, instruct the person to remove any food or drink. For ear measurements, ensure that the ear canal is clear of obstructions.
- Insert the Thermometer: Gently insert the thermometer into the selected measuring site according to the manufacturer’s instructions. Be careful not to insert it too forcefully or at an incorrect angle to avoid discomfort or injury.
- Ensure Proper Placement: Ensure that the thermometer is securely positioned and making contact with the skin surface. In the case of ear thermometers, ensure that the probe is inserted into the ear canal properly.
- Follow Time Guidelines: Some thermometers require you to hold the device in place for a specific amount of time to obtain an accurate reading. Follow the recommended time guidelines provided by the manufacturer.
Each type of thermometer may have slightly different instructions for insertion, so it’s crucial to refer to the manufacturer’s guidelines specific to your thermometer. Following these instructions ensures accurate temperature measurement and a comfortable experience for the individual being measured.
By properly inserting the thermometer into the appropriate site, you can obtain an accurate body temperature reading. Remember, always exercise caution and follow the instructions provided by the manufacturer to ensure accurate and reliable results.
Position the Thermometer Correctly
Once the thermometer is inserted into the appropriate measuring site, it’s essential to position it correctly to ensure accurate temperature readings. Follow these guidelines to ensure proper positioning:
- Oral Thermometer: If using an oral thermometer, instruct the person to close their lips gently around the thermometer, ensuring it is held in place securely under the tongue. Advise them not to bite or talk during the measurement to avoid any interference.
- Rectal Thermometer: When using a rectal thermometer, gently hold the thermometer in place within the rectum, ensuring it does not slip or shift. Make sure the person is lying on their side and remains as still as possible during the measurement.
- Ear Thermometer: For ear thermometers, gently position the thermometer’s probe into the ear canal. Ensure that it is inserted snugly, making good contact with the ear canal walls. Follow the manufacturer’s instructions for proper placement to obtain accurate measurements.
- Armpit Thermometer: If using an armpit thermometer, ensure that the person’s armpit is clean, dry, and free from any obstructions. Place the thermometer snugly in the armpit and instruct the person to hold their arm against their body to keep it in position during the measurement.
It’s crucial to follow the specific guidelines provided by the manufacturer for the correct positioning of your thermometer. Proper positioning helps in obtaining accurate temperature readings, which are essential for monitoring and managing your health.
By positioning the thermometer correctly, you can ensure precise temperature measurements. Remember to follow the manufacturer’s instructions for positioning based on the type of thermometer you’re using, allowing for accurate and reliable results.
Wait for Accurate Reading
After positioning the thermometer correctly, it’s crucial to wait for the required time to obtain an accurate reading. The waiting time ensures that the thermometer has enough time to measure and calculate the body temperature correctly. Follow these steps to ensure you get an accurate reading:
- Follow Time Guidelines: Refer to the manufacturer’s instructions to determine the proper waiting time for your specific thermometer. Different thermometers require different durations to obtain accurate readings. Adhere to the recommended time guidelines for the most reliable results.
- Avoid Interference: During the waiting period, ensure that there is no interference that may affect the temperature reading. Encourage the person not to move or talk, as body movement or conversation can impact the accuracy of the reading.
- Use a Timer: To track the waiting time accurately, you can use a timer. Set the timer according to the recommended waiting time specified by the manufacturer. This ensures that you do not end the measurement prematurely or extend it unnecessarily.
- Be Patient: Patience is key during this waiting period. Resisting the temptation to remove the thermometer prematurely allows it to provide the most accurate reading possible. Remember that rushing the process may lead to inaccurate temperature measurements.
Waiting for the required time ensures that the thermometer can accurately measure and reflect the body’s temperature. By following the time guidelines, avoiding interference, and maintaining patience, you can obtain the most reliable temperature reading possible.
Remember, accurate temperature readings form the basis for proper health monitoring and effective decision-making. By waiting for an accurate reading, you ensure that the information you receive is dependable and can guide your actions accordingly.
Remove the Thermometer
Once you have obtained the temperature reading, it is important to safely and properly remove the thermometer to complete the process. Follow these steps to remove the thermometer:
- Be Gentle: When removing the thermometer, be gentle to avoid causing discomfort or injury. Slowly and carefully withdraw the thermometer from the measuring site.
- Check for Readings: Before removing the thermometer, check if the temperature reading is displayed on the thermometer’s screen or if any alarms or indicators have activated. Take note of the recorded temperature if necessary.
- Turn Off the Thermometer: If the thermometer has a power button or switch, turn it off after removing the thermometer. This helps conserve battery life and ensures safe storage until the next use.
- Dispose of Probe Covers (if applicable): If you used a disposable probe cover, remove and dispose of it properly according to the manufacturer’s instructions. This helps maintain hygiene and prevent cross-contamination.
- Clean the Thermometer (if applicable): If the thermometer requires cleaning after use, follow the manufacturer’s cleaning instructions. Use mild soap, warm water, and a clean cloth to wipe the thermometer. Ensure that it is dry before storing it.
Removing the thermometer safely and properly ensures a comfortable experience for the person being measured and maintains the accuracy of the temperature reading. By following these steps, you can complete the measurement process effectively and responsibly.
Remember, different thermometers may have specific instructions for removal, so always refer to the manufacturer’s guidelines for your particular device. Taking proper care when removing the thermometer contributes to accurate temperature measurement and promotes good hygiene practices.
Clean and Store the Thermometer
After completing a temperature measurement, it is essential to clean and store the thermometer properly to maintain its hygiene and ensure its longevity. Follow these steps to clean and store your thermometer:
- Refer to the Manufacturer’s Instructions: Consult the manufacturer’s instructions for specific cleaning and maintenance guidelines. Different thermometers may have different requirements, so it is important to follow the recommended cleaning methods.
- Clean with Mild Soap and Warm Water: Most digital thermometers can be cleaned by using a soft cloth dampened with mild soap and warm water. Gently wipe the surfaces of the thermometer, including any buttons or screens, to remove any dirt or residue.
- Avoid Submerging in Water: Unless specified by the manufacturer, avoid submerging the thermometer in water or other liquids. Excessive exposure to liquids may damage the internal components and compromise the accuracy of temperature readings.
- Disinfect, if Necessary: In situations where a high level of cleanliness is required, you may use a disinfectant wipe or solution to sanitize the thermometer. Follow the manufacturer’s recommendations for appropriate disinfection methods to ensure the safety and accuracy of the device.
- Dry Thoroughly: After cleaning, dry the thermometer thoroughly with a clean, lint-free cloth. Ensure that no moisture remains on the device or its components before storage. Moisture can lead to bacterial growth or damage to the thermometer.
- Store in a Safe Place: Choose a clean, dry, and secure location for storing your thermometer. Ideally, it should be away from direct sunlight, extreme temperatures, or excessive humidity. Also, ensure that it is out of reach of children to prevent accidents.
Proper cleaning and storage of the thermometer not only maintain its accuracy but also promote good hygiene. By following these steps, you can create a routine that ensures the longevity and reliability of your thermometer.
Remember to consult the manufacturer’s instructions for specific guidelines and recommendations regarding the cleaning and storage of your thermometer. By maintaining proper cleanliness and storage, your thermometer will be ready for accurate temperature measurements whenever you need it.