
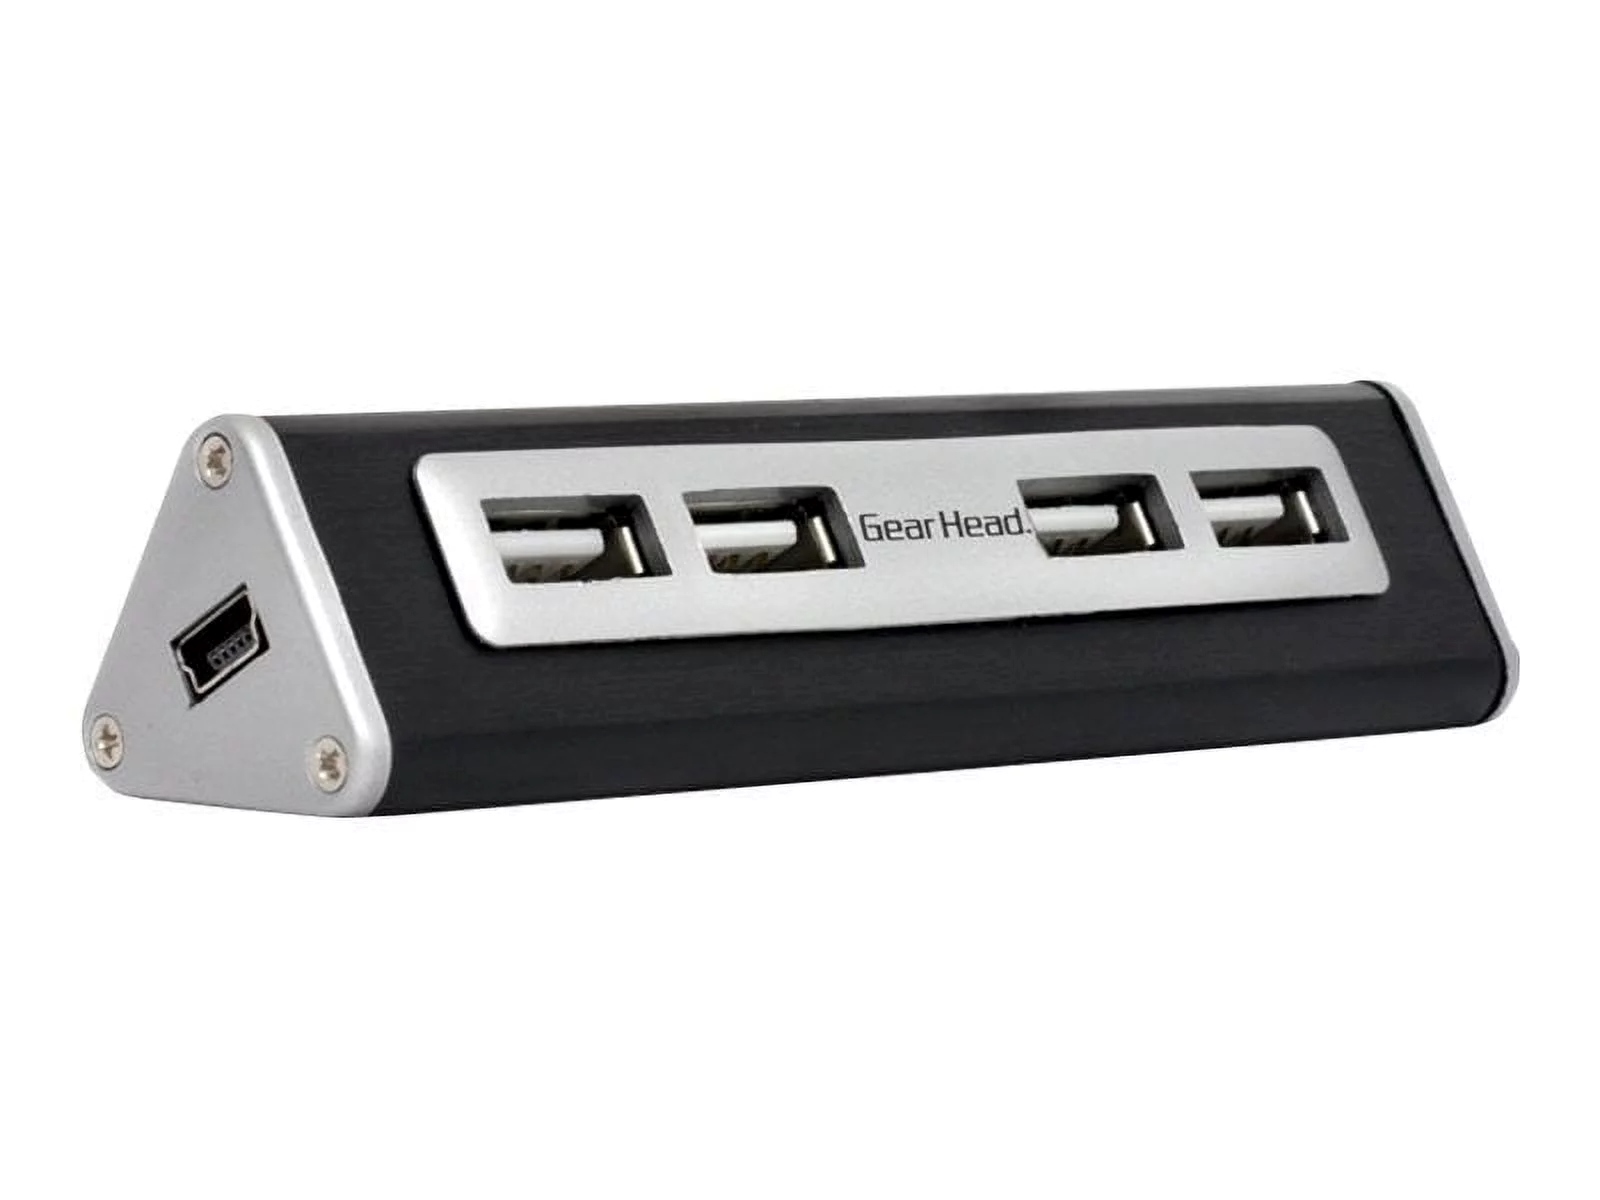
What is a Gear Head USB Hub?
A Gear Head USB hub is a device that allows you to expand the number of USB ports available on your computer or laptop. USB, which stands for Universal Serial Bus, is a widely used interface for connecting various devices to computers. While most computers come equipped with a limited number of USB ports, a Gear Head USB hub provides additional ports, making it convenient to connect multiple devices simultaneously.
Using a Gear Head USB hub is especially beneficial for those who frequently need to connect multiple devices to their computer. It eliminates the need to constantly switch between devices, making it a valuable tool for individuals in various fields such as graphic design, video editing, and programming.
Gear Head USB hubs come in different models and configurations, offering various features and port options. Some hubs are equipped with USB 2.0 ports, while others offer the faster USB 3.0 or USB-C ports. Additionally, some models include additional features like a built-in SD card reader or an Ethernet port, providing even more versatility for your connectivity needs.
These hubs are typically compact and portable, making them suitable for both home and office use. They are easy to set up, requiring a simple plug-and-play installation process. Once connected, the hub is ready to use, allowing you to connect devices such as external hard drives, printers, smartphones, cameras, and more.
Overall, a Gear Head USB hub is a reliable and convenient solution for expanding your computer’s connectivity options. It simplifies the process of connecting multiple devices, enhances productivity, and helps keep your workspace organized. Whether you’re a professional who needs to connect various devices or a home user looking for a convenient way to connect peripherals, a Gear Head USB hub is a valuable addition to your setup.
Step 1: Gathering the Necessary Equipment
Before you can begin using a Gear Head USB hub, you will need to gather the necessary equipment. Here’s a list of items you’ll need:
- A Gear Head USB hub: Choose a hub that meets your needs in terms of the number of ports and the type of ports (USB 2.0, USB 3.0, USB-C, etc.)
- A computer or laptop with available USB ports: Ensure that your computer has enough available USB ports to accommodate the hub.
- USB cables: Depending on the length you require, make sure you have suitable USB cables to connect your devices to the hub.
- The devices you want to connect: Prepare the devices you plan to connect to the USB hub, such as external hard drives, printers, smartphones, cameras, and more.
- An external power source (if necessary): Some USB hubs require an external power source to function properly. Check if your hub needs one and gather the necessary power adapter or cable.
Once you have gathered all the necessary equipment, you’re ready to move on to the next step: connecting the USB hub to your computer.
Step 2: Connecting the USB Hub to Your Computer
Now that you have gathered all the necessary equipment, it’s time to connect the Gear Head USB hub to your computer. Follow these steps:
- Locate an available USB port on your computer. Typically, these ports are located on the back or sides of your computer tower or on the sides of your laptop.
- Take the USB cable that came with the Gear Head USB hub and connect one end to the USB port on your computer.
- Connect the other end of the USB cable to the USB input port on the USB hub. Ensure that you insert it firmly to establish a secure connection.
- If your USB hub requires an external power source, connect the power adapter or cable to the hub and plug it into a power outlet.
- Once everything is connected, turn on your computer if it isn’t already powered on.
- Your computer will automatically detect the USB hub, and you should see a notification indicating that new hardware has been connected.
That’s it! You have successfully connected the Gear Head USB hub to your computer. Now, you can move on to the next step of plugging in your devices.
Step 3: Plugging in Your Devices
With the Gear Head USB hub successfully connected to your computer, it’s time to start plugging in your devices. Follow these steps:
- Identify the available USB ports on the hub. The number and type of ports may vary depending on the model you have.
- Take one end of a USB cable and connect it to the device you want to connect, such as an external hard drive or smartphone.
- Connect the other end of the USB cable to one of the available USB ports on the Gear Head USB hub.
- Repeat this process for each device you want to connect, utilizing the available USB ports on the hub.
- If you have more devices than available ports on the hub, you can consider using a USB hub with additional ports or disconnecting and reconnecting devices as needed.
As you connect each device, your computer will recognize them, and you will see notifications indicating that new devices have been connected. Once all your devices are properly connected, you can continue to the next step of monitoring your devices.
Step 4: Monitoring Your Devices
Once you have plugged in your devices to the Gear Head USB hub, it’s important to monitor them to ensure they are functioning properly. Here are a few tips for monitoring your devices:
- Check the device manager: Open the device manager on your computer to view all the devices connected to the USB hub. This will allow you to see if they are being recognized by the computer and if there are any issues with the drivers or connectivity.
- Verify device connections: Take a moment to physically inspect the connections between the USB hub and your devices. Ensure that the cables are securely plugged in and that there are no signs of damage.
- Check for device activity: Look for any activity indicators on your devices or the USB hub itself. Many devices have LED lights that indicate power or data transfer, so you can verify if they are working properly.
- Test functionality: Depending on the type of devices you have connected, perform basic functionality tests to ensure they are working as expected. For example, if you connected an external hard drive, try accessing files or transferring data to and from the drive.
- Monitor power consumption: Keep an eye on the power consumption of your USB hub and devices. If you notice any unusual power usage or if devices are not receiving enough power, you may need to consider using an external power source or redistributing devices to different USB ports on the hub.
Regularly monitoring your devices connected to the Gear Head USB hub will help you quickly identify and resolve any issues that may arise. If you encounter any problems, refer to the next step for troubleshooting tips.
Step 5: Safely Removing Devices
When you’re done using your devices connected to the Gear Head USB hub, it’s important to safely remove them to avoid data corruption or hardware damage. Follow these steps to safely remove your devices:
- Close any files or applications that are actively using the device. This ensures that no data is being read or written to the device at the time of removal.
- If your operating system has a “Safely Remove Hardware” or “Eject” feature, use it. Look for the corresponding icon in the system tray or notification area, usually denoted with a USB symbol.
- Select the device you want to remove from the list of connected devices. The operating system will notify you when it is safe to remove the device.
- Once the notification appears, gently disconnect the USB cable from the device or the USB hub port. Avoid pulling or yanking to prevent damage to the connectors.
- If you have multiple devices connected, repeat the process for each device you want to remove.
By following these steps, you ensure that the data on your devices is properly saved and that the devices are safely disconnected from the USB hub. This reduces the risk of data loss or damage to your hardware. However, please note that certain devices, such as external hard drives, may require additional steps for safe removal. Refer to the manufacturer’s instructions or documentation for specific guidance.
Step 6: Troubleshooting Common Issues
Despite the convenience of using a Gear Head USB hub, you may encounter some common issues along the way. Here are a few troubleshooting tips to help you resolve them:
- Check the USB connections: Ensure that all USB cables are securely plugged into the USB hub and your devices. Loose connections can result in intermittent connectivity or device recognition issues.
- Restart your computer: Sometimes, a simple restart can resolve issues with device recognition or connectivity. Restart your computer and see if the problem persists.
- Update drivers: Outdated or incompatible drivers can cause problems. Check the manufacturer’s website for the latest drivers for both your USB hub and connected devices. Install any necessary updates.
- Try different USB ports: If you’re experiencing issues with specific ports on the USB hub, try connecting your devices to different ports. This can help identify if the problem is specific to a particular port.
- Check power supply: If your USB hub requires an external power source, ensure that it is connected and working properly. Insufficient power can cause devices to malfunction or not be recognized.
- Disable USB selective suspend: Some computers have a feature called “USB selective suspend” that can cause intermittent connectivity issues. Disable this feature in your computer’s power settings to see if it resolves the problem.
- Reset the USB hub: If none of the above solutions work, you can try resetting the USB hub. Disconnect all devices from the hub, remove the power source (if applicable), and leave it disconnected for a few minutes. Reconnect everything and see if the issue is resolved.
If you continue to experience problems with your Gear Head USB hub, consult the manufacturer’s documentation or customer support for further assistance. They may be able to provide specific troubleshooting steps or offer a resolution for your specific issue.