
Why Take Screenshots in Oculus Rift?
Virtual reality (VR) experiences are a gateway to immersive worlds and breathtaking moments. When you dive into the virtual realm with your Oculus Rift, you may encounter stunning landscapes, awe-inspiring visual effects, or memorable gameplay instances that you want to capture and share with others. This is where taking screenshots becomes invaluable.
Screenshots serve as visual mementos of your VR adventures, allowing you to relive those experiences and share them with friends, family, or the wider gaming community. These snapshots not only capture a single frame of the VR environment but also encapsulate the emotions, excitement, and creativity that VR can evoke. Whether you want to showcase astonishing graphics, document in-game achievements, or simply capture a funny or memorable moment, taking screenshots in Oculus Rift can help you preserve and share these unforgettable digital journeys.
Furthermore, screenshots can be used for various purposes. They can fuel your creativity by providing inspiration for art, game development, or designing virtual spaces. They can also be used for educational purposes, such as demonstrations or tutorials, to help others learn about the possibilities of VR. Additionally, sharing screenshots on social media platforms can connect you with an ever-growing VR community, allowing you to engage in discussions, receive feedback, and discover new VR experiences.
Another key benefit of taking screenshots is the ability to create lasting memories. Just like traditional photographs capture special moments in our lives, VR screenshots enable us to freeze moments in time that would otherwise fade away. By revisiting these screenshots, you can bring back the feelings and memories associated with your VR experiences, evoking a sense of nostalgia and appreciation for the incredible virtual adventures you’ve embarked upon.
Overall, taking screenshots in Oculus Rift is not simply about capturing images; it’s about preserving memories, sharing experiences, inspiring creativity, and connecting with a larger VR community. So, the next time you find yourself immersed in a breathtaking virtual world, don’t forget to capture those moments and let others join in the wonder of your VR escapades.
Method 1: Using the Oculus Dash
The Oculus Dash is a built-in tool that allows you to navigate and control your Oculus Rift experience. It also provides a convenient way to take screenshots directly within the VR environment. Here’s how you can use the Oculus Dash to capture your favorite moments:
- While in VR, press the Oculus button on your Touch controller to open the Oculus Dash overlay.
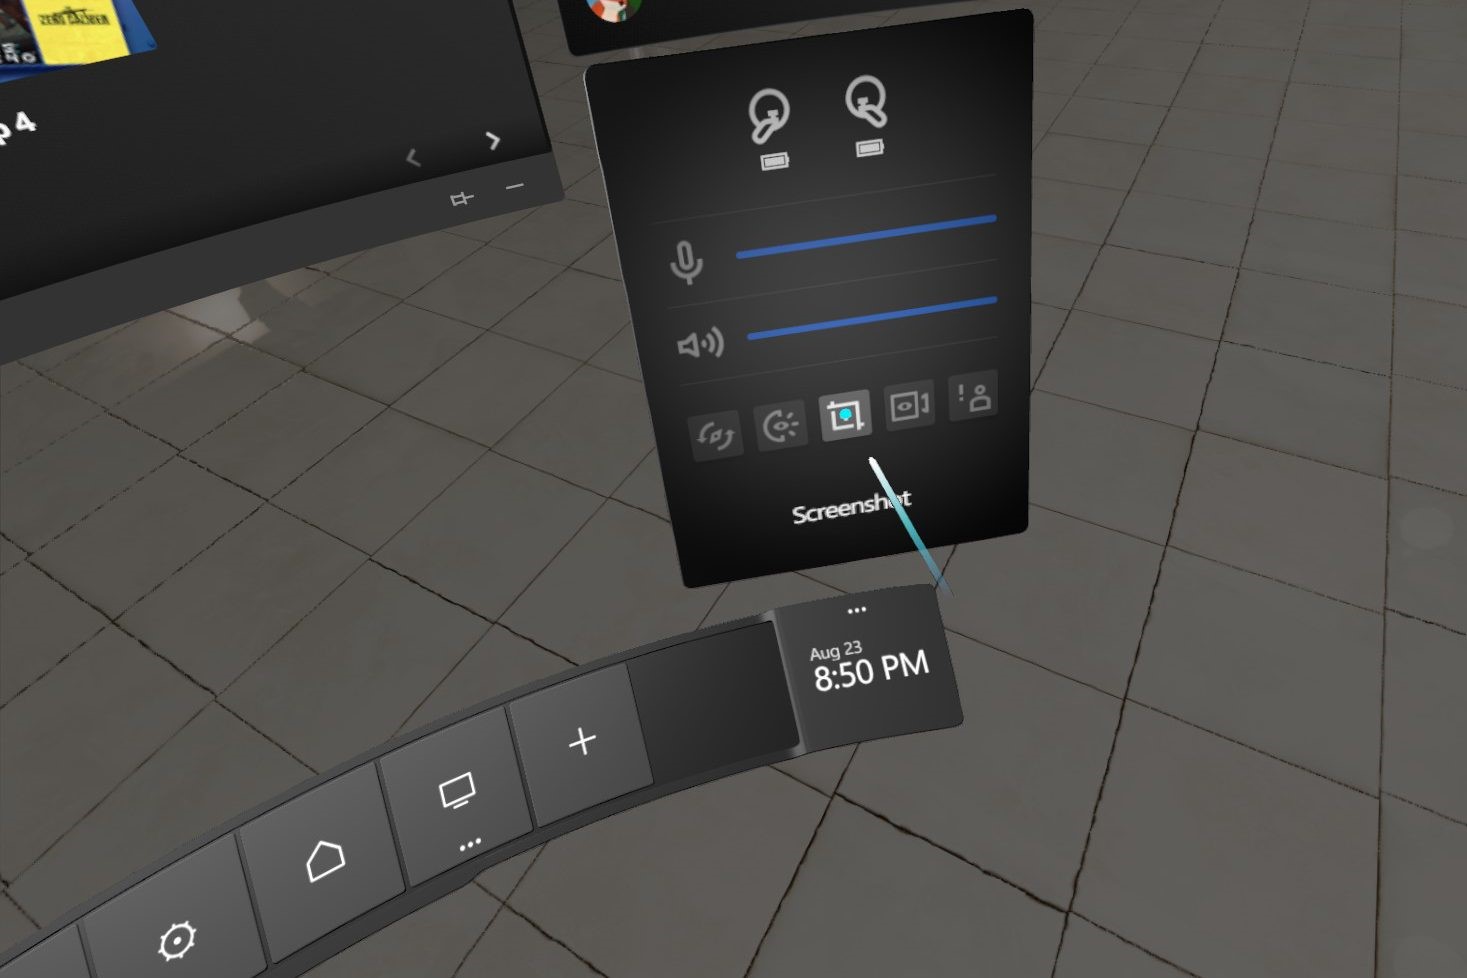
- Navigate the Dash menu and select the “Capture” option. This will open the Captures panel.
- In the Captures panel, you’ll find options to take a screenshot or record a video. Click on the camera icon to take a screenshot.
- A confirmation message will appear, indicating that the screenshot has been captured.
- To access your screenshots, go to the Oculus Desktop App on your computer and navigate to the “Pictures” folder. Here you’ll find a subfolder called “Oculus Screenshots” where all your captured images are stored.
- From here, you can view, edit, and share your screenshots just like any other image file.
Using the Oculus Dash to capture screenshots offers a seamless and hassle-free experience. It allows you to capture the exact frame you desire without having to exit the VR game or experience. Additionally, you can easily access and manage your screenshots through the Oculus Desktop App, making it convenient to organize and share your captured memories.
Remember, the Oculus Dash is only available for Oculus Rift users and may require an update to ensure you have the latest features and functionalities. So, if you’re using an older version of the software, make sure to update it to take advantage of this handy screenshot tool.
Method 2: Using the Oculus Mirror Tool
The Oculus Mirror Tool is a powerful utility provided by Oculus that allows you to mirror your VR experiences to your computer screen. Not only does this tool enable you to share or record your gameplay, but it also provides an alternative method for taking screenshots while using the Oculus Rift. Follow these steps to utilize the Oculus Mirror Tool:
- Launch the Oculus application on your computer.
- Connect your Oculus Rift headset to your computer.
- Open the Oculus Debug Tool, which can be found in the Oculus installation directory (usually located at “C:\Program Files\Oculus\Support\oculus-diagnostics”).
- In the Oculus Debug Tool, navigate to the “Tools” tab and look for the Oculus Mirror Tool.
- Click on the Oculus Mirror Tool option to launch it.
- Once the Oculus Mirror Tool is running, you’ll see a mirrored view of your VR experience displayed on your computer screen.
- While in the mirrored view, you can use your computer’s built-in screenshot tools (such as the Print Screen key or Snipping Tool on Windows) to capture the desired frame of your VR experience.
- The captured screenshot will be saved to your computer’s default screenshot destination folder.
The Oculus Mirror Tool provides a convenient way to capture screenshots, especially if you prefer using your computer’s native screenshot functionality. It gives you the flexibility to capture screenshots at any moment during your VR experience, providing additional control and options for capturing the perfect shot.
It’s important to note that the Oculus Mirror Tool may impact the performance of your VR experience, as it requires additional resources to mirror the content to your computer screen. If you encounter any performance issues while using the Oculus Mirror Tool, consider adjusting the settings or closing unnecessary applications to ensure a smooth experience.
By utilizing the Oculus Mirror Tool, you can easily capture screenshots of your VR adventures and share them with others, or simply keep them as cherished memories of your virtual experiences.
Method 3: Using Third-party Software
In addition to the built-in tools provided by Oculus, there are also third-party software options available that can enhance your screenshot-taking capabilities in Oculus Rift. These software solutions offer additional features and customization options for capturing and sharing your VR moments. Here are some popular third-party software options:
- 1. OBS Studio: OBS Studio is a free and open-source software widely used for screen recording and streaming. It allows you to capture and save your VR gameplay as screenshots or videos. OBS Studio offers various settings and options to customize your capture, including resolution, frame rate, and audio settings.
- 2. Snagit: Snagit is a premium screen capture software that offers advanced features for capturing screenshots and videos. It provides a user-friendly interface with easy-to-use tools for capturing specific windows or regions. With Snagit’s editing features, you can annotate, crop, and add effects to your screenshots before saving or sharing them.
- 3. ShareX: ShareX is a free and open-source screenshot tool that offers a wide range of capture options. It allows you to capture screenshots, record videos, and even create GIFs from your VR experiences. ShareX also provides customizable hotkeys, cloud storage integration, and advanced editing options.
When using third-party software, it’s important to ensure compatibility with Oculus Rift and verify that the software can capture VR content effectively. Some software may require additional configurations or settings adjustments to capture VR properly. It’s also worth noting that third-party software might have a learning curve and may not provide the same level of integration as the built-in Oculus tools.
Before using any third-party software, it’s recommended to research and read user reviews to find the one that best suits your needs and preferences. Additionally, check for software updates and ensure compatibility with your Oculus Rift system to optimize performance.
Using third-party software expands your screenshot-taking options and provides greater control over the capture process. Whether you require advanced editing features, customizable settings, or specific output formats, these software solutions can help you capture and share your VR moments with precision and creativity.
Tips for Taking High-Quality Screenshots
Taking high-quality screenshots in Oculus Rift allows you to capture the essence of your virtual experiences and showcase them to others effectively. Here are some tips to help you capture exceptional screenshots:
- Find the perfect angle: Experiment with different camera angles to find the best perspective that highlights the key elements of the scene. Play around with different positions and orientations to capture the most visually appealing shots.
- Utilize lighting and effects: Pay attention to the lighting and special effects present in the VR environment. These can greatly enhance the overall visual impact of your screenshots. Take advantage of dynamic lighting, reflections, and particle effects to create captivating images.
- Compose your shot: Consider the composition of your screenshot. Use the rule of thirds or leading lines to guide the viewer’s focus and create a visually pleasing composition. Frame objects or characters strategically to add depth and interest to your shot.
- Disable notifications and crosshairs: Before taking a screenshot, make sure to disable any distracting elements, such as notifications or crosshairs. This will ensure a clean and immersive screenshot that focuses solely on the VR experience.
- Adjust graphics settings: Experiment with different graphics settings to find the right balance between visual quality and performance. Higher graphics settings can result in more detailed and realistic screenshots, but be mindful of any impact on frame rate or overall smoothness of the VR experience.
- Freeze the action: Timing is crucial when capturing action-packed moments. Anticipate the movements or actions within the VR environment to capture the most dynamic and impactful frames. Pausing the game or using slow-motion features can help freeze the action for precise screenshot capturing.
- Experiment with filters and post-processing: After capturing your screenshot, consider using photo editing software or built-in filters to enhance the image further. Adjust brightness, contrast, or apply filters to highlight specific elements and add an artistic touch to your screenshots.
- Share and engage: Finally, share your screenshots with the VR community. Upload them to social media platforms, forums, or communities dedicated to VR gaming. Engage in discussions, exchange tips, and appreciate the work of others to foster a vibrant and supportive VR community.
Remember, the ultimate goal is to capture the essence of your VR experience and convey that to others through your screenshots. By following these tips, you can elevate your screenshot-taking skills and showcase the beauty, excitement, and creativity of your virtual adventures.
Customization Options for Screenshots
Taking screenshots in Oculus Rift not only allows you to capture memorable moments but also provides customization options to enhance and personalize your screenshots. Here are some customization options you can explore to make your screenshots more unique and appealing:
- Resolution and aspect ratio: Oculus Rift allows you to adjust the screenshot resolution and aspect ratio to suit your preferences. You can choose from various resolution options, including 1080p, 4K, or even higher, depending on the capabilities of your system.
- File format: Oculus Rift offers flexibility in choosing the file format for your screenshots. You can opt for popular formats like JPEG or PNG, which offer a balance between image quality and file size. Consider using lossless formats like PNG if you want to preserve the highest possible quality.
- Capturing in 360-degree: If you want to capture the entire VR environment or provide an immersive experience to viewers, you can consider using tools like Oculus 360 Photos or third-party software that supports capturing 360-degree screenshots. This allows viewers to explore the scene from different angles.
- Annotations and overlays: Adding annotations or overlays to your screenshots can provide context or add a personal touch. You can use image editing software to include text, arrows, or shapes to highlight specific elements within the screenshot.
- Filters and effects: Apply filters or effects to your screenshots to enhance the visual appeal or create a specific atmosphere. Experiment with different filters, such as black and white, sepia, or vintage, to evoke different moods or styles in your screenshots.
- Customizing keybindings: Some games and experiences in Oculus Rift allow you to customize key bindings. Take advantage of this feature to assign a specific key or button for capturing screenshots. This makes the process more convenient, especially in fast-paced or intense VR moments.
- Post-processing editing: After capturing your screenshots, you can further enhance them using photo editing software. Adjusting brightness, contrast, saturation, or applying artistic filters can bring out the best in your screenshots and make them stand out.
- Sharing options: Oculus Rift provides various sharing options for your screenshots. You can easily upload your screenshots to social media platforms like Facebook or Twitter directly from the Oculus interface. Sharing your screenshots allows you to connect with other VR enthusiasts and build a community around your virtual experiences.
Experimenting with these customization options not only adds a personal touch to your screenshots but also allows you to express your creativity and vision. Customize your screenshots to reflect your unique perspective and share your VR adventures with the world in a way that is truly your own.
Sharing Your Screenshots
Once you’ve captured those stunning screenshots in Oculus Rift, it’s time to share them with others to showcase your virtual adventures and connect with the VR community. Here are some ways to share your screenshots and make them easily accessible to others:
- Social media platforms: Share your screenshots on popular social media platforms like Facebook, Twitter, or Instagram. Most platforms support image uploads, allowing you to showcase your screenshots to your network of friends, followers, and the wider gaming community.
- VR-specific communities: Engage with dedicated VR communities and forums that emphasize virtual reality experiences. Platforms like Reddit or VR-specific forums allow you to share your screenshots, exchange tips and tricks, and discover new VR adventures from like-minded enthusiasts.
- Oculus Share: Oculus Share is a platform dedicated to sharing VR creations and experiences. Upload your screenshots to Oculus Share, tag them appropriately, and allow others to explore and appreciate your images within the VR community.
- VR content creation websites: Consider uploading your screenshots to VR content creation websites such as Sketchfab or VRChat. These platforms focus on showcasing and sharing immersive VR content, including screenshots, 3D models, or VR experiences.
- Personal website or blog: If you have a personal website or blog, create a dedicated page or post where you can share your favorite screenshots. This provides a centralized hub for your VR experiences, allowing you to narrate your adventures and engage with your audience more deeply.
- Video sharing platforms: Convert your screenshots into videos or create a slideshow of your best shots. Upload these videos to platforms like YouTube or Vimeo, with an accompanying description to provide context and share your VR experiences in a dynamic and engaging format.
- In-VR sharing: Some VR experiences or platforms offer in-VR sharing options. Check if the VR game or app you’re using has built-in features that allow you to share screenshots directly within the virtual environment, making it easier to connect and engage with other VR users.
Remember to provide a descriptive caption or context with your screenshots when sharing them. This adds depth to the shared images and helps viewers understand and appreciate what they are seeing. It also opens up the door for discussions, comments, and interactions with fellow VR enthusiasts.
Whether you choose to share your screenshots on social media, VR-specific platforms, or your personal website, sharing your screenshots allows you to connect with others, inspire creativity, and invite others to immerse themselves in your virtual world.