Checking Requirements
Before you can start syncing your iPhone over Wi-Fi, there are a few requirements that you need to meet:
- Your iPhone must be running iOS 5 or later.
- Your computer must be running iTunes 10.5 or later.
- Your iPhone and computer must be connected to the same Wi-Fi network.
- Ensure that Wi-Fi syncing is enabled on your iPhone and computer.
To check if your iPhone meets the requirements:
- Open the Settings app on your iPhone.
- Tap on “General” and then select “About”.
- Scroll down and look for the “Software Version” entry. If it indicates iOS 5 or later, you’re good to go.
To check if your computer meets the requirements:
- Open iTunes on your computer.
- Click on “Help” in the top menu and then select “Check for Updates”.
- If there is an available update, follow the prompts to update iTunes to the latest version.
If your iPhone and computer are not connected to the same Wi-Fi network, make sure to connect them to the same network before proceeding.
Once you have confirmed that your devices meet the requirements, you can proceed to enable Wi-Fi syncing on your iPhone and set it up on your computer.
Enabling Wi-Fi Syncing on your iPhone
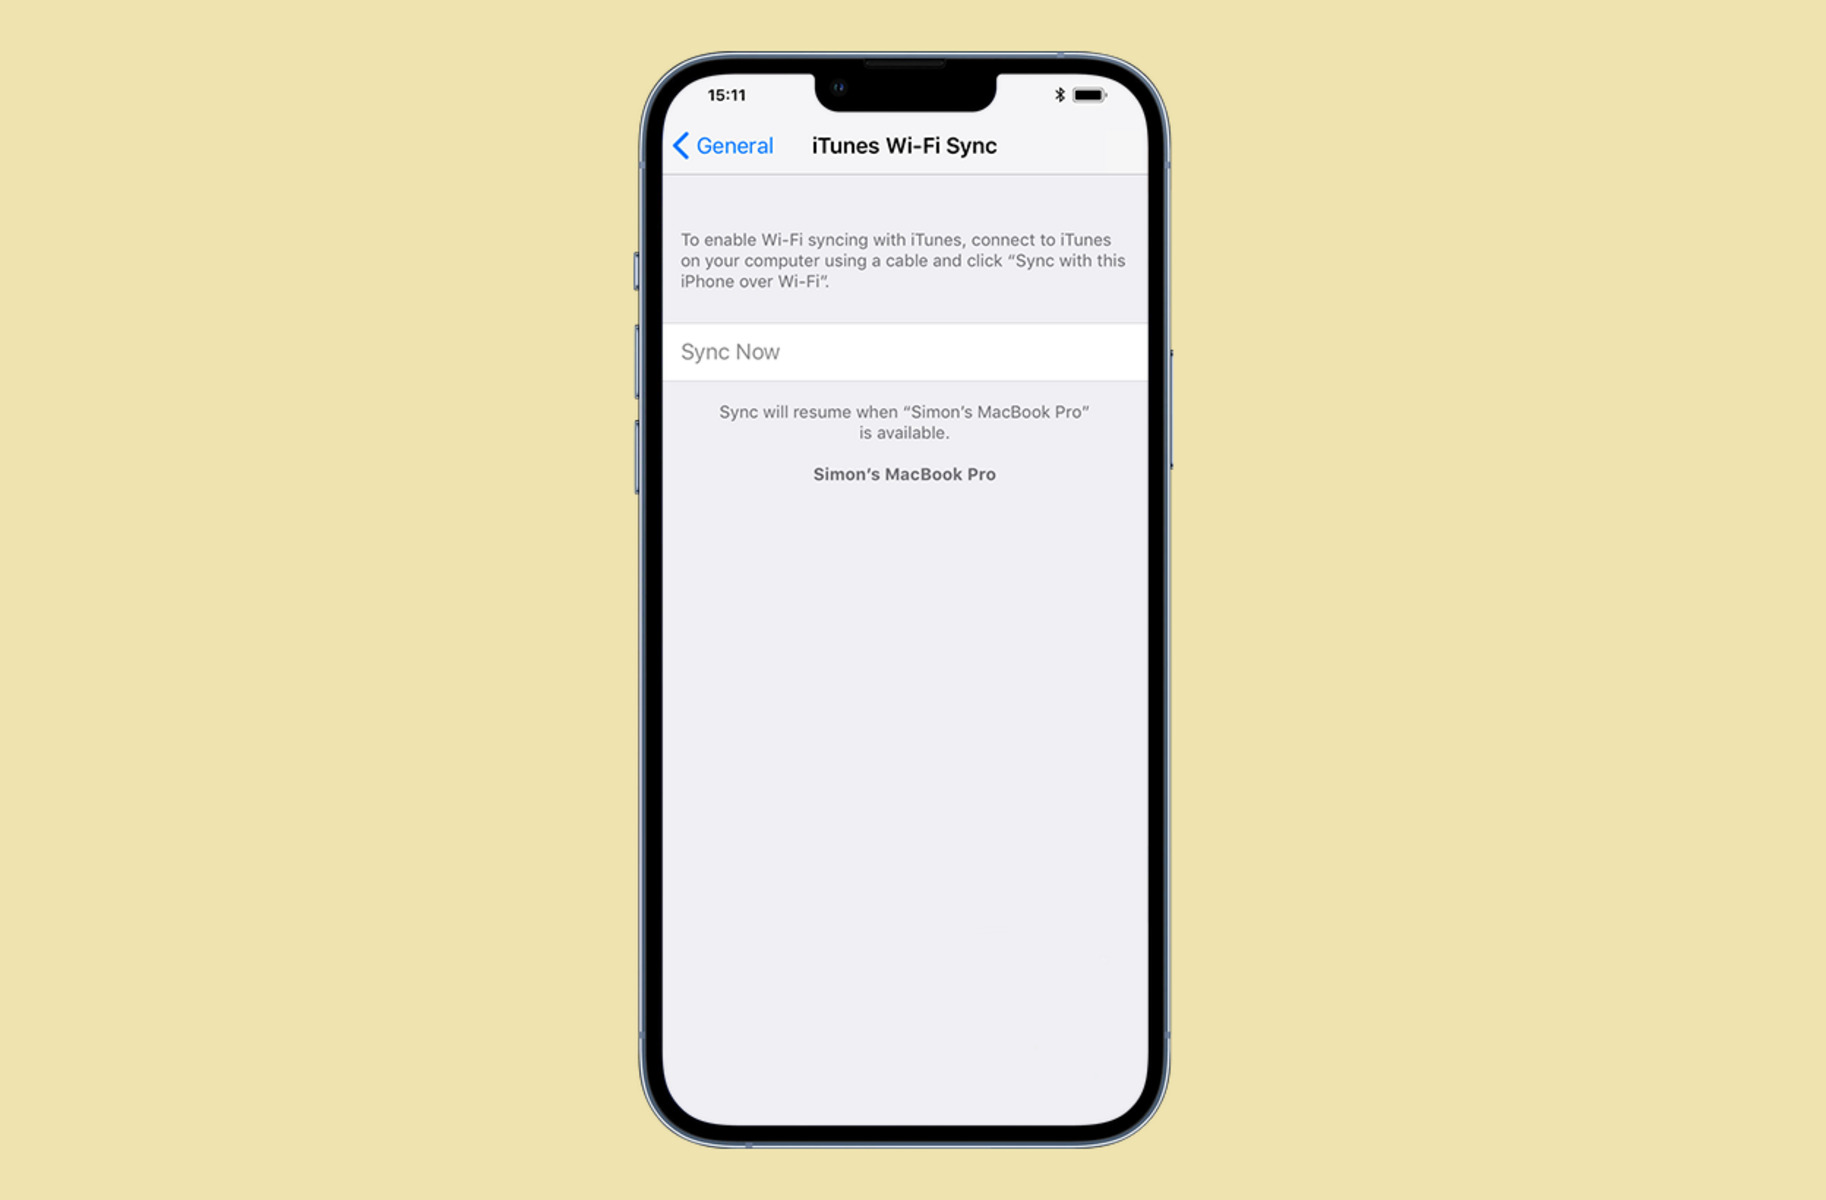
Before you can sync your iPhone over Wi-Fi, you need to enable Wi-Fi syncing on your iPhone. Follow these steps to do so:
- Connect your iPhone to your computer using a USB cable.
- Launch iTunes on your computer.
- Select your iPhone in the iTunes interface.
- In the Summary tab, under “Options”, check the box that says “Sync with this iPhone over Wi-Fi”.
- Click on the “Apply” button to save the changes.
Once you have enabled Wi-Fi syncing, you can disconnect your iPhone from the USB cable. From now on, you will be able to sync your iPhone with iTunes over Wi-Fi.
It’s important to note that both your iPhone and computer need to be connected to the same Wi-Fi network in order to successfully sync over Wi-Fi.
Next, let’s move on to setting up Wi-Fi syncing on your computer.
Setting Up Wi-Fi Syncing on your Computer
After enabling Wi-Fi syncing on your iPhone, you need to set up Wi-Fi syncing on your computer. Follow these steps to do so:
- Make sure your computer and iPhone are connected to the same Wi-Fi network.
- Launch iTunes on your computer if it’s not already open.
- In the top menu, click on “iTunes” (for Windows users) or “Preferences” (for Mac users).
- Click on the “Devices” tab.
- In the “Devices” section, check the box that says “Prevent iPods, iPhones, and iPads from syncing automatically”. This will allow you to manually control the syncing process.
- Click on the “Sync” button in the bottom-right corner of the iTunes window. This will initiate the Wi-Fi syncing process.
Once the Wi-Fi syncing process is complete, you can disconnect your iPhone from your computer.
Now your iPhone is set up for Wi-Fi syncing and you can easily sync your device with iTunes without the need for a USB cable.
Keep in mind that you can adjust your sync settings by going to the “Summary” tab of your iPhone in iTunes. From there, you can choose what content you want to sync, such as music, apps, photos, and more.
In the next section, we’ll go over how to actually sync your iPhone over Wi-Fi.
Syncing your iPhone Over Wi-Fi
Now that you have enabled Wi-Fi syncing on your iPhone and set it up on your computer, you can easily sync your iPhone without the need for a USB cable. Follow these steps to sync your iPhone over Wi-Fi:
- Ensure that your iPhone and computer are connected to the same Wi-Fi network.
- Make sure that iTunes is open on your computer.
- Unlock your iPhone and go to the home screen.
- Open the Settings app on your iPhone and tap on your name at the top of the screen.
- Tap on “iCloud” and then tap on “iTunes & App Store”.
- Turn on the switch next to “Sync Library”.
- Go back to the home screen and open the Music or Photos app, depending on what content you want to sync.
- Wait for your iPhone to detect your computer’s iTunes library. Once it’s detected, you will see the option to sync your content wirelessly.
- Select the content that you want to sync and tap on the “Sync” button.
Your iPhone will now start syncing with your computer over Wi-Fi. The time it takes to complete the sync process will depend on the amount of content being synced.
It’s important to note that you can also initiate a manual sync by going to the Settings app on your iPhone, tapping on your name, selecting “iCloud”, and then tapping on “iCloud Backup”. From there, you can tap on “Back Up Now” to manually sync your iPhone with iCloud.
With Wi-Fi syncing, you can conveniently keep your iPhone up-to-date with your computer’s content without the need for cables. Enjoy the freedom and flexibility of syncing wirelessly!

