
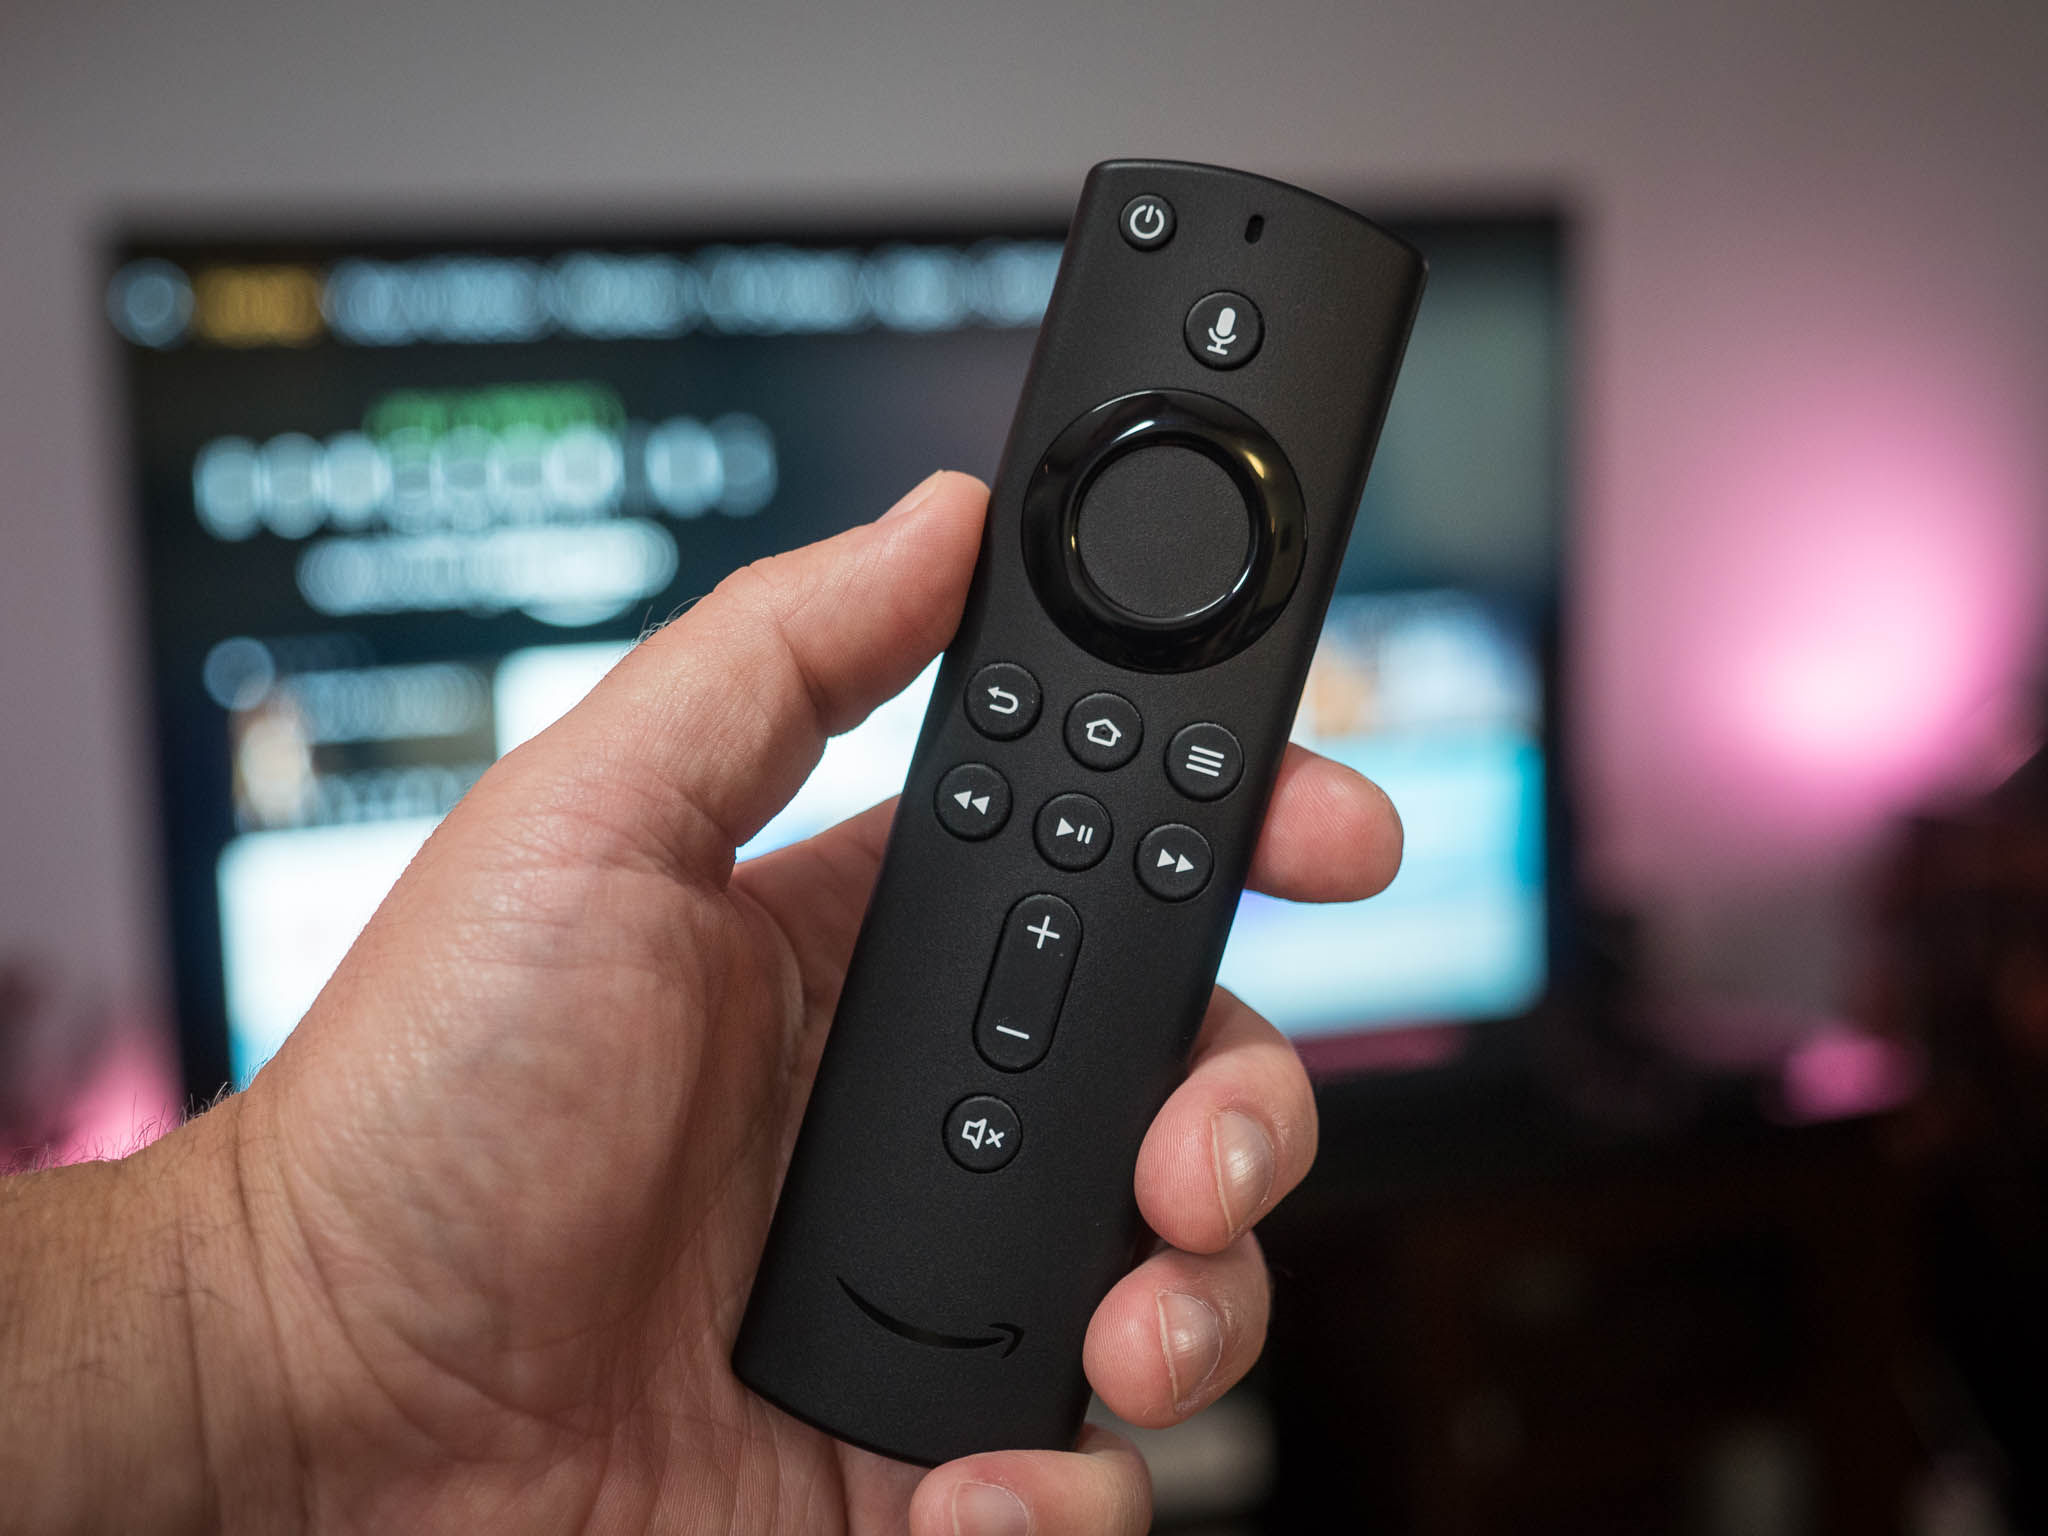
Replacing Batteries in the Amazon Fire Stick Remote
One of the most common issues that can affect the functionality of the Amazon Fire Stick remote is low battery power. If you notice that your remote is becoming unresponsive or the buttons are not working as intended, it may be time to replace the batteries. This simple troubleshooting step can often resolve many remote-related problems. Here’s how you can replace the batteries in your Amazon Fire Stick remote:
- Locate the battery compartment on the back of the remote. It is usually positioned near the bottom or side of the remote.
- Open the battery compartment by pressing the cover and sliding it off.
- Remove the old batteries and dispose of them properly.
- Insert the new batteries into the compartment, making sure to align them correctly with the positive and negative terminals.
- Slide the battery cover back into place until it clicks or locks securely.
Once you have replaced the batteries, check if the remote is working properly by pressing some buttons. The LED indicator on the front of the remote should light up briefly to indicate a successful connection. If the remote remains unresponsive, move on to the next troubleshooting steps.
Resetting the Connection between the Fire Stick and Remote
If replacing the batteries doesn’t resolve the issues with your Amazon Fire Stick remote, the next step is to reset the connection between the Fire Stick device and the remote. Here’s how you can do it:
- Unplug the power cord from your Fire Stick device and wait for at least 10 seconds.
- While the Fire Stick is unplugged, remove the batteries from the remote.
- Plug the power cord back into the Fire Stick and allow it to boot up.
- Once the Fire Stick device has fully powered on, reinsert the batteries into the remote.
- Hold down the home button on the remote for at least 10 seconds.
- Release the home button and wait for the Fire Stick device to recognize the remote.
After performing these steps, try using the remote again to see if it is functioning properly. The Fire Stick and remote should now be reconnected, and you should be able to navigate through menus and control playback as desired. If the connection is still not established, move on to the next troubleshooting steps.
Re-pairing the Remote with the Fire Stick
If your Amazon Fire Stick remote is still not working after replacing the batteries and resetting the connection, you may need to re-pair the remote with the Fire Stick device. Follow these steps to re-pair the remote:
- On your Fire Stick device, go to the “Settings” menu.
- Select “Controllers & Bluetooth Devices”.
- Choose “Amazon Fire TV Remotes” and then select “Add New Remote”.
- Now, press and hold the home button on your remote for at least 10 seconds.
- Wait for the Fire Stick to detect the remote and establish the connection.
- Once the pairing is successful, you can start using your remote again.
After re-pairing the remote, test it with various functions like navigating through menus, adjusting volume, or playing content. If the remote is still unresponsive, there may be other factors causing the issue, and further troubleshooting may be required.
Using the Fire Stick App as a Remote
If you’re encountering persistent issues with your Amazon Fire Stick remote or you simply prefer a different control option, you can use the Fire Stick app as a remote alternative. The Fire Stick app is available for both Android and iOS devices and can be downloaded from their respective app stores. Here’s how you can set up and use the Fire Stick app as a remote:
- Ensure that your Fire Stick device and phone or tablet are connected to the same Wi-Fi network.
- Open the app store on your mobile device and search for the “Fire TV” or “Amazon Fire TV” app.
- Download and install the app on your device.
- Launch the app and select your Fire Stick device from the available list.
- Follow the on-screen instructions to complete the setup and grant any necessary permissions.
- Once the app is connected to your Fire Stick device, you can use it as a virtual remote.
The Fire Stick app provides a similar interface to the physical remote and allows you to navigate through menus, control playback, and access various features of your Fire Stick device. It also includes a virtual keyboard for easy text input. Make sure that your mobile device has a reliable Wi-Fi connection for the app to function properly.
Using the Fire Stick app as a remote can be a convenient alternative if your physical remote is not working or if you prefer the touchscreen controls of your phone or tablet. It provides an easy and accessible way to interact with your Fire Stick device without the need for a physical remote.
Troubleshooting Common Remote Sync Issues
Even after performing basic troubleshooting steps and re-pairing your Amazon Fire Stick remote, you may still face issues with the remote’s sync, preventing it from working properly. Here are some additional troubleshooting tips to help resolve common remote sync issues:
- Check for obstructions: Ensure that there are no objects blocking the line of sight between the remote and the Fire Stick device. Move any obstacles or devices that could interfere with the signal.
- Restart your Fire Stick: Unplug the power cord from the Fire Stick device, wait for a few seconds, then plug it back in. Give the device a moment to restart and attempt to use the remote again.
- Reset your Wi-Fi router: Sometimes, Wi-Fi connectivity issues can affect the remote sync. Restart your Wi-Fi router by unplugging it, waiting for a few seconds, and plugging it back in. Allow the router to boot up and try using the remote again.
- Try a different HDMI port: If your Fire Stick is connected to a TV or monitor through an HDMI port, switch to a different HDMI port and see if that resolves the sync problem.
- Replace the remote: If all else fails, it’s possible that there is a hardware issue with the remote. Consider purchasing a new compatible remote for your Fire Stick device.
By following these troubleshooting steps, you can resolve most common remote sync issues. However, if the problem persists, it may be advisable to contact Amazon customer support for further assistance.
Additional Tips and Tricks for Syncing the Amazon Fire Stick Remote
Syncing your Amazon Fire Stick remote is crucial for seamless navigation and control of your Fire Stick device. Here are some additional tips and tricks to enhance the syncing process and improve remote performance:
- Keep the remote close to the Fire Stick device: Make sure that you are in close proximity to your Fire Stick device when syncing the remote. This helps ensure a strong and stable connection.
- Use fresh batteries: Always use fresh batteries when replacing the ones in your remote. Weak or low-quality batteries can lead to reduced performance and sync issues.
- Restart the Fire Stick device regularly: Give your Fire Stick device a quick restart every once in a while to refresh the system and improve remote functionality.
- Use an HDMI extender: If your Fire Stick device is placed behind the TV or in a cramped space, consider using an HDMI extender to improve the line of sight between the remote and the device.
- Update the Fire Stick software: Ensure that your Fire Stick device has the latest software updates installed. Go to the Settings menu and select “My Fire TV” or “Device” to check for updates.
- Factory reset as a last resort: If you have tried all troubleshooting steps and still can’t sync your remote, you may need to perform a factory reset on your Fire Stick device. Keep in mind that a factory reset will erase all your settings and data, so use this option as a last resort.
By implementing these tips and tricks, you can improve the syncing process and optimize the performance of your Amazon Fire Stick remote. Enjoy hassle-free control and navigation as you explore your favorite content on your Fire Stick device.