
Checking Compatibility and Requirements
Before setting up your Nest Cam, it’s important to ensure compatibility and meet the necessary requirements to guarantee a smooth installation process. Here are a few things to check:
- Internet Connection: Make sure you have a stable internet connection with Wi-Fi access. The Nest Cam requires a minimum upload speed of 2 Mbps and suggests a higher upload speed for optimal performance.
- Device Compatibility: Ensure that the device you plan to use to set up and monitor your Nest Cam is compatible. The Nest app is available for both iOS and Android devices, so ensure that your smartphone or tablet meets the system requirements.
- Power Source: The Nest Cam needs to be connected to a power outlet at all times, so ensure that you have a nearby power source available. Additionally, check that the power outlet is accessible and doesn’t interfere with the camera’s placement.
- Placement Options: Assess where you want to install the Nest Cam and make sure it provides the desired coverage. Consider factors such as the field of view, angle of vision, and any potential obstructions that may affect the camera’s performance.
- Secure Network: To ensure the security and privacy of your Nest Cam, it’s recommended to set up a strong and secure Wi-Fi network. Create a unique and complex password, enable encryption, and configure the appropriate security settings on your router.
By checking these compatibility requirements, you can ensure that you’re ready to proceed with the setup process and maximize the functionality of your Nest Cam.
Choosing the Right Location
Choosing the right location for your Nest Cam is crucial in ensuring optimal surveillance coverage and performance. Here are some factors to consider when selecting the perfect spot:
- Visibility: Look for a location that offers a clear and unobstructed view of the area you want to monitor. Ensure that there are no objects, such as furniture or plants, blocking the camera’s line of sight.
- Height and Angle: Mounting the Nest Cam at an appropriate height and angle is important. Position the camera at a level that captures the desired area while maintaining a natural perspective. Consider mounting options such as walls, ceilings, or using a tripod for greater flexibility.
- Power Outlet Accessibility: Place the camera in an area where you have easy access to a power outlet. This will ensure a continuous power supply and minimize the risk of cables being tripped over or becoming a safety hazard.
- Indoor or Outdoor Use: Depending on the model of the Nest Cam you have, determine whether it is suitable for indoor or outdoor use. If using it outside, ensure that the camera is weatherproof and can withstand the elements.
- Privacy Considerations: Be mindful of privacy concerns when choosing the location. Avoid placing the camera in private areas such as bedrooms or bathrooms and respect the privacy of others.
- Wi-Fi Signal Strength: Check the Wi-Fi signal strength in the location you intend to install the camera. Weak or intermittent signals can affect the camera’s performance, so ensure that there is sufficient signal strength for a stable connection.
By carefully considering these factors, you can choose a location that maximizes the effectiveness of your Nest Cam and provides the security and monitoring capabilities you desire.
Connecting the Camera to Power
Before you can start setting up your Nest Cam, you need to connect it to a power source. Follow these steps to ensure a seamless power connection:
- Locate a Power Outlet: Find a power outlet within a reasonable distance from where you plan to place your Nest Cam. Make sure it is easily accessible and not obstructed by furniture or other objects.
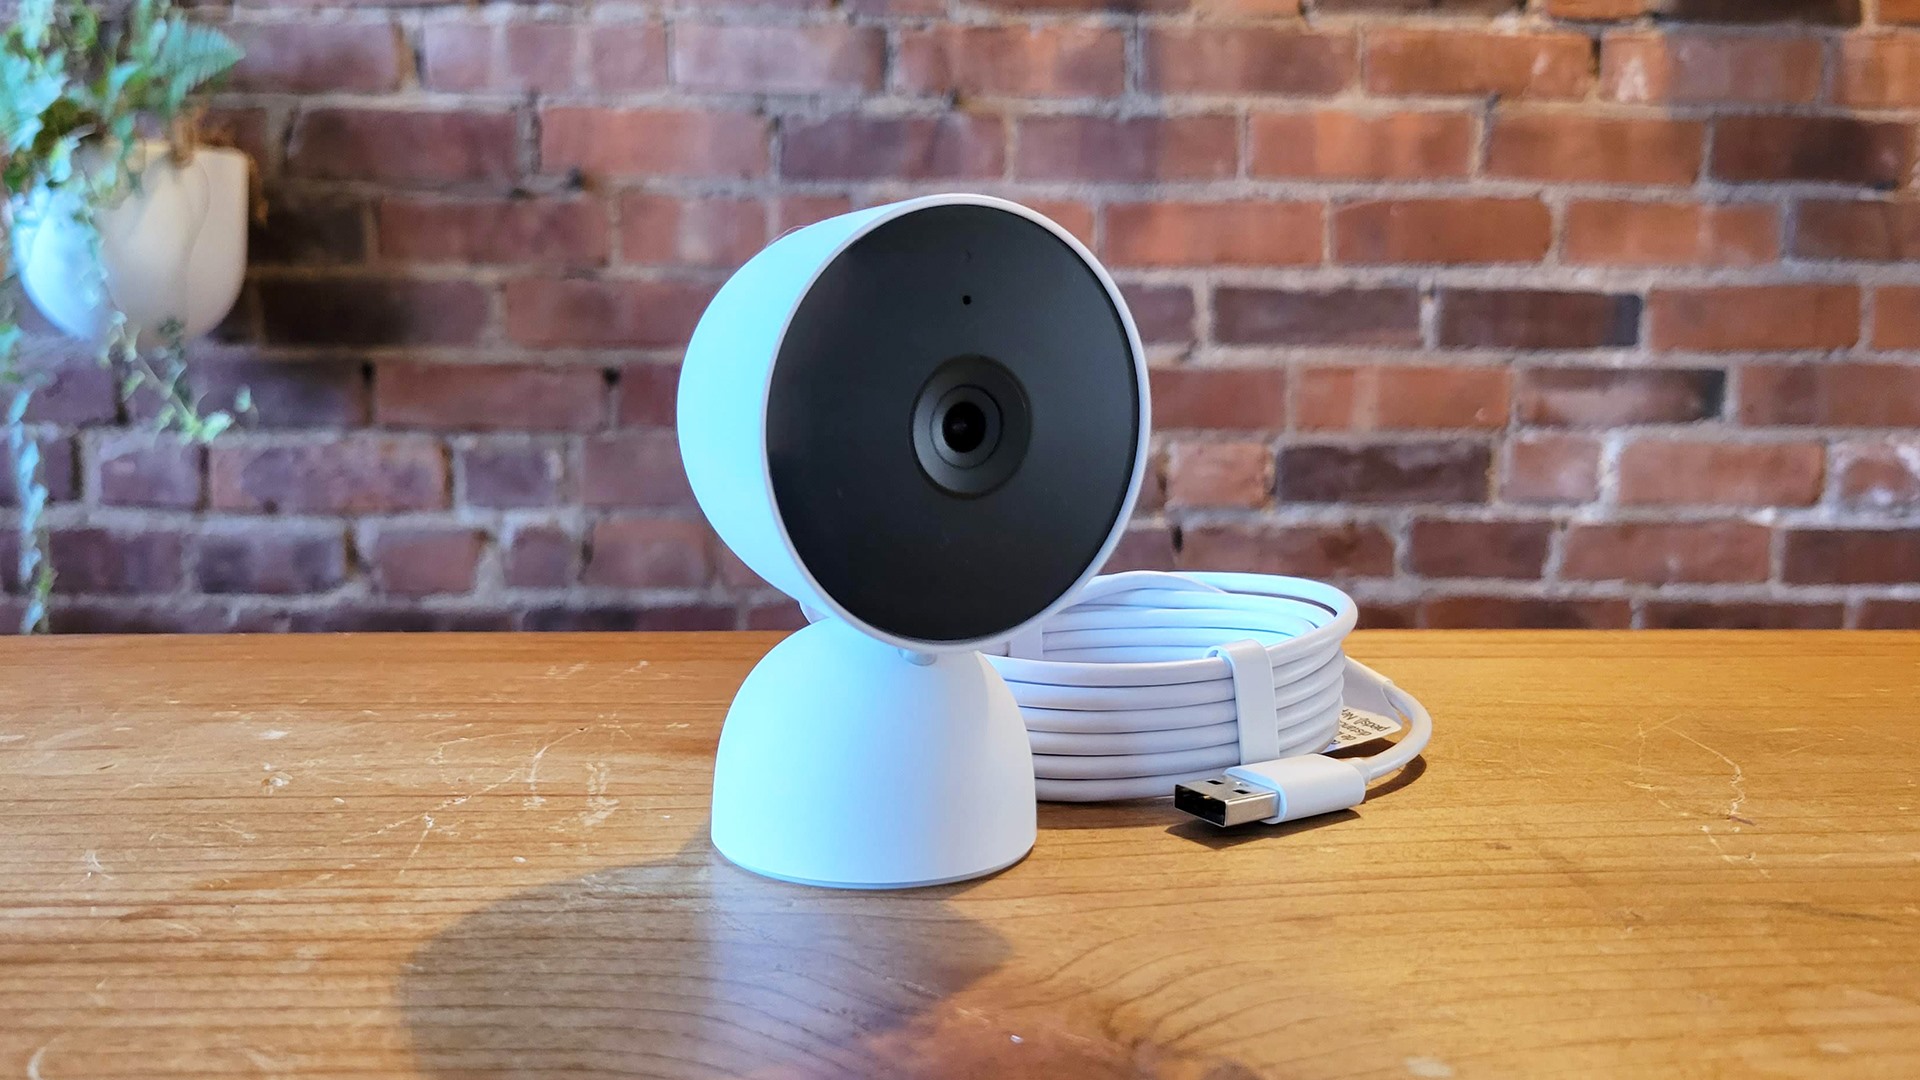
- Plug in the Power Cable: Connect one end of the power cable to the back of the Nest Cam and the other end to the power adapter provided. Ensure that the power cable is securely connected to both the camera and the power adapter.
- Connect to Power: Plug the power adapter into the power outlet. Once connected, the Nest Cam will start receiving power and its LED light will turn on.
- Ensure Proper Cable Management: Arrange the power cable in a neat and organized manner. Use cable clips or ties to secure the cable along walls or furniture to prevent it from becoming a tripping hazard or getting tangled.
It’s essential to ensure a stable power connection to your Nest Cam for uninterrupted operation. Check that the camera’s LED light is solid and not blinking, indicating a successful power connection. If the LED light is not lit, verify that the power outlet is functional and the power cable is securely connected.
Remember, your Nest Cam needs to be connected to power at all times to function properly, so it’s crucial to choose a location near a power outlet.
Downloading the Nest App
In order to set up and manage your Nest Cam, you will need to download and install the Nest app on your smartphone or tablet. Follow these steps to download the app:
- Go to the App Store or Google Play Store: Depending on the type of device you have, open the respective app store on your smartphone or tablet.
- Search for the Nest App: In the search bar, type in “Nest” and tap on the official Nest app when it appears in the search results.
- Download and Install: Tap on the “Install” or “Get” button to download and install the Nest app on your device. Make sure you have a stable internet connection to complete the installation process.
- Open the App: Once the installation is complete, locate the Nest app on your device’s home screen or app drawer and tap to open it.
- Create or Log In to Your Nest Account: If you already have a Nest account, enter your login credentials to access your account. Otherwise, tap on the “Sign Up” or “Create Account” option to create a new Nest account. Follow the on-screen instructions to complete the account creation process.
After successfully downloading and installing the Nest app and creating or logging into your Nest account, you are now ready to proceed with setting up your Nest Cam.
The Nest app is essential for managing your camera, accessing live video feeds, adjusting settings, receiving alerts, and more. It offers a user-friendly interface and intuitive controls to ensure a seamless experience.
Setting Up Your Nest Account
Before you can begin using your Nest Cam, you’ll need to set up a Nest account. Follow these steps to create and set up your account:
- Open the Nest App: Launch the Nest app on your smartphone or tablet.
- Login or Sign Up: If you already have a Nest account, enter your login credentials and tap “Sign In.” Otherwise, tap on the “Sign Up” or “Create Account” option to create a new Nest account.
- Enter Your Email: Provide your email address in the designated field. Make sure to use a valid email that you have access to, as you’ll need it for account verification and future communication.
- Create a Password: Choose a strong and secure password for your Nest account. Include a combination of alphanumeric characters, symbols, and both uppercase and lowercase letters to ensure the security of your account.
- Verify Your Email: Open your email inbox and look for a verification email from Nest. Follow the instructions in the email to verify your account. If you don’t receive the email, check your spam or junk folder.
- Complete Account Setup: Return to the Nest app and continue the account setup process. Provide any additional information requested, such as your name, location, and phone number, as required.
- Review Terms and Policies: Read and accept the terms of service and privacy policies presented by Nest. It’s important to understand and agree to these terms before proceeding.
Once you’ve completed the setup process, your Nest account will be created and ready to use. Your Nest account allows you to control and manage your Nest Cam, access historical video recordings, set up alerts and notifications, and customize the camera’s settings.
Make sure to secure your Nest account with a strong password and enable any additional security features provided by Nest to protect your privacy and prevent unauthorized access to your camera.
Adding the Nest Cam to the App
After setting up your Nest account, the next step is to add your Nest Cam to the Nest app. Follow these instructions to successfully add your camera:
- Open the Nest App: Launch the Nest app on your smartphone or tablet.
- Tap on the Plus Icon: Look for the plus icon (+) or the “Add” button on the app’s interface and tap on it to begin adding a new device.
- Select “Camera” as the Device Type: From the list of device options, choose “Camera” as the device type you want to add to the app.
- Scan the QR Code: On the back of your Nest Cam, there should be a QR code. Use the app’s built-in camera to scan the QR code.
- Follow On-Screen Prompts: Once the QR code is scanned successfully, the app will guide you through the rest of the setup process. Follow the on-screen prompts to complete the camera setup and connection.
- Connect to Wi-Fi: During the setup process, you will be prompted to connect your Nest Cam to your Wi-Fi network. Select your Wi-Fi network from the available options and enter the network password if required.
- Wait for the Connection: The app will establish a connection between your Nest Cam and your Wi-Fi network. This may take a few moments, so be patient and ensure that your Nest Cam is within range of your Wi-Fi signal.
- Cameras Added Successfully: Once the connection is established, the app will notify you that your camera has been added successfully. You can now access and control your Nest Cam through the app.
By following these steps, you’ll be able to add your Nest Cam to the Nest app and start monitoring your desired area with ease. The app allows you to view live video feeds, adjust camera settings, receive notifications, and much more.
Ensure that your Nest Cam is placed in the desired location and has a stable internet connection for optimal performance and functionality.
Connecting the Camera to Your Wi-Fi Network
After adding your Nest Cam to the Nest app, the next step is to connect it to your Wi-Fi network for remote access and control. Here’s how you can connect your camera to your Wi-Fi network:
- Open the Nest App: Launch the Nest app on your smartphone or tablet.
- Select your Camera: Tap on the camera that you added to the app. This will take you to the camera’s settings page.
- Tap on “Settings”: Look for the settings icon or option within the app and tap on it.
- Choose “Wi-Fi Settings”: From the settings menu, select the “Wi-Fi Settings” or “Network Settings” option.
- Select Your Wi-Fi Network: A list of available Wi-Fi networks will be displayed. Locate and tap on your Wi-Fi network from the list.
- Enter Wi-Fi Password: If your Wi-Fi network is password-protected, you will be prompted to enter the network password. Use the on-screen keyboard to input the password correctly.
- Wait for Connection: The app will try to establish a connection between your Nest Cam and your Wi-Fi network. The process may take a few moments, so ensure that your Wi-Fi signal is strong and stable.
- Connection Successful: Once the camera successfully connects to your Wi-Fi network, the app will confirm the successful connection. You can now access your camera remotely and control it through the Nest app.
It’s important to ensure a stable and reliable Wi-Fi connection for your Nest Cam. Placing the camera within range of your Wi-Fi router will help maintain a strong signal and uninterrupted video streaming.
Remember to update your Wi-Fi network settings in the Nest app if you ever change your network name or password. This will ensure that your camera stays connected to the correct network.
Adjusting the Camera Settings
Once your Nest Cam is connected to your Wi-Fi network, you can adjust various settings to customize the camera’s functionality and optimize its performance. Here’s how you can adjust the camera settings:
- Open the Nest App: Launch the Nest app on your smartphone or tablet.
- Select your Camera: Tap on the camera that you want to adjust the settings for. This will take you to the camera’s settings page.
- Tap on “Settings”: Look for the settings icon or option within the app and tap on it.
- Explore the Settings Menu: The settings menu will provide you with various options to customize your camera. Take some time to explore the available settings and their descriptions.
- Adjust Video Quality: You can choose to adjust the video quality of your camera feed. Higher quality settings may require more bandwidth, so ensure that your internet connection can handle it. Find the video quality settings in the app’s settings menu.
- Enable Notifications: If you want to receive alerts and notifications on your smartphone or tablet for events captured by your Nest Cam, go to the notification settings and enable them. You can customize the types of notifications you want to receive.
- Set Up Activity Zones: Activity zones allow you to define specific areas within the camera’s field of view where you want to focus on detecting motion or sound. This can help reduce unwanted notifications. Locate the activity zone settings and set them up according to your preferences.
- Adjust Night Vision: If your Nest Cam has night vision capabilities, you can adjust the night vision settings to optimize the camera’s performance in low-light conditions. Explore the night vision settings and make any necessary adjustments.
- Explore Additional Settings: Depending on your specific Nest Cam model, there may be additional settings available for you to customize. These may include audio settings, camera rotation, privacy modes, and more.
By adjusting the camera settings to your liking, you can ensure that your Nest Cam operates according to your preferences and provides you with the desired surveillance and monitoring capabilities.
Remember to save any changes you make to the settings for them to take effect and regularly review and adjust the settings as needed based on your changing requirements and preferences.
Exploring the Features of the Nest App
The Nest app offers a range of features that allow you to have complete control over your Nest Cam and enhance your monitoring experience. Here are some key features to explore and utilize:
- Live View: The app allows you to access a live video feed from your Nest Cam anytime and anywhere. Simply tap on the camera in the app and select “Live View” to see real-time video footage of your chosen area.
- Two-Way Audio: With the built-in microphone and speaker on your Nest Cam, you can utilize the two-way audio feature through the app. This enables you to listen to sounds in the camera’s vicinity and even communicate with people or pets near the camera using your smartphone or tablet.
- Event History: The Nest app records events detected by your Nest Cam, such as motion or sound. You can access and review these event histories in the app to stay informed about what has happened while you were away.
- Activity Zones: Take advantage of the activity zones feature in the app to define specific areas within the camera’s field of view where you want to focus on capturing motion or sound. This helps reduce false alerts and notifications.
- Alerts and Notifications: The app allows you to customize and receive alerts and notifications for events detected by your Nest Cam. You can choose to receive push notifications, emails, or both, depending on your preference.
- Video Playback and Sharing: In addition to live view, the Nest app enables you to access and play back recorded video footage. You can also download or share video clips or snapshots of important events directly through the app.
- Familiar Face Detection: If you have a Nest Aware subscription, the app can utilize facial recognition technology to identify familiar faces and send personalized alerts. This helps you stay informed about who is coming and going.
- Integration with Other Nest Devices: If you have other Nest devices, such as Nest thermostats or Nest Protect smoke and carbon monoxide detectors, the app allows you to integrate and control them all from one centralized platform. This provides a seamless and interconnected smart home experience.
These features empower you to have complete control over your Nest Cam and ensure the security and monitoring of your home or desired area. Spend some time exploring the app and familiarizing yourself with its functionalities to make the most out of your Nest Cam.
Regularly check for app updates to ensure that you have access to the latest features and improvements provided by Nest. Additionally, review the app’s settings to customize it according to your preferences and needs.
Troubleshooting Common Issues
While setting up and using your Nest Cam, you may encounter some common issues. Here are some troubleshooting steps you can take to resolve them:
- Check Internet Connection: Ensure that your Wi-Fi network is functioning properly and providing a stable internet connection. Restart your router and modem if necessary.
- Restart the Nest Cam: If you’re experiencing connectivity issues or the camera is unresponsive, try restarting the Nest Cam by unplugging it from the power source and then plugging it back in.
- Verify Power Connection: Double-check the power connection of the Nest Cam. Ensure that the power cable is securely connected to both the camera and the power outlet.
- Update the Nest App: Make sure that you have the latest version of the Nest app installed on your smartphone or tablet. Check for app updates in the App Store or Google Play Store and install any available updates.
- Restart the Nest App: If you’re experiencing app-related issues, try force-closing the Nest app and then reopening it. This can help resolve minor glitches or bugs.
- Reset the Nest Cam: If you’re still having issues, you can try resetting the Nest Cam to its factory settings. Refer to the manufacturer’s instructions for the specific steps on how to reset your camera.
- Check Wi-Fi Signal Strength: Ensure that your Nest Cam is within range of your Wi-Fi router and that the signal strength is strong enough for a stable connection. Consider repositioning the camera or using a Wi-Fi extender to improve signal quality.
- Clear Camera Obstructions: If you’re experiencing poor video quality or obstructed views, check for any physical obstructions, such as dust or debris, that may be interfering with the camera’s lens or sensors. Clean them if necessary.
- Contact Nest Support: If you’ve tried all the troubleshooting steps and are still experiencing issues, reach out to Nest Support for further assistance. They can provide specific guidance and solutions based on your camera model and situation.
By following these troubleshooting steps, you can resolve common issues and ensure the smooth operation of your Nest Cam. It’s important to stay patient and persistent when troubleshooting, as some issues may require additional steps or advanced troubleshooting techniques.
Always refer to the manufacturer’s instructions and resources or consult with Nest Support for comprehensive troubleshooting guidance related to your specific Nest Cam model.
Ensuring Privacy and Security of Your Nest Cam
Protecting the privacy and security of your Nest Cam is vital to ensure peace of mind and safeguard your personal information. Here are some important measures you can take:
- Create a Strong Nest Account Password: Choose a unique and secure password for your Nest account. Use a combination of uppercase and lowercase letters, numbers, and symbols. Avoid using easily guessable passwords and update your password regularly.
- Enable Two-Factor Authentication: Add an extra layer of security to your Nest account by enabling two-factor authentication. This requires you to provide a verification code in addition to your password when accessing your account.
- Secure Your Wi-Fi Network: Protect your Wi-Fi network with a strong password and encryption. Use WPA2 or WPA3 encryption protocols and avoid using an easily guessable network name (SSID). Regularly update your router firmware for enhanced security.
- Regularly Update Firmware: Ensure that your Nest Cam’s firmware is up to date. Regular firmware updates often include security patches and performance improvements. Check for firmware updates regularly through the Nest app or website.
- Review Camera Permissions: Periodically review and manage the permissions granted to your Nest app. Be cautious about granting excessive access to your camera or personal information to other devices or apps connected to your Nest account.
- Enable Privacy Mode: If you have privacy concerns, you can enable privacy mode on your Nest Cam. This disables the camera’s video and audio feed until you explicitly turn privacy mode off. This is particularly useful when you’re at home or in private areas.
- Secure Physical Access: Properly place your camera to prevent unauthorized physical access. Ensure that it is mounted securely and not easily accessible or tampered with. Consider using tamper-proof screws or locks if necessary.
- Regularly Review Activity: Monitor the activity history and notifications from your Nest Cam to detect any suspicious or unauthorized access. If you notice any unusual activity or behavior, change your account password immediately and contact Nest Support for assistance.
- Use Nest Aware for added Security: Consider subscribing to Nest Aware, a paid subscription service that offers advanced features such as continuous cloud recording, intelligent alerts, and familiar face detection. This enhances the security and monitoring capabilities of your Nest Cam.
By implementing these measures, you can ensure the privacy and security of your Nest Cam. Stay proactive in keeping both your accounts and devices secure to safeguard your personal information and maintain a safe environment.
Stay informed about the latest security best practices and recommendations provided by Nest and regularly educate yourself on how to protect your smart home devices from potential threats.