
Common Symptoms of Trouble Codes
When your vehicle’s check engine light illuminates, it’s a clear indication that a trouble code has been stored in the engine’s onboard computer. Trouble codes are diagnostic codes that help identify specific issues within the vehicle’s systems. By understanding and being aware of the common symptoms associated with trouble codes, you can troubleshoot and address the underlying problem more effectively.
Here are some common symptoms that may indicate the presence of trouble codes:
- Illuminated Check Engine Light: The most obvious symptom of trouble codes is when the check engine light on your dashboard comes on. This is the vehicle’s way of signaling that there is a problem that needs attention.
- Reduced Performance: Trouble codes can cause a decrease in the overall performance of your vehicle. This may include issues such as reduced power, sluggish acceleration, or poor fuel efficiency.
- Engine Misfiring: Misfires occur when the combustion process in the engine is not happening properly. This can be caused by various issues, including faulty ignition coils, spark plugs, or fuel injectors, all of which may trigger trouble codes.
- Strange Noises: Some trouble codes can be related to issues with the engine or its components, leading to unusual noises such as knocking, rattling, or squealing. These noises should not be ignored, as they may be indicative of more serious problems.
- Difficulty Starting the Engine: Certain trouble codes can prevent the engine from starting smoothly or cause it to stall shortly after starting. This can be frustrating and may require immediate attention to prevent further damage.
If you notice any of these symptoms in your vehicle, it is important not to ignore them. Ignoring trouble codes can lead to more significant issues and even further damage to your vehicle. Instead, take prompt action to diagnose and resolve the problem.
Next, we will discuss how to understand and interpret trouble codes to effectively address any issues that may arise.
Understanding Trouble Codes
Trouble codes, also known as diagnostic trouble codes (DTCs), are alphanumeric codes generated by your vehicle’s onboard computer system. These codes provide valuable information about specific issues affecting your vehicle’s performance and functionality.
Trouble codes are typically generated when a sensor or system within your vehicle detects a problem. The check engine light illuminates to alert you that a trouble code has been stored in the computer’s memory. Understanding these codes is essential for effectively diagnosing and addressing the underlying issues.
Trouble codes are divided into different categories based on the type of problem they signify. There are generic codes that apply to all vehicles, as well as manufacturer-specific codes that are unique to certain vehicle makes and models.
Each trouble code consists of a series of alphanumeric characters. The first character is usually a letter, followed by four or five digits. The letter indicates the system in which the problem is detected, such as “P” for powertrain, “C” for chassis, or “B” for body. The digits provide more specific information about the problem.
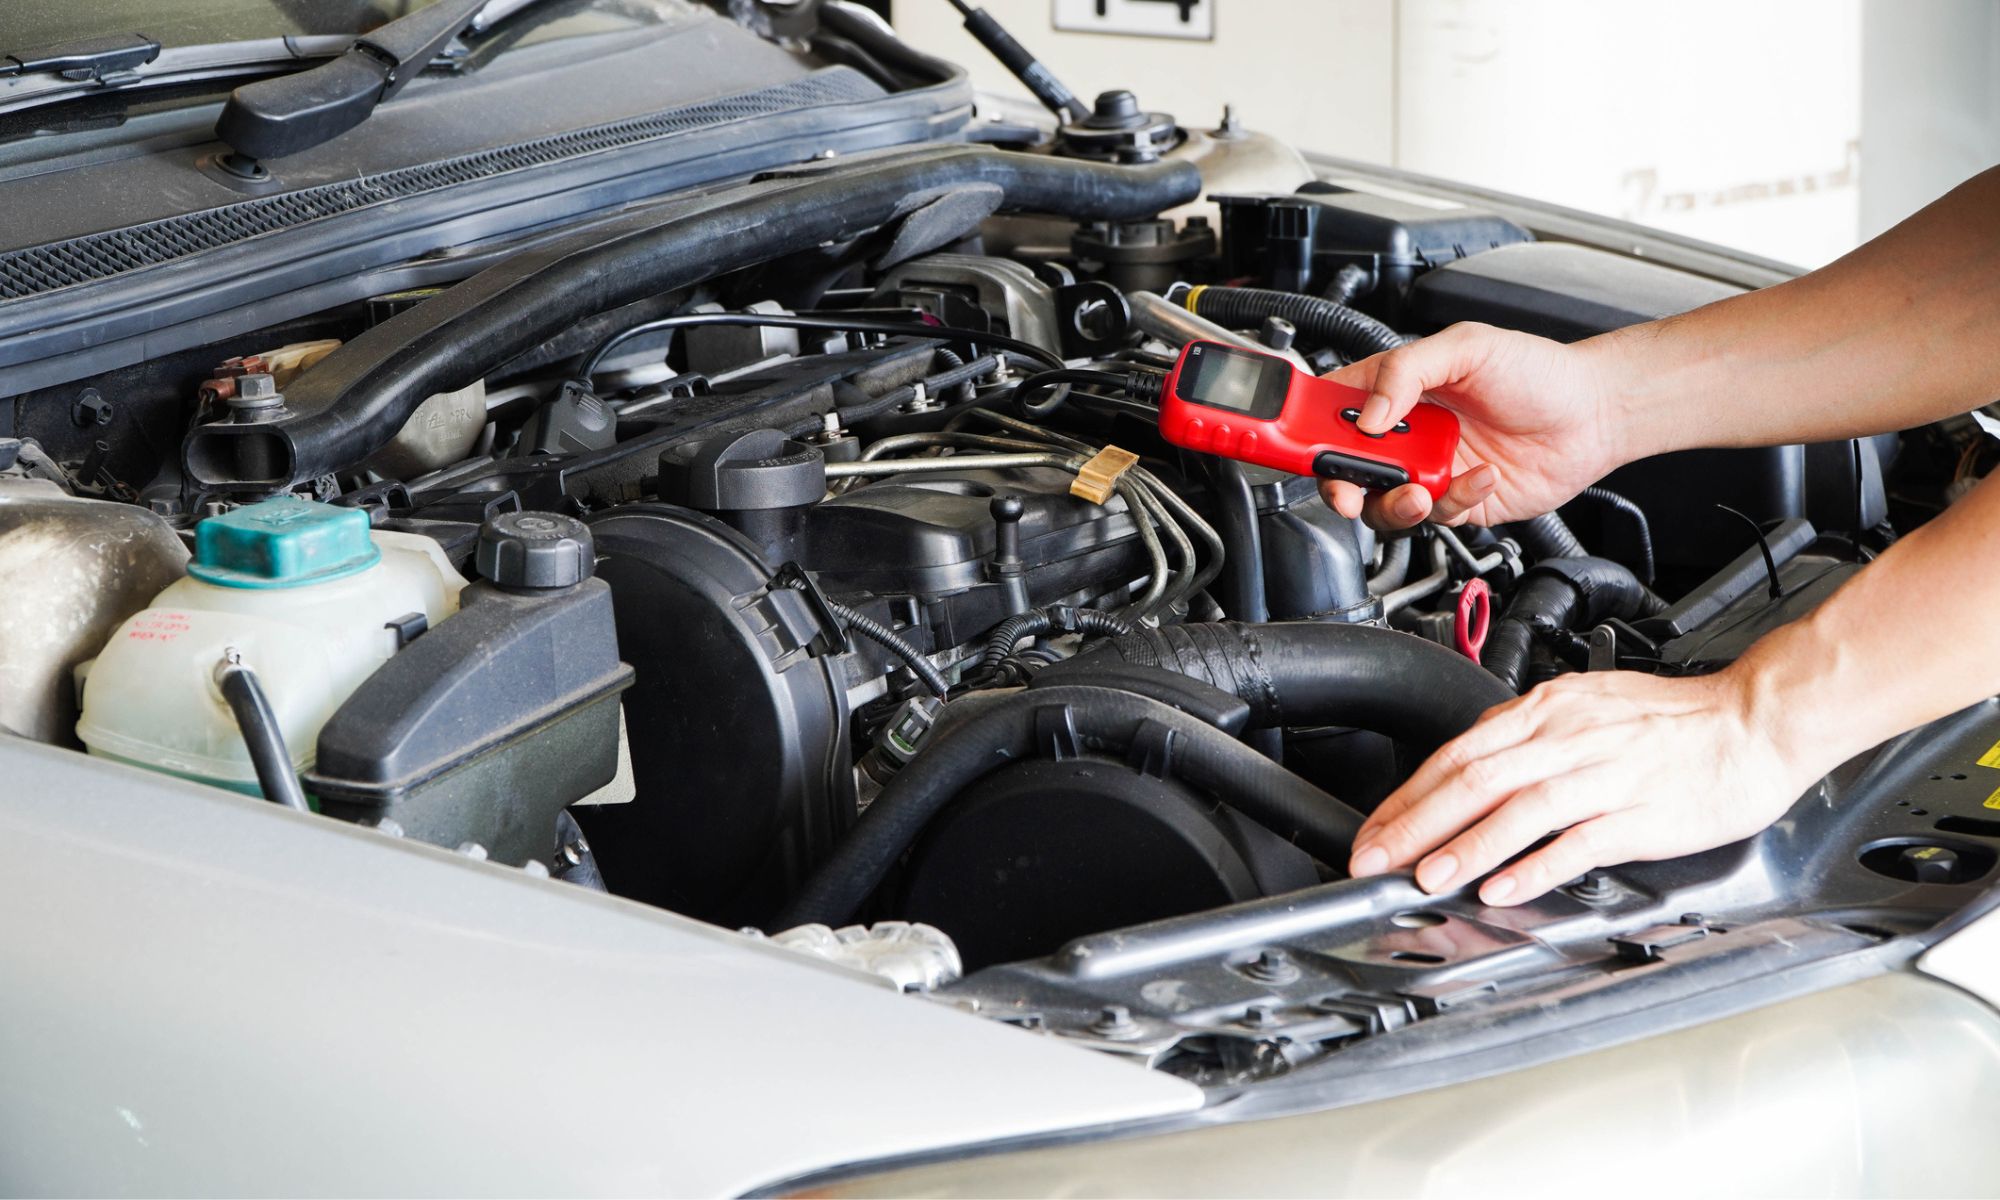
To access trouble codes, you will need an OBD-II scanner or code reader. These tools interface with your vehicle’s onboard computer and extract the stored codes. Once you have retrieved the codes, you can then research their meanings to determine the appropriate course of action.
Understanding trouble codes may require some research and knowledge of your vehicle’s specific make and model. Luckily, there are numerous online resources and databases available that provide code definitions and troubleshooting guides. These resources can help you identify the problem and decide if it is something you can repair yourself or if it requires professional intervention.
It is important to note that trouble codes are not always definitive proof of a specific faulty component. Instead, they serve as a starting point for diagnosis. Further testing and inspection may be necessary to confirm the exact cause of the problem.
In the next section, we will discuss the different types of trouble codes and how to identify the OBD-II port in your vehicle.
Different Types of Trouble Codes
There are different types of trouble codes that can be generated by your vehicle’s onboard computer system. Understanding the various code types will help you interpret the issues affecting your vehicle more accurately.
1. Generic Codes (P0XXX): These are standardized codes that are applicable to all vehicles equipped with an OBD-II system. Generic codes provide general information about the problem detected in a particular system. For example, a P0300 code indicates a random misfire detected in the engine.
2. Manufacturer-Specific Codes (P1XXX): These codes are unique to specific vehicle makes and models. They provide more detailed information about the problem and are often specific to certain components or systems. For example, a P0420 code in a Toyota may indicate a catalytic converter efficiency below threshold.
3. Enhanced Codes (P2XXX or P3XXX): These codes are not part of the standard OBD-II codes but are specific to certain manufacturers. They provide even more detailed information about specific systems or components. These codes are typically used for advanced troubleshooting and diagnostics.
4. Permanent Codes: Permanent codes are stored in the vehicle’s computer memory and are not cleared until the underlying problem is resolved. Even if the check engine light turns off temporarily, the code will remain in the memory until cleared or until a specific number of successful driving cycles.
5. Pending Codes: Pending codes are stored when a potential issue is detected, but it may not meet the criteria for setting a permanent code. These codes indicate a problem that has not yet become persistent but requires attention to prevent further issues.
When retrieving trouble codes using an OBD-II scanner, it is crucial to note the code type along with the actual code. This information will help you accurately diagnose and address the issue affecting your vehicle.
By understanding the different types of trouble codes, you will have a clearer picture of the problem at hand and be better equipped to resolve it. In the next section, we will discuss how to identify the OBD-II port in your vehicle.
How to Identify OBD-II Port in Your Vehicle
The OBD-II (On-Board Diagnostic) port is a standardized diagnostic interface found in most vehicles manufactured after 1996. It allows access to the vehicle’s onboard computer system and retrieves trouble codes for diagnostic purposes. To identify the OBD-II port in your vehicle, follow these steps:
1. Check Under the Dashboard: The most common location for the OBD-II port is underneath the dashboard on the driver’s side. It is usually located near the steering column. Look for a small rectangular-shaped connector that matches the shape of the OBD-II scanner or code reader.
2. Search Near the Fuse Box: In some vehicles, the OBD-II port may be located near the fuse box. Check around the glove compartment or under the dashboard on the passenger side for the port.
3. Inspect the Center Console Area: In certain vehicles, especially trucks and SUVs, the OBD-II port may be located in the center console. Look between the front seats or in the storage compartment area for the port.
4. Refer to the Owner’s Manual: If you’re having trouble locating the OBD-II port, consult your vehicle’s owner’s manual. It should provide specific information about the port’s location and appearance.
5. Use Online Resources: If all else fails, there are online resources available that provide information about OBD-II port locations for various vehicle makes and models. These resources can be helpful in identifying the port in your specific vehicle.
Once you have located the OBD-II port, you can connect your OBD-II scanner or code reader. Simply plug the connector into the port until it clicks into place. Ensure that your vehicle’s ignition is turned on, but the engine is not running, before proceeding with retrieving the trouble codes.
It’s important to note that while most OBD-II ports are standard in terms of shape and size, there may be variations in location among different vehicle models. Taking the time to identify the correct port will ensure successful communication with your vehicle’s onboard computer.
In the next section, we will discuss different methods you can use to retrieve trouble codes without a scanner.
Using the Check Engine Light to Retrieve Trouble Codes
The check engine light serves as a valuable tool to retrieve trouble codes without the need for an OBD-II scanner or code reader. While it may not provide specific codes, it can give you a general indication of the issue affecting your vehicle. Here’s how you can use the check engine light to retrieve trouble codes:
1. Identify the Check Engine Light: The check engine light is typically located on your vehicle’s dashboard. It is usually labeled as “Check Engine” or represented by an image of an engine. When the light illuminates, it means that the vehicle’s onboard computer has detected an issue and stored a trouble code.
2. Note the Light’s Behavior: Pay attention to the behavior of the check engine light. Is it constantly illuminated, flashing, or intermittently turning on and off? Different patterns of illumination can provide clues about the severity of the issue. For example, a flashing check engine light often indicates a more urgent problem that requires immediate attention.
3. Count the Number of Flashes: Some vehicles have a built-in diagnostic feature that enables you to retrieve trouble codes by counting the number of flashes from the check engine light. To do this, turn the ignition key to the “on” position without starting the engine. Observe the check engine light, and count the number of consecutive flashes. Each flash represents a numerical value.
4. Refer to the Vehicle’s Service Manual: Once you have counted the flashes, consult your vehicle’s service manual or search online for the code interpretation. The manual or online resources will provide you with a corresponding list of trouble codes and their meanings.
It’s important to note that using the check engine light to retrieve trouble codes is a basic method and may not provide the same level of detail as an OBD-II scanner or code reader. However, it can give you a starting point for identifying and understanding the issue affecting your vehicle.
Remember, once you have retrieved the trouble codes, further diagnostics may be necessary to determine the exact cause of the problem. Professional advice or assistance may be required to resolve the issue effectively.
In the next section, we will explore alternative methods to retrieve trouble codes without a scanner.
Using the Key Method to Retrieve Trouble Codes
The key method is another technique that can be used to retrieve trouble codes without an OBD-II scanner or code reader. This method involves using the ignition key and the vehicle’s onboard computer system. Here’s how you can use the key method to retrieve trouble codes:
1. Turn the Ignition Key: Insert the ignition key into the ignition cylinder and turn it to the “On” position without starting the engine. This will power up the vehicle’s electrical systems.
2. Observe the Check Engine Light: Pay attention to the check engine light on the dashboard. It will either remain illuminated or start flashing. Both scenarios indicate the presence of trouble codes.
3. Obtain the Trouble Code(s): Now, using the ignition key, turn it to the “Off” position, and quickly turn it back to the “On” position three times within five seconds. On the third time, leave the key in the “On” position.
4. Interpret the Flashes: Count the number of times the check engine light flashes. Each flash represents a digit of the trouble code. The pauses between the flashes represent different digits. For example, three flashes followed by a pause and then four flashes indicate trouble code “34”. Repeat the process to retrieve additional trouble codes.
5. Refer to the Code Interpretation: Consult your vehicle’s service manual or search online for the interpretation of the trouble code(s) you retrieved. The manual or online resources will provide you with information about the specific issues associated with the code(s) and possible solutions.
Using the key method to retrieve trouble codes can provide a basic understanding of the issues affecting your vehicle. However, keep in mind that this method may not provide as much detail as an OBD-II scanner or code reader. For a more accurate diagnosis, it is recommended to seek professional help or use a scanner for a comprehensive analysis.
In the next section, we will discuss the pedal method, another alternative method to retrieve trouble codes without a scanner.
Using the Pedal Method to Retrieve Trouble Codes
The pedal method is a simple yet effective technique to retrieve trouble codes without the need for an OBD-II scanner or code reader. This method involves using the vehicle’s pedals and the onboard computer system. Here’s how you can use the pedal method to retrieve trouble codes:
1. Ensure the Ignition is Off: Start by ensuring that the ignition is in the off position. Make sure the engine is not running.
2. Press the Accelerator Pedal: Press and hold down the accelerator pedal completely. Depress it all the way to the floor and hold it in this position.
3. Turn the Ignition Key: With the accelerator pedal still fully depressed, turn the ignition key to the “On” position without starting the engine. Keep holding down the accelerator pedal.
4. Count the Flashes: Observe the check engine light on the dashboard. It will begin to flash. Count the flashes and pay attention to the pattern. Each flash represents a digit of the trouble code, while the pauses between the flashes indicate different digits. For example, three flashes followed by a pause and then four flashes represent the trouble code “34”. Repeat the process to retrieve any additional trouble codes.
5. Identify the Trouble Codes: Refer to your vehicle’s service manual or search online for the interpretation of the trouble code(s) you retrieved. These resources will provide you with information about the specific issues associated with the code(s) and possible solutions.
Using the pedal method to retrieve trouble codes can help you gain a basic understanding of the problems affecting your vehicle. However, it’s important to note that this method may not provide as much detail as an OBD-II scanner or code reader. For a more accurate diagnosis and comprehensive analysis, it is recommended to seek professional assistance or use a scanner.
In the next section, we will discuss the ignition method, another alternative method to retrieve trouble codes without a scanner.
Using the Ignition Method to Retrieve Trouble Codes
The ignition method is a straightforward approach to retrieve trouble codes without the need for an OBD-II scanner or code reader. This method involves using the ignition key and the vehicle’s onboard computer system. Here’s how you can use the ignition method to retrieve trouble codes:
1. Ensure the Ignition is Off: Start by ensuring that the ignition is in the off position. Make sure the engine is not running.
2. Locate the Data Link Connector: Find the Data Link Connector (DLC) port in your vehicle. The DLC is typically located underneath the dashboard on the driver’s side. It is a small rectangular-shaped connector that matches the shape of the OBD-II scanner or code reader.
3. Insert the Ignition Key: Insert the ignition key into the ignition cylinder and turn it to the “On” position without starting the engine. This will activate the vehicle’s electrical systems.
4. Connect Two Terminals: Using a small, insulated wire or a suitable jumper, connect the terminals of the DLC port that correspond to pins 4 and 5. These pins are usually labeled or numbered for easy identification.
5. Observe the Check Engine Light: Once the terminals are connected, pay attention to the check engine light on the dashboard. It will begin to flash, indicating that the trouble codes are being retrieved.
6. Count the Flashes: Count the number of times the check engine light flashes. Each flash represents a digit of the trouble code. The pauses between the flashes indicate different digits. For example, three flashes followed by a pause and then four flashes represent the trouble code “34”. Repeat the process to retrieve any additional trouble codes.
7. Refer to the Code Interpretation: Consult your vehicle’s service manual or search online for the interpretation of the trouble code(s) you retrieved. The manual or online resources will provide you with information about the specific issues associated with the code(s) and possible solutions.
The ignition method allows you to retrieve trouble codes without the need for specialized scanning tools. However, keep in mind that this method may not provide as much detail as an OBD-II scanner or code reader. For a more comprehensive analysis and accurate diagnosis, it is recommended to seek professional assistance or use a scanner.
In the next section, we will discuss how to interpret the trouble codes you retrieve using these various methods.
Interpreting Trouble Codes
Interpreting trouble codes is a vital step in diagnosing and understanding the issues affecting your vehicle. Each trouble code represents a specific problem or malfunction within your vehicle’s systems. Here’s how you can interpret the trouble codes you retrieve:
1. Reference the Code Definitions: Consult your vehicle’s service manual or search online for a list of trouble code definitions. These resources will provide you with information about the meaning and description of each specific code.
2. Understand the Code Format: Trouble codes are usually presented in alphanumeric format, such as P0300 or B1234. The first character indicates the system or component affected by the issue. For instance, “P” represents the powertrain, while “B” indicates the body system. The following digits provide further details about the specific problem.
3. Determine the Severity of the Issue: Different trouble codes signify varying levels of severity. Some codes may indicate minor sensor malfunctions, while others can point to more critical issues that require immediate attention. Understanding the severity of the code will help you prioritize and address the problems accordingly.
4. Consider the Symptoms: Take into account any symptoms or issues you’ve noticed in your vehicle. Cross-referencing the trouble codes with the symptoms can provide insights into the root cause of the problem, helping you pinpoint the affected component or system.
5. Further Diagnosis and Inspection: While trouble codes provide a starting point for diagnosis, they are not always the definitive answer. Additional diagnostic steps, such as visual inspections, component testing, and data analysis, may be necessary to identify the exact cause of the issue. Consulting a professional or using advanced diagnostic tools can be beneficial in this stage.
Interpreting trouble codes requires a combination of knowledge, resources, and practical experience. It is essential to refer to reliable sources and consult experts if needed. Additionally, staying up to date with any manufacturer-specific codes or recalls relevant to your vehicle can provide further insight into common issues and solutions.
Remember that trouble codes are only part of the diagnostic process. It’s essential to address the underlying problem indicated by the codes rather than simply resetting or clearing the codes without fixing the issue. This will help ensure that your vehicle operates efficiently and reliably.
In the next section, we will discuss how to reset trouble codes after diagnosing and resolving the underlying problems.
Resetting Trouble Codes
After diagnosing and resolving the issues indicated by the trouble codes, it is important to reset the codes stored in your vehicle’s onboard computer. Resetting the trouble codes will clear the check engine light and allow you to monitor your vehicle’s performance for any new issues that may arise. Here’s how you can reset the trouble codes:
1. Utilize an OBD-II Scanner: The easiest and most comprehensive way to reset trouble codes is by using an OBD-II scanner or code reader. Simply connect the scanner to the OBD-II port, follow the scanner’s instructions, and navigate to the code clearing option. Select this option to reset the trouble codes stored in the computer memory.
2. Disconnect the Battery: Another method to reset trouble codes is by disconnecting the vehicle’s battery. Start by turning off the ignition and locating the battery. Carefully disconnect the negative (-) cable, followed by the positive (+) cable. Leave the battery disconnected for approximately 15 minutes to ensure that the computer memory is fully cleared. Then, reconnect the positive cable first, followed by the negative cable.
3. Use the Fuse Method: Some vehicles have a specific fuse dedicated to the power supply of the onboard computer system. By locating and removing this fuse for a short period–typically around 10-15 seconds–the computer memory will be cleared. Reinsert the fuse to restore power to the system.
Note: It’s important to keep in mind that resetting trouble codes does not necessarily fix the underlying issue. It is crucial to diagnose and repair the root cause before resetting the codes. If the issue persists or if the check engine light comes back on after resetting the codes, further inspection and repairs may be necessary.
Resetting the trouble codes is not a solution for ongoing or unresolved problems. It is intended to be part of the diagnostic and troubleshooting process. By addressing the root cause of the trouble codes and ensuring that the repairs have been made, you can reset the codes with confidence, providing a fresh starting point for monitoring your vehicle’s performance.
Remember, if you’re unsure about any aspect of resetting trouble codes or if the issue persists, it is always recommended to seek professional assistance from a qualified technician familiar with your vehicle’s specific make and model.