
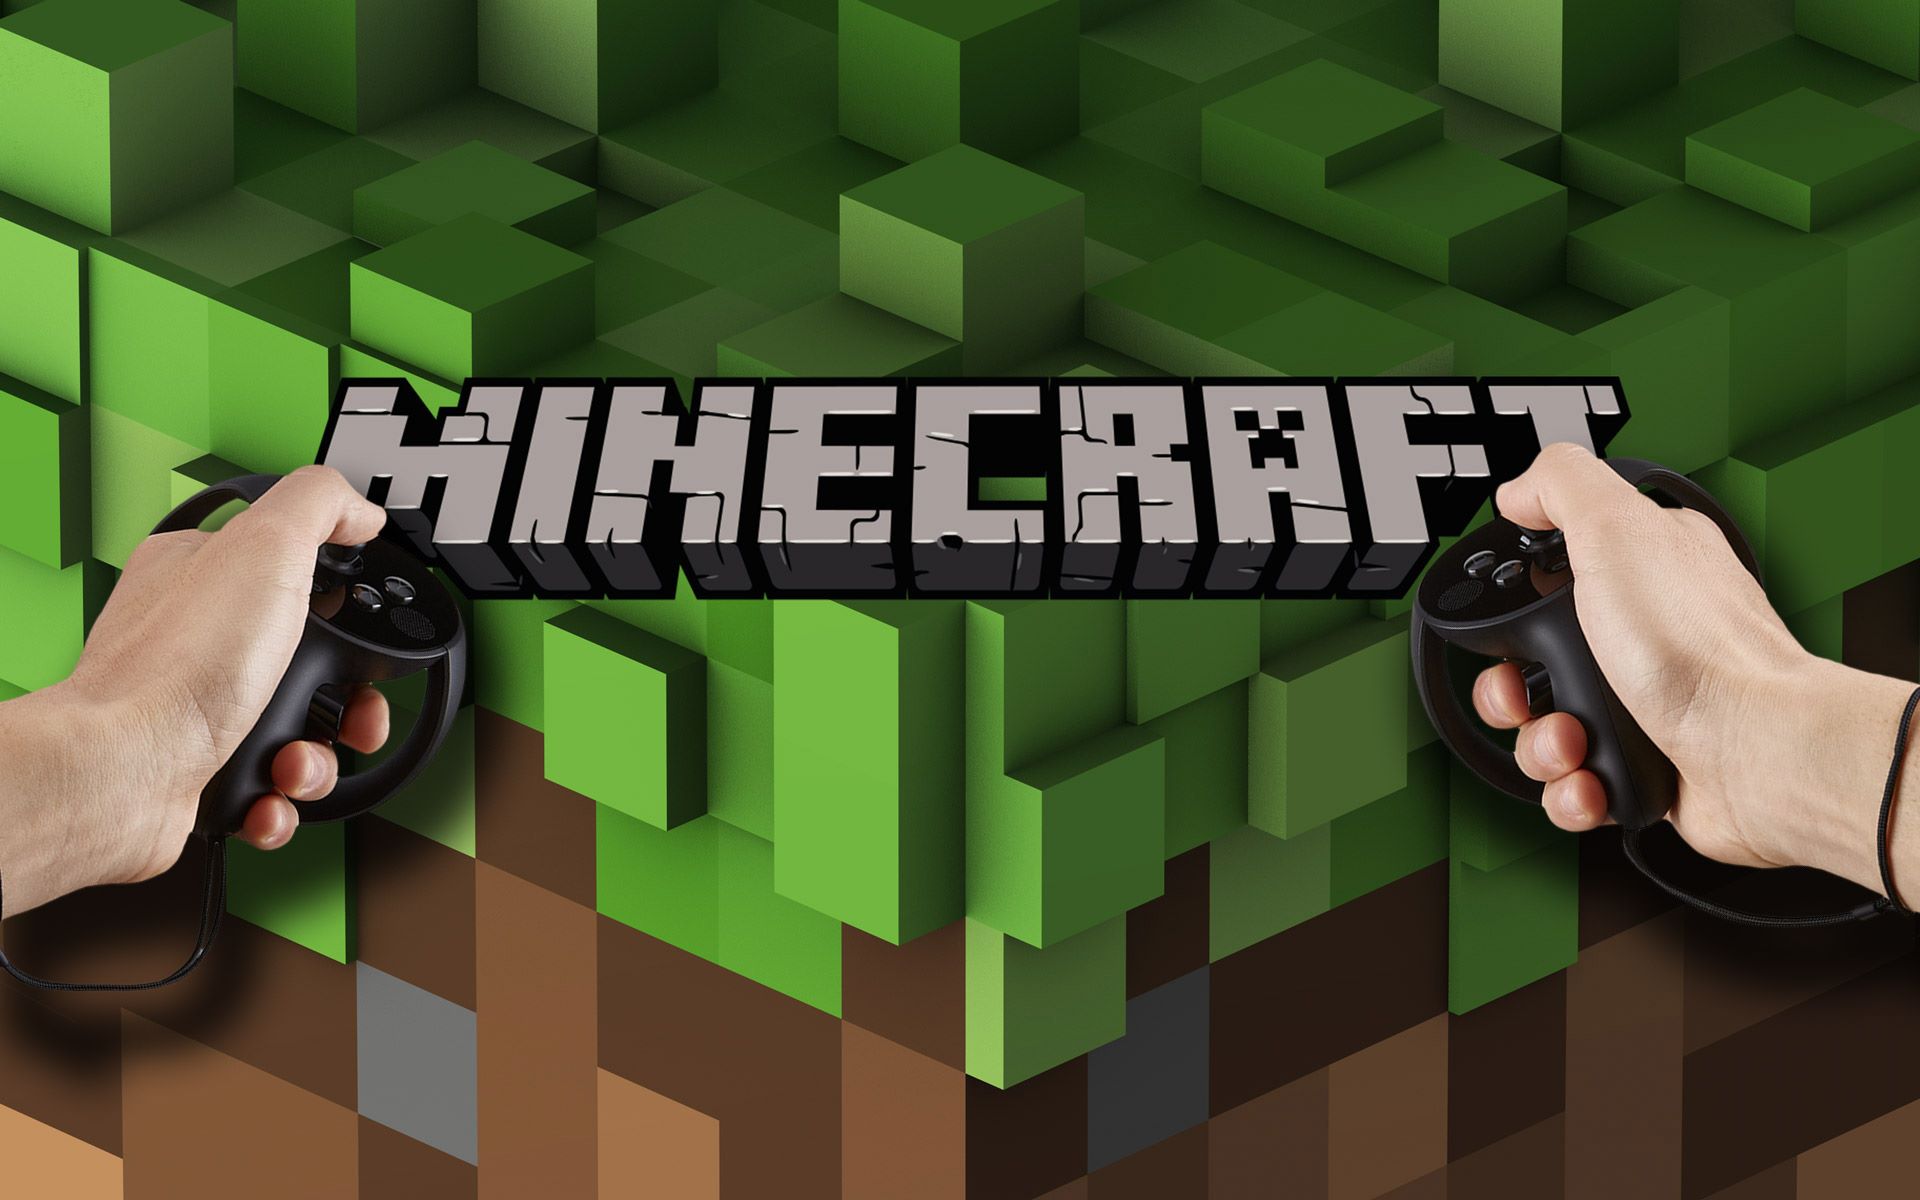
Finding and Installing Minecraft VR
Are you ready to dive into the world of Minecraft VR and experience the blocky adventures in a whole new dimension? Here’s a guide to help you get started on finding and installing Minecraft VR on your HTC Vive.
First, ensure that you have a compatible HTC Vive setup. Minecraft VR is designed specifically for virtual reality headsets, so you’ll need to have an HTC Vive headset and the necessary accessories.
Next, check if you already have the desktop version of Minecraft installed on your computer. If you don’t, you’ll need to purchase and download it from the official Minecraft website. Make sure to select the PC version of the game.
Once you have Minecraft installed, it’s time to find and install the Minecraft VR mod. There are a few different options available, but one popular choice is the Vivecraft mod.
To install Vivecraft, visit the Vivecraft website and download the appropriate version of the mod for your operating system. Follow the instructions provided on the website to install the mod and ensure that it is compatible with your version of Minecraft.
After the installation is complete, launch the Minecraft launcher. You should see a new profile for Vivecraft. Click on this profile to launch Minecraft VR.
If everything was installed correctly, you should now be ready to embark on your virtual Minecraft adventure. Put on your HTC Vive headset, grab your controllers, and step into a world where you can build and explore in full 3D.
Remember to keep your Minecraft VR mod up to date by regularly checking for updates on the mod’s official website. This will ensure that you have access to the latest features and bug fixes.
With Minecraft VR installed, you can now experience the limitless creativity and immersive gameplay of Minecraft in a whole new way. Get ready to explore, build, and survive in a virtual world like never before!
Setting up your HTC Vive for Minecraft
Before you can start playing Minecraft in virtual reality on your HTC Vive, it’s essential to properly set up your headset and controllers. Here’s a step-by-step guide to help you get your HTC Vive ready for a Minecraft VR experience.
1. Ensure that your HTC Vive is properly connected to your computer. Connect the headset’s HDMI cable to your graphics card and the USB cable to a USB port on your computer. Make sure to connect all the necessary cables securely.
2. Set up the base stations for tracking. The HTC Vive utilizes base stations to track your movement and position in the virtual world. Place the base stations in opposite corners of your play area and make sure they are securely mounted or placed on stable surfaces. Ensure that the base stations are facing towards the play area and are not obstructed by objects.
3. Adjust and fit the headset. Put on the HTC Vive headset and adjust the straps to ensure a comfortable and secure fit on your head. Adjust the IPD (Interpupillary Distance) knob to align the virtual world with your eyes for optimal clarity.
4. Pair the controllers. Turn on the HTC Vive controllers by pressing and holding the system buttons located above the trackpad. Follow the on-screen instructions to pair the controllers with your HTC Vive headset. Make sure they are fully charged for an uninterrupted Minecraft VR experience.
5. Run the SteamVR setup. Launch Steam on your computer and navigate to the “Library” tab. Locate and open the “SteamVR” application. Follow the on-screen instructions to complete the room setup, which includes configuring the play area and calibrating the base stations.
6. Launch SteamVR with your headset on. Put on your HTC Vive headset and ensure that the base stations can track your movements. Launch SteamVR from your computer or directly through the VR dashboard. You should now be in the SteamVR Home environment.
7. Calibrate your play space. Use the controllers to trace the perimeter of your play area and set up the boundary. This will help prevent you from accidentally stepping outside the play area while immersed in the Minecraft VR world.
Now that your HTC Vive is properly set up, you’re ready to step into the virtual world of Minecraft and start your immersive adventure. Have fun building, exploring, and interacting with the blocky universe of Minecraft in glorious virtual reality!
Launching Minecraft VR
Now that you have your HTC Vive headset properly set up, it’s time to launch Minecraft VR and immerse yourself in the pixelated world of creativity and exploration. Here’s how to get started with launching Minecraft VR on your HTC Vive.
1. Make sure that your HTC Vive headset is connected and turned on. Ensure that the base stations are tracking your movements and that the controllers are synchronized with the headset.
2. Launch SteamVR on your computer. You can do this by opening the Steam application and clicking on the “VR” button in the top right corner. This will bring up the SteamVR dashboard on your HTC Vive headset.
3. In the SteamVR dashboard, use the trackpad or joystick on the HTC Vive controller to navigate to the “Library” section. Here, you will find a list of all the games and applications installed on your computer.
4. Locate the Minecraft VR application in your Steam library. Click on the game title, and a new window will appear with options for launching the game.
5. Ensure that the game settings are configured for virtual reality. Before launching Minecraft VR, check the options to make sure that the game is set to run in virtual reality mode. You can usually find this setting under the “VR” or “Graphics” section within the game launcher.
6. Put on your HTC Vive headset and grab the controllers. Make sure that you have enough space in your play area to move around comfortably while playing Minecraft VR.
7. Click on the “Play” or “Start” button in the Minecraft VR launcher. The game will load, and you will find yourself immersed in the virtual world of Minecraft.
8. As you explore and navigate in Minecraft VR, use the HTC Vive controllers to interact with the environment. You can move around, mine blocks, build structures, and interact with various objects just like in the desktop version of the game.
9. Enjoy your Minecraft VR experience! Immerse yourself in the vibrant and blocky world, and let your imagination run wild as you embark on epic adventures and create your own virtual masterpiece.
Remember to take breaks when needed and stay hydrated while playing Minecraft VR. It’s easy to lose track of time when fully immersed in virtual reality, so make sure to maintain a healthy balance between virtual and real-world activities.
Now that you know how to launch Minecraft VR on your HTC Vive, it’s time to jump in and start exploring the boundless possibilities of creating and surviving in a virtual world like no other.
Navigating the Minecraft VR Menu
When playing Minecraft VR on your HTC Vive, it’s essential to know how to navigate the in-game menu to access various options and settings. Here’s a guide on how to navigate the Minecraft VR menu and make the most out of your virtual reality experience.
1. Opening the menu: To open the Minecraft VR menu, press the menu button on one of your HTC Vive controllers. The menu will appear in front of you in the virtual world.
2. Navigating the menu: Use the trackpad or joystick on your HTC Vive controller to move the cursor and navigate through the menu options. Simply slide your thumb up, down, left, or right to select different elements within the menu.
3. Menu options: The Minecraft VR menu offers various options to customize your gameplay experience. Some of the common menu options include “Play Game,” “Settings,” “Multiplayer,” “Options,” “Help & Support,” and “Quit Game.” Each option leads to a different set of sub-options and settings.
4. Selecting options: Position the cursor over the desired option and press the trigger button on your HTC Vive controller to select it. This will open the corresponding submenu or apply the selected setting.
5. Submenus and settings: When you navigate to a specific submenu, you’ll find additional options related to the main menu option you selected. For example, in the “Settings” menu, you may find options to adjust graphics settings, audio settings, or controller settings. Use the same navigation techniques to select and modify these settings.
6. Returning to the game: To exit the menu and return to the Minecraft VR world, simply press the menu button again on your HTC Vive controller. The menu will disappear, and you’ll be back in the game, ready to continue your adventures.
7. Customizing controls: Within the menu, you can also access the controller settings to customize the controls to your preference. This allows you to fine-tune the movement, interaction, and other actions in Minecraft VR according to your comfort and playstyle.
8. Experiment and explore: Don’t be afraid to explore the Minecraft VR menu and try out different settings. You can adjust the graphics quality, change the audio settings, enable or disable VR-specific features, and more. Experimenting with these settings can enhance your gameplay experience and ensure optimal performance.
Navigating the Minecraft VR menu is crucial for accessing various options, settings, and customization features. It allows you to tailor your Minecraft VR experience to suit your preferences, making each playthrough unique and immersive.
Now that you’re familiar with navigating the Minecraft VR menu, you can dive deeper into the world of virtual reality and embark on limitless adventures in the blocky universe of Minecraft.
Selecting and Creating a New World
In Minecraft VR on your HTC Vive, one of the exciting aspects is the ability to choose and create new worlds to explore and conquer. Here’s a guide on how to select and create a new world in Minecraft VR, allowing you to embark on unique adventures in virtual reality.
1. Accessing the world selection menu: To select or create a new world, open the Minecraft VR menu by pressing the menu button on one of your HTC Vive controllers. Navigate to the “Play Game” option and select it.
2. Choosing a pre-existing world: In the world selection menu, you might see a list of pre-existing worlds that you’ve previously created or downloaded. Use the controller’s trackpad or joystick to scroll through the options and highlight the world you want to play.
3. Creating a new world: If you want to start fresh and create a new world, select the “Create New World” option in the menu. This will open the world creation settings where you can customize various aspects of your new Minecraft VR world.
4. Naming your world: Give your new world a name that reflects its theme or your creative vision. Use the virtual keyboard in VR to enter the desired name using the controller’s trackpad or joystick.
5. Adjusting world settings: Within the world creation menu, you can customize various settings such as the difficulty level, game mode, world type, and more. Use the navigation controls to highlight each setting and select your preferred options.
6. Generating the world: After customizing the settings, you can go ahead and generate the new world by selecting the “Generate World” or “Create World” button. Give the game some time to create the world based on your chosen settings.
7. Entering the new world: Once the world has been generated, you’ll be transported into your new Minecraft VR world. Take a moment to immerse yourself in the surroundings and get ready to begin your adventure.
8. Saving and accessing your worlds: Minecraft VR automatically saves your progress in each world. When you want to continue playing a specific world, simply go back to the world selection menu in the Minecraft VR menu and choose the desired world from the list.
Choosing and creating a new world in Minecraft VR opens up a realm of possibilities and allows you to shape your own virtual reality experience. Whether you want to explore pre-existing worlds or unleash your creativity in a brand new world, the choice is yours.
Now that you know how to select and create a new world, go ahead and embark on your Minecraft VR journey in an immersive world of blocks, adventures, and endless possibilities.
Customizing the VR Controls
Playing Minecraft VR on your HTC Vive allows for a fully immersive experience, and customizing the VR controls can enhance your gameplay and make it more comfortable and intuitive. Here’s a guide on how to customize the VR controls in Minecraft VR to suit your preferences.
1. Accessing the control settings: Open the Minecraft VR menu by pressing the menu button on one of your HTC Vive controllers. Navigate to the “Options” or “Settings” section to find the control settings.
2. Navigating the control settings: Use the controller’s trackpad or joystick to scroll through the control settings. Different actions and functions in Minecraft VR have separate settings that can be adjusted.
3. Rebinding VR actions: Minecraft VR offers the ability to rebind VR actions to different buttons or gestures on your HTC Vive controllers. For example, you can change the button used for mining, placing blocks, or interacting with objects.
4. Testing and adjusting: Experiment with different control configurations to find what feels most comfortable and intuitive for you. Test out the changes in the game to ensure that the new control settings work as expected.
5. Modifying movement controls: Minecraft VR allows for various movement options, including teleportation, smooth locomotion, or a combination of both. Adjust the movement settings to fit your preferred style, choosing between direct control or teleportation.
6. Customizing controller sensitivity: The sensitivity of the HTC Vive controllers can affect your motion and aiming in the game. Adjust the sensitivity settings to find the right balance that provides accurate control without being overly sensitive or sluggish.
7. Toggling VR-specific features: Minecraft VR offers unique features designed specifically for virtual reality gameplay. Explore the control settings to enable or disable VR-specific features, such as the ability to break blocks by physically swinging your arm.
8. Resetting to default settings: If you’re unsure about your changes, or simply want to start fresh, most control settings offer the option to reset to the default configuration. This allows you to revert back to the original settings and start customizing again.
Customizing the VR controls in Minecraft VR gives you the freedom to tailor your gameplay experience to your liking, making it more enjoyable and comfortable. Take the time to find a control configuration that feels intuitive and allows you to fully immerse yourself in the virtual world of Minecraft.
Remember that finding the perfect control setup may require some trial and error. Experiment with different settings, customize them to fit your preferences, and fine-tune them as you become more familiar with playing Minecraft VR on your HTC Vive.
Now that you know how to customize the VR controls, go ahead and make Minecraft VR your own, adapting the controls to match your playstyle and ensuring a seamless and immersive virtual reality experience.
Exploring the Minecraft VR World
In Minecraft VR on your HTC Vive, the immersive virtual reality experience takes exploration to a whole new level. Here’s a guide on how to navigate and explore the vast and dynamic Minecraft VR world, uncovering hidden treasures and epic adventures.
1. Move around in VR: To explore the Minecraft VR world, use the movement controls that you’ve customized in the control settings. Whether you’re teleporting between locations or using smooth locomotion, move around to discover new landscapes and exciting areas to explore.
2. Engage your senses: Take advantage of the virtual reality environment to fully immerse yourself in the Minecraft VR world. Look around, use your head movements to observe your surroundings, and let the 3D audio enhance the ambiance as you listen for cues and clues.
3. Investigate different biomes: The Minecraft VR world is composed of various biomes, each with its unique landscape, resources, and challenges. Venture into forests, mountains, deserts, oceans, and more to encounter different types of creatures, vegetation, and landmarks.
4. Discover hidden caves and dungeons: Gaze into the depths and explore mysterious underground caves and dungeons where rare resources, treasures, and dangerous creatures await. Light up dark areas with torches or use your trusty pickaxe to mine through walls and uncover secret passages.
5. Encounter and interact with creatures: The Minecraft VR world is teeming with life, including friendly animals and hostile monsters. Approach animals to interact with them, breed them for resources, or defend yourself against hostile mobs to survive the night and protect your creations.
6. Build and create your own structures: As you explore the vast world, unleash your creativity and build magnificent structures, from simple shelters to grand castles. Utilize the blocks and materials you mine to construct whatever your imagination desires and make your mark on the virtual landscape.
7. Visit villages and interact with villagers: Discover villages scattered throughout the Minecraft VR world, bustling with life and offering trading opportunities. Interact with villagers, complete tasks, and trade resources to expand your inventory and unlock valuable items.
8. Go on epic quests and adventures: Engage in exciting quests and adventures, seek out legendary treasures, and conquer formidable enemies. The vibrant Minecraft VR world offers endless opportunities for epic journeys and memorable experiences.
Exploring the Minecraft VR world is an adventure that knows no bounds. Embrace the freedom and immersion of virtual reality to embark on thrilling quests, uncover hidden secrets, and create your own story within the vast and ever-expanding universe of Minecraft VR.
Remember to take breaks and stay hydrated during your exploration to ensure a comfortable and enjoyable experience. So grab your virtual pickaxe and embark on a journey of a lifetime!
Interacting with Blocks and Players
In the immersive world of Minecraft VR on your HTC Vive, interacting with blocks and other players is essential for building, surviving, and collaborating in the virtual realm. Here’s a guide on how to effectively interact with blocks and other players in Minecraft VR.
1. Mining and placing blocks: To mine blocks, simply approach them and use your virtual hand or tool to strike the block repeatedly. Each block has its mining time, and once mined, it will be added to your inventory. To place blocks, select the desired block from your inventory and use your virtual hand to position and place it where you want.
2. Crafting and using tools: Crafting is an integral part of Minecraft, allowing you to create tools, weapons, and various items to aid your progress. Interact with crafting tables or your inventory to access the crafting interface. Follow recipes to combine materials and create new items.
3. Interacting with chests and containers: When you encounter chests or other storage containers, open them by pressing the interact button while looking at them. This allows you to access their contents or store items that you no longer need. Manage your inventory wisely to ensure you have the necessary resources for your adventures.
4. Breeding animals and farming: In Minecraft VR, you can breed animals by feeding them specific items. Interact with animals while holding the breeding item to initiate the breeding process. Create your own farms by planting crops, tending to animals, and harvesting the resources they provide.
5. Trading with villagers: Villages are home to villagers that offer trading opportunities. Interact with villagers by approaching them and choosing the trade option. Villagers offer a range of items in exchange for emeralds or other valuable resources. Engage in trading to acquire rare or useful items for your Minecraft VR journey.
6. Collaborating with other players: Minecraft VR allows for multiplayer experiences, enabling you to collaborate with other players in the virtual world. Interact with fellow players by using in-game chat or voice communication to coordinate activities, build together, or explore the Minecraft VR world as a team.
7. Using weapons and tools: Defend yourself against hostile mobs and conquer challenges by equipping weapons and tools. Use your virtual hand to wield a sword, bow, or tools like axes or pickaxes. Combat hostile mobs by attacking them and strategically using your chosen weaponry.
8. Experiment and discover interactions: Minecraft VR is filled with interactive elements, from redstone contraptions to pressure plates and buttons. Explore and experiment with these interactive blocks and elements to create ingenious contraptions and mechanisms.
Interacting with blocks and players is crucial for progress and collaboration in Minecraft VR. Explore the vast array of possibilities, combine resources, and work together with other players to shape the virtual world to your imagination.
Remember to communicate, be respectful, and engage in fair gameplay when interacting with other players. Now, grab your tools, embrace the virtual reality landscape, and embark on a truly interactive adventure in Minecraft VR!
Mining and Crafting in VR
In the immersive world of Minecraft VR on your HTC Vive, mining and crafting are fundamental activities that allow you to gather resources, create new items, and progress in the game. Here’s a guide on how to effectively mine and craft in Minecraft VR.
1. Finding resources: Exploring the Minecraft VR world is essential for finding valuable resources. Venture into caves, mountainsides, and underground tunnels to discover ore deposits, minerals, and other hidden treasures. Pay attention to different block formations to identify potential resource-rich areas.
2. Mining blocks: To mine blocks, physically swing your HTC Vive controller at the block you want to break. Use your virtual hand or tool to strike the block repeatedly until it breaks and drops resources. The type of block and the tool you use will determine the mining time and the resources obtained.
3. Gathering resources: When blocks are successfully mined, the resources will drop into your inventory. Use the grip button on your HTC Vive controller to grab the resources. You can then access your inventory to see the collected resources and use them for crafting.
4. Crafting tools and items: Access the crafting table by interacting with it in the game or through the virtual Minecraft VR menu. In the crafting interface, select the desired recipe for the tool or item you want to craft. Transfer the necessary resources from your inventory into the crafting grid and arrange them according to the recipe. Once the materials are correctly placed, craft the item by selecting the “Craft” or “Create” button.
5. Utilizing the crafting recipes: Minecraft VR offers a wide range of crafting recipes for tools, weapons, armor, building blocks, and other useful items. Experiment with different combinations of resources to discover new recipes and expand your crafting possibilities. Refer to online guides or in-game recipe books for more crafting ideas and inspiration.
6. Managing your inventory: As you gather resources and craft new items, managing your inventory becomes crucial. Keep your inventory organized by using chests, storage containers, and various organizing techniques. Tidy inventory management ensures easy access to resources and avoids unnecessary clutter.
7. Enchanting and upgrading: As you progress in Minecraft VR, you can enchant tools and weapons to enhance their capabilities. Utilize enchanting tables and experience points to add special enchantments that offer unique benefits. Upgrade your tools and armor by combining them with other resources or enchantments to increase their durability and effectiveness.
8. Combining resources: Minecraft VR also allows for combining resources to create more advanced items or to repair damaged tools and equipment. Experiment with combining tools or using an anvil to repair and enhance the durability of your gear.
Mining and crafting are fundamental elements of Minecraft VR. By honing your mining skills, gathering resources, and unleashing your creativity through crafting, you can flourish in the virtual world, building, surviving, and embarking on impressive adventures.
Now, equip your virtual pickaxe, gather your crafting materials, and dive into the immersive mining and crafting experience that Minecraft VR offers with your HTC Vive!
Tips and Tricks for a Better Minecraft VR Experience
Minecraft VR on your HTC Vive offers an immersive and thrilling adventure in virtual reality. To enhance your gameplay and make the most out of your Minecraft VR experience, here are some tips and tricks to keep in mind:
1. Stay aware of your surroundings: While immersed in the virtual world, it’s crucial to be mindful of your physical surroundings. Make sure you have enough space to move around comfortably and avoid obstacles or potential hazards.
2. Take breaks: Playing Minecraft VR can be an engrossing experience, but it’s important to take regular breaks to rest your eyes and prevent motion sickness. Listen to your body and give yourself time to recharge and refocus.
3. Experiment with locomotion options: Minecraft VR offers various locomotion options, including teleportation and smooth movement. Experiment with different options to find the one that feels most comfortable and natural for you.
4. Customize your control settings: Take advantage of the control settings to personalize your gameplay experience. Adjust the movement controls, button mappings, and sensitivity to match your preferences and playstyle.
5. Utilize VR-specific features: Minecraft VR includes features specifically designed for virtual reality. Make use of these unique aspects, such as physically swinging your arm to mine blocks or reach out to interact with objects, to fully embrace the VR experience.
6. Join multiplayer servers: Engage with the Minecraft VR community by joining multiplayer servers. Collaborate with other players, participate in events, and discover new adventures together. Just make sure to select reputable and well-moderated servers.
7. Explore mods and resource packs: Minecraft VR supports mods and resource packs that can add new dimensions, textures, gameplay mechanics, and more. Explore the vast library of user-created content to enhance your Minecraft VR experience with fresh and exciting elements.
8. Back up your worlds: Protect your hard work and creations by regularly backing up your Minecraft VR worlds. This ensures that even if something goes wrong, such as a software update or accidental deletion, you can restore your progress and continue your journey.
9. Engage with the community: The Minecraft community is vast and passionate. Take some time to engage with fellow players, join forums or discussions, share your experiences, and seek advice or inspiration from experienced players.
10. Embrace creativity and exploration: Minecraft VR offers limitless possibilities for creativity and exploration. Build impressive structures, design elaborate redstone contraptions, and venture into unexplored territories to fully immerse yourself in the boundless virtual world.
By following these tips and tricks, you can enhance your Minecraft VR experience on your HTC Vive. Immerse yourself in the blocky universe, unleash your imagination, and embark on unforgettable adventures in the immersive and captivating world of Minecraft VR.