
What is a Port?
A port, in the context of computer networking, refers to a designated endpoint for communication between devices or applications. It can be thought of as a virtual gate or door through which data flows in and out of a system. Each port is associated with a specific protocol and a unique number, allowing for the proper transmission of data.
Ports are divided into two categories: well-known ports and dynamic or private ports. Well-known ports are standardized and typically reserved for specific services or applications. For example, port 80 is commonly used for HTTP communication, while port 443 is used for secure HTTPS connections. Dynamic or private ports, on the other hand, are assigned dynamically by the operating system and can be used for various purposes.
Ports play a crucial role in facilitating communication between devices over a network. When data is sent from one device to another, it is segmented into smaller packets. Each packet contains information about its source and destination ports, allowing the receiving device to direct the data to the appropriate application or service.
Think of ports as doors on a building, with different doors leading to different rooms. Just as you need to know the specific room number to enter, devices need to know the correct port number to establish and maintain a successful connection. By opening a port, you are essentially allowing incoming traffic to reach a specific application or service running on your device.
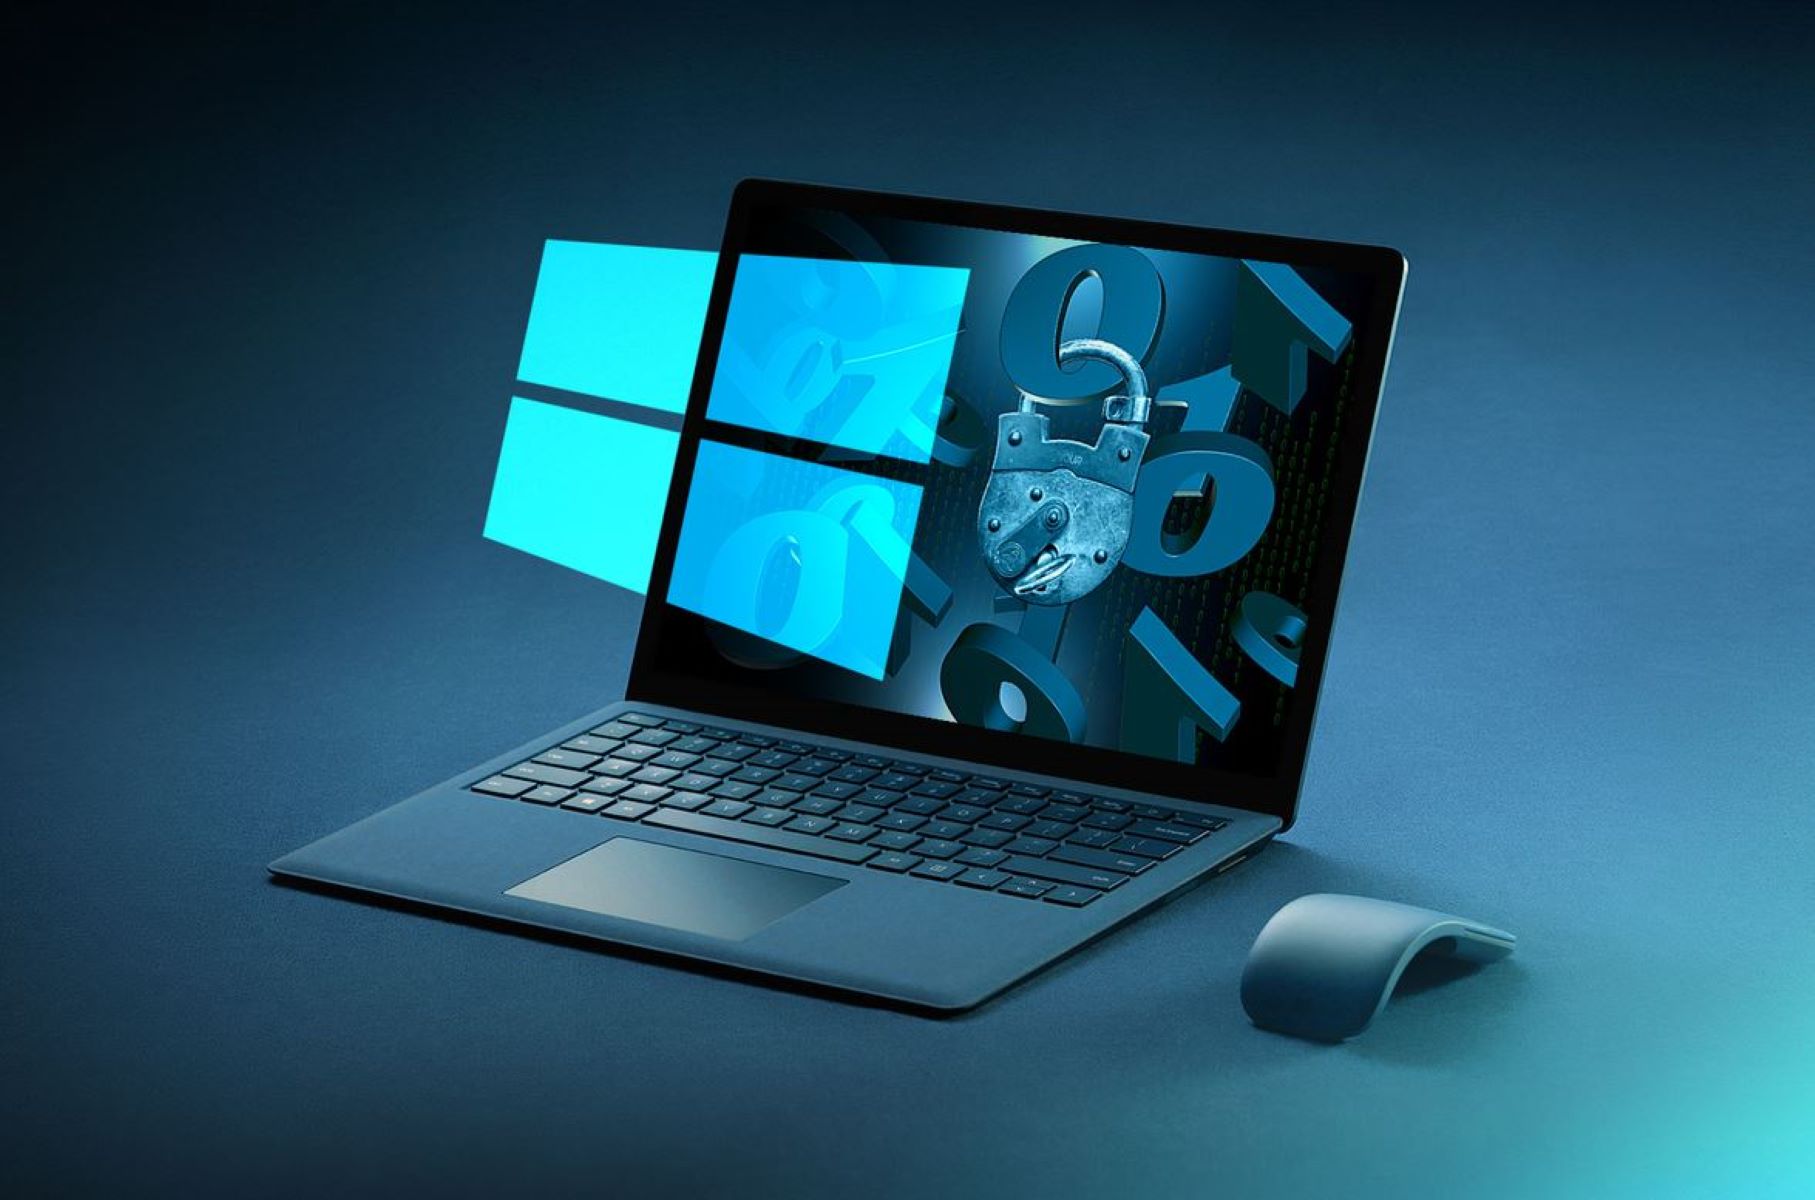
Why Open a Port on Windows Firewall?
Windows Firewall is a security feature built into the Windows operating system that helps protect your computer from unauthorized access and malicious attacks. By default, Windows Firewall blocks incoming and outgoing connections to ensure the safety of your system. However, there are instances where you may need to open a port on Windows Firewall to allow specific applications or services to communicate with other devices or networks.
Here are a few reasons why opening a port on Windows Firewall may be necessary:
- Remote Access: If you need to access your computer remotely, such as using Remote Desktop or remote administration tools, you’ll need to open certain ports on Windows Firewall to establish a secure connection. This allows you to control your computer from another location and perform tasks as if you were physically present.
- File Sharing: If you want to share files or folders with other devices on your network, opening specific ports on Windows Firewall ensures that the necessary communication is allowed. This is particularly useful in home or office networks, where users need to access shared files or printers.
- Online Gaming: Many online gaming platforms and multiplayer games require specific ports to be open in order to establish connections with other players. By opening these ports on Windows Firewall, you can enjoy a seamless gaming experience without encountering connectivity issues.
- Media Streaming: If you have media servers or streaming devices on your network, opening the required ports on Windows Firewall allows for the smooth streaming of multimedia content. This enables devices such as Smart TVs, gaming consoles, or media players to access and play media files stored on your computer.
- Web Servers and Applications: If you are running a web server, hosting a website, or developing web applications, you’ll need to open specific ports on Windows Firewall to allow incoming traffic. This ensures that requests from clients can reach your server and that your services are accessible over the internet.
Keep in mind that when opening a port on Windows Firewall, it is essential to strike a balance between allowing necessary communication and maintaining the security of your system. It is recommended to only open ports for trusted applications and regularly monitor network activity to prevent unauthorized access.
Step 1: Accessing Windows Firewall
Accessing Windows Firewall is the first step towards opening a port on your computer. Here’s how you can do it:
- Click on the Start button in the bottom-left corner of your screen, and type “Windows Security” in the search bar. Click on the Windows Security app from the search results.
- In the Windows Security window, click on the “Firewall & network protection” option. This will open the Windows Defender Firewall settings.
- Alternatively, you can directly access the Windows Firewall settings by pressing the Windows key + R on your keyboard to open the Run dialog box. Then, type “control firewall.cpl” in the box and press Enter. This will open the Windows Firewall settings window.
- Once you have opened the Windows Firewall settings, you will see different options for managing inbound and outbound connections. Click on the “Advanced settings” link on the left-hand side of the window. This will open the advanced firewall settings.
- The advanced firewall settings allow you to create and manage firewall rules, including opening specific ports. From here, you can proceed to the next steps to configure the necessary rules for opening a port.
Accessing Windows Firewall is a crucial step as it provides you with the necessary tools and settings to manage inbound and outbound connections on your computer. By following these steps, you can easily access the Windows Firewall settings and proceed with opening a port for your desired application or service.
Step 2: Choosing Inbound or Outbound Rules
When opening a port on Windows Firewall, you need to decide whether you want to create an inbound rule or an outbound rule. This step determines the direction of traffic that will be allowed through the specified port. Here’s how you can choose between inbound and outbound rules:
- Open the Windows Firewall settings as mentioned in Step 1.
- In the advanced firewall settings, you will find separate sections for inbound and outbound rules. By default, the inbound rules section is selected.
- Inbound Rules: If you want to allow incoming connections from external sources, such as remote computers or devices, you need to create an inbound rule. Inbound rules control the traffic that is coming into your computer or network. This is useful for applications or services that require external access, like web servers or remote desktop services.
- Outbound Rules: On the other hand, if you want to allow outgoing connections from your computer to external sources, you need to create an outbound rule. Outbound rules control the traffic that is going out from your computer or network. This is useful for applications or services that need to communicate with external servers or devices, like email clients or online gaming.
- Choose the appropriate section based on whether you want to open the port for incoming or outgoing connections. This will determine the direction in which the port will be opened in Windows Firewall.
Choosing between inbound or outbound rules depends on the specific requirements of the application or service that you want to allow through the firewall. By understanding the direction of traffic and selecting the corresponding rule, you can effectively manage the accessibility of your computer or network, ensuring secure and controlled communication.
Step 3: Adding a New Rule
Once you have chosen between inbound or outbound rules, the next step in opening a port on Windows Firewall is to add a new rule. Adding a rule allows you to specify the details of the port you want to open and the type of traffic to allow through. Here’s how you can add a new rule:
- Open the Windows Firewall settings as mentioned in Step 1.
- In the advanced firewall settings, click on the section (inbound or outbound) where you want to add the new rule. Right-click on the section and select “New Rule” from the context menu. This will open the New Inbound Rule or New Outbound Rule wizard, depending on the section you choose.
- In the wizard, you will be presented with different rule types to choose from. The most common rule type is “Port”. Select the “Port” option and click “Next”.
- On the next screen, you need to specify the port number that you want to open. You can choose between specific port numbers or a range of port numbers. Enter the desired port number(s) in the designated field and click “Next”.
- Based on your selected rule type, you may also need to specify the protocol for the port. The options include TCP (Transmission Control Protocol), UDP (User Datagram Protocol), or both. Select the appropriate protocol(s) and click “Next”.
- At this point, the wizard may provide additional options depending on the rule type or configuration you have selected. You can follow the on-screen instructions and make the necessary selections. Otherwise, click “Next” to proceed.
- In the next screen, you will be asked to choose the action to take for the traffic that matches the rule. The options are usually “Allow the connection” or “Block the connection”. Select “Allow the connection” to allow traffic through the specified port and click “Next”.
- Then, the wizard will prompt you to select the network profile(s) for which the rule should apply. The available options are usually “Domain”, “Private”, and “Public”. Choose the appropriate profile(s) based on your network configuration and requirements, and click “Next”.
- Finally, provide a name and description for the rule to help you identify it later. Enter a descriptive name and, if desired, a brief description, and click “Finish” to complete the process.
By adding a new rule, you are defining the specific details of the port and traffic that should be allowed through Windows Firewall. Following these steps ensures that the necessary settings are in place to open the desired port and enable communication for the selected application or service.
Step 4: Selecting Port Type and Number
In Step 3, you have started the process of adding a new rule to open a port on Windows Firewall. The next step is to select the type of port and specify its number. This information is crucial for correctly configuring the rule and allowing the desired traffic through the firewall. Follow these steps to select the port type and number:
- Continue from where you left off in Step 3, where you opened the New Inbound Rule or New Outbound Rule wizard.
- In the wizard, select the “Port” option and click “Next”. This will allow you to specify the port configuration details.
- On the next screen, you will see two options: “TCP” and “UDP”. These options represent the two most common protocols used for communication. Choose the appropriate protocol for your application or service.
- To specify the port number, you have two choices: a specific port number or a range of port numbers.
- If you are using a specific port number, enter it in the designated field. For example, if your application requires port 8080, simply enter “8080”.
- If your application or service requires a range of port numbers, enter the starting and ending numbers in the designated fields. For example, if your application requires ports from 3000 to 3500, enter “3000” in the “Starting port” field and “3500” in the “Ending port” field.
- Ensure that you have entered the correct port number or range, and double-check for any typos or mistakes.
- Click “Next” to proceed to the next step of the wizard, where you will continue configuring the rule according to your specific requirements.
By selecting the appropriate port type and specifying the correct port number or range, you are ensuring that the rule is configured accurately to allow the desired traffic through Windows Firewall. Following these steps will help you establish successful communication for the application or service that requires the specific port configuration.
Step 5: Specifying Protocol and Port
In the previous step, you have selected the port type and number for the rule you are creating to open a port on Windows Firewall. Now, it’s time to specify the protocol and the port to further refine the rule configuration. Here’s how you can specify the protocol and port:
- Continue from where you left off in Step 4, where you were adding a new rule in the New Inbound Rule or New Outbound Rule wizard.
- In the wizard, ensure that you have selected the appropriate port type and number. Click “Next” to proceed to the next step of the wizard.
- On the next screen, you will see two options: “TCP” and “UDP”. These options represent the two most common protocols used for communication.
- If your application or service primarily uses the TCP protocol, select the “TCP” option. TCP is a reliable and connection-oriented protocol that ensures the accurate delivery of data packets.
- On the other hand, if your application or service primarily uses the UDP protocol, select the “UDP” option. UDP is a faster and connectionless protocol that provides a more lightweight communication process.
- In some cases, your application or service may require both TCP and UDP protocols to function properly. If this is the case, select the “Both” option to allow for both TCP and UDP traffic through the specified port.
- After choosing the appropriate protocol for your application or service, click “Next” to proceed to the next step of the wizard. Here, you will continue configuring the rule based on your specific requirements.
By specifying the protocol and port, you are refining the rule configuration to accurately allow the desired traffic through Windows Firewall. Ensure that you choose the correct protocol that aligns with the requirements of your application or service. Following these steps will help you establish successful communication and ensure the smooth operation of your desired application or service over the specified port.
Step 6: Choosing Action and Profile
In Step 5, you specified the protocol and port for the rule you are creating to open a port on Windows Firewall. The next step is to choose the action to take for the traffic that matches the rule and select the network profile(s) to which the rule should apply. This step allows you to have finer control over the behavior of the rule and the network environment in which it will be active. Follow these steps to choose the action and profile:
- Continue from where you left off in Step 5, where you were configuring the protocol and port in the New Inbound Rule or New Outbound Rule wizard.
- In the wizard, ensure that you have specified the protocol and port accurately. Click “Next” to proceed to the next step of the wizard.
- On the next screen, you will be prompted to select the action to take for the traffic that matches the rule. The available options are usually “Allow the connection” and “Block the connection”.
- If you want to allow the specified traffic through the port, select the “Allow the connection” option. This action will enable the communication for the application or service that utilizes the specified port.
- On the other hand, if you want to block the specified traffic from passing through the port, select the “Block the connection” option. This action will prevent any communication through the specified port, effectively blocking the traffic.
- After choosing the appropriate action for the rule, click “Next” to proceed to the next step of the wizard.
- In the subsequent screen, you will be asked to select the network profile(s) to which the rule should apply. The available options are usually “Domain network”, “Private network”, and “Public network”.
- Choose the network profile(s) based on your network configuration and security requirements. For example, if you are using your computer in a corporate environment, you can select the “Domain network” option. If you are using your computer at home, select the “Private network” option. If you are connecting to a public network, select the “Public network” option.
- Ensure that you make the appropriate selection for the network profile(s) and click “Next” to proceed to the next step of the wizard.
By choosing the action to take and selecting the network profile(s), you have more control over the behavior of the rule and the network environment in which it will be active. Following these steps will help you define the desired action and apply it to the appropriate network profiles for the specified port on Windows Firewall.
Step 7: Naming the Rule
In the previous step, you chose the action to take for the traffic that matches the rule and selected the network profile(s) to which the rule should apply. The next step in opening a port on Windows Firewall is to provide a name for the rule. Naming the rule is important for easy identification and management of firewall rules. Here’s how you can name the rule:
- Continue from where you left off in Step 6, where you were choosing the action and network profile(s) in the New Inbound Rule or New Outbound Rule wizard.
- In the wizard, ensure that you have chosen the appropriate action and selected the network profile(s) accurately. Click “Next” to proceed to the next step of the wizard.
- On the next screen, you will be prompted to provide a name and, optionally, a description for the rule.
- Enter a descriptive name for the rule that reflects its purpose or the application/service associated with the port you are opening. For example, if you are opening a port for a web server, you can name the rule “Web Server Port”. If you are opening a port for a specific game, you can name the rule “Game Port”.
- Additionally, you can enter a brief description of the rule to provide more context or details. This may help you or other administrators better understand the rule’s purpose in the future.
- Double-check the name and description for any typos or errors.
- Click “Finish” to complete the process and add the rule to Windows Firewall with the specified name and optional description.
Naming the rule allows you to easily identify and manage the created rule in the Windows Firewall settings. By providing a descriptive name, you can quickly understand the purpose of the rule and differentiate it from other rules. Following these steps will help you assign an appropriate name to the rule, making it easier to track and manage the opened port on Windows Firewall.
Step 8: Finalizing and Enabling the Rule
You’re almost done with the process of opening a port on Windows Firewall! The final step is to review the rule configuration and enable it to take effect. Here’s how you can finalize and enable the rule:
- Continue from where you left off in Step 7, where you were naming the rule in the New Inbound Rule or New Outbound Rule wizard.
- In the wizard, ensure that you have entered an appropriate name for the rule. If you provided a description, make sure it accurately reflects the purpose or details of the rule. Click “Finish” to finalize the rule configuration.
- Back in the Windows Firewall settings, you will now see the newly created rule listed along with other existing rules. Locate the rule you just added based on its name.
- By default, the newly added rule is disabled. To enable the rule and allow the specified traffic through the port, right-click on the rule and select “Enable Rule” from the context menu.
- The rule will now be enabled and functional, allowing the appropriate traffic to pass through the specified port on Windows Firewall.
- Verify that the rule is enabled and functioning correctly by testing the desired application or service that relies on the opened port. Ensure that the traffic is allowed and communication is established as expected.
- Regularly review and monitor the firewall rules to ensure they are still relevant and necessary. Remove any unnecessary rules or modify existing rules as needed.
Finalizing and enabling the rule ensures that the configuration is saved and takes effect in Windows Firewall. With the rule enabled, the specified traffic will be allowed to pass through the opened port, facilitating the communication required by the associated application or service. Following these steps will complete the process of opening a port on Windows Firewall and enable the desired traffic to flow through the specified port.