
Types of Trezor Wallets
Trezor is a popular hardware wallet that provides secure storage for cryptocurrencies. There are two main types of Trezor wallets: Trezor One and Trezor Model T. Each wallet has its own unique features and specifications, catering to different needs and preferences of cryptocurrency users.
Trezor One:
Trezor One is the original hardware wallet developed by SatoshiLabs. It is a compact device that is easy to use and suitable for beginners as well as advanced users. Trezor One supports a wide range of cryptocurrencies, including Bitcoin, Ethereum, Litecoin, and many others. It features a small screen for displaying transaction details and a few buttons for navigation. Trezor One provides a secure offline storage solution, keeping your private keys offline and away from potential online threats.
Trezor Model T:
Trezor Model T is the newer version of the Trezor hardware wallet, offering several improvements over its predecessor. It has a larger color touchscreen display, making it easier to navigate and verify transactions. The Model T also supports a wider variety of cryptocurrencies and has enhanced security features. One notable feature is the ability to enter your PIN directly on the device’s touchscreen, adding an extra layer of protection against keyloggers or other malicious software on your computer.
Both Trezor One and Trezor Model T prioritize the security of your cryptocurrency holdings. They utilize advanced encryption algorithms and secure chipsets to protect your private keys and prevent unauthorized access. Additionally, both wallets are compatible with popular cryptocurrency management software, such as Electrum and MyEtherWallet.
When choosing between Trezor One and Trezor Model T, consider your specific needs and preferences. If you are looking for a more affordable option with reliable security features, Trezor One may be the ideal choice. On the other hand, if you value a larger touchscreen display and enhanced security measures, investing in the Trezor Model T would be a wise decision.
Regardless of which Trezor wallet you choose, it is crucial to purchase your device directly from the official Trezor website or authorized resellers. This ensures that you receive a genuine and untampered device.
Creating a Trezor Account
Before you can start using your Trezor wallet, you need to create a Trezor account. Follow these steps to set up your account and get ready to secure your cryptocurrencies:
Step 1: Connect Your Trezor Wallet
Connect your Trezor hardware wallet to your computer using the provided USB cable. Make sure the device is properly connected and powered on.
Step 2: Visit the Trezor Website
Open your web browser and visit the official Trezor website at https://trezor.io.
Step 3: Choose Your Wallet
On the homepage, you will see the option to choose your wallet. Select the appropriate wallet based on the type of Trezor device you own (Trezor One or Trezor Model T).
Step 4: Install the Trezor Bridge
If you are using the Trezor One, you need to install the Trezor Bridge software on your computer. This software enables communication between your device and the web browser. Follow the on-screen instructions to download and install the Trezor Bridge.
Step 5: Create a New Account
Once the Trezor Bridge is installed, the website will prompt you to create a new account. Click on the “Create new” button to proceed.
Step 6: Set Up a Strong Password
Choose a strong and unique password for your Trezor account. Remember, this password will be used to access your account and authorize transactions, so make sure it is secure and not easily guessable.
Step 7: Write Down Your Recovery Seed
As an additional security measure, Trezor will provide you with a unique recovery seed. This seed consists of a series of randomly generated words that can be used to restore your wallet if your device is lost, stolen, or damaged. Write down the recovery seed on a piece of paper and keep it safe in a secure location.
Step 8: Complete the Setup Process
Follow the remaining on-screen instructions to complete the setup process. This may involve confirming your recovery seed, setting up additional security features, and customizing your wallet settings.
Once you have completed these steps, your Trezor account will be successfully created. You can now use your Trezor wallet to securely store and manage your cryptocurrencies.
Downloading the Trezor Software
In order to fully utilize the features of your Trezor hardware wallet, you need to download the Trezor software. The software acts as the interface between your device and your computer, allowing you to manage your cryptocurrency holdings securely. Follow these steps to download the Trezor software:
Step 1: Visit the Official Trezor Website
Open your web browser and go to the official Trezor website at https://trezor.io.
Step 2: Choose Your Wallet
Once you’re on the Trezor website, select the wallet option that corresponds to your Trezor hardware device (Trezor One or Trezor Model T).
Step 3: Software Download
On the wallet page, you will find a section dedicated to downloading the Trezor software. Click on the “Download” button to initiate the software download process.
Step 4: Choose Your Operating System
After clicking the Download button, you will be directed to a page where you can choose your operating system. Select the appropriate option based on whether you are using Windows, macOS, or Linux.
Step 5: Installation
Once the software download is complete, locate the downloaded file and run the installer. Follow the on-screen instructions to install the Trezor software on your computer. The installation process is typically straightforward and does not require any advanced technical knowledge.
Step 6: Open the Trezor Application
After the installation is complete, open the Trezor application on your computer. You may find it in your list of installed programs or applications, or you can search for “Trezor” in your computer’s search bar.
Step 7: Connect Your Trezor Wallet
With the Trezor application open on your computer, connect your Trezor hardware wallet to your computer using the provided USB cable. Make sure your device is properly connected and powered on.
Step 8: Follow On-Screen Instructions
Once your Trezor device is connected, the Trezor application will guide you through the setup process. Follow the on-screen instructions to complete the setup, including creating a PIN, generating a recovery seed, and configuring additional security measures.
After completing these steps, you will have successfully downloaded and installed the Trezor software on your computer. You can now access your Trezor wallet, manage your cryptocurrencies, and securely perform transactions through the software interface.
Connecting Trezor to Your Computer
Connecting your Trezor hardware wallet to your computer is an essential step in managing your cryptocurrencies securely. By establishing a connection between your Trezor device and your computer, you can access and control your digital assets. Follow these simple steps to connect your Trezor to your computer:
Step 1: Prepare Your Trezor Device
Ensure that your Trezor device is charged and turned on. Connect one end of the provided USB cable to your Trezor and the other end to a USB port on your computer.
Step 2: Install the Trezor Bridge (If Required)
If this is your first time connecting your Trezor to your computer, you may need to install the Trezor Bridge software. The Trezor Bridge allows your computer’s web browser to communicate with your Trezor device. Follow the on-screen prompts to download and install the Trezor Bridge.
Step 3: Open the Trezor Wallet Interface
Once your Trezor is connected to your computer and the Trezor Bridge is installed (if necessary), open your web browser and visit the official Trezor wallet interface. You can access it by entering the URL https://wallet.trezor.io/ in your browser’s address bar.
Step 4: Confirm Connection (If Prompted)
In some cases, the Trezor wallet interface may prompt you to confirm the connection with your Trezor device. This is an added security measure to ensure that you are connecting to the correct device. Verify that the serial number displayed on the computer matches the one shown on your Trezor device’s screen, then confirm the connection.
Step 5: Enter Your Wallet PIN (If Required)
If you have set up a PIN for your Trezor device, you will need to enter it on the computer’s screen. Use the number pad displayed on the wallet interface to enter the PIN using the corresponding numbers on your Trezor device. This step helps prevent unauthorized access to your wallet, even if your Trezor is lost or stolen.
Step 6: Access Your Trezor Wallet
Once the connection is established and any necessary security measures are completed, you will be able to access your Trezor wallet on the computer. From here, you can perform various actions such as viewing your account balance, sending or receiving cryptocurrencies, and managing wallet settings.
It’s important to remember that your Trezor device acts as a secure storage for your private keys, ensuring that your digital assets are protected from online threats. By connecting your Trezor to your computer, you can safely interact with your cryptocurrencies while keeping your private keys offline.
Always ensure that you are using a trusted and secure computer when connecting your Trezor device. Avoid using public or shared computers, as they may pose a risk to the security of your funds. By following these steps, you can confidently connect your Trezor to your computer and manage your cryptocurrencies with peace of mind.
Setting up a PIN for Your Trezor Wallet
Setting up a PIN for your Trezor wallet adds an additional layer of security to protect your cryptocurrencies from unauthorized access. A PIN acts as a barrier to prevent anyone who doesn’t know the PIN from accessing your wallet. Follow these steps to set up a PIN for your Trezor wallet:
Step 1: Connect Your Trezor Device
Connect your Trezor hardware wallet to your computer using the provided USB cable. Ensure that your device is properly connected and powered on.
Step 2: Open the Trezor Wallet Interface
Open your web browser and visit the official Trezor wallet interface by entering https://wallet.trezor.io/ in your browser’s address bar. The wallet interface will guide you through the process of setting up a PIN.
Step 3: Enter Your Wallet PIN (If Already Set Up)
If you have already set up a PIN for your Trezor wallet, you will be prompted to enter it on the wallet interface. Use the number pad displayed on the computer screen to enter your PIN using the corresponding numbers on your Trezor device.
Step 4: Set Up a New PIN
If you haven’t set up a PIN before or want to change your current PIN, select the option to set up a new PIN. The wallet interface will guide you through the process of choosing a PIN.
Step 5: Choose a Strong PIN
Choose a PIN that is unique and not easily guessable. Avoid using common patterns or easily identifiable numbers. An ideal PIN should have a combination of numbers that are meaningful to you but not easily associated with personal information.
Step 6: Confirm Your PIN
After entering your chosen PIN, the wallet interface will prompt you to confirm it. Re-enter the same PIN to ensure accuracy.
Step 7: Finalize the PIN Setup
Once you have confirmed your PIN, the wallet interface will indicate that the PIN setup is complete. Make sure to note down your PIN in a secure place, or consider memorizing it if possible. However, it is important to avoid writing it down where it might be easily found or associated with your Trezor device.
By setting up a PIN for your Trezor wallet, you add an extra layer of protection to your cryptocurrencies. Even if your Trezor device falls into the wrong hands, the PIN will prevent unauthorized access. It is recommended to choose a PIN that is easy for you to remember, but difficult for others to guess.
Note that failing to enter the correct PIN multiple times may trigger a security feature that temporarily locks your Trezor wallet. The device will display a message indicating the number of remaining attempts before it becomes permanently locked. If this happens, follow the guidelines provided by Trezor to regain access to your wallet.
Creating a Recovery Seed
Creating a recovery seed is an essential step in securing your Trezor wallet and providing a backup in case of device loss, damage, theft, or other unforeseen circumstances. The recovery seed serves as a safeguard, allowing you to restore access to your funds on a new or repaired device. Follow these steps to create a recovery seed for your Trezor wallet:
Step 1: Connect Your Trezor Wallet
Connect your Trezor hardware wallet to your computer using the provided USB cable. Ensure that the device is properly connected and powered on.
Step 2: Open the Trezor Wallet Interface
Open your web browser and visit the official Trezor wallet interface by entering https://wallet.trezor.io/ in the browser’s address bar. The wallet interface will guide you through the process of creating a recovery seed.
Step 3: Wallet Initialization
If this is your first time setting up your Trezor wallet or if you haven’t created a recovery seed before, the wallet interface will prompt you to initialize the device. Follow the on-screen instructions to proceed.
Step 4: Write Down the Recovery Seed
The Trezor wallet interface will display a series of randomly generated words – the recovery seed. Write down these words in the exact order they are shown. It is crucial to write them on a piece of paper or other offline medium. Avoid storing them electronically or taking screenshots, as this could expose them to potential hacking risks.
Step 5: Confirm the Recovery Seed
After writing down the recovery seed, the wallet interface will prompt you to confirm it. You will be asked to select certain words from the list to ensure you have accurately recorded the seed. This verification step helps prevent any mistakes or omissions in the backup process.
Step 6: Store the Recovery Seed Securely
Once you have confirmed the recovery seed, store it in a safe and secure location. Consider using a fireproof and waterproof storage option, such as a safe or lockbox, to protect the recovery seed from physical damage. Additionally, make sure the location is easily accessible to you but not readily discovered by others.
Step 7: Keep the Recovery Seed Offline
It is critical to keep your recovery seed completely offline. Avoid storing it on any digital device connected to the internet, as this increases the risk of unauthorized access. By maintaining the recovery seed offline, you protect it from potential hacking attempts or malware attacks.
Note that losing your recovery seed may result in permanent loss of access to your funds. Treat it with extreme care and make sure to have backup copies stored securely in separate locations. It is recommended to avoid sharing your recovery seed with anyone and to handle it discreetly to maintain maximum security.
By creating a recovery seed for your Trezor wallet, you ensure that you can regain access to your cryptocurrency holdings even if your device is lost or damaged. This additional layer of protection provides peace of mind and safeguards your investments in the event of unforeseen circumstances.
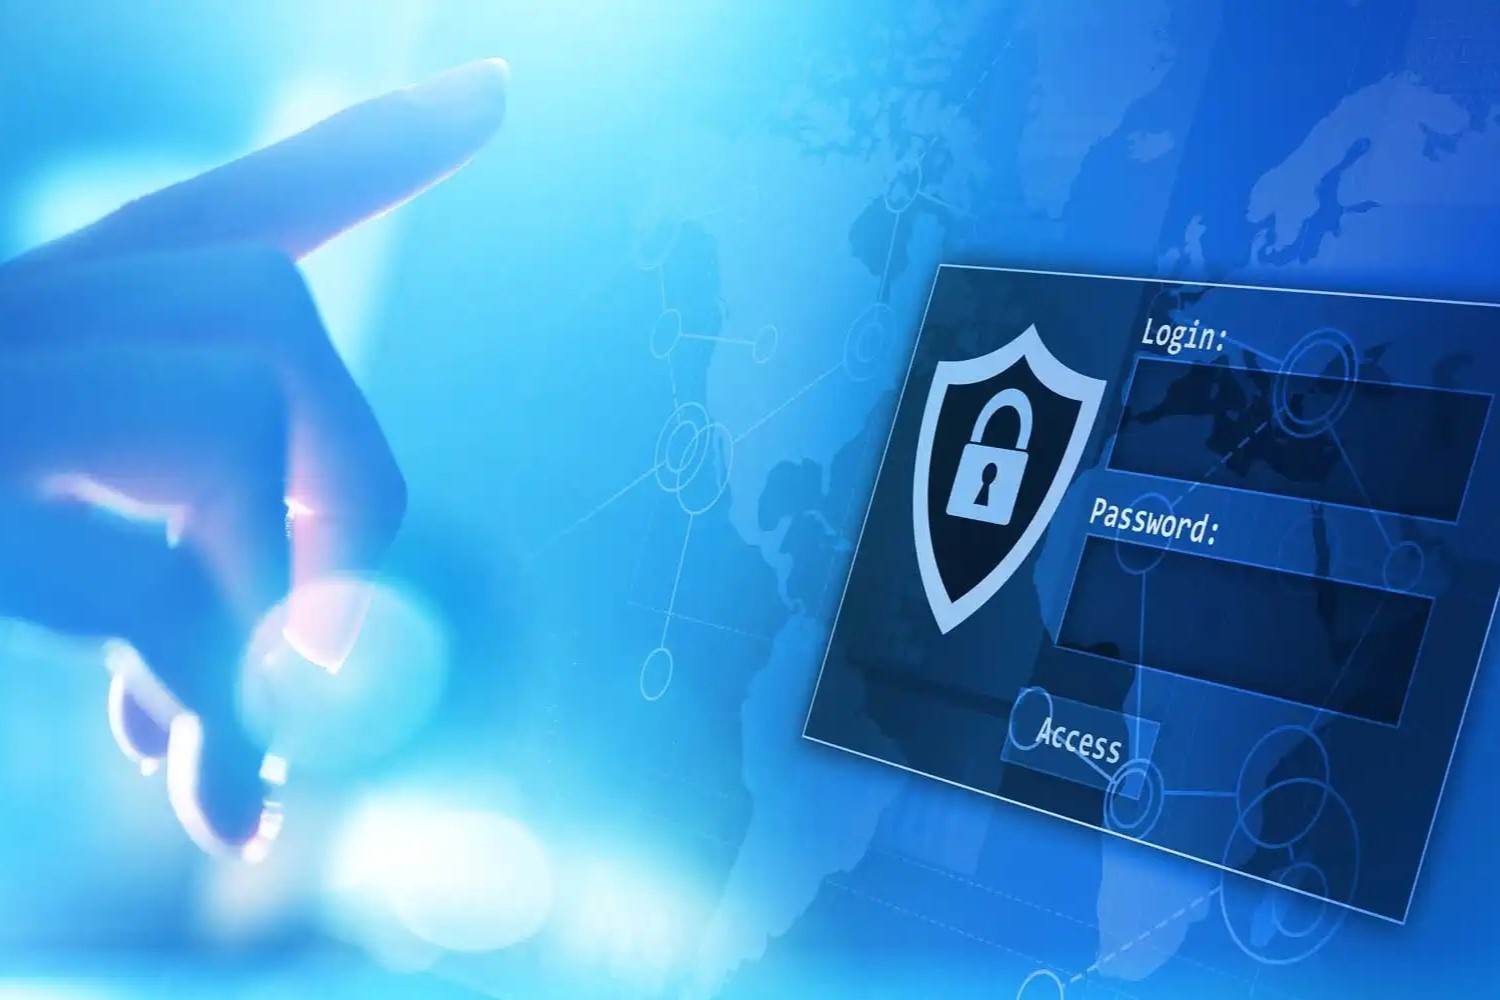
Logging in to Your Trezor Wallet
Logging in to your Trezor wallet is a straightforward process that allows you to access and manage your cryptocurrencies securely. By following the steps outlined below, you can easily log in to your Trezor wallet and begin transacting with your digital assets:
Step 1: Connect Your Trezor Device
Connect your Trezor hardware wallet to your computer using the provided USB cable. Ensure that your device is properly connected and powered on.
Step 2: Open the Trezor Wallet Interface
Open your web browser and visit the official Trezor wallet interface by entering https://wallet.trezor.io/ in the browser’s address bar. The wallet interface will guide you through the login process.
Step 3: Enter Your PIN
If you have set up a PIN for your Trezor device, the wallet interface will prompt you to enter it. Use the number pad displayed on the computer screen to enter your PIN using the corresponding numbers on your Trezor device. This step helps ensure that only authorized individuals can access your wallet.
Step 4: Confirm the Trezor Connection
In some instances, the Trezor wallet interface may request confirmation of the connection with your Trezor device. Verify that the serial number displayed on the computer matches the one shown on your Trezor device’s screen, then proceed to confirm the connection.
Step 5: Wallet Dashboard
Once you have successfully entered your PIN and confirmed the connection, you will be directed to the wallet dashboard. Here, you can view your account balances, send and receive cryptocurrencies, and access various wallet settings.
Step 6: Transaction Verification
When initiating a transaction, whether it is sending funds or signing a message, the Trezor device will prompt you to confirm the details on its screen. Carefully review the transaction details displayed on your computer screen and verify that they match what you intend to perform. Only approve transactions that you have initiated and can confirm as valid.
Step 7: Safely Disconnect Your Trezor
After you have completed your session, make sure to safely disconnect your Trezor device from your computer. Follow the recommended eject procedures to ensure a secure disconnection and protect your device from potential damage or data loss.
By following these steps, you can securely log in to your Trezor wallet and manage your cryptocurrency holdings with confidence. Utilizing the Trezor hardware wallet and its associated web interface ensures that your private keys are kept offline and protected, offering enhanced security for your digital assets.
Remember to always connect your Trezor device to trusted and secure devices and exercise caution when entering your PIN or approving transactions. Maintaining awareness of potential threats and practicing good security hygiene helps safeguard your funds and maintain the integrity of your Trezor wallet.
Troubleshooting Login Issues
While the Trezor wallet is designed to provide a secure and reliable login experience, occasional issues may arise. If you encounter any difficulties logging in to your Trezor wallet, follow these troubleshooting steps to resolve common login issues:
1. Verify Connection:
Ensure that your Trezor device is properly connected to your computer via the USB cable. Check for any loose connections or cable damage, and try using a different USB port if necessary.
2. Restart the Trezor Wallet Interface:
If you experience a connection error or encounter a frozen or unresponsive wallet interface, try refreshing the web page or closing and reopening the wallet interface. Make sure to disconnect and reconnect your Trezor device during this process.
3. Update Firmware and Software:
Make sure that your Trezor device and its associated software are running the latest firmware and software versions. Outdated firmware or software may cause compatibility issues and hinder the login process. Check the official Trezor website for firmware and software updates and follow the instructions to perform the updates.
4. Try a Different USB Cable or Computer:
In some cases, a faulty USB cable or an issue with your computer’s USB port may be the cause of login issues. Try using a different USB cable or connecting your Trezor to a different computer to determine if the problem persists. This can help identify whether the issue lies with the device, the cable, or the computer.
5. Enter the Correct PIN:
Ensure that you are entering the correct PIN for your Trezor device. Double-check that the numbers you are entering on the computer screen are the same as the ones displayed on your Trezor’s screen. Remember that entering an incorrect PIN multiple times may temporarily lock your device for security purposes.
6. Disable Anti-virus or Firewall Software:
In some cases, anti-virus or firewall software can interfere with the communication between your Trezor device and the wallet interface. Temporarily disable such software and attempt to log in again to see if the issue persists. If disabling the software resolves the issue, consider adjusting the settings to allow the Trezor wallet interface to function properly.
7. Contact Trezor Support:
If you have tried the above troubleshooting steps and are still experiencing login issues, reach out to Trezor support for further assistance. Provide them with detailed information about the problem and any error messages you may have encountered. The Trezor support team is knowledgeable and experienced in resolving customer issues.
Remember to exercise patience and caution when troubleshooting login issues with your Trezor wallet. It is crucial to take appropriate security measures to ensure the safety of your funds and personal information throughout the troubleshooting process.
By following these troubleshooting steps and seeking support when needed, you can overcome login issues and regain access to your Trezor wallet, allowing you to manage your cryptocurrencies securely.
Security Measures for Logging in to Your Trezor Wallet
When logging in to your Trezor wallet, it is crucial to implement various security measures to safeguard your cryptocurrencies from potential threats. By following these security practices, you can enhance the protection of your funds and ensure the integrity of your Trezor wallet:
1. Use a Strong PIN:
Set up a strong PIN for your Trezor wallet. Avoid using easily guessable PINs and choose a combination of numbers that are not directly linked to personal information. This prevents unauthorized access to your wallet, even if your Trezor device is lost or stolen.
2. Enable 2-Factor Authentication (2FA):
Enable 2-factor authentication on the platforms you use with your Trezor wallet, if supported. This adds an extra layer of verification when logging in and ensures that only authorized individuals can access your account.
3. Verify the Wallet Interface:
Before entering your PIN or confirming any transactions, make sure that you are using the genuine Trezor wallet interface. Verify the website’s URL, ensuring that it is the official Trezor website. Be vigilant of phishing attempts and never enter your PIN or recovery seed on any untrusted or unfamiliar websites.
4. Keep Your Firmware and Software Up to Date:
Regularly update the firmware and software of your Trezor device and associated applications. These updates typically include bug fixes, security patches, and new features that improve the overall security and performance of your Trezor wallet.
5. Safeguard Your Recovery Seed:
Keep your recovery seed offline and stored in a secure location. Never share your recovery seed with anyone and avoid storing it electronically or online. By exclusively storing it offline, you mitigate the risk of potential hacking attempts or exposure to malware.
6. Use a Secure Computer:
Ensure that the computer you use to access your Trezor wallet is secure. Protect it with up-to-date anti-virus software, a reliable firewall, and strong passwords. Avoid using public or shared computers, as they may be compromised and can jeopardize the security of your funds.
7. Be Mindful of Shoulder Surfers:
When entering your PIN on the computer screen or verifying transaction details on the Trezor device, be cautious of any observers nearby. Protect your PIN by covering the screen with your hand and creating a barrier between yourself and potential shoulder surfers.
8. Regularly Check for Phishing Attacks:
Stay vigilant for phishing attacks that attempt to trick you into revealing your sensitive information. Be cautious of suspicious emails, messages, or websites asking for your Trezor wallet details. Always double-check URLs, use bookmarks, and be wary of unsolicited requests for personal information.
9. Enable Auto-Lock and Timeout:
Activate the auto-lock and timeout features on your Trezor device. This ensures that if the device is left unattended for a specified period, it will automatically lock and require you to enter your PIN to regain access. This protects against unauthorized access in case you forget to manually lock your device.
10. Keep your Trezor Device Safe:
Take physical precautions to protect your Trezor device from loss, theft, or damage. Keep it in a secure location when not in use, and consider utilizing a tamper-evident bag or storage solution to detect potential tampering.
By implementing these security measures, you significantly reduce the risk of unauthorized access and ensure the safety of your cryptocurrency holdings. By prioritizing the protection of your Trezor wallet, you can have peace of mind and confidently manage your digital assets.