
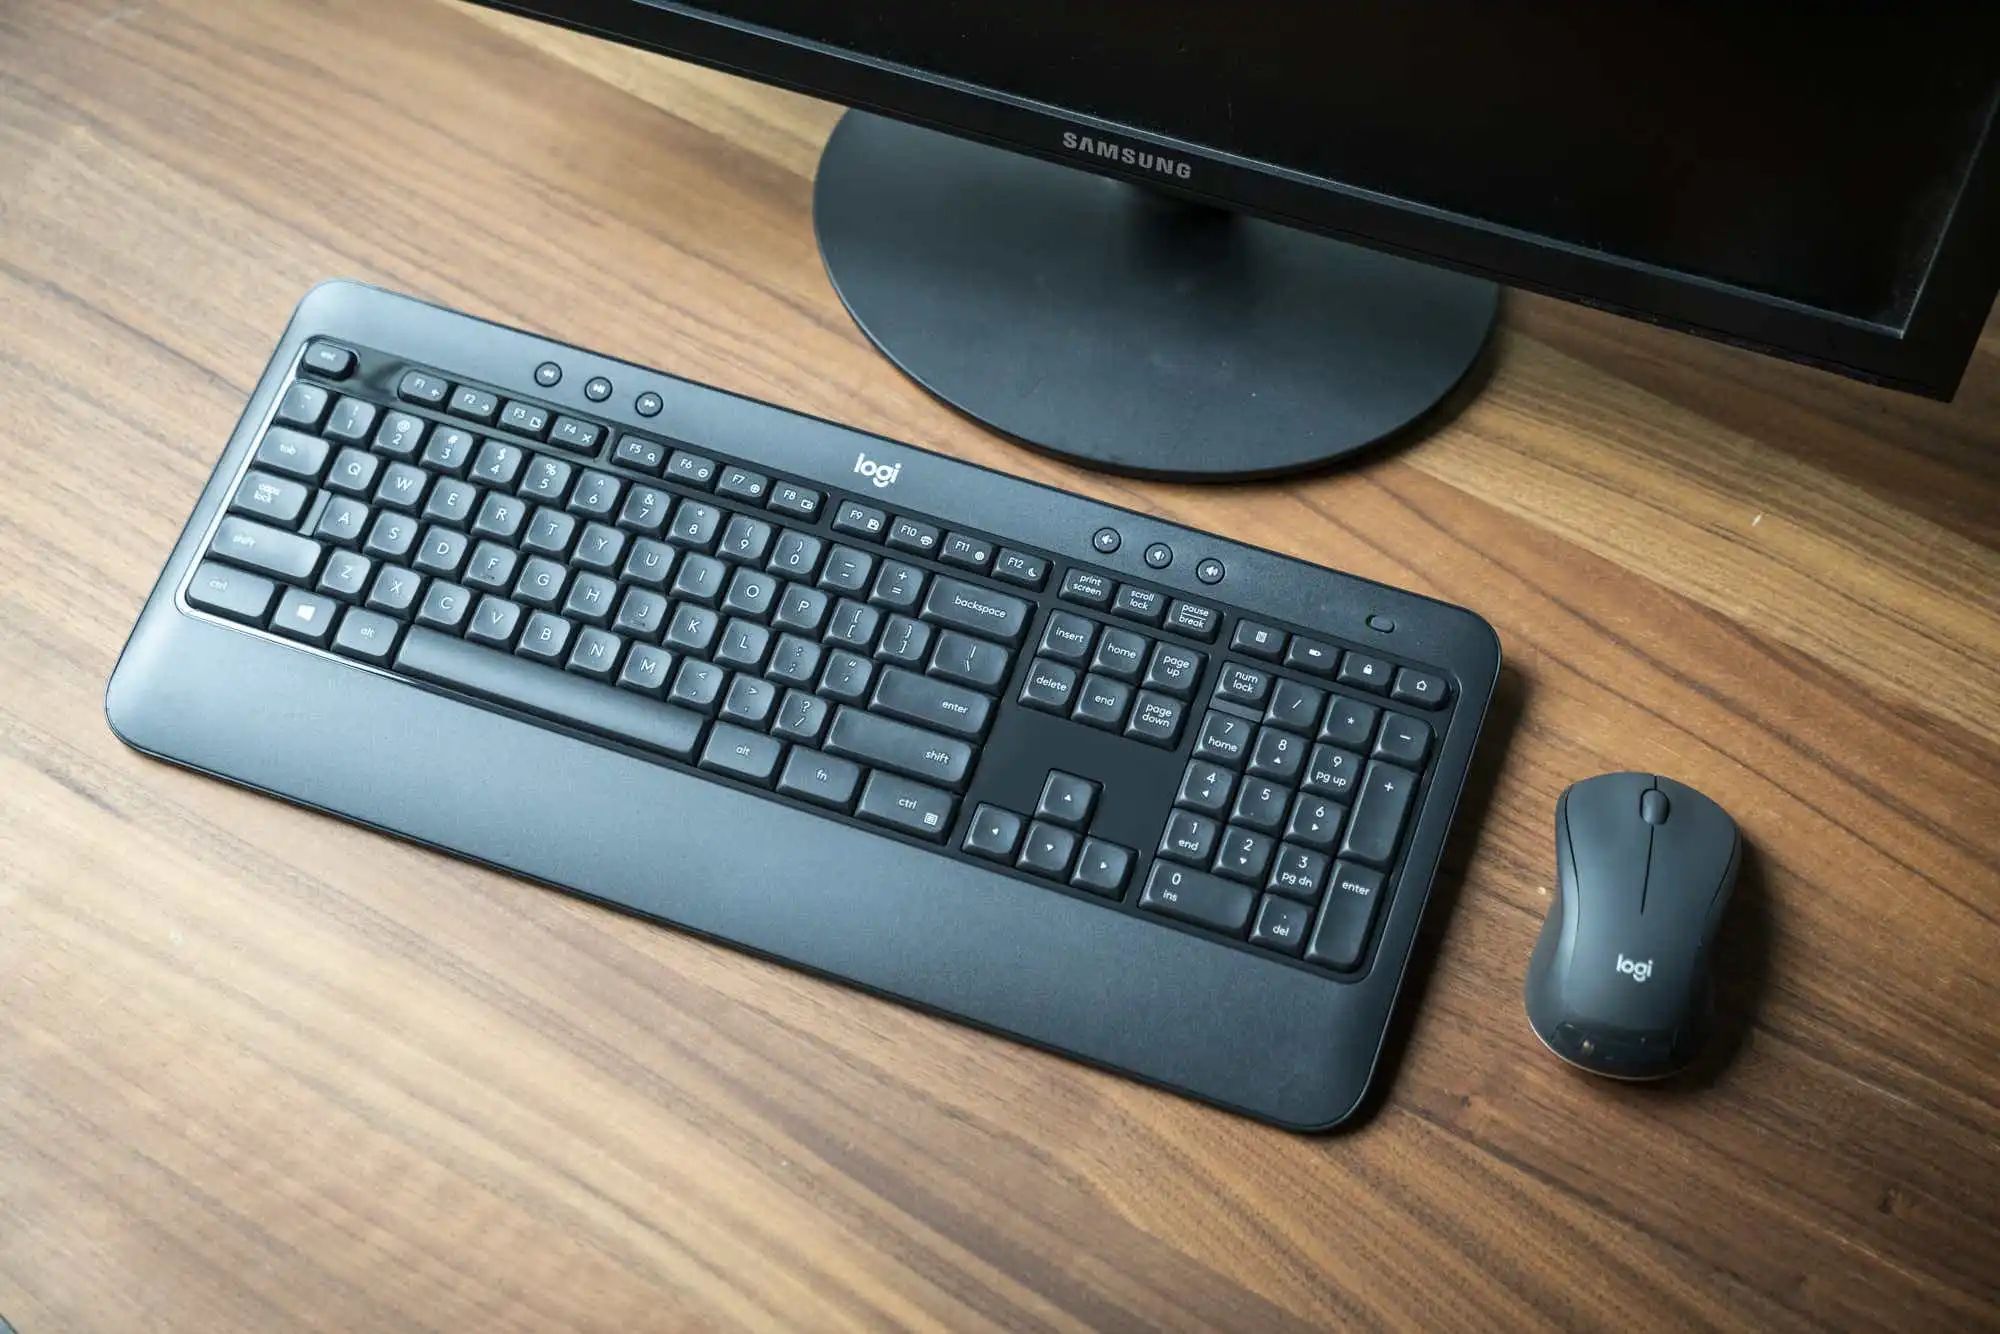
Unboxing and Checking the Package Contents
When you receive your wireless keyboard and mouse, the first step is to unbox and check the contents of the package. This ensures that you have all the necessary components and accessories to set up your new keyboard and mouse.
Start by carefully opening the package and removing the contents. Most packages usually include the wireless keyboard, wireless mouse, a USB wireless receiver, batteries, and any additional accessories or documentation.
Take a moment to inspect each item and check for any visible damage. Ensure that all the components are included and in good condition. You may also want to read through the user manual or any included instructions for additional guidance on the setup process.
It’s important to note that different brands and models may have variations in the package contents and instructions. Therefore, it’s always a good idea to refer to the specific documentation provided by the manufacturer.
Once you have confirmed that all the necessary components are present and in good condition, you can proceed with the installation process. This typically involves inserting batteries, connecting the wireless receiver, and pairing the keyboard and mouse.
Keep in mind that the unboxing and checking process is crucial for ensuring a smooth setup experience. By inspecting the package contents and understanding what to expect, you can quickly identify any missing or damaged parts, allowing you to take appropriate action, such as contacting the manufacturer or retailer for replacements.
Installing Batteries in the Keyboard and Mouse
Before you can start using your wireless keyboard and mouse, you’ll need to install batteries in both devices. The battery compartment is usually located on the underside of each device.
To begin, flip the keyboard over and locate the battery compartment cover. Some keyboards may have a latch or button that you need to press to open the compartment, while others may require you to slide the cover off. Follow the instructions provided by the manufacturer for your specific keyboard model.
Once the battery compartment is open, you’ll typically find slots or compartments for the batteries. Refer to the user manual or markings inside the compartment to determine the correct orientation for the batteries. Insert the batteries according to the indicated polarity (+/-).
After inserting the batteries, close the battery compartment securely. Make sure it is properly latched or slid into place to prevent the batteries from falling out during use.
Next, turn the mouse over and locate the battery compartment cover. Follow the same steps as for the keyboard to open the compartment and insert the batteries. Again, pay attention to the correct polarity and securely close the compartment.
It’s important to note that different wireless keyboard and mouse models may require different types and quantities of batteries. Typically, keyboards and mice use AA or AAA batteries, but some may use specialized batteries. Always refer to the user manual or markings on the devices to ensure you are using the correct batteries.
Once the batteries are installed in both the keyboard and mouse, you’re one step closer to enjoying the convenience and freedom of a wireless setup. The next step is to connect the wireless receiver to your computer.
Connecting the Wireless Receiver
After installing batteries in your wireless keyboard and mouse, the next step is to connect the wireless receiver to your computer. The receiver is a small device that communicates with the keyboard and mouse wirelessly, allowing them to function without the need for cables.
Start by locating an available USB port on your computer. The wireless receiver is typically a small USB dongle that you need to plug into a USB port. USB ports are usually found on the front or back of the computer tower or on the sides of a laptop.
Gently insert the wireless receiver into the USB port. Make sure that it fits securely and is fully inserted. Depending on your device, you may need to apply a bit of pressure or hear a click to ensure it is properly connected.
Once connected, your computer will automatically recognize the wireless receiver as a new device. It may take a few moments for the computer to install any necessary drivers or software for the receiver.
In some cases, the wireless receiver may come pre-paired with the keyboard and mouse, and they will start working immediately without any further steps. However, if they don’t start working, you may need to manually pair them with the receiver.
To do this, look for a button or switch on the receiver and on the underside of the keyboard and mouse. Press and hold the pairing button or switch on the wireless receiver, and then do the same on the keyboard and mouse. This will establish a connection between the devices.
Once the keyboard and mouse are successfully paired with the wireless receiver, you should start to see the cursor move on the screen when you move the mouse and be able to type using the keyboard.
If you are unable to connect the wireless receiver or pair the keyboard and mouse, refer to the user manual or contact the manufacturer for troubleshooting assistance.
With the wireless receiver successfully connected, you are now ready to turn on the keyboard and mouse and start using them wirelessly.
Turning on the Keyboard and Mouse
With the wireless receiver connected to your computer, the next step is to turn on the wireless keyboard and mouse. Each device typically has a power switch located either on the underside or top of the device.
Start by locating the power switch on the wireless keyboard. Slide the switch to the “On” position. Some keyboards may have an LED indicator that lights up when the device is turned on, confirming that it is receiving power.
Next, locate the power switch on the wireless mouse. Depending on the model, the switch may be on the underside of the mouse or on the top near the scroll wheel. Slide the switch to the “On” position.
Once the keyboard and mouse are powered on, they will start communicating with the wireless receiver. It may take a few seconds for the devices to establish a connection.
Monitor the LED indicator on the wireless receiver, which may blink or change color to indicate that it is successfully receiving signals from the keyboard and mouse.
If the LED indicator on the receiver does not light up or there are no signs of connectivity, double-check that the batteries are installed correctly and that the keyboard and mouse are properly turned on. You may need to repeat the process of connecting the wireless receiver or pairing the devices if there are any issues.
Once the keyboard and mouse are turned on and successfully connected, you can start using them wirelessly. Move the mouse and test the responsiveness on the computer screen. Begin typing on the keyboard to ensure that the characters are being correctly transmitted to the computer.
Remember to turn off the keyboard and mouse when not in use to conserve battery life. Most devices have a power-saving feature that will automatically put them into sleep mode after a period of inactivity.
The next step is to ensure that the keyboard and mouse are properly paired with the wireless receiver. If you experience any connectivity issues or the devices are not working as expected, refer to the user manual or contact the manufacturer for troubleshooting assistance.
With the keyboard and mouse successfully turned on, you can now enjoy the convenience of working or playing without the constraints of cables.
Pairing the Keyboard and Mouse with the Receiver
Once the wireless receiver is connected to your computer and the keyboard and mouse are turned on, the next step is to pair them with the receiver. This process establishes a secure wireless connection between the devices.
To begin, locate the pairing button or switch on the wireless receiver. Press and hold the button or switch for a few seconds until the LED indicator starts flashing. This puts the receiver into pairing mode, ready to connect with the keyboard and mouse.
Next, find the respective pairing button or switch on the keyboard and mouse. Press and hold the button or switch for a few seconds until the LED indicator on the devices starts blinking. This indicates that they are actively searching for the receiver.
Within a few seconds, the LED indicator on the receiver and the devices should stop flashing and remain steadily lit, indicating a successful pairing. The keyboard and mouse are now connected to the computer via the wireless receiver.
If the pairing process fails or the devices do not connect, try again by pressing and holding the pairing buttons or switches until the LED indicators respond as expected. It may take a couple of attempts to establish a reliable connection.
It’s worth mentioning that some wireless keyboards and mice come pre-paired with the receiver at the factory. In such cases, you may not need to manually pair the devices and can skip this step altogether. Refer to the user manual or manufacturer’s instructions for specific guidance.
Once the keyboard and mouse are successfully paired with the receiver, you can test their functionality by moving the mouse and typing on the keyboard. The cursor on the screen should respond to mouse movements, and the characters should appear on the screen as you type.
If there are any issues with the pairing process or the devices’ functionality, refer to the user manual or contact the manufacturer for troubleshooting assistance. They will be able to provide guidance on resolving connectivity or compatibility issues.
With the keyboard and mouse successfully paired, you can now enjoy a seamless wireless experience, allowing you to work or play with greater flexibility and convenience.
Installing Drivers (if required)
In most cases, when connecting a wireless keyboard and mouse to your computer, the operating system will automatically detect and install the necessary drivers. These drivers allow the computer to recognize and communicate with the keyboard and mouse effectively.
However, there may be instances where the operating system is unable to identify the specific keyboard and mouse model or doesn’t have the correct drivers preinstalled. In such cases, you may need to manually install the drivers to ensure proper functionality.
The first step is to check if the manufacturer provides specific drivers for your keyboard and mouse. To do this, visit the manufacturer’s website and navigate to the support section or the product page for your keyboard and mouse model.
Look for driver downloads or software updates that are compatible with your computer’s operating system. Download the appropriate drivers, taking note of any specific installation instructions provided by the manufacturer.
Once the drivers are downloaded, double-click on the installer file and follow the on-screen instructions to install the drivers. This usually involves agreeing to the terms and conditions, selecting the installation location, and completing the installation process.
It’s important to note that some drivers may require a restart of the computer to take effect. If prompted, save any unsaved work and then restart your computer after the driver installation is complete.
After the computer restarts, the newly installed drivers should enable the keyboard and mouse to function properly. Test the devices by moving the mouse and typing on the keyboard to ensure they are functioning as expected.
If you encounter any issues during the driver installation or experience ongoing problems with the keyboard and mouse, try uninstalling and reinstalling the drivers or contact the manufacturer’s support for further assistance.
Remember that not all keyboards and mice require additional drivers, as most operating systems have generic drivers that can provide basic functionality. However, installing specific drivers from the manufacturer can often unlock additional features or optimize performance.
By installing the necessary drivers, you can ensure that your wireless keyboard and mouse are fully compatible with your computer and unlock their full potential for efficient and seamless usage.
Testing the Keyboard and Mouse
After setting up your wireless keyboard and mouse, it’s essential to test their functionality to ensure they are working correctly. Properly testing them can help you identify any potential issues and address them promptly.
Begin by moving the wireless mouse around and observe the cursor on your computer screen. The cursor should respond to the movement of the mouse smoothly and accurately. Test the left and right-click buttons, as well as any additional buttons or features on the mouse, to ensure they are functioning as intended.
Next, switch your attention to the wireless keyboard. Begin typing on the keyboard, and observe if the characters appear accurately on your screen. Verify that all the keys on the keyboard are responding and that there are no sticky or unresponsive keys.
For a more comprehensive test, open a text editor or word processing program and type a few sentences. This will allow you to assess the keyboard’s responsiveness, typing comfort, and the accuracy of input. Pay attention to any specific features or functions on the keyboard, such as media control keys or shortcut buttons, and test if they work as expected.
If your wireless keyboard and mouse come with additional software or configuration settings, take some time to explore their functionalities. Customize the settings according to your preference, such as adjusting mouse sensitivity or programming keyboard shortcuts, to enhance your overall user experience.
During the testing process, keep an eye out for any potential issues, such as input delays, unresponsiveness, or inconsistency. If you notice any problems, refer to the user manual or contact the manufacturer’s support for troubleshooting assistance.
Regularly testing your wireless keyboard and mouse is important to ensure that they are functioning optimally and providing you with a seamless user experience. Additionally, remember to clean and maintain your keyboard and mouse regularly to keep them in good working condition.
By thoroughly testing your wireless keyboard and mouse, you can address any potential issues early on and make necessary adjustments to fully enjoy the convenience and freedom they offer.
Troubleshooting Common Issues
While wireless keyboards and mice are convenient and user-friendly, they can sometimes experience common issues. Knowing how to troubleshoot these issues can help you quickly resolve any problems and get back to using your devices smoothly.
1. Connection Problems: If you are experiencing connectivity issues, ensure that the wireless receiver is properly connected to your computer’s USB port. Check that the keyboard and mouse are turned on and within range of the receiver. If the issue persists, try re-pairing the devices with the receiver following the manufacturer’s instructions.
2. Unresponsive Device: If your keyboard or mouse stops responding, check the batteries to see if they need replacement. Ensure they are inserted correctly. Consider restarting your computer and re-establishing the connection between the devices and the receiver.
3. Interference: Wireless devices can be affected by interference from other electronics or wireless signals in the vicinity. Try moving the receiver to a different USB port or relocating electronic devices that may be causing interference, such as cordless phones or Wi-Fi routers.
4. Lag or Input Delay: If you experience a delay between typing or moving the mouse and it appearing on the screen, it could be due to low battery levels, interference, or an overcrowded USB port. Make sure the batteries are fresh, reduce the distance between the keyboard/mouse and receiver, and ensure the receiver is connected to a USB port without other devices connected to it.
5. Driver Issues: If your computer does not recognize the keyboard or mouse, you may need to install or update the drivers. Visit the manufacturer’s website to download and install the latest drivers compatible with your operating system.
6. Cleaning and Maintenance: Over time, dirt, dust, and debris can accumulate on the keys of the keyboard or the sensor of the mouse, affecting their performance. Regularly clean your keyboard and mouse by carefully removing any debris and wiping them down with a soft cloth or compressed air.
7. Unusual Behavior: If your keyboard or mouse behaves unexpectedly, such as keys not functioning or the cursor moving erratically, try restarting your computer. If the issue persists, consider updating the drivers, replacing the batteries, or contacting the manufacturer’s support for further assistance.
If you encounter any persistent issues that cannot be resolved through troubleshooting, it may be necessary to seek professional help or contact the manufacturer for warranty support or device replacements.
By being aware of these common issues and following the troubleshooting steps, you can effectively address any problems with your wireless keyboard and mouse and regain their smooth operation.
Cleaning and Maintaining the Keyboard and Mouse
To keep your wireless keyboard and mouse in good working condition and extend their lifespan, regular cleaning and maintenance are essential. Here are some tips on how to effectively clean and maintain these devices:
1. Keyboard Cleaning: Start by shutting off the keyboard and unplugging it, if possible. Use a can of compressed air to blow away any debris between the keys. For a more thorough cleaning, you can use a small brush or cotton swabs dipped in isopropyl alcohol to gently clean the keys and the surface of the keyboard. Ensure the keys and the keyboard surface are completely dry before reconnecting or turning it back on.
2. Mouse Cleaning: Turn off the mouse and unplug the wireless receiver. Clean the external surfaces of the mouse with a soft cloth lightly dampened with water or a mild cleaning solution. For the sensor, use a dry cotton swab or a lint-free cloth to remove any dust or debris. Avoid using excessive moisture, as it can damage the internal components. Once cleaned, allow the mouse to dry thoroughly before reconnecting or turning it back on.
3. Prevention Tips: To minimize the need for frequent cleaning, consider preventive measures. Avoid eating or drinking over the keyboard and mouse to prevent accidental spills, which can damage the devices. Additionally, wash your hands before using them to reduce the transfer of dirt, oils, and debris onto the surfaces.
4. Storage and Protection: When not in use, consider storing the keyboard and mouse in a clean and dust-free environment. You can also cover them with keyboard covers or mouse pads to protect against dust and other contaminants.
5. Battery Replacement: Regularly check the battery levels of your wireless keyboard and mouse. When the batteries are running low, replace them promptly to ensure optimal performance. Follow the manufacturer’s guidelines regarding battery replacement and dispose of used batteries in an environmentally friendly manner.
6. Software and Firmware Updates: Periodically check for software or firmware updates provided by the manufacturer. These updates often include bug fixes and performance enhancements that can improve the functionality of your keyboard and mouse.
By incorporating these cleaning and maintenance practices into your routine, you can ensure that your wireless keyboard and mouse remain in excellent working condition, providing you with a comfortable and reliable user experience.