
Checking Camera and Mic Permissions in Chrome
Before you can give Chrome access to your camera and microphone, it’s essential to check whether the appropriate permissions have been granted. This ensures that you can use these devices seamlessly for various web applications and video conferencing platforms. Here’s how you can check camera and mic permissions in Chrome:
- Launch the Chrome browser on your computer or laptop.
- Click on the three-dot menu icon located at the top right corner of the browser window.
- From the dropdown menu, select the “Settings” option.
- Scroll down to the bottom of the Settings page and click on the “Advanced” option.
- In the “Privacy and security” section, click on “Site Settings.”
- Find the “Permissions” section and click on “Camera” or “Microphone” depending on which device’s permissions you want to check.
- Here, you will find a list of websites that have been granted access to your camera and microphone. You can toggle the permissions on or off for individual websites.
By following these steps, you can verify which websites currently have access to your camera and microphone in Chrome. It’s important to periodically review these permissions to ensure that only trusted sites have access to your devices.
Enabling Camera and Mic Access in Chrome
If you find that your camera and microphone access is disabled in Chrome, you can easily enable it to enjoy a seamless browsing experience. Here’s a step-by-step guide to enabling camera and mic access in Chrome:
- Open the Chrome browser on your device.
- Click on the three-dot menu icon at the top right corner of the browser window.
- Select “Settings” from the dropdown menu.
- Scroll down and click on “Advanced” to expand the options.
- Under the “Privacy and security” section, choose “Site Settings.”
- Locate the “Permissions” section and click on “Camera” or “Microphone” depending on which device you want to enable access for.
- Click on the toggle switch to enable camera and/or microphone access.
- Alternatively, you can click on “Add” next to the “Block” section to allow specific websites to access your camera and microphone.
Once you have completed these steps, Chrome will be granted access to your camera and microphone, allowing you to use them for web applications, video calls, and other related activities.
Note: Enabling camera and mic access in Chrome may require you to refresh the website that needs access to these devices for the changes to take effect. Remember to grant access only to trusted websites.
Disabling Camera and Mic Access in Chrome
If you want to restrict camera and microphone access in Chrome for privacy or security reasons, you can easily disable these permissions. Here’s a step-by-step guide to disabling camera and mic access in Chrome:
- Open the Chrome browser on your device.
- Click on the three-dot menu icon at the top right corner of the browser window.
- Select “Settings” from the dropdown menu.
- Scroll down and click on “Advanced” to expand the options.
- Under the “Privacy and security” section, select “Site Settings.”
- Find the “Permissions” section and click on “Camera” or “Microphone” depending on which device you want to disable access for.
- Click on the toggle switch to disable camera and/or microphone access.
By following these steps, you can prevent Chrome from accessing your camera and microphone. This ensures that websites and applications won’t be able to use these devices without your explicit permission.
It’s important to periodically review and manage your camera and microphone permissions in Chrome to maintain your privacy and security online. Disabling access when it’s not needed is one way to keep control over your personal information.
Managing Camera and Mic Permissions for Specific Websites in Chrome
Chrome allows you to manage camera and microphone permissions on a per-website basis, giving you more control over your privacy and preferences. Here’s how you can manage camera and mic permissions for specific websites in Chrome:
- Open the Chrome browser on your device.
- Navigate to the website for which you want to manage camera and microphone permissions.
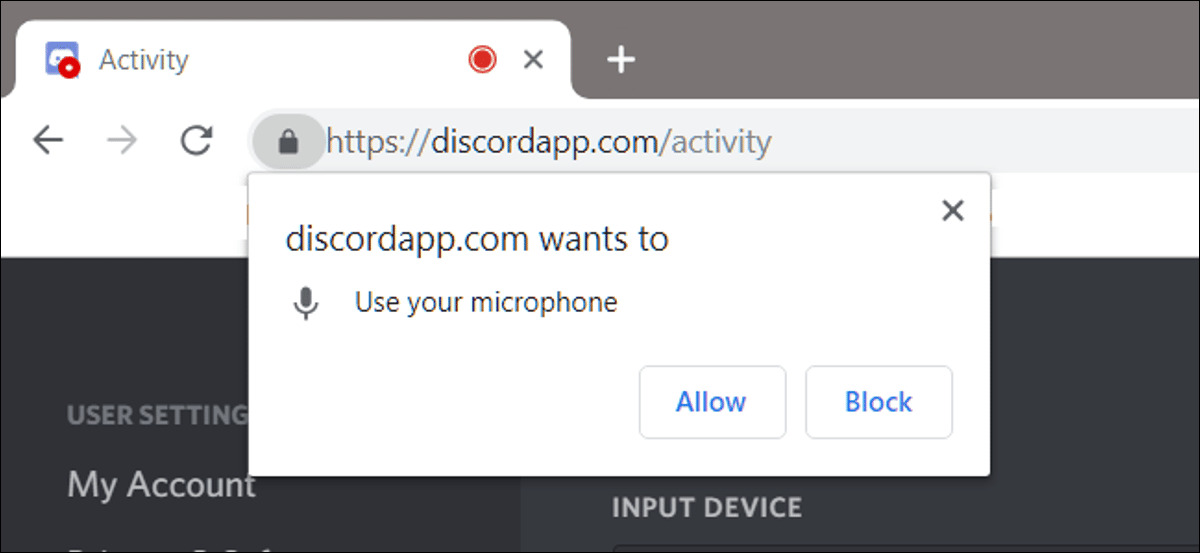
- Click on the lock icon or the “Not Secure” warning next to the website’s URL in the address bar.
- In the dropdown menu, click on “Site Settings.”
- Scroll down to the “Permissions” section and find “Camera” or “Microphone,” depending on the device you want to manage permissions for.
- Choose the desired permission setting from the dropdown menu: “Ask,” “Allow,” or “Block.”
By following these steps, you can set camera and microphone permissions for specific websites in Chrome according to your preferences. For example, you can allow access to trusted video conferencing platforms or block access to untrusted websites.
Managing camera and microphone permissions in Chrome ensures that only the websites you trust can access and utilize these devices. This helps protect your privacy and prevents unauthorized access to your camera and microphone.
Troubleshooting Camera and Mic Access Issues in Chrome
If you encounter camera and mic access issues in Chrome, there are several troubleshooting steps you can take to resolve them. Here are some common solutions to help you troubleshoot camera and mic access issues:
- Restart your computer or device: Sometimes, a simple restart can resolve temporary glitches and restore camera and microphone functionality.
- Check camera and mic connections: Ensure that your camera and microphone are correctly connected to your computer or device. If using an external device, try disconnecting and reconnecting it.
- Update Chrome: Keeping your browser up to date ensures that you have the latest bug fixes and improvements. Go to the Chrome settings menu and click on “About Chrome” to check for updates.
- Clear browser cache and cookies: Accumulated cache and cookies can interfere with camera and mic access. Clearing them can help resolve the issue. Go to Chrome settings, click on “Privacy and security,” and select “Clear browsing data.”
- Review camera and mic permissions: Make sure that you have granted camera and mic permissions to the websites you want to use them on. Follow the steps outlined earlier in this article to manage permissions.
- Disable conflicting extensions: Some browser extensions may conflict with camera and mic access. Disable extensions one by one to identify if any of them are causing the issue.
- Check antivirus and firewall settings: Antivirus software and firewalls can sometimes block camera and microphone access. Temporarily disabling them can help identify if they are the cause of the problem.
If none of these solutions work, it’s recommended to seek further assistance from Chrome support or relevant forums to address the specific issue you’re facing.
Troubleshooting camera and mic access issues requires patience and persistence. By following these steps, you increase the chances of resolving the problem and enjoying seamless camera and microphone functionality in Chrome.