
Check Compatibility Requirements
Before attempting to install macOS Monterey, it is essential to ensure that your Mac meets the compatibility requirements. This will help prevent any installation failures or compatibility issues. Here are some steps to verify compatibility:
- Check your Mac model: Verify if your Mac is compatible with macOS Monterey by checking Apple’s official website or consulting your Mac’s user manual. Note that not all Mac models are compatible with the latest macOS version.
- Review the system requirements: Check the minimum system requirements for macOS Monterey, including the required amount of RAM, available storage space, and supported models. Make sure your Mac meets these specifications to avoid any installation problems.
- Update your current operating system: If you are running an older version of macOS, update it to the latest compatible version before attempting to install Monterey. This ensures that your Mac has the necessary updates and patches required for a smooth installation.
By checking the compatibility requirements before proceeding with the installation, you can save yourself from the frustration and inconvenience of encountering compatibility issues. It is best to be proactive and verify that your Mac meets the necessary criteria, giving you a higher chance of a successful installation.
Restart Your Mac
If you are facing issues during the macOS Monterey installation, one of the simplest yet effective troubleshooting steps is to restart your Mac. Restarting your Mac can resolve various software glitches and temporary issues that might be causing the installation failure. Follow these steps to restart your Mac:
- Save your work: Before restarting your Mac, make sure to save any unsaved documents or files to prevent data loss.
- Close all applications: Quit all open applications and ensure that there are no ongoing processes that might interfere with the restart process.
- Click on the Apple menu: Go to the Apple menu located at the top left corner of the screen.
- Select “Restart”: From the dropdown menu, choose “Restart” to initiate the restart process.
- Wait for the restart: Allow your Mac some time to shut down and restart. This process might take a few minutes.
After your Mac has restarted, attempt to install macOS Monterey again. Restarting your Mac eliminates any temporary issues or conflicts that might have been hindering the installation process. If the installation still fails, proceed to the next troubleshooting step.
Free up Storage Space
Insufficient storage space on your Mac can cause installation failures during the macOS Monterey update. It is essential to free up enough disk space to ensure a successful installation. Here are some steps to help you free up storage space:
- Identify large files and folders: Use the built-in storage management tool on your Mac to identify large files and folders that are taking up significant disk space. You can access this tool by going to the Apple menu, selecting “About This Mac,” and then navigating to the “Storage” tab.
- Delete unnecessary files: Review the identified large files and folders and delete anything that is no longer needed. This can include old documents, unused applications, or downloaded files that are taking up valuable space.
- Empty trash: After deleting unnecessary files, remember to empty the trash to permanently remove them from your Mac’s storage.
- Offload unused applications: Consider offloading applications that you rarely use. This feature is available in macOS Monterey and allows you to remove the application from your Mac while keeping its associated data intact. You can reinstall the application later when needed.
- Move files to external storage: If you have large files or folders that you want to keep but don’t need immediate access to, consider moving them to an external storage device. This could be an external hard drive, USB drive, or cloud storage service.
By freeing up storage space on your Mac, you create sufficient room for the macOS Monterey installation to proceed without any issues. Ensure that you have enough available storage space before attempting to install the update.
Disable Antivirus Software
Antivirus software plays a crucial role in protecting your Mac from malware and other security threats. However, during certain software installations, including macOS Monterey, antivirus programs can sometimes interfere and cause installation issues. Temporarily disabling your antivirus software can help you overcome these obstacles. Here’s how you can disable antivirus software on your Mac:
- Identify your antivirus software: Determine the antivirus program installed on your Mac. It could be a third-party application or one that came pre-installed with your operating system.
- Access antivirus settings: Launch the antivirus software and navigate to its settings or preferences. Look for an option to temporarily disable the real-time scanning or protection features.
- Disable real-time scanning: Disable the real-time scanning or protection features of your antivirus software. This will prevent it from interfering with the installation process.
- Temporary system exclusion: Some antivirus programs allow the temporary exclusion of certain system files or folders from being scanned. Check if your antivirus software offers this option, and if so, exclude any relevant files or folders related to the installation process.
- Restart your Mac: After making the necessary changes, restart your Mac to apply the antivirus software settings.
Once your Mac has restarted, attempt to install macOS Monterey again. Disabling your antivirus software temporarily ensures that it does not interfere with the installation process and allows the update to proceed smoothly. Remember to enable your antivirus protection once the installation is complete to keep your Mac secure.
Check Your Internet Connection
A stable and reliable internet connection is crucial for successfully installing macOS Monterey. If your internet connection is unstable or experiencing issues, it can disrupt the installation process and lead to failures. To ensure a smooth installation, follow these steps to check your internet connection:
- Confirm network connectivity: Make sure that your Mac is connected to the internet. Check if other devices connected to the same network are able to access the internet without any problems.
- Restart your router or modem: Sometimes, a simple restart of your networking equipment can resolve connectivity issues. Power down your router or modem, wait for a few seconds, and then power it back on.
- Switch to a wired connection: If you are currently using a Wi-Fi connection, try connecting your Mac to the router using an Ethernet cable. Wired connections tend to be more stable and can provide a stronger and more consistent internet connection.
- Disable VPN or proxy settings: If you’re using a VPN or have proxy settings enabled, temporarily disable them during the installation process. VPNs and proxies can sometimes interfere with the download and installation of software.
- Test your internet speed: Use speed testing websites or applications to check the speed and stability of your internet connection. Ensure that the speed meets the minimum requirements for downloading and installing macOS Monterey.
- Check firewall settings: Verify that your firewall settings are not blocking the necessary network connections for the installation. Temporarily disable the firewall or create an exception for the installation process.
By checking and troubleshooting your internet connection, you can eliminate potential network-related issues that might be causing the installation failure. A stable and reliable internet connection is essential for a smooth installation process.
Reset the SMC and NVRAM
Resetting the System Management Controller (SMC) and Non-Volatile Random Access Memory (NVRAM) on your Mac can help resolve various system-related issues, including installation failures. These steps are particularly useful when experiencing issues that affect system performance and functionality. Follow the instructions below to reset the SMC and NVRAM:
- Reset the SMC:
- If your Mac has a T2 chip: Shut down your Mac and hold the power button for about 10 seconds. Release the button, wait a few seconds, and then press it again to turn on your Mac.
- For Macs without a T2 chip: Shut down your Mac, unplug the power cable, wait for 15 seconds, and then plug it back in. Wait for a few seconds and turn on your Mac.
- Reset the NVRAM:
- Shut down your Mac and press the power button to turn it on.
- Once you hear the startup sound, immediately press and hold the Option + Command + P + R keys simultaneously.
- Hold the keys for about 20 seconds, until you hear the startup sound again or see the Apple logo appear and disappear for the second time.
- Release the keys and allow your Mac to continue starting up.
After resetting the SMC and NVRAM, attempt to install macOS Monterey again. Resetting these system controllers and memory can help resolve issues that might be hindering the installation process. If the installation problem persists, proceed to the next troubleshooting step.
Try a Different Installation Method
If you’re facing difficulties with the regular installation process, trying a different installation method can help overcome any roadblocks and ensure a successful installation of macOS Monterey. Here are a few alternative methods you can explore:
- Use a bootable installer: Create a bootable installer of macOS Monterey on a USB drive. This allows you to install the operating system from the USB drive instead of relying on the standard installation process. Apple provides detailed instructions on how to create a bootable installer on their official website.
- Install from macOS Recovery: Restart your Mac and hold down Command + R (or Option + Command + R for macOS Catalina or earlier) to enter macOS Recovery. From there, you can select the option to install macOS Monterey. This method helps bypass any issues that may be present in the regular installation process.
- Upgrade from a previous macOS: If you’re using an older version of macOS, you may try upgrading to macOS Monterey from within your current operating system. Download and run the macOS Monterey installer from the Mac App Store, and follow the prompts to upgrade your system.
- Utilize the Apple Configurator: This method is more suitable for advanced users or IT professionals. Apple Configurator allows you to manage and deploy multiple Macs with specific configurations, including operating system installations. It provides more control over the installation process and can address any installation issues you may encounter.
By exploring different installation methods, you broaden your options and increase the chances of successful installation. Choose the method that best suits your needs and try installing macOS Monterey using that approach. If none of these alternatives work, proceed to the next troubleshooting step.
Perform a Clean Install
If all previous troubleshooting steps have failed to resolve the installation issues with macOS Monterey, performing a clean install can be a viable solution. A clean install involves erasing the existing operating system and starting fresh with a clean installation of macOS Monterey. Here’s how you can perform a clean install:
- Backup your data: Before proceeding with a clean install, it is crucial to backup all your important files and data. This ensures that you don’t lose any valuable information during the installation process.
- Create a bootable installer: Prepare a bootable installer of macOS Monterey using a USB drive, following the instructions provided by Apple on their official website.
- Restart your Mac: Insert the bootable installer USB drive into your Mac and restart it while holding down the Option key.
- Select the bootable installer: When the startup disk selection screen appears, choose the macOS Monterey bootable installer from the options displayed.
- Erase the disk: Once the installer loads, open Disk Utility and format your Mac’s main drive. Select the option to erase the disk and choose the APFS or Mac OS Extended format.
- Install macOS Monterey: After formatting the disk, close Disk Utility and proceed with the installation of macOS Monterey from the bootable installer. Follow the on-screen instructions to complete the installation process.
A clean install provides a fresh start with a clean system, free from any lingering issues or conflicts encountered in previous installations. Remember to restore your backed-up data after the clean installation is complete.
Contact Apple Support for Assistance
If you have followed all the troubleshooting steps and are still unable to install macOS Monterey on your Mac, it may be time to seek assistance from Apple Support. Apple’s support team is equipped with the knowledge and expertise to help you overcome any installation issues you may be facing. Here’s how you can reach out to Apple Support:
- Visit the Apple Support website: Go to the official Apple Support website (support.apple.com) using a web browser on any device.
- Select your location and product: Choose your country or region, and then select “Mac” or “Macintosh” under the “Product” section.
- Choose the specific issue: Browse through the available topics and select the one that best matches your installation problem.
- Contact Apple Support: Once you have selected the appropriate issue, you can choose to contact Apple Support via phone, chat, or email. Follow the provided instructions to connect with a support representative.
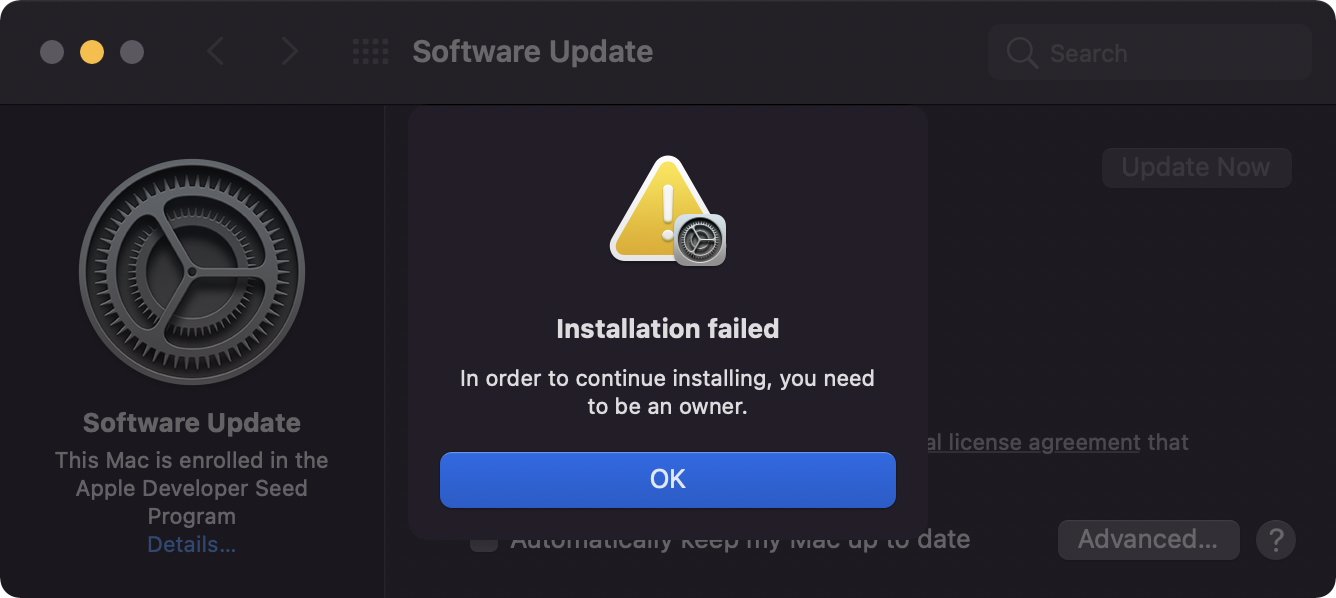
- Provide detailed information: When contacting Apple Support, be prepared to provide detailed information about your Mac, the steps you have taken, and any error messages you have encountered during the installation process.
Apple Support will guide you through additional troubleshooting steps or may assist you with scheduling an appointment at an Apple Store for further assistance if required. They have access to specialized tools and resources to diagnose and resolve installation issues. Don’t hesitate to reach out for professional support when needed.