
Tools and Supplies Needed
Fixing a flat tire on an electric scooter requires having the right tools and supplies on hand. Here is a list of essentials that you will need:
- Flathead screwdriver
- Phillips screwdriver
- Tire levers
- Puncture repair kit
- Air pump or CO2 inflator
- Soap and water solution
- Tire pressure gauge
- Rag or towel
The flathead and Phillips screwdrivers are necessary for removing any screws or fasteners that may be holding the wheel in place. Tire levers will make it easier to pry the tire off the rim during the repair process. A puncture repair kit is essential for patching up any holes or leaks in the inner tube.
An air pump or CO2 inflator is needed to inflate the tube once it has been repaired. Make sure to have a soap and water solution on hand to help locate the puncture. The solution will create bubbles when applied to the tube, indicating where the air is escaping.
Lastly, having a tire pressure gauge will ensure that you inflate the tire to the proper pressure. It is important to check and maintain the correct tire pressure for optimal performance and safety.
Having a rag or towel nearby will come in handy for wiping off any dirt or grime during the repair process.
With these tools and supplies, you will be well-equipped to fix a flat tire on your electric scooter. Let’s move on to the step-by-step process of repairing the tire.
Step 1: Find a Safe Location
When you discover a flat tire on your electric scooter, the first step is to find a safe location to perform the repair. This will ensure your safety and the safety of others around you. Follow these guidelines to find an appropriate spot:
- If you are in the middle of traffic or on a busy road, safely maneuver your scooter to the side of the road or find a nearby parking lot where you can safely work.
- Look for a flat and stable surface to park your scooter. Avoid slopes or uneven surfaces as they can make the repair process more challenging.
- Ensure that you have enough space to move around your scooter comfortably. This will allow you to work efficiently without any restrictions.
- If possible, find a well-lit area, especially if you need to perform the repair during nighttime. Adequate lighting will help you see the tire and the tools more clearly.
- Be mindful of your surroundings and avoid repairing your scooter in areas with heavy foot traffic or unsafe conditions.
By finding a safe location, you can focus on the repair process without any distractions or potential hazards. Once you have found a suitable spot, you can proceed to the next steps of fixing your electric scooter’s flat tire.
Step 2: Turn Off the Scooter and Disconnect the Battery
Before you begin working on your electric scooter’s flat tire, it is crucial to turn off the scooter and disconnect the battery. This step will ensure your safety and prevent any accidental movement of the scooter during the repair process. Follow these steps to turn off the scooter and disconnect the battery:
- Locate the power switch or key ignition on your electric scooter.
- Turn the power switch to the “Off” position or remove the key from the ignition to shut off the scooter.
- Locate the battery compartment of your scooter. It is usually located near the deck or under the seat.
- Open the battery compartment and locate the connector that attaches the battery to the scooter’s electrical system.
- Disconnect the battery by gently unplugging the connector. Depending on the scooter model, you may need to use a screwdriver or release a latch to disconnect the battery.
- Once the battery is disconnected, double-check that the scooter is completely powered off.
By turning off the scooter and disconnecting the battery, you eliminate the risk of accidentally starting the scooter while working on the flat tire. This precautionary measure is essential for your safety and the smooth progress of the repair process.
Now that the scooter is safely powered off and the battery is disconnected, you can move on to the next steps of fixing your electric scooter’s flat tire.
Step 3: Remove the Wheel and Locate the Puncture
With the scooter turned off and the battery disconnected, you can now proceed to remove the wheel and locate the puncture on your electric scooter’s flat tire. Follow these steps to complete this crucial step:
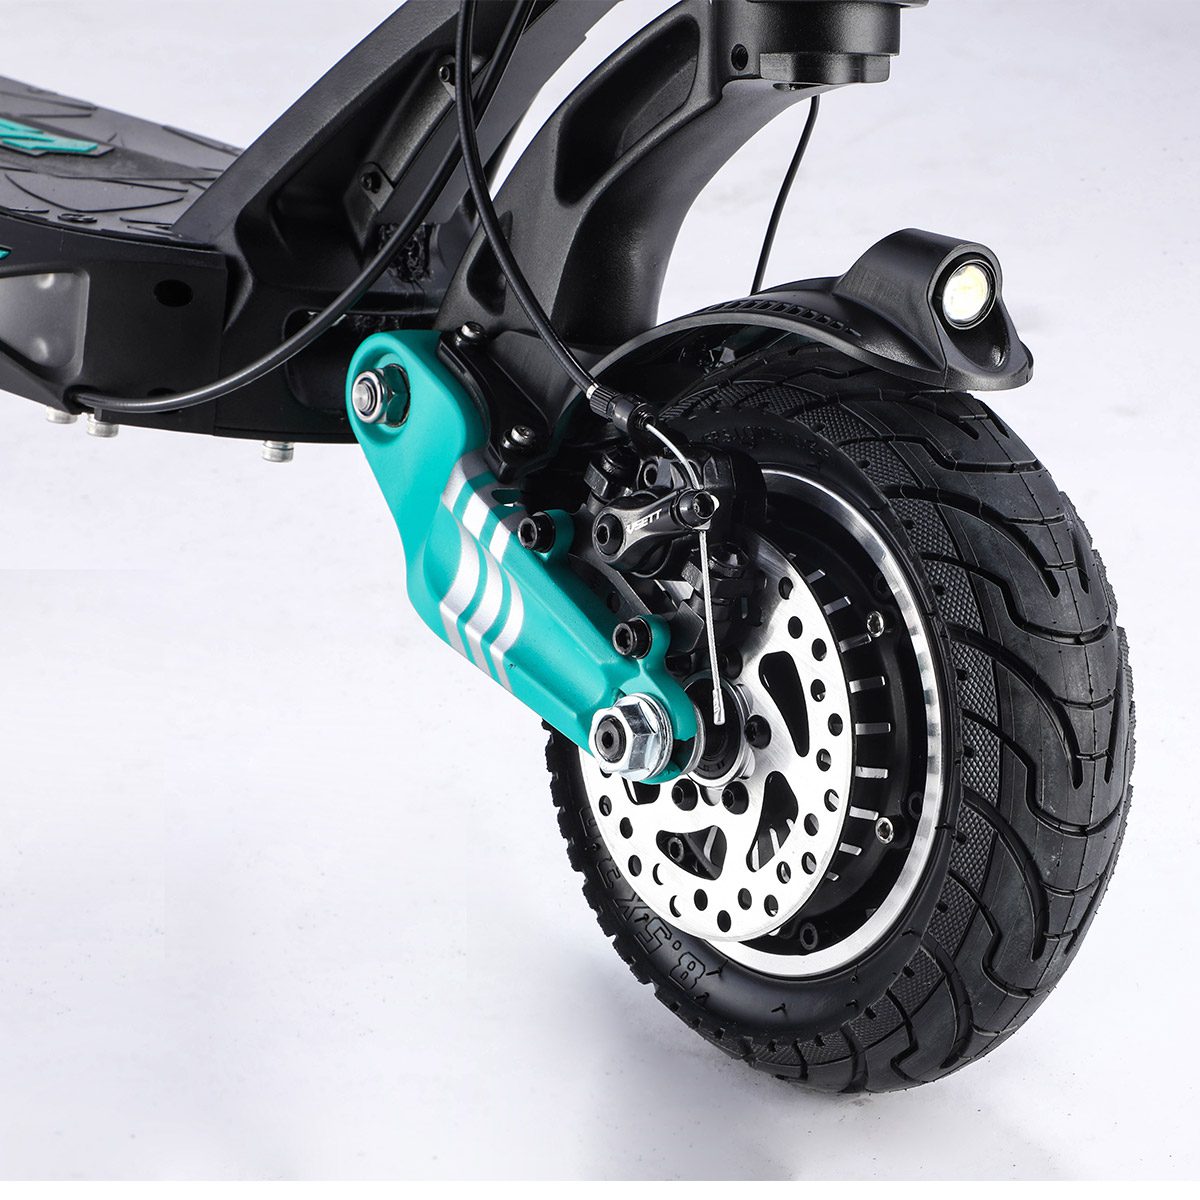
- Locate the wheel that has the flat tire. Electric scooters usually have a quick-release lever or bolts that secure the wheel to the scooter frame. Use the appropriate tool, such as a wrench or an Allen key, to loosen and remove the wheel.
- Carefully lift the wheel off the scooter frame and set it aside on a clean and flat surface.
- Inspect the surface of the tire to locate the puncture. Look for any obvious signs of damage, such as nails, glass shards, or sharp objects stuck in the tire.
- If you can’t visually identify the puncture, you can use a soap and water solution. Apply the solution to the surface of the tire and look for bubbles forming. The bubbles will indicate the location of the puncture.
- Once you have located the puncture, mark it with a pen or make a mental note of its position for the subsequent repair steps.
Removing the wheel and locating the puncture are essential steps in the repair process. By gaining access to the flat tire and identifying the puncture, you can now proceed to fix it effectively.
Now that you have successfully removed the wheel and located the puncture, it is time to move on to the next steps of fixing your electric scooter’s flat tire.
Step 4: Deflate the Tire Completely
Once you have removed the wheel and located the puncture on your electric scooter’s flat tire, the next step is to deflate the tire completely. Deflating the tire will allow you to remove the inner tube safely and efficiently. Follow these steps to deflate the tire:
- Locate the valve stem on the inner tube. The valve stem is typically made of rubber and has a cap on it.
- Remove the cap from the valve stem and press down on the pin inside the valve stem to release the air. You can use a small tool like the back of a screwdriver or your finger to press down on the pin.
- Continue pressing down on the pin until all the air is released from the tire. You may hear a hissing sound as the air escapes.
- Check the tire to ensure that it is completely deflated. You can gently squeeze the sidewalls of the tire to confirm that there is no air remaining.
By deflating the tire completely, you create a safe and manageable environment for the next steps of removing and repairing the inner tube. It is important to make sure that no air is left in the tire to avoid any potential damages during the repair process.
Now that the tire is deflated, you are ready to move on to the next steps of fixing your electric scooter’s flat tire.
Step 5: Remove the Inner Tube from the Tire
After deflating the tire completely, the next step in fixing your electric scooter’s flat tire is to remove the inner tube from the tire. This process will allow you to assess and repair the puncture effectively. Follow these steps to remove the inner tube:
- Start by locating the valve stem on the inner tube. The valve stem is usually positioned near the tire’s rim.
- With your fingers or a small tool, push the valve stem back into the tire, making sure it is flush with the inner side of the tire.
- Next, using your fingers or a tire lever, carefully pry one side of the tire off the rim. Start near the valve stem and work your way around.
- Once one side of the tire is lifted off the rim, continue to lift it until the entire side is free from the rim.
- Now, gently pull the inner tube out from inside the tire. Be cautious not to damage the tube or the valve stem in the process.
Removing the inner tube from the tire allows you to inspect for any punctures or damages that need repairing. Carefully examine the tube and note the location of the puncture that you previously marked.
Now that the inner tube is removed, you can proceed to the next steps of fixing your electric scooter’s flat tire.
Step 6: Locate and Patch the Puncture
With the inner tube removed from the tire, the next step in fixing your electric scooter’s flat tire is to locate and patch the puncture. By properly patching the puncture, you can restore the tube and ensure a reliable and safe ride. Follow these steps to locate and patch the puncture:
- Inspect the inner tube thoroughly to locate the puncture that you previously marked. Look for any visible holes or tears in the tube.
- If necessary, you can inflate the tube slightly to make it easier to identify the puncture. However, be cautious not to overinflate the tube, as this can cause additional damage.
- Once you have located the puncture, clean the surface surrounding the puncture using a rag or towel. Make sure there is no dirt or debris that can interfere with the patching process.
- Apply a thin layer of glue or adhesive from your puncture repair kit to the surface of the puncture. Follow the instructions provided with the kit for the recommended adhesive and application method.
- Take a patch from the repair kit and apply it directly over the adhesive, ensuring that it covers the entire puncture area. Press the patch firmly onto the tube to ensure proper adhesion.
- Allow the patch to dry according to the instructions provided with the puncture repair kit. This usually takes a few minutes.
- Once the patch is fully dry, inflate the tube slightly to check for any air leaks. Submerge the patched area in water and look for bubbles, indicating a leak. If any leaks are found, repeat the patching process.
Locating and patching the puncture is a critical step in the repair process. By effectively sealing the puncture, you can restore the inner tube’s integrity and ensure a reliable and safe ride on your electric scooter.
Now that the puncture is patched, you can proceed to the next steps of fixing your electric scooter’s flat tire.
Step 7: Reinflate the Inner Tube
After patching the puncture on the inner tube of your electric scooter’s flat tire, the next step is to reinflate the tube. Properly inflating the tube will ensure optimal tire performance and a smooth riding experience. Follow these steps to reinflate the inner tube:
- Before inflating the tube, double-check that the patch is securely in place and that no other leaks are present.
- Attach the pump or CO2 inflator to the valve stem of the inner tube, making sure it is properly aligned.
- If using a manual pump, begin pumping air into the tube using a smooth and consistent motion. Pay close attention to the recommended tire pressure for your electric scooter, which is usually indicated on the sidewall of the tire.
- If using a CO2 inflator, follow the instructions provided with the inflator to ensure proper inflation.
- Monitor the inflation process and periodically check the tire pressure using a gauge to ensure that you reach the recommended pressure. Avoid overinflating the tire, as this can lead to other issues.
- Once the inner tube is fully inflated to the correct pressure, carefully remove the pump or CO2 inflator from the valve stem.
- Reinstall the valve cap on the valve stem to protect it from dirt and debris.
Reinflating the inner tube is an essential step to complete the repair process. By ensuring the proper inflation, you can enjoy a safe and smooth ride on your electric scooter without any issues related to tire pressure.
With the inner tube successfully reinflated, you can proceed to the next steps of fixing your electric scooter’s flat tire.
Step 8: Reinstall the Inner Tube and Wheel
With the inner tube properly inflated, the next step in fixing your electric scooter’s flat tire is to reinstall the inner tube and wheel. Follow these steps to ensure a secure and proper installation:
- Start by positioning the valve stem of the inner tube through the valve hole on the rim of the wheel.
- Carefully place the inner tube inside the tire, making sure it is centered and not twisted or folded.
- Starting opposite the valve stem, begin seating the tire back onto the rim. Use your hands to evenly work the tire over the rim, ensuring a snug fit.
- If necessary, you may use tire levers to assist in seating the tire onto the rim. However, use them with caution to avoid pinching or damaging the inner tube.
- Once the tire is fully seated on the rim, visually inspect it to ensure that it is evenly aligned and there are no visible bulges or twists.
- Check that the valve stem is facing outward and is not caught between the tire and the rim.
- If your electric scooter has a quick-release lever, use it to secure the wheel back onto the scooter frame. If it had bolts, use the appropriate tool to tighten them.
- Ensure that the wheel is securely fastened to the frame, but avoid over-tightening, as this can damage the components.
Reinstalling the inner tube and wheel is a critical step that ensures the tire is properly seated and securely attached to the scooter frame. This step completes the physical repair process of your electric scooter’s flat tire.
Now that the inner tube and wheel are successfully reinstalled, you can move on to the next steps of fixing your electric scooter’s flat tire.
Step 9: Check the Tire Pressure
After reinstalling the inner tube and wheel on your electric scooter, the next step is to check the tire pressure. Proper tire pressure is crucial for optimal performance, stability, and safety while riding. Follow these steps to check the tire pressure:
- Using a tire pressure gauge, press it firmly onto the valve stem to get an accurate reading.
- Read the pressure measurement displayed on the gauge. Compare it to the recommended tire pressure specified by the manufacturer, which can usually be found on the sidewall of the tire.
- If the tire pressure is too low, use a pump to add air until the correct pressure is reached. If the pressure is too high, release some air using the valve stem or a release valve on the pump.
- Repeat the process of checking the tire pressure until it matches the recommended pressure.
- Double-check that the valve stem is securely tightened, and no air is leaking from it.
By checking and adjusting the tire pressure, you ensure a safer and more comfortable ride on your electric scooter. Proper tire pressure allows for better control, prevents excessive wear, and minimizes the risk of tire damage.
Now that the tire pressure is properly checked and adjusted, you can proceed to the final step of fixing your electric scooter’s flat tire.
Step 10: Test the Tire and Reconnect the Battery
After completing the repair process for your electric scooter’s flat tire, the final step is to test the tire and reconnect the battery. These steps will help ensure that your scooter is ready to hit the road again. Follow these steps to complete the process:
- Before reconnecting the battery, give the tire a visual inspection to make sure it is properly seated on the rim, with no bulges or twists.
- Reconnect the battery by plugging in the connector to its corresponding port. Make sure it is securely connected.
- Turn on the scooter by flipping the power switch or inserting the key into the ignition.
- Take a short test ride to assess the performance of the tire. Pay attention to any unusual vibrations, sounds, or handling issues.
- If the tire feels stable and the scooter operates smoothly, you have successfully repaired the flat tire.
- If you notice any issues during the test ride, stop immediately and inspect the tire for any potential problems. Address any issues before continuing to ride.
Testing the tire after the repair ensures that it is functioning properly and provides peace of mind before resuming normal scooter use. It allows you to confirm that the repair was successful and that your electric scooter is safe to ride.
With the tire tested and confirmed to be in good condition, and the battery reconnected, your electric scooter is ready to hit the road again.