
Benefits of Embedding Excel Files in Word Documents
Embedding Excel files within Word documents offers several advantages for individuals and businesses alike. Here are some key benefits:
- Enhanced Data Accessibility: By embedding an Excel file in a Word document, you make it easier for others to access and analyze the data without having to switch between multiple software applications. This seamless integration allows readers to quickly view and work with the data without any additional steps.
- Improved Document Organization: Embedding Excel files in Word documents helps keep your files organized and prevents data from getting lost or scattered across different files. Instead of managing separate files for data and documents, you can merge them into a single file, making it easier to locate and share information.
- Real-Time Data Updates: When you embed an Excel file in a Word document, any changes made to the original spreadsheet will automatically be reflected in the embedded file. This is especially useful when presenting dynamic data or creating reports that require frequent updates. It saves time and ensures that your document always reflects the most up-to-date information.
- Preservation of Formatting: Embedding an Excel file in a Word document retains the original formatting of the spreadsheet. This is particularly beneficial when dealing with complex tables, charts, and formulas. The embedded file will maintain its visual layout and functionality, ensuring that your data is accurately presented without any unintended modifications.
- Improved Collaboration: Embedding Excel files in Word documents facilitates collaboration among team members. Multiple individuals can concurrently work on the same document, reviewing and editing the embedded data without the need for separate spreadsheet files. This streamlines the collaboration process, enhances teamwork, and promotes better communication within the team.
As you can see, embedding Excel files in Word documents offers a range of benefits, from improved accessibility and organization to real-time data updates and enhanced collaboration. By taking advantage of this feature, you can create more streamlined and efficient documents while ensuring that your data remains accurate and up-to-date.
Steps to Embed an Excel File in a Word Document
If you want to embed an Excel file in a Word document, follow these steps:
- Open both the Excel file and the Word document: Ensure that both the Excel file you want to embed and the Word document are open on your computer.
- Switch to the Word document: Go to the Word document where you want to embed the Excel file.
- Click on the location where you want to embed the Excel file: Place the cursor at the desired location within the Word document where you want the Excel file to appear.
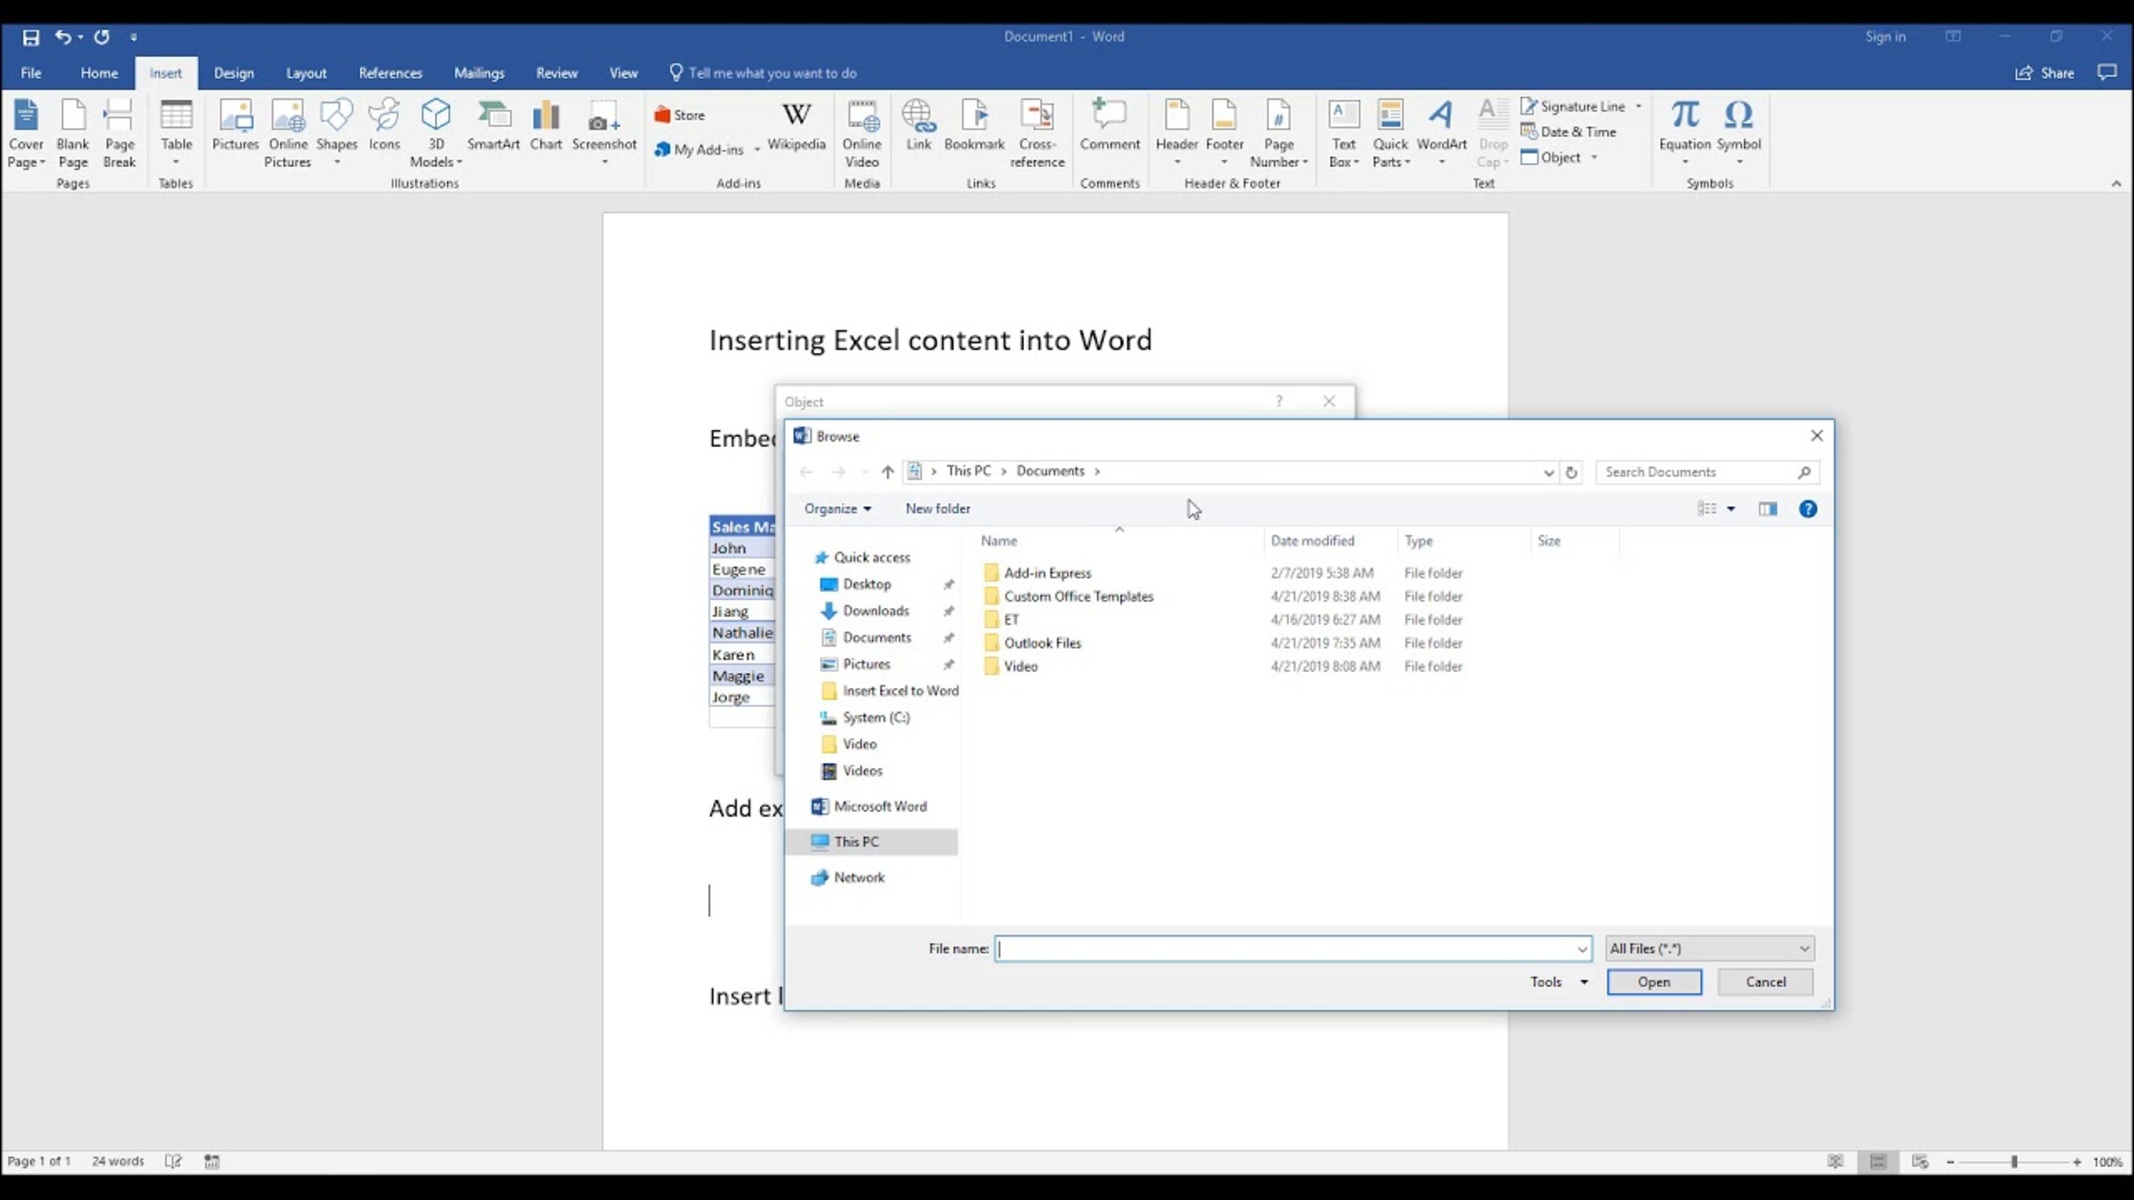
- Insert the Excel file as an object: In the Word document’s menu, click on the “Insert” tab and choose “Object” from the “Text” group. Then, select “Create from File.”
- Browse for the Excel file: Click on the “Browse” button and locate the Excel file you want to embed. Select the file and click “Insert.”
- Adjust the embedded Excel file size: Resize the embedded Excel file accordingly by clicking and dragging the corners or edges. You can make it larger or smaller to fit the desired space in the Word document.
- Customize the appearance of the embedded Excel file: Right-click on the embedded Excel file and choose “Format Object” to modify its appearance, such as adding borders, changing the background, or modifying other formatting options.
- Save the Word document: Once you are satisfied with the embedded Excel file’s placement and appearance, save the Word document to retain the changes.
- Update the embedded Excel file: If you make any changes to the original Excel file, open the Word document and right-click on the embedded file. Choose “Update Link” to ensure that the embedded Excel file reflects the latest updates.
By following these steps, you can easily embed an Excel file into a Word document. This allows you to incorporate data and analysis seamlessly within your document, enhancing its overall impact and providing readers with a comprehensive understanding of the information you’re presenting.
Inserting an Excel Worksheet Object
If you want to insert an Excel worksheet object into a Word document, you can follow these steps:
- Open the Word document: Begin by opening the Word document where you want to insert the Excel worksheet object.
- Switch to the Word document: Go to the Word document and click on the location where you want to insert the Excel worksheet object.
- Insert the Excel worksheet object: On the Word document’s menu, click on the “Insert” tab and select “Object” from the “Text” group. In the subsequent dialog box, choose the “Create New” tab.
- Select Microsoft Excel Worksheet: From the options available in the “Object Type” section, choose “Microsoft Excel Worksheet” and click “OK.”
- Work on the Excel worksheet object: An Excel worksheet object will be inserted into the Word document, allowing you to input and manipulate data just as you would in Excel. Use the Excel toolbar within the Word document to perform tasks such as adding and formatting rows, columns, and cells.
- Save the Word document: After making necessary changes in the Excel worksheet object, save the Word document to preserve all modifications and updates.
- Update the embedded Excel worksheet object: If you make any changes to the Excel worksheet object, open the Word document, right-click on the object, and select “Update Link” to ensure that the embedded object reflects the latest updates.
By inserting an Excel worksheet object into a Word document, you can seamlessly work with data using Excel functionalities within the Word environment. This functionality allows you to create dynamic documents with live data, making it easier to present and analyze information while maintaining the visual appeal of your document.
Embedding an Excel Spreadsheet as an Object
If you want to embed an entire Excel spreadsheet as an object in a Word document, you can follow these steps:
- Open the Word document: Begin by opening the Word document where you want to embed the Excel spreadsheet.
- Switch to the Word document: Go to the Word document and click on the location where you want to embed the Excel spreadsheet.
- Insert the Excel spreadsheet as an object: On the Word document’s menu, click on the “Insert” tab and select “Object” from the “Text” group. In the subsequent dialog box, choose the “Create from File” tab.
- Browse for the Excel spreadsheet: Click on the “Browse” button and locate the Excel spreadsheet you want to embed. Select the file and click “Insert.”
- Adjust the embedded Excel spreadsheet size: Resize the embedded Excel spreadsheet as needed by clicking and dragging the corners or edges. You can make it larger or smaller to fit the desired space in the Word document.
- Save the Word document: Once you are satisfied with the placement of the embedded Excel spreadsheet, save the Word document to retain the changes.
- Update the embedded Excel spreadsheet: If you make any changes to the original Excel spreadsheet, open the Word document and right-click on the embedded spreadsheet object. Choose “Update Link” to ensure that the embedded spreadsheet reflects the latest updates.
By embedding an Excel spreadsheet as an object in a Word document, you can present the entire spreadsheet within the document itself. This allows readers to view and manipulate the data while keeping it organized and interconnected.
The embedded spreadsheet retains all the functionality of Excel, enabling users to input, edit, and analyze data directly within the Word document. This integration streamlines the document creation process and enhances the accessibility and visualization of complex data sets for readers.
Linking an Excel Spreadsheet to a Word Document
If you want to link an Excel spreadsheet to a Word document, follow these steps:
- Open both the Excel spreadsheet and the Word document: Make sure that both the Excel spreadsheet and the Word document are open on your computer.
- Switch to the Word document: Go to the Word document where you want to insert the linked Excel spreadsheet.
- Click on the location where you want to insert the linked Excel spreadsheet: Place the cursor at the desired location within the Word document to define where the linked spreadsheet will appear.
- Insert the linked Excel spreadsheet: On the Word document’s menu, click on the “Insert” tab and select “Object” from the “Text” group. In the subsequent dialog box, choose the “Create from file” option.
- Link to the Excel spreadsheet: Click on the “Browse” button and locate the Excel spreadsheet you want to link. Select the file and check the “Link to file” box before clicking “Insert.”
- Adjust the linked Excel spreadsheet size: Resize the linked Excel spreadsheet as needed by clicking and dragging the corners or edges. You can make it larger or smaller to fit the desired space in the Word document.
- Save the Word document: Once done, save the Word document to preserve the changes and ensure the link to the Excel spreadsheet is maintained.
- Update the linked Excel spreadsheet: If you make any changes to the original Excel spreadsheet, open the Word document and right-click on the linked spreadsheet object. Choose “Update Link” to ensure that the linked spreadsheet reflects the latest updates.
Linking an Excel spreadsheet to a Word document allows you to maintain a live connection between the two files. Any updates made to the source Excel spreadsheet will automatically be reflected in the linked version within the Word document.
This feature is particularly useful when you need to present dynamic data or complex calculations in your Word document. By linking the Excel spreadsheet, you can ensure that the information in your document remains up-to-date without the need to manually update the data every time changes are made.
Linking an Excel spreadsheet to a Word document enhances the accuracy and efficiency of your document creation process, ensuring that the data you present is always current and reliable.
Adjusting the Embedded Excel File Size
If you need to adjust the size of an embedded Excel file within a Word document, you can follow these steps:
- Select the embedded Excel file: Open the Word document containing the embedded Excel file and click on it to select it. Handles should appear around the edges of the embedded file.
- Resize the embedded Excel file: Click and drag any of the corner or edge handles of the embedded Excel file to adjust its size. By dragging the handles, you can make the embedded file larger or smaller according to your requirements.
- Resize proportionally: If you want to maintain the aspect ratio of the embedded Excel file while resizing, hold down the Shift key while dragging the handles. This ensures that the dimensions of the embedded file remain proportional and prevent distortion.
- Resize manually: If you don’t want to maintain the aspect ratio and prefer to resize the embedded Excel file independently, you can simply click and drag the handles without holding down the Shift key.
- Release the mouse button: Once you have adjusted the size of the embedded Excel file to your satisfaction, release the mouse button to set the new size.
- Save the Word document: After resizing the embedded Excel file, save the Word document to retain all changes made to the file.
Adjusting the size of an embedded Excel file within a Word document gives you flexibility in presenting your data in the most visually appealing and readable way. By resizing the file, you can ensure that it fits the designated space in the document and aligns with the overall layout.
Remember that proportionally resizing the embedded Excel file maintains the original aspect ratio, preventing any distortion. However, if you wish to independently manipulate the height and width dimensions, you can do so by resizing without holding the Shift key.
With the ability to adjust the size of the embedded Excel file, you can customize the presentation of your data within the Word document, enhancing its readability and overall aesthetic appeal.
Changing the Embedded Excel File Appearance
If you want to modify the appearance of an embedded Excel file within a Word document, you can follow these steps:
- Select the embedded Excel file: Open the Word document containing the embedded Excel file and click on it to select it. Handles should appear around the edges of the embedded file.
- Access the formatting options: Right-click on the selected embedded Excel file to open the context menu. From the menu, select “Format Object” or “Format Picture,” depending on the version of Word you are using.
- Explore different formatting options: In the formatting options dialog box, you can modify various aspects of the embedded Excel file’s appearance. This includes adjusting the border style, changing the background color or fill, applying gradients or patterns, adjusting transparency, and modifying other visual aspects.
- Make desired formatting changes: Customize the appearance of the embedded Excel file by selecting the desired formatting options based on your preferences. Experiment with different settings to achieve the desired look and feel for your document.
- Preview the changes: As you make formatting changes, preview the embedded Excel file in the Word document to see how it looks. This allows you to make further adjustments until you are satisfied with the appearance.
- Apply the formatting changes: Once you are happy with the modifications, click “OK” or “Apply” in the formatting options dialog box to apply the changes to the embedded Excel file.
- Save the Word document: After changing the appearance of the embedded Excel file, save the Word document to retain all modifications made to the file.
By changing the appearance of an embedded Excel file in a Word document, you can add visual appeal and customization to your document. Formatting options such as borders, colors, patterns, and transparency can help highlight and emphasize important data or make the embedded file more visually cohesive with the surrounding content.
Through careful adjustment of the formatting options, you can ensure that the embedded Excel file aligns with your document’s overall design and enhances its aesthetic appeal, making it more engaging and visually appealing to your readers.
Editing the Embedded Excel File
If you need to edit the content or data within an embedded Excel file in a Word document, you can follow these steps:
- Select the embedded Excel file: Open the Word document containing the embedded Excel file and click on it to select it. Handles should appear around the edges of the embedded file.
- Edit the content: Double-click on the embedded Excel file to activate the embedded spreadsheet within the Word document. You can now directly edit the content or data within the Excel file, just as you would in Excel itself.
- Modify the data: Update or modify the data within the embedded Excel file by typing directly into the cells, adding or deleting rows and columns, or using Excel’s various data manipulation features. All changes made to the embedded file will be reflected within the Word document.
- Utilize Excel’s features: Take advantage of Excel’s powerful features and functionalities to perform calculations, create charts and graphs, implement formulas, apply formatting, and utilize other tools and functions to customize and analyze your data.
- Save the changes: After completing the necessary edits within the embedded Excel file, save the changes. The modifications made to the data or content will be saved within the embedded file in the Word document.
- Update the Word document: If you make any changes to the embedded Excel file after saving, close the Excel file and return to the Word document. The embedded file will automatically reflect the latest updates.
- Save the Word document: Once you are satisfied with the edits made to the embedded Excel file, save the Word document to preserve all changes and ensure that the updated data is retained.
By editing the content or data within an embedded Excel file directly in the Word document, you can easily make modifications without the need to launch Excel separately. This streamlines the editing process and ensures that your changes are seamlessly integrated into the document without any additional steps.
With the ability to edit the embedded Excel file within the Word document, you have full control over the data and can make real-time updates and adjustments as necessary. This functionality allows you to customize and refine your data presentation, providing accurate and up-to-date information for your readers.
Updating the Embedded Excel File
Updating an embedded Excel file within a Word document ensures that any changes made to the original Excel file are reflected in the embedded version. To update the embedded Excel file, follow these steps:
- Open the Word document: Begin by opening the Word document containing the embedded Excel file.
- Switch to the Word document: Go to the Word document and navigate to the embedded Excel file that needs to be updated.
- Right-click on the embedded Excel file: Right-click on the embedded Excel file to open the context menu.
- Select “Update Link”: From the context menu, select the “Update Link” option. This action prompts Word to update the embedded Excel file with any changes made to the original spreadsheet.
- Wait for the update to complete: Word will retrieve the updated data from the original Excel file and update the embedded version accordingly. The time required for the update will depend on the size and complexity of the data within the file.
- Review the updated embedded Excel file: Once the update is complete, review the embedded Excel file in the Word document to ensure that the changes are accurately reflected.
- Save the Word document: After confirming that the embedded Excel file is successfully updated, save the Word document to retain all modifications and ensure that the embedded file reflects the latest changes.
Updating the embedded Excel file in a Word document is crucial for maintaining the accuracy and currency of the data presented. This feature enables you to include dynamic, real-time information in your document, ensuring that any updates made to the original Excel file are automatically incorporated into the embedded version.
By regularly updating the embedded Excel file, you can provide your readers with the most up-to-date information and avoid any discrepancies or outdated data in your document.
Troubleshooting Common Issues with Embedded Excel Files
While embedding Excel files in Word documents is a convenient and powerful feature, you may encounter some common issues. Understanding these issues and knowing how to troubleshoot them can help ensure a smooth experience. Here are some common problems and their troubleshooting solutions:
- Embedded Excel file not updating: If the embedded Excel file is not updating with the latest changes from the original spreadsheet, try manually updating the link. Right-click on the embedded file, select “Update Link,” and wait for the update process to complete.
- Incorrect data formatting in the embedded file: If the formatting of the data within the embedded Excel file appears different from the original, verify that the formatting options are consistent between the original spreadsheet and the embedded file. Ensure that any custom formatting, such as fonts, colors, and cell styles, are properly applied in both versions.
- Problems with file paths: If the embedded Excel file shows a broken link or displays an error message regarding file paths, make sure that the original Excel file is stored in a location accessible to both the Word document and the external applications (such as Excel). Update the file path in the Word document to accurately point to the correct location.
- Compatibility issues between Excel and Word versions: If you experience compatibility issues between different versions of Excel and Word, ensure that you are using compatible file formats and that both applications are updated to the latest version. Additionally, check for any compatibility settings or options that may need to be adjusted for seamless integration.
- Embedded file appearance not as expected: If the appearance of the embedded Excel file is not as you intended, right-click on the file, select “Format Object” or “Format Picture,” and explore the available formatting options to customize its appearance. Adjust settings such as borders, colors, and fills to achieve the desired look.
- Performance issues with large, complex embedded files: If the Word document containing a large and complex embedded Excel file becomes slow or unresponsive, consider optimizing the file size and structure. Simplifying formulas, reducing unnecessary data, or splitting the file into multiple smaller components can help improve performance.
These troubleshooting steps are meant to address some common issues that may arise when working with embedded Excel files in Word documents. If the problem persists or is specific to your system or software configuration, consult the documentation or support resources for the respective applications for further assistance.
By resolving these common issues and applying the troubleshooting solutions, you can ensure that your embedded Excel files function as intended, allowing you to present and work with data seamlessly within your Word documents.