
Choosing the Right Subwoofers for Your Home Theater Setup
When it comes to creating a truly immersive home theater experience, having the right subwoofers is crucial. Subwoofers are responsible for delivering deep, rumbling bass frequencies that add depth and realism to your audio. Here are some key factors to consider when choosing subwoofers for your home theater setup.
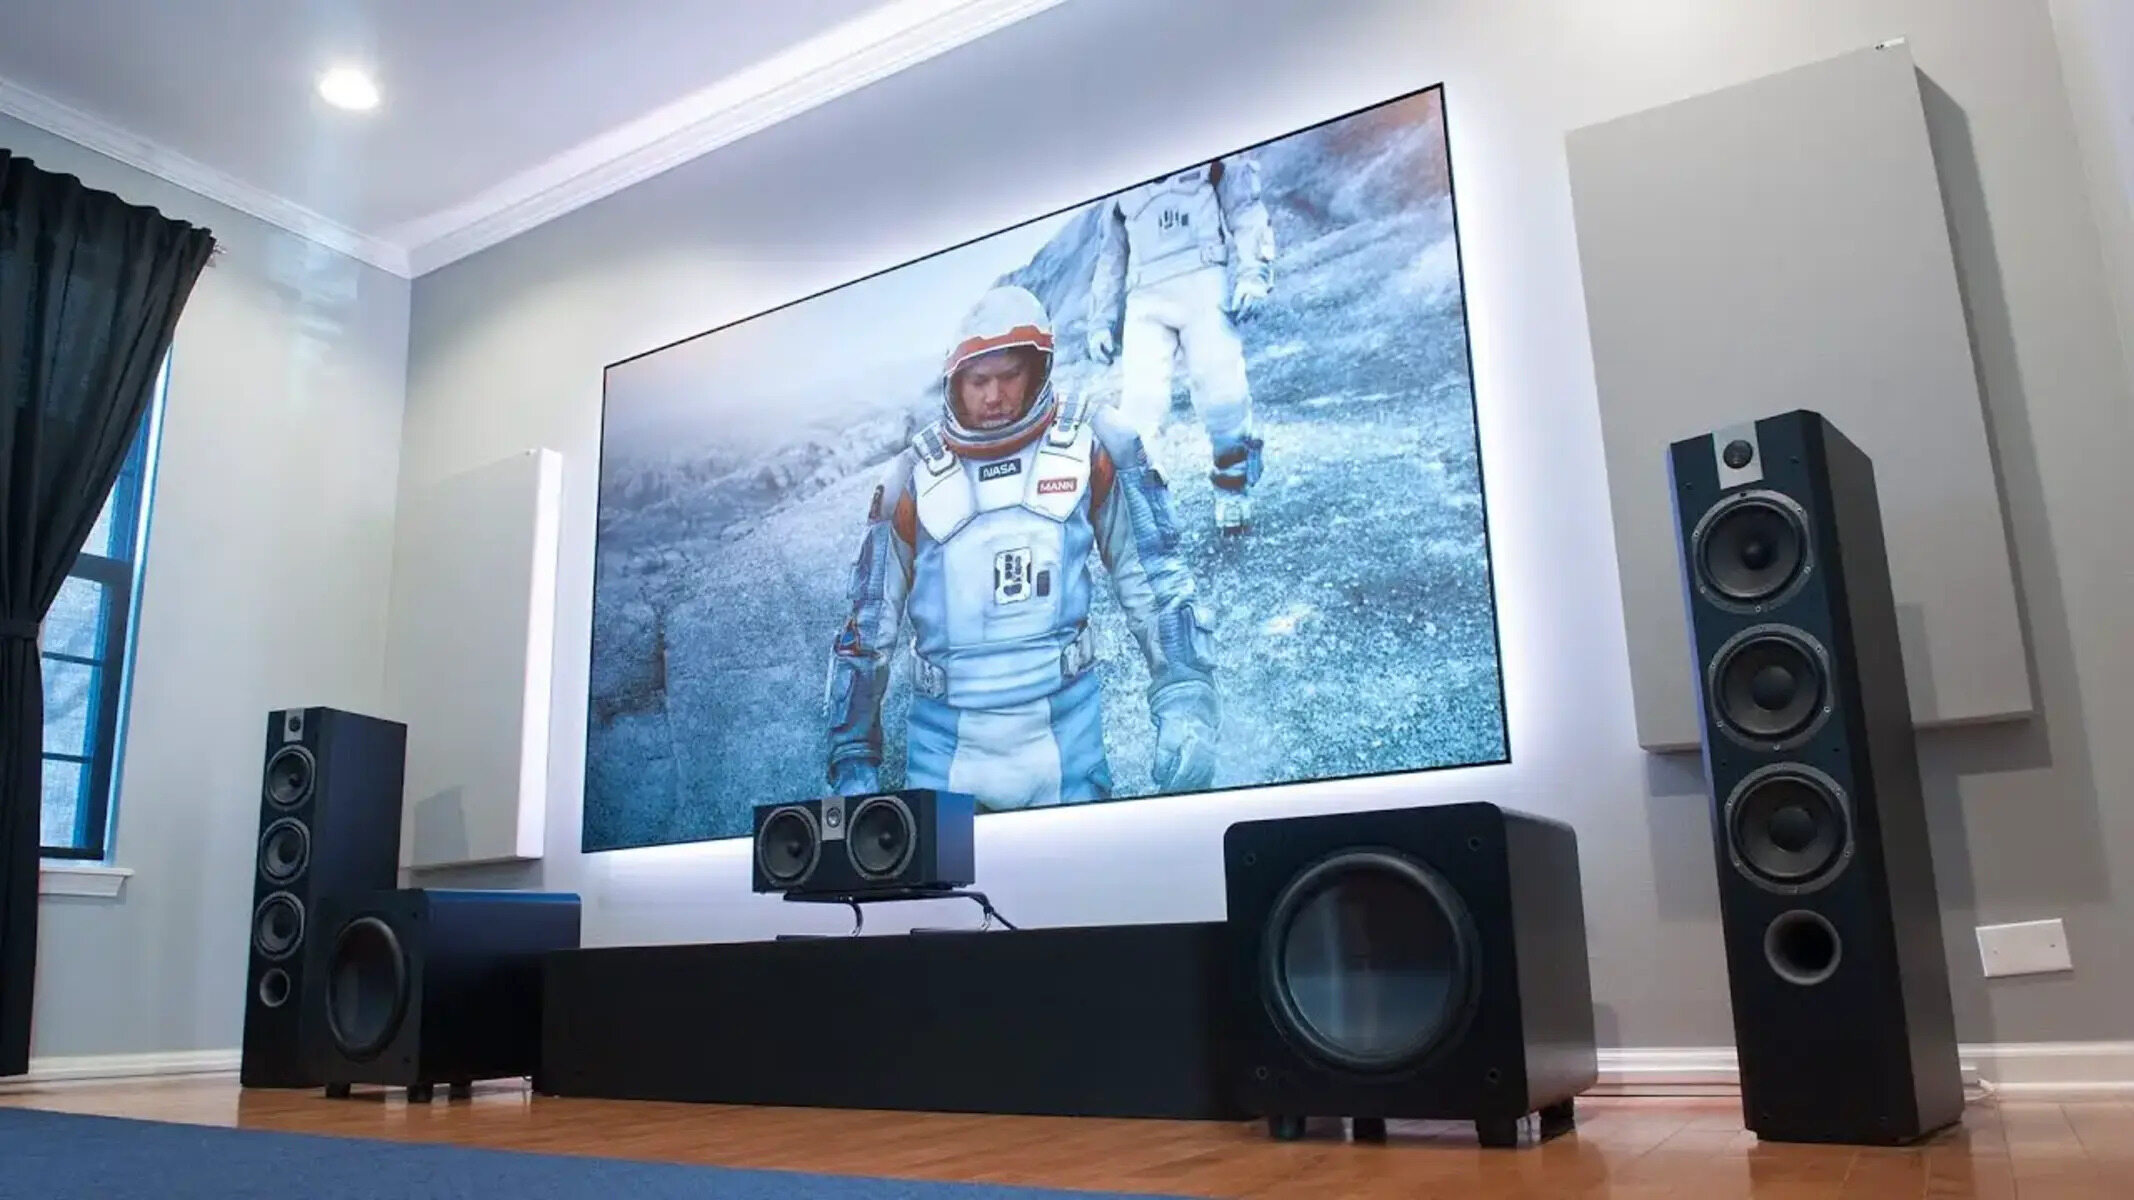
- Room Size: The size of your room plays a significant role in determining the type and number of subwoofers you’ll need. For larger rooms, multiple subwoofers are recommended to distribute bass evenly throughout the space.
- Power and Size: Consider the power and size of the subwoofers to ensure they can handle the demands of your home theater system. Look for subwoofers with higher wattage ratings and larger driver sizes for more impactful bass.
- Wired or Wireless: Decide whether you want wired or wireless subwoofers. Wired subwoofers are typically more reliable and offer better performance, while wireless options provide flexibility in terms of placement.
- Placement Options: Think about where you can place the subwoofers in your room. Corner placement often yields better bass response, but it’s not always feasible. Look for subwoofers with adjustable phase and EQ settings to optimize bass performance in different locations.
- Integration with Existing Speakers: Consider the compatibility of the subwoofers with your existing speakers. They should work seamlessly together to create a balanced audio experience. Look for subwoofers from the same manufacturer or within the same product line for better integration.
- Budget: Lastly, define your budget for subwoofers. There are various options available at different price points. While it’s essential to invest in quality subwoofers, it’s also important to find a balance that fits your budget.
By considering these factors, you’ll be able to select subwoofers that suit your home theater setup and deliver the immersive audio experience you desire. Don’t rush the decision-making process – take your time to research and compare different models, and consider consulting experts or reading reviews for additional guidance.
Choosing the Right Location for Your Subwoofers
Once you’ve selected the perfect subwoofers for your home theater setup, the next step is to determine the best location for optimal bass performance. The placement of your subwoofers can greatly affect the overall sound quality and immersive experience. Here are some essential considerations when choosing the right location for your subwoofers:
- Room Acoustics: Familiarize yourself with the acoustics of your room to identify potential challenges and opportunities for subwoofer placement. Factors like room dimensions, wall materials, and furniture placement can all impact the way bass frequencies behave.
- Corner Placement: Placing a subwoofer in a corner of the room can help enhance bass response due to the reinforcement of the low-frequency waves. Experiment with different corners to find the optimal placement that avoids excessive booming or muddiness.
- Subwoofer Orientation: Consider the orientation of your subwoofer. In most cases, positioning it with the driver facing towards the wall or the room’s center provides better bass dispersion. However, be aware that certain subwoofers may have specific recommendations for driver orientation.
- Room Symmetry: Strive for symmetry in subwoofer placement, especially if you’re using multiple subwoofers for balanced bass distribution. Placing them equidistant from the primary listening position can help ensure a consistent and immersive bass experience.
- Experimentation: Don’t hesitate to experiment with different subwoofer placements and listen for any changes in bass response. Use a variety of test tracks and movies with dynamic low-frequency content to evaluate how the subwoofers interact with the room and enhance your overall audio experience.
Each room is unique, so it’s important to take the time to find the best placement for your subwoofers by experimenting and fine-tuning the setup. Remember that small adjustments in position can make a significant difference in bass response and overall audio quality.
Additionally, consider utilizing room correction technology or manual adjustments available on your AV receiver or subwoofer to compensate for any acoustic anomalies present in the room. This can help optimize the performance of your subwoofers and ensure a more balanced and immersive audio experience.
Setting Up a Single Subwoofer in Your Home Theater
Setting up a single subwoofer in your home theater is a crucial step in achieving balanced and impactful bass reproduction. Here’s a step-by-step guide to help you with the setup process:
- Placement: Choose an ideal location for your subwoofer, considering factors such as room size, acoustics, and furniture arrangement. As mentioned earlier, placing the subwoofer in a corner of the room can often yield better bass response.
- Connection: Connect your subwoofer to the dedicated subwoofer output on your AV receiver using a high-quality RCA cable. Ensure a secure and tight connection at both ends.
- Power: Plug the subwoofer into a power outlet. Make sure the power cord is securely connected and that the subwoofer is receiving power.
- Crossover Settings: Set the crossover frequency on your AV receiver. This determines the point at which low-frequency sounds are redirected to the subwoofer. A common starting point is around 80Hz, but you may need to adjust it based on your specific speakers and room characteristics.
- Phase Adjustment: Use the phase control dial on the subwoofer, if available, to fine-tune the alignment of the subwoofer’s bass with the main speakers. Adjusting the phase helps ensure a smooth and seamless transition between the subwoofer and the other speakers in your system.
- Volume Level: Set the volume level of the subwoofer using the gain control knob or settings on your AV receiver. Begin by setting the volume to a low level and gradually increase it while playing content with ample low-frequency information. Aim for a balanced integration of bass with the rest of the audio spectrum.
- Sound Calibration: Some AV receivers offer automatic sound calibration systems. Utilize this feature to further optimize the performance of your subwoofer and achieve accurate and balanced audio reproduction in your home theater.
Once you’ve completed these steps, it’s important to test your setup with a variety of audio material, including movies, music, and test tones. Listen for any noticeable imbalances, excessive booming, or lack of impact. Make any necessary adjustments to the crossover, phase, or volume settings to achieve the desired bass performance.
Remember that the setup process may require some trial and error to find the perfect settings for your specific equipment and room. Patience and careful listening are key to achieving optimal subwoofer performance and a truly immersive cinematic experience in your home theater.
Wiring Multiple Subwoofers in a Home Theater Setup
If you’re looking to take your home theater experience to the next level, integrating multiple subwoofers into your setup can provide enhanced bass performance and more even bass distribution throughout the room. Here’s an overview of how to wire multiple subwoofers in a home theater setup:
- Identify the Subwoofer Outputs: Check your AV receiver or preamp to determine the number of subwoofer outputs available. If you’re planning to use two subwoofers, ensure that your receiver has dual subwoofer outputs.
- Preparation: Gather the necessary cables and connectors for the wiring setup. You will need subwoofer cables, RCA Y-adapters (if required), and speaker wire if you’re using passive subwoofers.
- Parallel Wiring: One common method for wiring multiple subwoofers is parallel wiring. Connect the subwoofer outputs on your AV receiver to the inputs of each subwoofer. Use subwoofer cables for this connection.
- Series Wiring: Alternatively, you can use series wiring if your subwoofers have dual voice coils. In this case, connect one terminal of the first subwoofer to the positive terminal of the second subwoofer. Then, connect the remaining terminal of the second subwoofer to the subwoofer output of your AV receiver.
- Amplification: If you’re using powered subwoofers, each subwoofer has its built-in amplifier. However, if you’re using passive subwoofers, you’ll need an external power amplifier to drive the subwoofer system.
- Balance the Sound: Experiment with the placement of the multiple subwoofers to find the ideal position that provides balanced bass throughout the room. Adjust the volume levels of the individual subwoofers to achieve the desired bass response.
- Phase Alignment: Use the phase control knobs on each subwoofer to fine-tune the phase alignment. Ensure that the subwoofers are in-phase with each other and the main speakers for seamless integration of the bass.
- Calibration: Calibrate your home theater system using an automatic sound calibration system if available or manually adjust the settings on the AV receiver to optimize the performance of the multiple subwoofers.
Remember to consider the limitations of your AV receiver and the capabilities of your subwoofers when wiring multiple subwoofers. Some receivers may have restrictions on the number of subwoofers that can be connected or specific requirements for parallel or series wiring.
Don’t forget to test your setup with various audio content to ensure that all subwoofers are working harmoniously and provide a cohesive bass experience. Fine-tune the settings as needed to achieve the desired bass performance in your home theater setup.
Understanding Parallel and Series Wiring for Subwoofers
Proper wiring is crucial when connecting multiple subwoofers in a home theater setup. Two common wiring configurations for subwoofers are parallel and series wiring. Understanding how each works can help you achieve the desired bass performance and ensure compatibility with your audio system. Here’s an explanation of parallel and series wiring for subwoofers:
Parallel Wiring:
In parallel wiring, the positive terminal of one subwoofer is connected to the positive terminal of the other subwoofer. Similarly, the negative terminal of one subwoofer is connected to the negative terminal of the other subwoofer. This configuration results in a lower overall impedance and allows each subwoofer to receive the same amplified signal from the receiver or amplifier.
The benefit of parallel wiring is that it allows both subwoofers to share the workload, increasing the overall output and improving bass performance. It also simplifies the wiring process, as only one cable is required to connect the receiver or amplifier to the subwoofers.
Series Wiring:
In series wiring, the positive terminal of one subwoofer is connected to the negative terminal of the other subwoofer. The remaining positive and negative terminals are then connected to the receiver or amplifier. This wiring method increases the overall impedance and allows the subwoofers to share a single amplified signal.
The advantage of series wiring is that it allows the subwoofers to work together to achieve a higher impedance. This can be beneficial when using multiple subwoofers with low impedance ratings or when the receiver or amplifier has a limited power output. However, it’s important to note that series wiring results in reduced overall power, potentially leading to lower bass output compared to parallel wiring.
Selecting the Right Wiring Configuration:
When deciding between parallel and series wiring, consider factors such as the impedance of your subwoofers, the power output of your receiver or amplifier, and any limitations or recommendations specified by the manufacturer. It’s also important to check the specifications of your receiver or amplifier to ensure compatibility with the chosen wiring configuration.
Parallel wiring is typically recommended for most home theater setups since it provides a lower overall impedance and better bass performance. However, there may be instances where series wiring is preferred, such as when using multiple subwoofers with low impedance ratings or limited amplifier power.
Consult the user manuals or contact the manufacturer for specific guidance on wiring configurations for your subwoofers and audio equipment. Proper wiring ensures that the subwoofers work together effectively and deliver a balanced and impactful bass response in your home theater setup.
Balancing the Sound Output of Multiple Subwoofers
When incorporating multiple subwoofers into your home theater setup, achieving a balanced sound output is essential for an immersive bass experience. Each subwoofer should work together harmoniously to provide even bass distribution throughout the room. Here are some tips on how to balance the sound output of multiple subwoofers:
- Placement: Experiment with different subwoofer placements to find the optimal positions for even bass coverage. Consider using corners or strategic locations across the room to achieve a balanced soundstage.
- Phase Alignment: Adjusting the phase settings of the subwoofers ensures that the bass frequencies from each subwoofer are synchronized with one another and the main speakers. Play test tones or use a sound meter to help identify any phase cancellation issues and adjust the phase controls accordingly.
- Volume Level: Adjust the volume levels of each subwoofer to achieve a consistent and balanced bass response. Start by setting the volume of each subwoofer to the same level, and then make minor adjustments as needed to achieve the desired impact and evenness of bass throughout the listening area.
- Room Calibration: Utilize room calibration tools or software provided by your AV receiver or equalizer to help balance the sound output of multiple subwoofers. These calibration systems analyze the acoustic characteristics of your room and make adjustments to optimize bass performance.
- Subwoofer EQ: Some subwoofers offer built-in equalizer knobs or controls that allow you to adjust the bass response of each subwoofer individually. Fine-tuning the EQ settings on each subwoofer can help achieve a more balanced and tailored bass output.
- Listening Tests: Regularly conduct listening tests using a variety of audio content, such as movies, music, and test tones, to evaluate the sound output of your multiple subwoofers. Listen for any imbalances, boomy or weak spots, and make necessary adjustments to achieve a cohesive and immersive bass experience.
- Professional Calibration: If you’re struggling to balance the sound output of multiple subwoofers, consider hiring a professional audio calibration specialist. They have the expertise and tools to optimize the performance of your subwoofers and ensure a balanced bass response throughout the listening area.
Remember that achieving perfect balance may require some trial and error. Take your time to experiment with different settings and placements until you achieve the desired sound output. Regularly re-evaluate the balanced sound and make adjustments as necessary, as room acoustics and other factors can change over time.
By following these tips and actively listening to the sound output of your multiple subwoofers, you can create a cohesive and immersive bass experience that brings your home theater setup to life.
Adjusting Subwoofer Phase and Level Settings
When setting up subwoofers in a home theater system, properly adjusting the phase and level settings is crucial for achieving optimal bass performance and integration with the main speakers. Here’s a guide on how to adjust the subwoofer phase and level settings:
Phase Adjustment:
The phase control on a subwoofer allows you to align the timing of the subwoofer’s sound waves with the sound waves from the main speakers. This adjustment ensures that the bass frequencies from the subwoofer and the main speakers reinforce each other instead of canceling each other out. To adjust the phase:
- Set the phase control of the subwoofer to 0 degrees initially.
- Play audio content that has prominent bass frequencies.
- While the audio is playing, switch the phase control on the subwoofer between 0 and 180 degrees.
- Listen for any changes in the bass response. Select the phase setting that results in the fullest and most impactful bass. This will vary depending on the specific room acoustics and speaker placement.
Level Adjustment:
Properly adjusting the level (volume) of the subwoofer ensures that it blends seamlessly with the main speakers, providing balanced sound and avoiding overpowering or weak bass. To adjust the level:
- Play audio material that has a consistent bass presence.
- Set the volume level of the subwoofer to the midpoint or approximately -6dB from the reference level.
- Listen to the audio and assess the balance between the subwoofer and the main speakers.
- Gradually increase or decrease the subwoofer’s volume level until you achieve a balanced and cohesive sound across all frequencies.
It’s important to note that different subwoofers may have varied level adjustment methods. Some subwoofers have dedicated knobs or controls, while others may require adjustments through the AV receiver or processor.
Additionally, utilizing room correction systems or calibration tools available on your AV receiver can greatly assist in adjusting the subwoofer phase and level settings. These systems analyze the acoustic characteristics of your room and make automatic adjustments to optimize bass performance.
Regularly reassess the subwoofer phase and level settings as you make changes to your room layout or speaker placement. By achieving a proper balance between the subwoofer and the main speakers, you can enjoy a cohesive and immersive audio experience in your home theater system.
Fine-Tuning Your Subwoofer Setup with a Sound Level Meter
To achieve precise and accurate subwoofer performance in your home theater system, utilizing a sound level meter can be extremely beneficial. A sound level meter allows you to measure and adjust the SPL (Sound Pressure Level) of your subwoofer, ensuring optimal bass reproduction. Here’s how to fine-tune your subwoofer setup using a sound level meter:
- Positioning the Meter: Place the sound level meter at your primary listening position, at ear level, and ensure it is set to measure the C-weighted SPL.
- Calibrating the Meter: Follow the manufacturer’s instructions to calibrate the sound level meter. This step ensures accurate measurement of the subwoofer’s output level.
- Setting the Crossover Frequency: Adjust the crossover frequency on your AV receiver or processor to the desired point where the subwoofer takes over from the main speakers for bass reproduction. A common starting point is around 80Hz.
- Measuring the SPL: Play a test tone through your subwoofer at the selected crossover frequency. Slowly increase the subwoofer’s volume level until the SPL meter displays the desired SPL, usually around 75dB to 85dB for a balanced bass response.
- Measuring Bass Distribution: Move around your listening area and take SPL measurements at different positions to assess the bass distribution. Adjust the subwoofer’s volume level to achieve even bass response throughout the listening area.
- Bass Optimization: Use the measurements obtained to identify any peaks or dips in the bass response. You can experiment with subwoofer placement or utilize room equalization tools on your AV receiver to help compensate for any room acoustical issues.
- Repeat the Measurements: After making any adjustments, repeat the SPL measurements to ensure that the subwoofer’s output is still within the desired range and that the bass response is balanced across the room.
Fine-tuning your subwoofer setup with a sound level meter ensures objective measurements and accurate adjustment of the subwoofer’s SPL. By achieving the desired sound pressure level and balanced bass distribution, you can enjoy a more immersive and precise bass experience.
It’s important to note that the ideal SPL level may vary depending on personal preference, room acoustics, and the capability of your subwoofer. Experiment with different SPL levels to find the one that suits your taste and provides the most satisfying bass performance in your home theater system.
Remember to redo the sound level measurements periodically, especially if you change your speaker placement, room configuration, or make any significant system upgrades. Fine-tuning and maintaining your subwoofer setup will ensure that you continue to enjoy exceptional bass quality in your home theater for years to come.
Tips for Troubleshooting Subwoofer Issues in Your Home Theater
Subwoofers play a vital role in delivering immersive and impactful bass in your home theater setup. However, occasional issues may arise that can affect the performance of your subwoofer. Here are some troubleshooting tips to help you address common subwoofer problems:
- No Sound: Double-check all connections to ensure they are securely plugged in. Verify that the subwoofer is receiving power. Check the volume level and settings on your AV receiver or processor to confirm that the subwoofer output is enabled and appropriately balanced.
- Weak or Distorted Bass: Verify that the subwoofer is placed correctly in your room, taking into account factors such as room size and acoustics. Adjust the volume level and crossover settings to ensure optimal integration with your main speakers. Check the phase settings to ensure proper alignment with the main speakers.
- Uneven Bass Response: Experiment with different subwoofer placements to achieve more balanced bass distribution. Use a sound level meter to measure the SPL at various listening positions and adjust the placement or settings accordingly. Consider utilizing room correction systems or equalization tools on your AV receiver to help compensate for any room acoustical anomalies.
- Rattling or Vibrating Noise: Check for any loose objects or debris near the subwoofer that may be causing the noise. Ensure that the subwoofer is not in close proximity to other objects that could result in unwanted vibrations. If necessary, dampen vibrations by using isolation pads or strategically placing the subwoofer on a solid surface.
- Inconsistent Connectivity: Inspect all cables and connections to ensure they are properly plugged in and secure. Consider using higher-quality cables or replacing worn-out connectors. Check for any loose or damaged connectors on both the subwoofer and the AV receiver.
- Interference or Humming Noise: Verify that the power source is clean and not causing any electrical interference. Ensure that the subwoofer’s power cord is free from any cable or power source that could be causing interference. Consider using power conditioners or filters to mitigate any electrical noise.
- Software or Firmware Issues: Check for any available updates for your subwoofer’s software or firmware. Follow the manufacturer’s instructions to install the updates, which may address any software-related issues or enhance performance.
- Consult the Manufacturer: When all else fails, reach out to the manufacturer’s customer support. They can provide expert guidance and troubleshooting specific to your subwoofer model.
Remember to approach troubleshooting systematically, starting with the simplest solutions before moving on to more complex ones. Keep an open mind and be willing to experiment with different settings or placements to address any subwoofer issues. With patience and persistence, you can resolve common subwoofer problems and enjoy optimal bass performance in your home theater.