
Prerequisites
Before you can connect your Gosund smart plug to Google Home, there are a few things you need to ensure you have in place.
1. A working Google Home device: You will need a Google Home, Google Nest Mini, or any other compatible Google Assistant device to set up and control your Gosund smart plug.
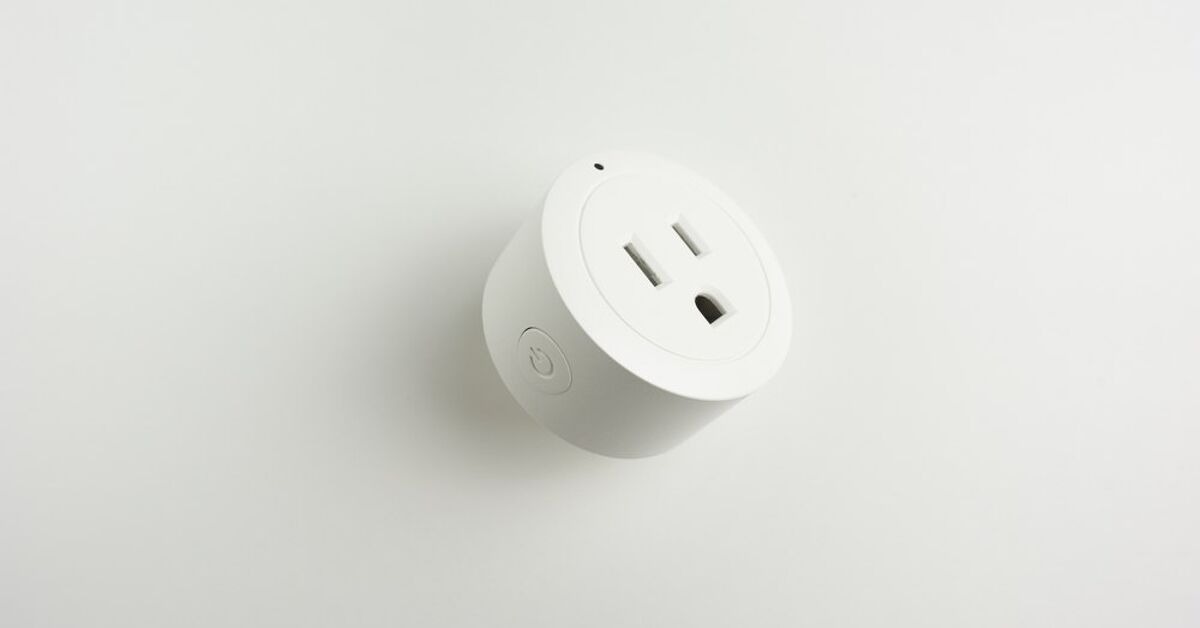
2. Gosund smart plug: Make sure you have a Gosund smart plug that is compatible with Google Home. You can check the Gosund website or product packaging to ensure compatibility.
3. Stable internet connection: Ensure that you have a stable Wi-Fi connection available. Both your Google Home device and the Gosund smart plug need to be connected to the same Wi-Fi network for them to communicate with each other.
4. Gosund app: Download and install the Gosund app on your smartphone or tablet. This app will be used to set up and manage the Gosund smart plug before connecting it to Google Home. You can find the app on the App Store (for iOS devices) or Google Play Store (for Android devices).
5. Google Home app: Install the Google Home app on your smartphone or tablet if you haven’t already. This app will be used to connect and control the Gosund smart plug with your Google Home device.
Now that you have all the prerequisites in place, you’re ready to move on to the next steps to connect your Gosund smart plug to Google Home.
Step 1: Set up the Gosund Smart Plug
Before you can connect your Gosund smart plug to Google Home, you need to set it up using the Gosund app. Follow these steps to get started:
1. Download and install the Gosund app: Open the App Store (for iOS devices) or Google Play Store (for Android devices) and search for “Gosund.” Download and install the app on your smartphone or tablet.
2. Create a Gosund account: Launch the Gosund app and sign up for a new account. If you already have an account, simply log in with your credentials.
3. Add a device: Once you’re logged in, tap the “+” icon to add a new device. Select “Electrical Outlet” or “Plug” from the list of available devices.
4. Put your smart plug into setup mode: Follow the instructions provided with your Gosund smart plug to put it into setup mode. This typically involves plugging it into a power source, pressing and holding the power button until the LED indicator starts flashing rapidly, and releasing the button.
5. Connect to the Gosund smart plug: On the Gosund app, select your Wi-Fi network and enter the password, then tap “Next” to connect the app to the smart plug. Wait for the app to establish a connection with the plug.
6. Rename the smart plug: Give your smart plug a unique and easily recognizable name. This will help with identifying and controlling the device later on.
7. Update firmware (if necessary): If a firmware update is available for your smart plug, the app will prompt you to update it. Follow the on-screen instructions to complete the update.
8. Test the smart plug: Once the setup is complete, you can test the smart plug by turning it on or off using the Gosund app. Ensure that it is functioning properly before proceeding to the next step.
Congratulations! You have successfully set up your Gosund smart plug using the Gosund app. Now it’s time to connect it to your Google Home device for even more control and convenience.
Step 2: Enable the Gosund Skill in the Google Home App
Before you can connect your Gosund smart plug to Google Home, you need to enable the Gosund skill in the Google Home app. Follow these steps to enable the skill:
1. Open the Google Home app: Launch the Google Home app on your smartphone or tablet. Make sure you are logged in with your Google account.
2. Tap on the “+” icon: Look for the “+” icon in the top left corner of the app’s home screen and tap on it. This will take you to the “Add to home” screen.
3. Tap on “Set up device”: On the “Add to home” screen, tap on “Set up device” to proceed to the device setup section.
4. Tap on “Works with Google”: In the device setup section, tap on “Works with Google” to view the list of available integrations.
5. Search for the Gosund skill: In the “Works with Google” section, use the search bar to search for “Gosund.” Tap on the Gosund skill when it appears in the search results.
6. Link your Gosund account: You will be prompted to log in to your Gosund account. Enter your Gosund account credentials and sign in.
7. Authorize access: Grant permission for the Gosund skill to access your Google account and related devices. This will allow you to control your Gosund smart plug using your Google Home device.
8. Complete the setup: Follow any additional prompts or instructions provided by the Google Home app to complete the setup process. Once the setup is successful, you will see a confirmation message.
Great job! You have successfully enabled the Gosund skill in the Google Home app. Now you’re ready to connect your Gosund smart plug to your Google Home device and start controlling it with your voice commands.
Step 3: Connect the Gosund Smart Plug to Your Google Home
Now that you have set up your Gosund smart plug and enabled the Gosund skill in the Google Home app, it’s time to connect the smart plug to your Google Home. Follow these steps to establish the connection:
1. Open the Google Home app: Launch the Google Home app on your smartphone or tablet and make sure you are logged in.
2. Tap on the “+” icon: Look for the “+” icon in the top left corner of the app’s home screen and tap on it. This will take you to the “Add to home” screen.
3. Tap on “Set up device”: On the “Add to home” screen, tap on “Set up device” to proceed to the device setup section.
4. Tap on “Works with Google”: In the device setup section, tap on “Works with Google” to view the list of available integrations.
5. Scroll and select the Gosund skill: Scroll through the list of available integrations and locate the “Gosund” skill. Tap on it to access the Gosund setup menu.
6. Link your Gosund account: If you haven’t already linked your Gosund account, you will be prompted to do so. Follow the on-screen instructions to log in to your Gosund account and authorize access.
7. Discover devices: Once your Gosund account is linked, tap on “Discover devices” on the Gosund setup menu. The Google Home app will start searching for compatible devices, including your Gosund smart plug.
8. Wait for the smart plug to be detected: The Google Home app will scan your Wi-Fi network for the Gosund smart plug. Wait for a few moments until the smart plug is detected and listed on the screen.
9. Assign a room to the smart plug: Tap on the detected Gosund smart plug to select it. You can assign the smart plug to a specific room in your Google Home setup for easy organization and control.
10. Complete the setup: Follow any additional prompts or instructions provided by the Google Home app to complete the setup process. Once the setup is successful, you will see a confirmation message.
Well done! You have successfully connected your Gosund smart plug to your Google Home. It’s now ready to be controlled using voice commands through your Google Home device.
Step 4: Assign a Name to the Gosund Smart Plug
After connecting your Gosund smart plug to Google Home, it’s important to assign a name to it that is easy to remember and identify. Follow these steps to assign a name:
1. Open the Google Home app: Launch the Google Home app on your smartphone or tablet and make sure you are logged in.
2. Tap on the “Devices” tab: At the bottom of the screen, tap on the “Devices” tab to access your connected devices.
3. Locate the Gosund smart plug: Look for the Gosund smart plug in the list of devices. It should be listed under the room you assigned it to during the setup process.
4. Tap on the three-dot menu: On the right side of the Gosund smart plug entry, tap on the three-dot menu button to access more options.
5. Select “Settings”: From the three-dot menu, select “Settings” to access the settings for the Gosund smart plug.
6. Tap on “Name”: In the settings menu, tap on the “Name” field to edit the name of the Gosund smart plug.
7. Enter a new name: Enter a new name for the smart plug that is descriptive and easy to remember. For example, you could use “Living Room Lamp” or “Bedside Charger”.
8. Save the changes: Once you have entered the new name, tap on the “Save” or “Done” button to save the changes.
9. Test the new name: Use voice commands or the Google Home app to control the smart plug using its new name. Ensure that the smart plug responds correctly to the assigned name.
By assigning a name to your Gosund smart plug, you can easily identify and control it alongside other devices connected to your Google Home. It streamlines the control process and makes it more convenient to manage multiple smart devices in your home.
Step 5: Control Your Gosund Smart Plug Using Voice Commands
Now that your Gosund smart plug is connected to Google Home and assigned a name, you can easily control it using voice commands. Follow these instructions to start controlling your smart plug:
1. Wake up your Google Home device: Start by saying the wake word or phrase to activate your Google Home device. The default wake phrase is “Hey Google” or “OK Google.”
2. Address your smart plug: Use the assigned name of your Gosund smart plug when issuing voice commands. For example, say, “Hey Google, turn on [smart plug name].” Be sure to speak the name clearly for the best recognition.
3. Control the smart plug: Give voice commands to control the smart plug as desired. For example, you can say, “Hey Google, turn off [smart plug name]” or “Hey Google, set [smart plug name] to 50% brightness.”
4. Use groups to control multiple devices: If you have multiple Gosund smart plugs or other compatible smart devices, you can create groups in the Google Home app. This allows you to control multiple devices simultaneously with a single voice command. For example, you can create a group called “Living Room” and include all the smart plugs in that room.
5. Explore additional voice commands: Google Assistant offers a variety of voice commands and features that you can use with your Gosund smart plug. Experiment with voice commands such as scheduling routines, adjusting brightness levels, or setting timers.
6. Troubleshooting: If your Gosund smart plug doesn’t respond to voice commands, check the connections and ensure that it is properly set up and connected to your Wi-Fi network. You can also try power cycling the smart plug or reconnecting it through the Gosund app.
With voice control, you can conveniently operate your Gosund smart plug without needing to use your smartphone or the Gosund app. It adds an extra layer of convenience and seamless integration into your smart home ecosystem.
Step 6: Create Routines with Your Gosund Smart Plug and Google Home
Creating routines with your Gosund smart plug and Google Home allows you to automate tasks and control multiple devices simultaneously. Follow these steps to set up routines:
1. Open the Google Home app: Launch the Google Home app on your smartphone or tablet and make sure you are logged in.
2. Tap on the “Routines” tab: At the bottom of the screen, tap on the “Routines” tab to access the routines section.
3. Tap on the “+” icon: On the top right corner of the screen, tap on the “+” icon to create a new routine.
4. Set up a new routine: Create a new routine by setting a trigger phrase or time-based trigger. For example, you can create a routine that activates when you say “Good Morning” or at a specific time like “7:00 AM.”
5. Add actions: In the routine setup, tap on “Add action” to specify the actions you want to happen when the routine is triggered. Select “Smart Home” and choose the Gosund smart plug you want to control.
6. Customize the action: Choose whether you want to turn the smart plug on or off, set a specific brightness level, or adjust other settings. You can also include other actions like adjusting the thermostat or playing music.
7. Save the routine: Once you have configured the routine with the desired actions, tap on “Save” to save the routine.
8. Test the routine: Use the trigger phrase or wait for the scheduled time to test the routine. The Gosund smart plug should respond with the specified action when the routine is triggered.
9. Edit or delete routines: If you want to make changes to an existing routine or delete it, go back to the routines section in the Google Home app. Tap on the specific routine and make the necessary modifications or select “Delete” to remove it.
By creating routines, you can streamline your daily activities and control your Gosund smart plug alongside other devices with a single command or schedule. It enhances the automation and smart home experience, making your life more convenient and efficient.