
Compatible Devices
When it comes to connecting your devices, compatibility is key. The Cable Matters SATA to USB Hub provides a convenient solution for connecting SATA hard drives or SSDs to your computer via USB. This versatile hub is compatible with a wide range of devices, making it a valuable tool for tech enthusiasts, IT professionals, and anyone who needs to transfer data quickly and efficiently.
One of the main advantages of the Cable Matters SATA to USB Hub is its compatibility with various operating systems. Whether you’re using Windows, macOS, or Linux, you can rest assured that this hub will seamlessly integrate with your system. This means you can connect your SATA drives to any computer, regardless of the operating system it runs on.
In addition to compatibility with different operating systems, the Cable Matters SATA to USB Hub also works with a wide range of devices. It is compatible with both 2.5-inch and 3.5-inch SATA hard drives and SSDs, allowing you to connect and access data from different storage devices. Whether you have an older hard drive or a newer solid-state drive, this hub has got you covered.
Moreover, the hub can be connected to laptops, desktops, and even gaming consoles, providing a versatile solution for data storage and transfer. This means you can easily access and transfer your files between different devices, whether you need to back up important documents, transfer large media files, or simply expand your storage capacity.
Furthermore, the Cable Matters SATA to USB Hub supports USB 3.0, ensuring fast and efficient data transfer speeds. With USB 3.0, you can enjoy transfer rates of up to 5 Gbps, allowing you to move files quickly and effortlessly. Whether you’re transferring large video files or backing up your entire music collection, this hub will save you time and greatly enhance your productivity.
Required Equipment
Before you can connect your SATA drives to the Cable Matters SATA to USB Hub, there are a few essential pieces of equipment you’ll need. Make sure you have the following items ready before getting started:
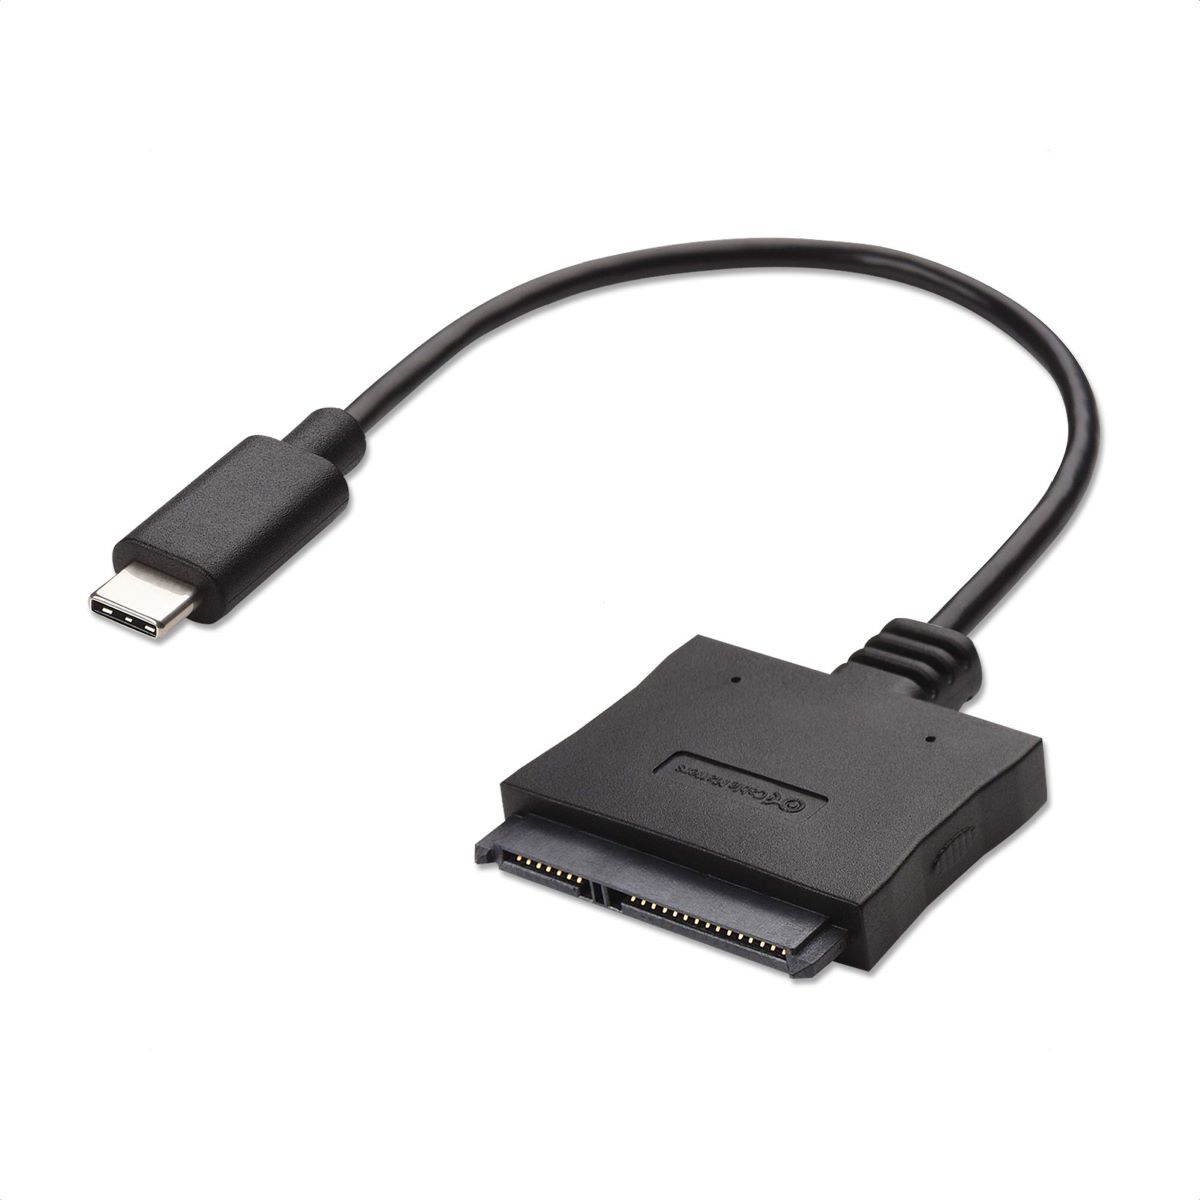
- Cable Matters SATA to USB Hub: First and foremost, you’ll need the Cable Matters SATA to USB Hub itself. This hub acts as the bridge between your SATA drives and your computer, allowing for seamless data transfer. Ensure that you have the hub in your possession before proceeding.
- SATA Hard Drives or SSDs: To connect to the hub, you’ll need one or more SATA hard drives or solid-state drives (SSDs). These drives can be either 2.5-inch or 3.5-inch in size, depending on your specific requirements. Ensure that the drives are in working condition and have the necessary data or files you wish to transfer or access.
- SATA Cables: You’ll need SATA cables to connect the drives to the SATA ports on the Cable Matters hub. Depending on the type of drives you have, ensure that you have the appropriate cables available. These cables typically come with the drives when purchased, but you can also purchase them separately if needed.
- USB Cable: The Cable Matters SATA to USB Hub connects to your computer via a USB cable. Ensure that you have a compatible USB cable with sufficient length to connect the hub to your computer. Keep in mind that USB 3.0 cables are recommended to make the most of the high-speed data transfer capabilities of the hub.
- Power Adapter: The Cable Matters SATA to USB Hub requires power to function. Check if the hub comes with a power adapter and ensure that it is connected to a power outlet. This will provide the necessary power for the hub to operate and help drive the connected SATA drives.
- Computer: Lastly, ensure that you have a computer or compatible device with available USB ports. The computer should also have the necessary operating system requirements for the Cable Matters hub. Check that your computer meets the requirements for the hub to ensure a smooth and successful connection.
By ensuring that you have all the required equipment in place, you’ll be ready to connect your SATA drives to the Cable Matters SATA to USB Hub and enjoy seamless data transfer and access.
Step 1: Connecting the SATA Cable to the Hub
Connecting the SATA cable to the Cable Matters SATA to USB Hub is the first step in setting up your SATA drives for data transfer. Follow these instructions to establish a secure connection:
- Locate the SATA ports on the Cable Matters hub. These ports are typically labeled and can be found on the back or sides of the hub. Ensure that the hub is powered off before proceeding.
- Take one end of the SATA cable and carefully insert it into one of the SATA ports on the hub. Make sure the connection is secure and the cable is inserted all the way. Repeat this step for each SATA drive you wish to connect, using separate SATA cables for each drive.
- Once the SATA cables are securely connected to the hub, take the other end of the SATA cable and connect it to the SATA port on the SATA hard drive or SSD. Again, ensure that the connection is secure and properly inserted.
- Repeat the previous step for each SATA drive you wish to connect, using separate SATA cables for each drive.
- Ensure that all the SATA cables are securely connected to both the hub and the respective SATA drives. Double-check that there are no loose connections or cables that are not properly inserted.
- Once all the SATA cables are connected, you can proceed to the next step to connect the USB cable and power on the hub.
By following these steps, you will establish a solid connection between your SATA drives and the Cable Matters SATA to USB Hub, laying the foundation for seamless data transfer and access.
Step 2: Connecting the USB Cable to the Hub
After connecting the SATA cables to the Cable Matters SATA to USB Hub, the next step is to connect the USB cable to establish a connection between the hub and your computer. Follow these instructions to complete this step:
- Locate the USB port on the Cable Matters hub. This port is usually labeled and can be found on the back or side of the hub.
- Take one end of the USB cable and insert it firmly into the USB port on the hub. Make sure the connection is secure.
- Once the USB cable is connected to the hub, locate an available USB port on your computer.
- Take the other end of the USB cable and insert it into the USB port on your computer. Ensure that the connection is secure and properly inserted.
- If your computer has multiple USB ports, choose a port that meets your preferences in terms of accessibility and convenience.
- Once the USB cable is securely connected to both the hub and your computer, you can move on to the next step to power on the hub and establish the connection.
By following these steps, you will successfully connect the USB cable between the Cable Matters SATA to USB Hub and your computer, allowing for seamless communication and data transfer between the hub and your system.
Step 3: Connecting the USB Cable to the Computer
Now that the USB cable is connected to the Cable Matters SATA to USB Hub, it’s time to establish a connection between the hub and your computer. Follow these instructions to complete this step:
- Ensure that your computer is powered on and running.
- Locate an available USB port on your computer. These ports are typically found on the front or back of the computer tower or on the side of a laptop.
- Take the other end of the USB cable connected to the Cable Matters hub and insert it firmly into the USB port on your computer. Make sure the connection is secure and properly inserted.
- If your computer has multiple USB ports, choose a port that meets your preferences in terms of accessibility and convenience.
- Once the USB cable is securely connected to both the hub and your computer, wait for a moment for your computer to recognize the connected hub and SATA drives.
- Your operating system should detect the new devices and begin installing any necessary drivers or software automatically. Depending on your system settings, you may need to give permission for the installation process to proceed.
- During the installation process, you may see notifications or prompts on your computer screen. Follow any on-screen instructions to complete the driver installation.
- Once the installation process is complete, you can proceed to the next step to power on the Cable Matters hub and verify the connection.
By following these steps, you will establish a connection between the Cable Matters SATA to USB Hub and your computer, allowing for seamless communication and data transfer between the hub, SATA drives, and your computer system.
Step 4: Powering On the Hub
With the USB cable connected between the Cable Matters SATA to USB Hub and your computer, it’s time to power on the hub. Follow these instructions to complete this step:
- Locate the power adapter that came with the Cable Matters hub.
- Ensure that the power adapter is plugged into a power outlet.
- Connect the other end of the power adapter to the corresponding power input on the hub. Make sure the connection is secure.
- Once the power adapter is connected, locate the power switch on the hub.
- Turn on the power switch by flipping it to the “ON” position.
- The hub will now power on and its LED indicator lights may illuminate to indicate that it is receiving power.
- Wait for a moment to allow the hub to fully power up. This may take a few seconds.
- Once the hub is powered on and ready, you can proceed to the next step to verify the connection and start using your SATA drives.
By following these steps, you will power on the Cable Matters SATA to USB Hub and ensure it has the necessary power to function properly. This will enable seamless communication between the hub, your computer, and the connected SATA drives.
Step 5: Verifying Connection
After powering on the Cable Matters SATA to USB Hub, it’s essential to verify that the connection between the hub, your computer, and the SATA drives is successfully established. Follow these instructions to verify the connection:
- Ensure that all the cables are securely connected to the hub, the SATA drives, and your computer.
- Check the LED indicator lights on the hub. Typically, there will be indicator lights for power, data transfer, and drive activity. Ensure that these lights are illuminated or blinking as expected.
- Access your computer’s file explorer or file management software.
- You should see the connected SATA drives listed in the file explorer or file management software. They should appear as additional external drives alongside your internal drives.
- Click on the SATA drives to access them and verify that you can navigate through the files and folders on the drives.
- Try copying a file from your computer to one of the SATA drives and vice versa. This will confirm that data can be transferred successfully between your computer and the SATA drives.
- If you encounter any issues, double-check the connections, ensure that the hub is powered on, and restart your computer if necessary.
- If the connection is successful, you have verified the setup of the Cable Matters SATA to USB Hub, and your SATA drives are now ready for data transfer and access.
By following these steps and verifying the connection, you can ensure that the Cable Matters SATA to USB Hub is functioning correctly, and you can confidently transfer and access data between your computer and the connected SATA drives.
Troubleshooting Tips
Although the setup of the Cable Matters SATA to USB Hub is generally straightforward, you might encounter some issues along the way. Here are some troubleshooting tips to help you resolve common problems:
- Check the connections: Ensure that all the cables are securely connected to the hub, the SATA drives, and your computer. Loose connections can cause communication problems, so double-check that everything is properly inserted.
- Confirm power supply: Verify that the power adapter is plugged into a working power outlet and securely connected to the hub. Make sure that the power switch on the hub is turned on. Insufficient power can lead to connectivity issues.
- Restart your computer: Sometimes, a simple restart can resolve connectivity problems. Restart your computer and see if the hub and SATA drives are recognized upon reboot. This can reset any temporary glitches in the system.
- Update drivers: Ensure that your computer has the latest drivers installed for the Cable Matters hub. Visit the manufacturer’s website to download and install any necessary driver updates for optimal performance and compatibility.
- Try different USB ports: If you’re encountering connection issues, try plugging the USB cable into a different USB port on your computer. Some ports may be faulty or incompatible with the hub, and switching to a different port can help establish a stable connection.
- Test with another computer: If possible, try connecting the hub and SATA drives to another computer to see if the issue persists. This will help determine if the problem is specific to your computer or if it’s a compatibility issue with the hub.
- Contact technical support: If you’ve exhausted all troubleshooting steps and are still experiencing issues, reach out to Cable Matters’ technical support for further assistance. They can provide personalized guidance and help troubleshoot specific issues you’re facing.
By following these troubleshooting tips, you can overcome common connectivity issues and ensure a smooth and seamless experience with your Cable Matters SATA to USB Hub.