
What You’ll Need
In order to connect your TV and modem to one cable outlet, you’ll need the following items:
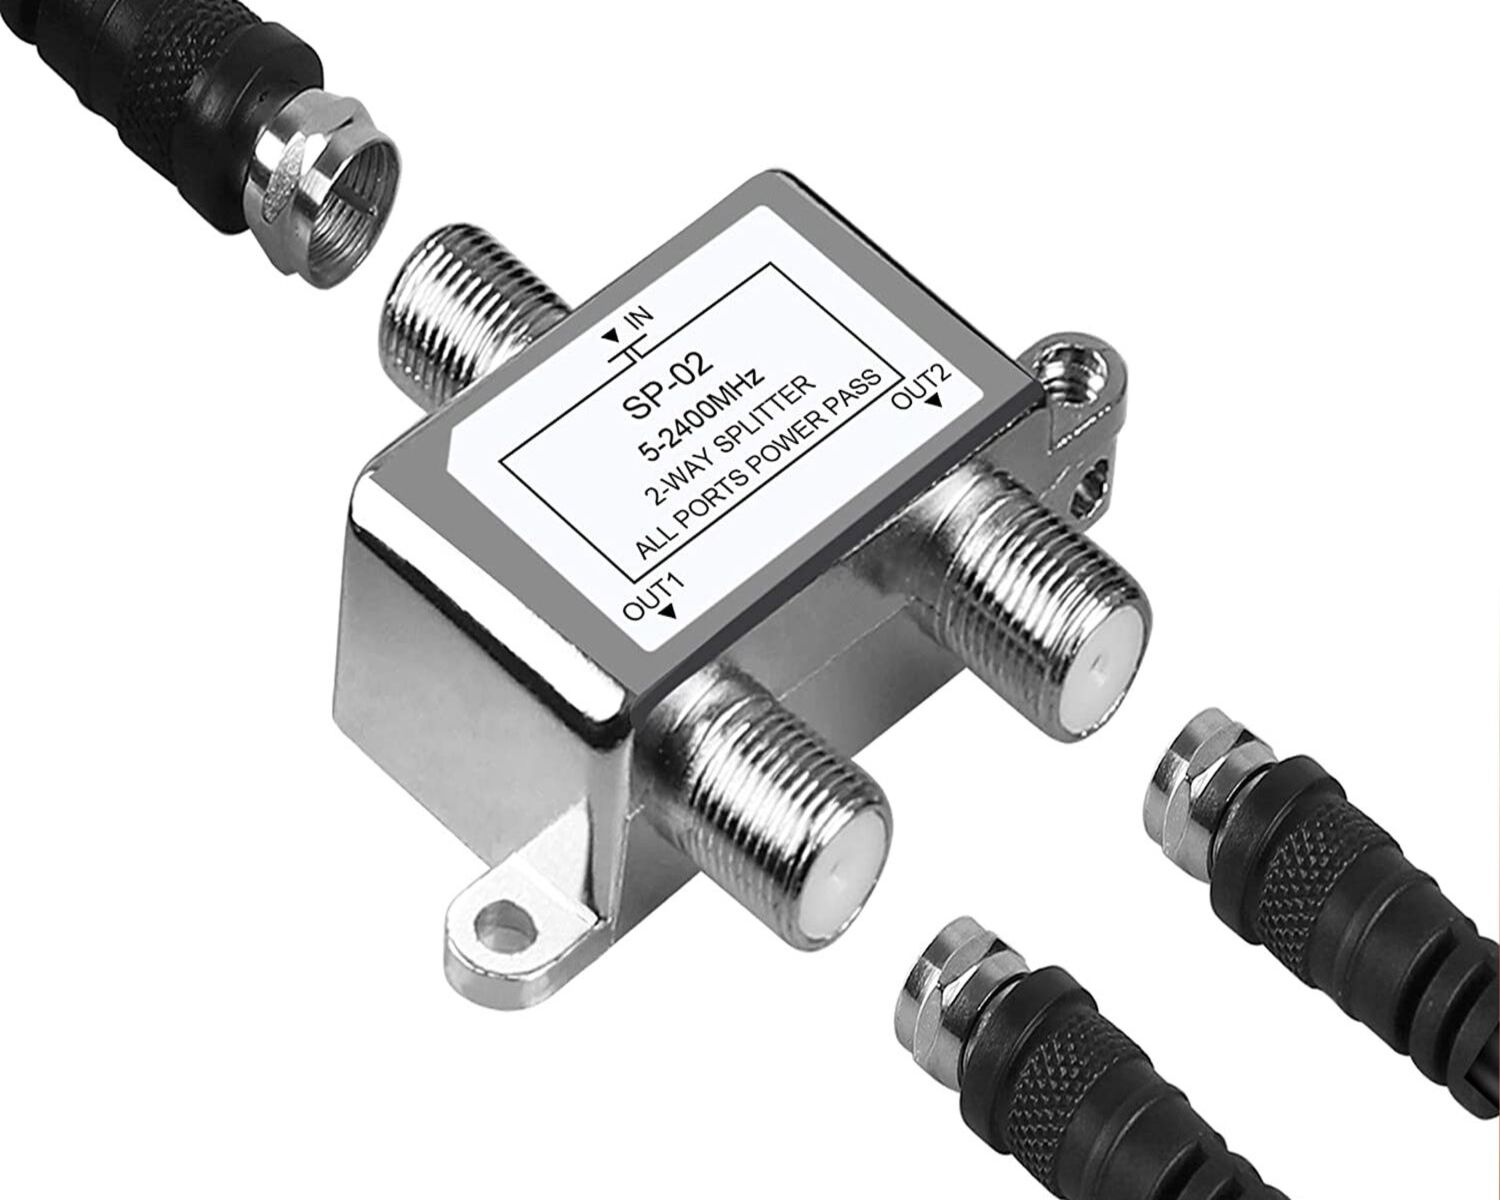
- A coaxial cable: This is a thick cable with a round connector on each end. It is used to transmit the cable signals from the outlet to your devices.
- A cable modem: This device allows you to access the internet through your cable connection. It converts the digital signals from the cable outlet into a format that your devices can understand.
- A TV with available ports: Make sure your TV has at least one open port for the coaxial cable to connect to. Most modern TVs have a dedicated port labeled “Cable In” or “RF In” for this purpose.
Once you have gathered these items, you’ll be ready to proceed with the steps to connect your TV and modem to the cable outlet.
Step 1: Check for Available Ports on Your TV
Before connecting your TV to the cable outlet, you need to ensure that your TV has available ports for the connection. Here’s how to do it:
- Inspect your TV’s rear panel: Carefully examine the back of your TV for any labeled ports. Look for a port specifically designated for cable connection, typically labeled as “Cable In” or “RF In.” This port is where you’ll plug in the coaxial cable.
- Refer to the TV’s user manual: If you’re having trouble locating the cable port, you can consult the user manual that came with your TV. It will provide a diagram or description of the various ports and their locations on your TV.
- Check the TV’s input selector: Depending on your TV model, you may need to select the correct input source to receive the cable signal. Use your TV’s remote control to access the input/source menu and ensure that the cable input is activated or selected.
Once you’ve confirmed that your TV has an available cable port and you’ve selected the correct input source, you’re now ready to proceed with connecting the coaxial cable to your TV.
Step 2: Connect the Coaxial Cable to the TV
Connecting the coaxial cable to your TV is a crucial step in establishing a connection to the cable outlet. Follow these steps to ensure a successful connection:
- Locate the coaxial cable: Take one end of the coaxial cable and identify the round connector, usually threaded, that matches the port on the back of your TV.
- Align and insert the connector: Carefully align the connector with the cable port on your TV. Insert the connector into the port and rotate it clockwise to ensure a secure connection. Be sure not to overtighten.
- Hand-tighten the connector: Using your hand, tighten the connector firmly, but avoid using excessive force. Ensure that the connection feels snug and secure, without any wiggling or looseness.
Once you have connected the coaxial cable to your TV, you are now ready to establish the connection between the cable outlet and your TV by connecting the other end of the coaxial cable to the cable outlet.
Step 3: Connect the Other End of the Coaxial Cable to the Cable Outlet
After connecting the coaxial cable to your TV, it’s time to establish the connection between the cable outlet and your TV. Follow these steps:
- Locate the cable outlet: Identify the cable outlet on the wall or in the room where you plan to connect your TV. It is usually a small metal or plastic box with a threaded connector.
- Inspect the cable outlet: Check the cable outlet for any obstructions or debris. Ensure that the connector inside the outlet is clean, undamaged, and free from any bent or missing pins.
- Connect the other end of the coaxial cable: Take the other end of the coaxial cable and carefully insert the connector into the cable outlet. Rotate it clockwise until it is securely fastened. Make sure the connection is snug but avoid overtightening.
Now that you have successfully connected the other end of the coaxial cable to the cable outlet, you can proceed to set up your cable modem in order to establish an internet connection.
Step 4: Set Up Your Cable Modem
In order to access the internet through your cable connection, you need to set up your cable modem. Follow these steps to get started:
- Position the modem: Find a suitable location for your cable modem near your TV and cable outlet. Ensure that it’s within reach of a power outlet and has proper ventilation.
- Connect the power cable: Plug one end of the power cable into the power port on the modem and the other end into a nearby power outlet. Make sure the connection is secure.
- Wait for the modem to initialize: Allow a few moments for the modem to boot up and complete its initialization process. This could take a few minutes. During this time, avoid pressing any buttons or disconnecting the modem.
- Connect the modem to your TV: Depending on your TV model, you may have the option to connect your cable modem directly to your TV using an Ethernet cable. If this option is available and you prefer a wired connection, connect one end of the Ethernet cable to the modem’s Ethernet port and the other end to the Ethernet port on your TV.
- Alternatively, use Wi-Fi: If your TV supports wireless connectivity, you can connect it to your cable modem via Wi-Fi. Refer to your TV’s manual for instructions on how to connect to a wireless network.
Once you have completed the setup process, your cable modem is now ready to establish an internet connection. All that’s left is to verify the connection between the modem and the cable outlet.
Step 5: Connect the Modem to the Cable Outlet
Now it’s time to establish a direct connection between your cable modem and the cable outlet. Follow these steps to ensure a proper connection:
- Locate the coaxial input on the modem: Look for the coaxial input port on your modem. It is usually labeled “Cable In” or “RF In.”
- Connect the coaxial cable: Take the other end of the coaxial cable and insert the connector into the coaxial input port on the modem. Rotate it clockwise to secure the connection. Make sure it is firmly attached, but be cautious not to overtighten.
- Check the connection indicator lights: Once the cable is securely connected, check the modem’s indicator lights to ensure a successful connection. The lights should indicate a proper signal and connection status. Refer to the modem’s user manual for specific light indications.
With the modem now connected to the cable outlet, you have established the necessary connection to receive the cable signals. The final step is to connect your TV to the modem to complete the setup process.
Step 6: Connect the Modem to Your TV
In order to enjoy the internet on your TV, you need to establish a connection between the modem and your TV. Follow these steps to complete the setup:
- Check your TV’s available connection options: Look at the back or side of your TV to identify the available ports. Common options include HDMI, VGA, or component video ports.
- Choose the appropriate connection method: Depending on the available ports on your TV and the outputs on your modem, select the appropriate connection method.
- HDMI connection (preferred): If your TV and modem both have HDMI ports, use an HDMI cable to establish a high-definition connection. Simply connect one end of the HDMI cable to the HDMI output on your modem and the other end to the HDMI input on your TV.
- Other connection options: If HDMI is not available, you can use alternative connections such as VGA or component video. Connect the appropriate cables from the modem’s output to the corresponding ports on your TV.
- Power on your TV and modem: After connecting the cables, power on your TV and modem. Allow them a few moments to communicate and establish the connection.
- Switch your TV’s input source: Use your TV remote to switch the input source to the connection you just made (e.g., HDMI 1 or VGA). This ensures that your TV is receiving the signal from the modem.
Once the connection between your modem and TV is established, you should be able to access the internet on your TV. You can now proceed to check the connections and test the signal to ensure everything is working correctly.
Step 7: Check the Connections and Test the Signal
After setting up the connections between your TV and modem, it’s crucial to ensure that everything is properly configured and the signal is strong. Follow these steps to check the connections and test the signal:
- Inspect the physical connections: Make sure all cables are securely connected to both the TV and modem. Check for any loose or disconnected cables.
- Power cycle the modem and TV: Turn off both your modem and TV. Unplug them from the power source, wait for about 30 seconds, then plug them back in. Powering off and on the devices can help refresh the connection and resolve any minor issues.
- Power on the TV and modem: Turn on your TV and modem, allowing them to boot up completely.
- Check the modem’s LED lights: Look at the indicator lights on your modem and ensure that the appropriate lights are on and steady. These lights typically indicate a successful internet connection, Wi-Fi status, and any other relevant information. Refer to your modem’s user manual for specific light indications.
- Access the internet on your TV: Switch your TV’s input source to the connection you made earlier (e.g., HDMI, VGA). Once on the correct input, open an internet app or visit a website using your TV’s built-in browser. This will allow you to test the internet connection.
- Verify the signal strength: Check the signal strength on your TV to ensure it is strong and stable. If you experience poor signal quality or slow internet speed, you may need to relocate your modem or adjust the positioning of the cables.
If everything checks out and you have a strong and stable internet connection on your TV, congratulations! You have successfully connected your TV and modem to one cable outlet. Now you can enjoy streaming your favorite shows, browsing the web, and accessing online content right from your television.
Troubleshooting Tips
While connecting your TV and modem to a cable outlet is usually a straightforward process, you may encounter some issues along the way. Here are some troubleshooting tips to help you resolve common problems:
- Check all connections: Ensure that all cables are securely connected to both the TV and the modem. A loose or disconnected cable can cause signal issues.
- Restart your devices: Try power cycling both your TV and modem by turning them off, unplugging them from the power source, waiting for a few seconds, and then plugging them back in. This can often resolve temporary connection issues.
- Verify the cable outlet: If you’re experiencing connection problems, check that the cable outlet is functioning properly. Test the outlet with another device, such as a cable box, to determine if the issue lies with the outlet itself.
- Confirm the cable signal: Contact your cable provider to verify that there are no signal issues in your area. They can check the signal strength and troubleshoot any problems on their end.
- Position the modem properly: Ensure that your modem is placed in an area with good ventilation and away from any obstructions. Heat buildup or physical interference can affect the performance of the modem.
- Update firmware and software: Check for any available firmware or software updates for your TV and modem. Updating to the latest versions can often resolve compatibility issues and improve performance.
- Check for interference: Keep electronic devices like routers, cordless phones, and microwaves away from your TV and modem. These devices can cause interference and disrupt the connection.
- Consult the user manual: If you’re still experiencing issues, refer to the user manuals for your TV and modem. They often contain troubleshooting guides specific to your devices that can help you resolve any unique problems.
By following these troubleshooting tips, you should be able to resolve most common issues that arise when connecting your TV and modem to a cable outlet. If the problem persists, don’t hesitate to contact your service provider for further assistance.