
Before You Start: Check Your Ports
Before connecting your MacBook Air to a monitor, it’s important to ensure that you have the necessary ports available on your laptop. Different MacBook Air models may have different port options, so it’s crucial to verify which ports your device supports. Here are the most common ports you’ll find on a MacBook Air:
- HDMI port: This port allows you to connect your MacBook Air to an HDMI-compatible monitor or TV.
- Thunderbolt/mini DisplayPort: Some older MacBook Air models might have a Thunderbolt or mini DisplayPort, which can be used with either a Thunderbolt or mini DisplayPort to HDMI adapter to connect to a monitor.
- USB-C port: Newer MacBook Air models come equipped with USB-C ports, which can be used with a USB-C to HDMI adapter to connect to a monitor.
Once you’ve determined the available ports on your MacBook Air, you can select the appropriate method for connecting it to a monitor. In the following sections, we’ll discuss various methods you can use depending on your available ports.
It’s worth mentioning that different monitors may have different connectivity options as well, so it’s a good idea to check the ports available on your monitor or TV before proceeding. This will help you ensure compatibility and avoid any unnecessary complications during the setup process.
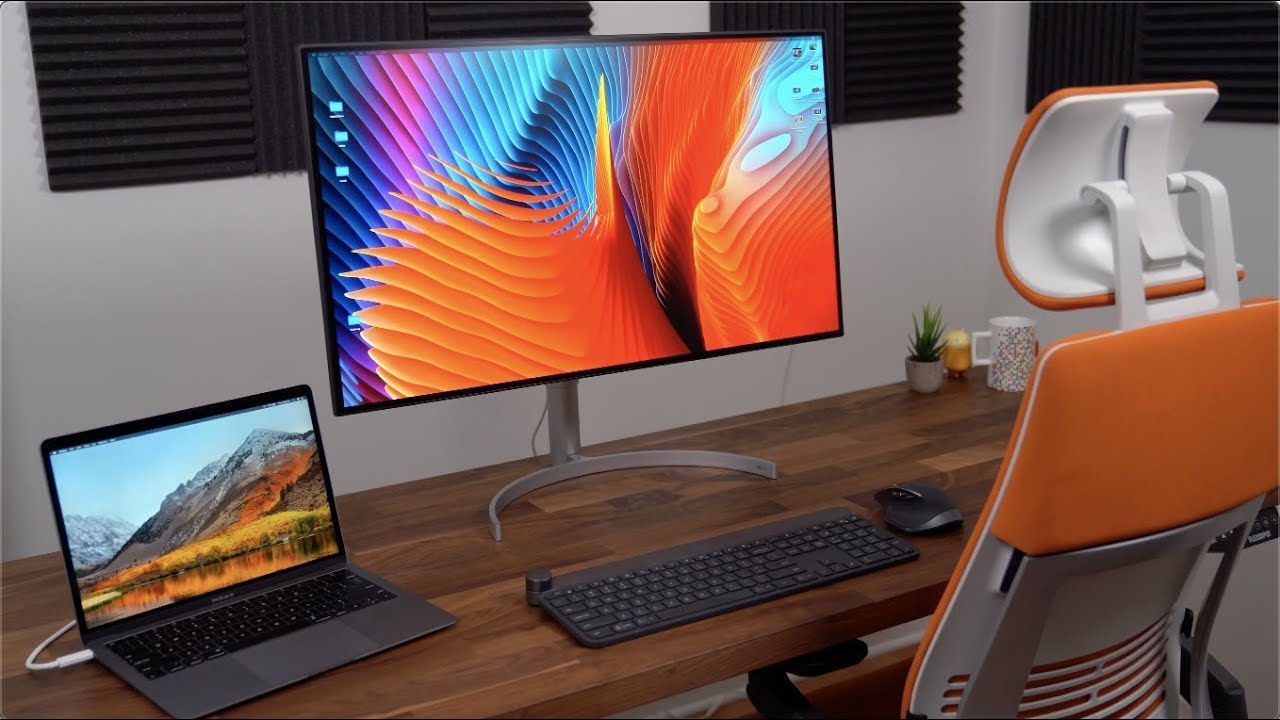
Now that you’ve confirmed your available ports and checked your monitor’s ports, let’s dive into the different methods you can utilize to connect your MacBook Air to a monitor. Whether you prefer a wired connection using cables or a wireless option, we have you covered.
Method 1: Using an HDMI Cable
One of the simplest and most effective ways to connect your MacBook Air to a monitor is by using an HDMI cable. This method is widely supported and offers a reliable wired connection with high-quality video and audio transmission.
Here’s how you can connect your MacBook Air to a monitor using an HDMI cable:
- Start by ensuring that your MacBook Air and the monitor are powered off.
- Locate the HDMI port on your MacBook Air and the HDMI port on your monitor. They are usually labeled with the HDMI symbol.
- Connect one end of the HDMI cable to the HDMI port on your MacBook Air.
- Connect the other end of the HDMI cable to the HDMI port on your monitor.
- Power on both your MacBook Air and the monitor.
- Your MacBook Air will automatically detect the external monitor, and you should see the screen mirrored or extended onto the monitor.
If the display doesn’t automatically appear on the monitor, you may need to adjust the display settings manually.
To do this, go to the Apple menu in the top-left corner of your screen and select “System Preferences.” Then, choose “Displays” and navigate to the “Arrangement” tab. From there, you can configure how the displays are arranged and select the appropriate resolution.
Using an HDMI cable is a straightforward and hassle-free method, allowing you to easily connect your MacBook Air to a monitor without the need for additional adapters or converters.
Keep in mind that not all MacBook Air models have an HDMI port. If your MacBook Air doesn’t have an HDMI port, don’t worry. There are alternative methods you can use, which we’ll explore in the following sections.
Method 2: Using a Thunderbolt/mini DisplayPort to HDMI Adapter
If your MacBook Air has a Thunderbolt or mini DisplayPort instead of an HDMI port, you can still connect it to a monitor using a Thunderbolt or mini DisplayPort to HDMI adapter. This method allows you to leverage the existing port capabilities of your MacBook Air and achieve a seamless connection.
To connect your MacBook Air to a monitor using a Thunderbolt or mini DisplayPort to HDMI adapter, follow these steps:
- Turn off your MacBook Air and the monitor.
- Locate the Thunderbolt or mini DisplayPort on your MacBook Air.
- Connect one end of the adapter to the Thunderbolt or mini DisplayPort on your MacBook Air.
- Connect the HDMI cable to the other end of the adapter.
- Plug the remaining end of the HDMI cable into the HDMI port on your monitor.
- Power on both your MacBook Air and the monitor.
- Your MacBook Air should automatically detect the external monitor, and you should see the display mirrored or extended onto the monitor.
If the display doesn’t appear on the monitor, go to the Apple menu, select “System Preferences,” and click on “Displays.” From there, you can configure the display settings to your preference.
Using a Thunderbolt or mini DisplayPort to HDMI adapter is an efficient way to connect your MacBook Air to a monitor, especially if you have an older model without an HDMI port. These adapters are readily available and affordable, providing flexibility in connecting your device to a wide range of monitors and TVs.
Keep in mind that the specific type of adapter you need may vary depending on the model of your MacBook Air. Make sure to check the compatibility before purchasing the adapter.
Method 3: Using a USB-C to HDMI Adapter
If you have a newer MacBook Air with USB-C ports, you can connect it to a monitor using a USB-C to HDMI adapter. USB-C ports offer versatile connectivity options, and using an adapter allows you to harness the power of these ports to establish a reliable connection with your monitor.
To connect your MacBook Air to a monitor using a USB-C to HDMI adapter, follow these steps:
- Power off your MacBook Air and the monitor.
- Locate the USB-C port on your MacBook Air.
- Connect one end of the USB-C to HDMI adapter to the USB-C port on your MacBook Air.
- Connect the HDMI cable to the other end of the adapter.
- Plug the remaining end of the HDMI cable into the HDMI port on your monitor.
- Power on both your MacBook Air and the monitor.
- Your MacBook Air should automatically detect the external monitor, and you should see the display mirrored or extended onto the monitor.
If the display doesn’t appear on the monitor, go to the Apple menu, select “System Preferences,” and click on “Displays.” From there, you can configure the display settings according to your preferences.
Using a USB-C to HDMI adapter offers a convenient and efficient way to connect your MacBook Air to a monitor. These adapters are widely available and provide seamless transmission of both video and audio signals. Additionally, USB-C ports on MacBook Air models allow for fast data transfer and power delivery, making it a versatile choice for connecting to various external devices.
Remember to check the compatibility of the USB-C to HDMI adapter with your specific MacBook Air model before making a purchase. Some adapters may also offer additional ports, allowing you to connect other peripherals such as USB devices or SD cards.
Method 4: Using an AirPlay-enabled TV or Monitor
If you have an AirPlay-enabled TV or monitor, you can wirelessly connect your MacBook Air to it using Apple’s AirPlay technology. AirPlay allows you to stream your MacBook Air’s screen directly to the TV or monitor without the need for any cables or adapters.
To connect your MacBook Air to an AirPlay-enabled TV or monitor, follow these steps:
- Ensure that your MacBook Air and the AirPlay-enabled TV or monitor are connected to the same Wi-Fi network.
- On your MacBook Air, click on the AirPlay icon in the menu bar, typically located towards the top-right corner of the screen.
- A dropdown menu will appear showing the available AirPlay devices. Select your AirPlay-enabled TV or monitor from the list.
- If prompted, enter the relevant passcode or verification code to establish the connection.
- Your MacBook Air’s screen should now be mirrored or extended onto the AirPlay-enabled TV or monitor.
AirPlay provides a convenient wireless solution for connecting your MacBook Air to a TV or monitor. It offers flexibility, allowing you to freely move around without being tethered to a cable. Additionally, AirPlay supports high-quality video and audio streaming, ensuring a seamless viewing experience.
It’s important to note that not all TVs or monitors have built-in AirPlay capabilities. Make sure your device supports AirPlay before attempting to establish the connection. If your TV or monitor doesn’t support AirPlay, you can explore alternative methods mentioned earlier, such as using an HDMI cable or adapters.
Once you’re connected, you can enjoy viewing your MacBook Air’s screen on a larger display, perfect for presentations, media streaming, or simply extending your workspace.
Troubleshooting: Common Issues and Solutions
While connecting your MacBook Air to a monitor is generally a simple process, you may encounter some common issues along the way. Here are a few troubleshooting tips to help you overcome these challenges:
No Display on the Monitor:
- Check that the cables are securely connected to both the MacBook Air and the monitor.
- Ensure that the monitor is powered on and set to the correct input source.
- Try restarting your MacBook Air and the monitor.
Incorrect Display Resolution:
- Go to the Apple menu, select “System Preferences,” and click on “Displays.”
- Adjust the resolution settings to match the optimal resolution supported by your monitor.
Audio Not Working:
- Check that the audio cable is securely connected to both the MacBook Air and the monitor (if applicable).
- Ensure that the volume on your MacBook Air is turned up and not muted.
- If using an HDMI connection, go to the Apple menu, select “System Preferences,” and click on “Sound.” Ensure that the output is set to the correct HDMI device.
Display Mirroring Issues:
- If you want to mirror your MacBook Air’s screen but the display is extended instead, go to the Apple menu, select “System Preferences,” and click on “Displays.” In the “Arrangement” tab, uncheck the “Mirror Displays” option.
Adapter Recognition Problems:
- If you are using an adapter, ensure that it is compatible with your MacBook Air model.
- Make sure the adapter is firmly connected to both the MacBook Air and the monitor.
- Try using a different adapter or port if available.
If you are still experiencing difficulties, it may be helpful to consult the user manual or contact the manufacturer for further assistance. Additionally, checking for any firmware or software updates for your MacBook Air and monitor can also resolve compatibility issues.
By troubleshooting these common issues, you can ensure a successful connection between your MacBook Air and the monitor, allowing you to make the most out of your extended workspace or multimedia experience.