
Assessing the Condition of Your Electric Scooter
Before diving into the cleaning process, it’s essential to assess the condition of your electric scooter. This step will help you identify any potential issues or areas that require special attention during the cleaning process.
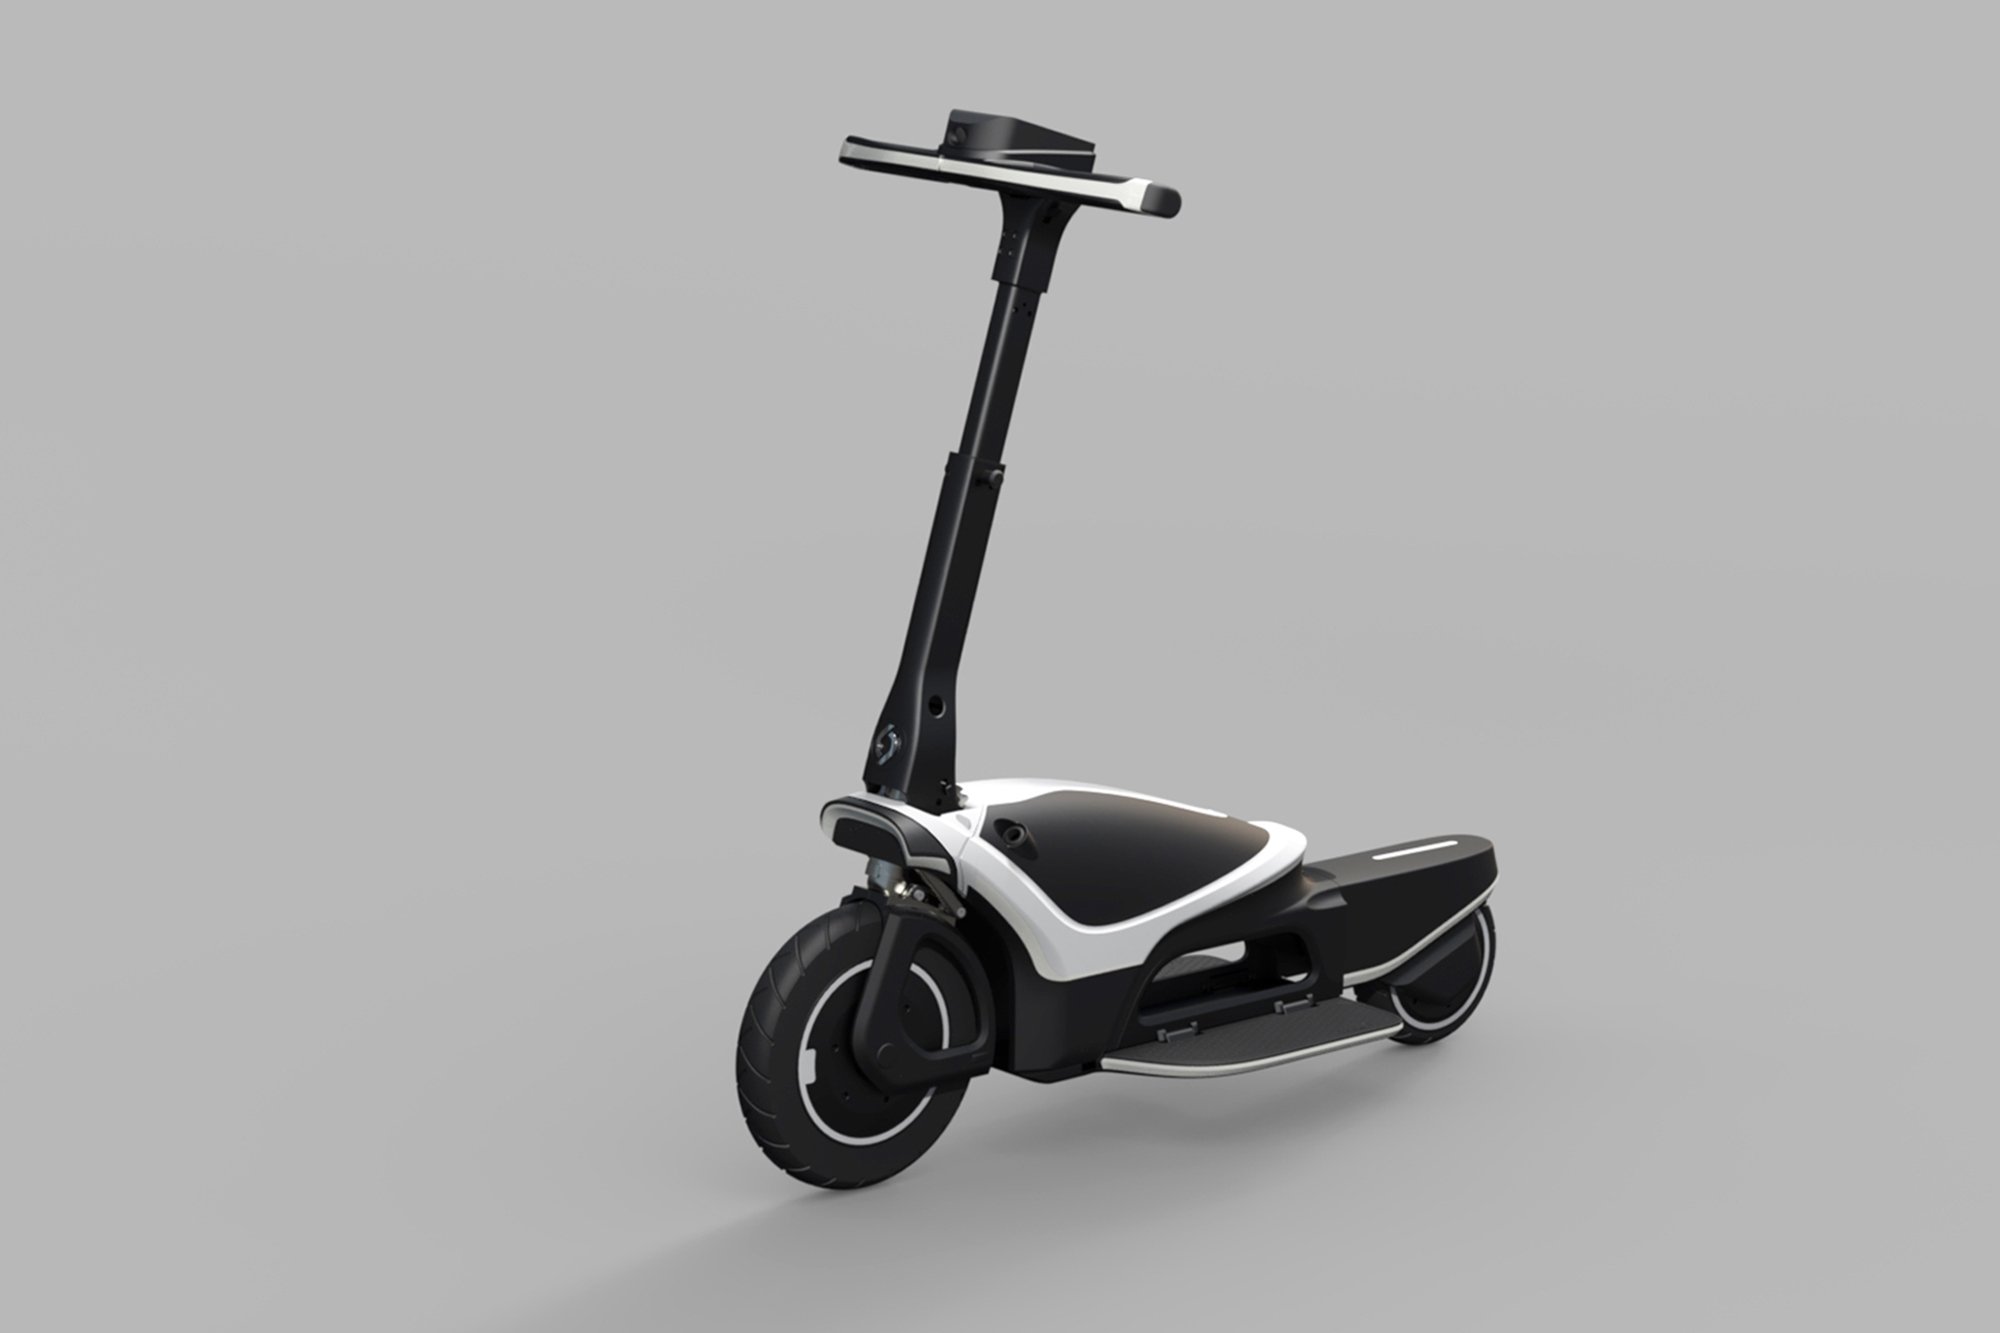
Start by carefully inspecting the exterior of your scooter. Look for any signs of dirt, grime, or stains that may have accumulated over time. Pay close attention to areas such as the frame, handlebars, controls, wheels, and seat.
If you notice any major damage, such as dents or scratches, take note of them. These areas may require a more gentle cleaning approach to prevent further damage.
Next, check the condition of the battery and charging port. Ensure that there are no leaks, corrosion, or loose connections. If you notice any of these issues, it’s crucial to address them before proceeding with the cleaning process.
Inspect the brake system to ensure proper functioning. Squeeze the brake lever and observe if the brake pads engage and disengage smoothly. If you experience any resistance or hear unusual noises, it may indicate a need for maintenance or repair.
Finally, assess any areas prone to rust or corrosion. Electric scooters are often exposed to various weather conditions, making them susceptible to rusting. Look for any signs of rust on the frame, handlebars, and other metal components.
By thoroughly assessing the condition of your electric scooter, you can identify any specific cleaning or maintenance needs. This will help you prioritize tasks and ensure that your scooter receives the care it requires.
Preparing the Necessary Cleaning Supplies
Before you begin cleaning your electric scooter, it’s important to gather all the necessary supplies. Having everything at hand will make the cleaning process more efficient and ensure that you have the right tools to tackle any dirt or grime.
Here are some essential cleaning supplies you’ll need:
- Water: Fill a bucket or have access to a water hose for rinsing.
- Mild Soap or Detergent: Use a gentle soap or detergent suitable for cleaning vehicles.
- Soft Brushes: Have a variety of brushes with different bristle strengths for cleaning various parts of the scooter.
- Microfiber Cloths: Opt for soft, lint-free microfiber cloths to prevent scratching the scooter’s surface.
- Cotton Swabs: These tiny tools are perfect for tackling hard-to-reach areas and removing dirt in tight spaces.
- Tire Cleaner: Invest in a specialized tire cleaner to effectively remove grime and maintain tire condition.
- Lubricant: Have a silicone lubricant or a specific lubricant recommended for electric scooters to keep moving parts smooth and prevent rust.
- Protective Spray/Wax: Consider using a protective spray or wax designed for vehicles to safeguard the scooter’s finish and prevent future dirt build-up.
It’s important to use mild and non-abrasive cleaning agents to avoid damaging the scooter’s surface. Avoid using harsh chemicals or abrasive cleaners, as they can corrode or strip away the protective coatings.
Additionally, gather any tools that may be required for specific maintenance tasks, such as a screwdriver or pliers for tightening or adjusting certain components.
By being prepared with the necessary cleaning supplies, you can ensure a smooth and effective cleaning process. Having everything within reach will save you time and effort while maintaining the integrity of your electric scooter.
Cleaning the Exterior of Your Electric Scooter
Now that you have assessed your electric scooter’s condition and gathered the necessary cleaning supplies, it’s time to start cleaning the exterior. This step will focus on removing dirt, grime, and stains from the visible parts of your scooter.
Here’s how you can clean the exterior of your electric scooter:
- Start by rinsing the scooter with water to remove loose dirt and debris. Use a gentle stream of water or a bucket filled with water for this initial rinse.
- Prepare a mixture of mild soap or detergent with water in another bucket. Dip a soft brush or sponge into the soapy water and begin scrubbing the scooter’s surfaces.
- Paying attention to the frame, handlebars, and any other exposed areas, scrub gently in a circular motion to loosen dirt and grime.
- If you encounter stubborn stains or dirt buildup, use a cotton swab soaked in the soapy water to target those areas and gently scrub.
- Rinse the scooter thoroughly with clean water to remove any soap residue. Ensure that all surfaces are rinsed, including hard-to-reach areas.
- Gently dry the scooter using a clean microfiber cloth. Start from the top and work your way down, drying all surfaces to prevent water spots.
- Inspect the scooter’s exterior for any remaining dirt or grime. If necessary, repeat the cleaning process on specific areas until the scooter is clean.
Remember to avoid getting water near the battery and charging port to prevent any damage to the electrical components. Take extra care when cleaning around buttons, switches, and the display panel to prevent water from seeping into sensitive parts.
Regularly cleaning the exterior of your electric scooter not only enhances its appearance but also helps prolong its lifespan. By removing dirt and grime, you’re preventing potential damage and maintaining the scooter’s overall performance.
Tips for Cleaning the Handlebars and Controls
The handlebars and controls of your electric scooter are vital components that require special attention during the cleaning process. Proper cleaning not only keeps them looking great but also ensures their functionality and longevity. Here are some tips to help you clean the handlebars and controls effectively:
- First, disconnect the scooter’s power source or turn it off completely to ensure safety during the cleaning process.
- Use a soft brush or damp cloth to remove any loose dirt or debris from the handlebars and controls. Be gentle to avoid accidental button presses or damage.
- For rubberized grips on the handlebars, mix a mild soap or detergent solution with water and use a sponge or cloth to clean them. Rinse thoroughly and dry with a towel.
- For plastic or metal parts, use a soft cloth or sponge dampened with the soapy water solution to wipe away any dirt or residue.
- Pay close attention to buttons, switches, and the display panel. Use a cotton swab dipped in the soapy water solution to clean around these areas, ensuring no moisture seeps into sensitive parts.
- For stubborn stains or grime, you can use a small amount of rubbing alcohol on a cloth or cotton swab to spot clean. Be careful not to apply too much alcohol, as it can damage the finish.
- After cleaning, thoroughly dry the handlebars and controls with a clean, dry cloth to prevent water damage or residue buildup.
- Consider applying a silicone-based lubricant to buttons, switches, and moving parts to keep them in smooth working condition. Follow the manufacturer’s recommendations for lubrication frequency.
- Regularly inspect the handlebars and controls for any signs of wear or damage. Replace any worn-out grips or malfunctioning switches to ensure safe and reliable operation.
Cleaning the handlebars and controls of your electric scooter not only maintains their appearance but also ensures their proper function. By following these tips, you’ll keep these crucial components in optimal condition for a smooth and enjoyable riding experience.
Cleaning the Wheels and Tires
The wheels and tires of your electric scooter are constantly exposed to dirt, debris, and road grime. Cleaning them regularly not only enhances the scooter’s appearance but also ensures optimal performance and safety. Here’s how you can clean the wheels and tires effectively:
- Start by rinsing the wheels and tires with water to remove loose dirt and debris. Use a gentle stream of water or a bucket filled with water for this initial rinse.
- Prepare a mixture of mild soap or detergent with water in a bucket. Dip a soft brush or sponge into the soapy water and begin scrubbing the wheels and tires.
- Paying attention to the treads and sidewalls of the tires, scrub gently in a circular motion to loosen dirt, grease, and stains. Focus on any areas with visible buildup.
- For stubborn stains or grime, apply a specialized tire cleaner according to the manufacturer’s instructions. Use a brush or sponge to work the cleaner into the tire surfaces.
- Rinse the wheels and tires thoroughly with clean water to remove any soap or cleaner residue. Ensure that all surfaces, including the treads, are rinsed.
- Inspect the wheels for any trapped debris or lodged stones. Use a small brush or toothbrush to remove any stuck particles carefully.
- Gently dry the wheels and tires using a clean, dry cloth. Pay attention to the wheel spokes and tire treads to ensure they are completely dry.
- Inspect the tire treads for wear and tear. If you notice excessive or uneven wear, it may be time to replace the tires for optimal performance and safety.
- Consider applying a tire shine or protective spray to enhance the appearance of the tires and help protect them from cracking or dryness.
Regularly cleaning the wheels and tires of your electric scooter not only keeps them looking great but also helps maintain traction and overall performance. By following these steps, you’ll ensure that your scooter is always ready to roll smoothly and safely.
Cleaning the Battery and Charging Port
The battery and charging port of your electric scooter are critical components that require proper cleaning to maintain their functionality and longevity. Regular cleaning helps remove dirt, dust, and debris that can affect performance and potentially damage these sensitive areas. Here’s how you can clean the battery and charging port effectively:
- Start by ensuring that the scooter is turned off and the battery is disconnected or powered off. Safety should always be the top priority.
- Inspect the battery and charging port for any visible dirt, dust, or debris. Use a soft brush or compressed air to gently remove loose particles.
- If there are stubborn stains or residue, dampen a cloth or cotton swab with a mild soap and water solution. Gently wipe the surfaces, taking care not to let any moisture enter the charging port.
- For the charging port, use a dry cotton swab to remove any debris or lint that may have accumulated. Be careful not to apply excessive force or damage the port’s pins.
- If there is any corrosion on the battery terminals, mix baking soda and water to form a paste. Apply the paste to the terminals with a soft brush or cloth, then gently scrub to remove the corrosion. Rinse with water and dry thoroughly.
- Once the battery and charging port are clean and dry, reconnect the battery or turn it back on, ensuring a secure connection.
- Regularly inspect the battery and charging port for any signs of damage or wear. If you notice any abnormalities, such as loose connections or cracks, it’s essential to address them promptly.
- Consider applying a thin layer of dielectric grease to the battery terminals and charging port to help prevent future corrosion and ensure better electrical conductivity.
Properly cleaning the battery and charging port of your electric scooter not only ensures optimal performance but also helps extend their lifespan. By following these steps, your scooter will be powered up and ready for your next adventure.
Maintaining the Brake System
The brake system of your electric scooter is essential for your safety and should be properly maintained to ensure reliable stopping power. Regular maintenance and cleaning are necessary to keep the brakes in good working condition. Here’s how you can maintain the brake system of your electric scooter:
- Start by thoroughly inspecting the brake pads. On most electric scooters, the brake pads are located on the rear wheel. Check for any signs of wear, such as thinning or unevenness.
- If the brake pads are worn down or damaged, it’s important to replace them promptly. Consult your electric scooter’s manual for the recommended brake pad type and replacement procedure.
- Clean the brake discs or drums using a soft cloth or brush to remove any dirt or debris. Ensure that the braking surfaces are clean and free from any buildup that may affect the brake’s effectiveness.
- If you notice a squeaking sound when applying the brakes, it may indicate that the brake pads are glazed and need to be roughened up. Use sandpaper or a file to gently roughen the surface of the brake pads.
- Inspect the brake cables and ensure they move freely without any snag or resistance. Lubricate them with a silicone-based lubricant to prevent rust and ensure smooth operation.
- Test the brakes by applying gentle pressure to the brake lever or pressing the brake pedal. Ensure that the brakes engage and disengage smoothly without any excessive play or delay.
- If you experience any issues with the brake system, such as loss of braking power or inconsistent performance, consult a professional or refer to your scooter’s manual for troubleshooting and repair guidance.
- Make it a habit to regularly check and maintain your electric scooter’s brake system to ensure optimal safety and performance. Depending on the usage and manufacturer’s recommendations, it’s advisable to have the brakes inspected and serviced by a professional periodically.
Maintaining the brake system of your electric scooter should be a top priority to ensure safe rides every time. By following these steps and staying proactive with brake system maintenance, you’ll enjoy the added peace of mind knowing that your scooter has reliable stopping power.
Cleaning the Seat and Storage Areas
The seat and storage areas of your electric scooter are not only functional but also add to the overall comfort and convenience of your rides. Keeping them clean and tidy is important for a pleasant and hygienic experience. Here’s how you can clean the seat and storage areas of your electric scooter:
- Start by removing any personal belongings or items from the storage areas. This will allow you to clean these spaces more effectively.
- If your scooter has a removable seat, detach it according to the manufacturer’s instructions. If the seat is not removable, have a soft brush or vacuum cleaner on hand to clean the crevices and corners.
- Using a damp cloth or sponge, wipe down the seat surface and any visible stains or spills. For stubborn stains, you can use a mild soap and water solution, but avoid getting the seat excessively wet.
- Pay attention to the seat’s seams or creases, as dirt and debris may accumulate in these areas. Use a soft-bristled brush or toothbrush to gently remove any trapped particles.
- For the storage areas, use a vacuum cleaner or handheld brush to remove any loose dirt, leaves, or debris. Take care to clean all corners and tight spaces thoroughly.
- If the storage areas have a lining or fabric, wipe them down with a damp cloth or use a fabric cleaner suitable for the specific material.
- Allow the seat and storage areas to air dry completely before reassembling or storing any items back into the storage compartments.
- Consider using a seat cover or storage organizers to protect these areas from dirt or spills in the future.
Regularly cleaning the seat and storage areas of your electric scooter not only enhances its appearance but also promotes a more enjoyable and comfortable riding experience. By following these cleaning steps, you can ensure a clean and organized space whenever you take your scooter out for a ride.
Addressing Rust and Corrosion Issues
Rust and corrosion are common issues that can affect the appearance and performance of your electric scooter over time. It’s important to address these issues promptly to prevent further damage and maintain the longevity of your scooter. Here’s how you can tackle rust and corrosion problems:
- Inspect your scooter for any signs of rust or corrosion, particularly on metal components such as the frame, handlebars, and screws. Oftentimes, these areas are exposed to moisture and weather conditions, making them more susceptible to corrosion.
- If you find minor surface rust or corrosion, you can use a gentle abrasive such as fine steel wool or a rust eraser to remove the affected areas. Be careful not to scrub too aggressively, as it can damage the surrounding surfaces.
- For larger areas of rust or corrosion, you may need to use a rust dissolver or rust converter product. Follow the manufacturer’s instructions and apply the product as directed. After the treatment, thoroughly rinse and dry the area.
- If there are any bare metal areas exposed after rust removal, consider applying a protective coating or paint to prevent future corrosion. Choose a coating designed for outdoor use and follow the application instructions carefully.
- For electrical connectors or terminals that show signs of corrosion, use a mixture of baking soda and water to create a paste. Apply the paste to the affected areas and use a brush or cotton swab to gently scrub away the corrosion. Rinse with clean water and dry thoroughly.
- Regularly inspect and maintain any rubber or plastic parts such as grips, covers, and seals. These components can deteriorate over time, leading to potential water or moisture exposure that encourages rust or corrosion. Replace any damaged or worn-out parts promptly.
- Consider using a protective coating or wax specifically designed for metal surfaces to help prevent future rust or corrosion. These products create a barrier that shields the metal from moisture and the elements.
- Perform regular maintenance checks on your electric scooter to ensure that all parts and components are in good working condition. By addressing any rust or corrosion issues promptly, you can prolong the lifespan and maintain the reliability of your scooter.
Addressing rust and corrosion issues on your electric scooter is crucial for its appearance, performance, and overall longevity. By following these steps and being proactive in rust prevention, you can ensure that your scooter stays in excellent condition for years to come.
Drying and Polishing Your Electric Scooter
After completing the cleaning process, it’s important to properly dry and polish your electric scooter to enhance its appearance and provide an extra layer of protection. This step ensures that your scooter maintains its shine while minimizing the risk of future dirt buildup and corrosion. Here’s how you can effectively dry and polish your electric scooter:
- After rinsing the scooter with clean water, use a clean microfiber cloth to gently dry all surfaces. Start from the top and work your way down, ensuring that no areas are left damp.
- Pay extra attention to hard-to-reach areas, joints, and crevices to ensure they are completely dry. Moisture left behind can lead to water spots or even rust over time.
- If you notice any water spots or stubborn residue, you can use a mild glass cleaner or vinegar diluted with water to gently wipe away the marks. Be cautious when applying any cleaning solution near electronics or sensitive components.
- Next, use a separate clean microfiber cloth to apply a thin layer of polishing wax or a specialized scooter detailing product. Follow the manufacturer’s instructions for application and use circular motions to evenly distribute the product.
- For metallic and chrome parts, use a metal polish suitable for your scooter’s finish. Apply the polish according to the product’s instructions to restore shine and remove any oxidation or tarnish.
- Take care to avoid getting any polish or wax on the scooter’s grips, tires, braking surfaces, or electrical components, as these areas require a different type of maintenance.
- Once the polish or wax has been applied, use a fresh microfiber cloth to gently buff the scooter’s surfaces until they achieve a glossy shine.
- Regularly maintain and reapply polish or wax as needed to keep your scooter looking its best. This step not only enhances the overall appearance but also helps to protect the scooter’s surfaces from environmental factors.
Drying and polishing your electric scooter not only adds a finishing touch but also helps to maintain its aesthetic appeal and protect it from the elements. By following these steps and incorporating regular maintenance, you can ensure that your scooter stays in pristine condition, ready to turn heads wherever you ride.
Regular Maintenance and Cleaning Schedule
Implementing a regular maintenance and cleaning schedule is crucial for keeping your electric scooter in optimal condition. By following a consistent routine, you can prevent excessive wear and tear, address any potential issues early on, and ensure a safe and enjoyable riding experience. Here’s a recommended maintenance and cleaning schedule to help you keep your electric scooter well-maintained:
- Inspect your electric scooter weekly: Take a few minutes each week to perform a visual inspection of your scooter. Check for any loose screws or bolts, signs of wear on tires and brake pads, and any noticeable damage or abnormalities. This regular inspection will help you identify and address minor issues before they become major problems.
- Clean your electric scooter after each ride: It’s best to clean your scooter after each ride, especially if you rode through dirt, mud, or inclement weather conditions. Use a soft cloth or brush to remove any visible dirt and debris. Wipe down the scooter’s surfaces and dry it thoroughly to prevent any moisture-related damage.
- Perform a detailed cleaning monthly: Set aside time each month for a more thorough cleaning session. This includes washing the exterior surfaces, cleaning the brake system, checking the battery and charging port for any dirt or corrosion, and giving the wheels and tires a deep clean. Follow the cleaning instructions outlined in the earlier sections to ensure you cover all necessary areas.
- Inspect and maintain the battery regularly: Check the battery’s charge level and performance regularly. Follow the manufacturer’s recommendations for recharging and storage. Inspect the battery connections for any signs of looseness or corrosion, and clean them if necessary. If you notice any significant drop in battery performance or suspect a faulty battery, consult a professional for assistance.
- Check tire pressure and condition: Keep an eye on your scooter’s tire pressure and ensure that they are properly inflated. Measure the pressure using a tire pressure gauge and adjust as needed. Additionally, inspect the tires for any signs of wear, punctures, or uneven tread. Replace the tires if necessary to maintain optimal traction and safety.
- Follow the recommended maintenance tasks: Refer to your electric scooter’s user manual for specific maintenance tasks recommended by the manufacturer. This may include lubricating moving parts, adjusting brakes, tightening screws and bolts, and other routine maintenance activities. Adhering to these guidelines will help keep your scooter in top shape.
By following a regular maintenance and cleaning schedule, you can significantly extend the lifespan of your electric scooter and enjoy safe and smooth rides for years to come. Remember, consistency is key, so make it a habit to prioritize the maintenance and cleaning of your scooter to reap the benefits of long-lasting performance.