
Tools and Materials Needed
Changing the battery in a Logitech mouse is a simple task that requires only a few basic tools and materials. Before getting started, make sure you have the following items on hand:
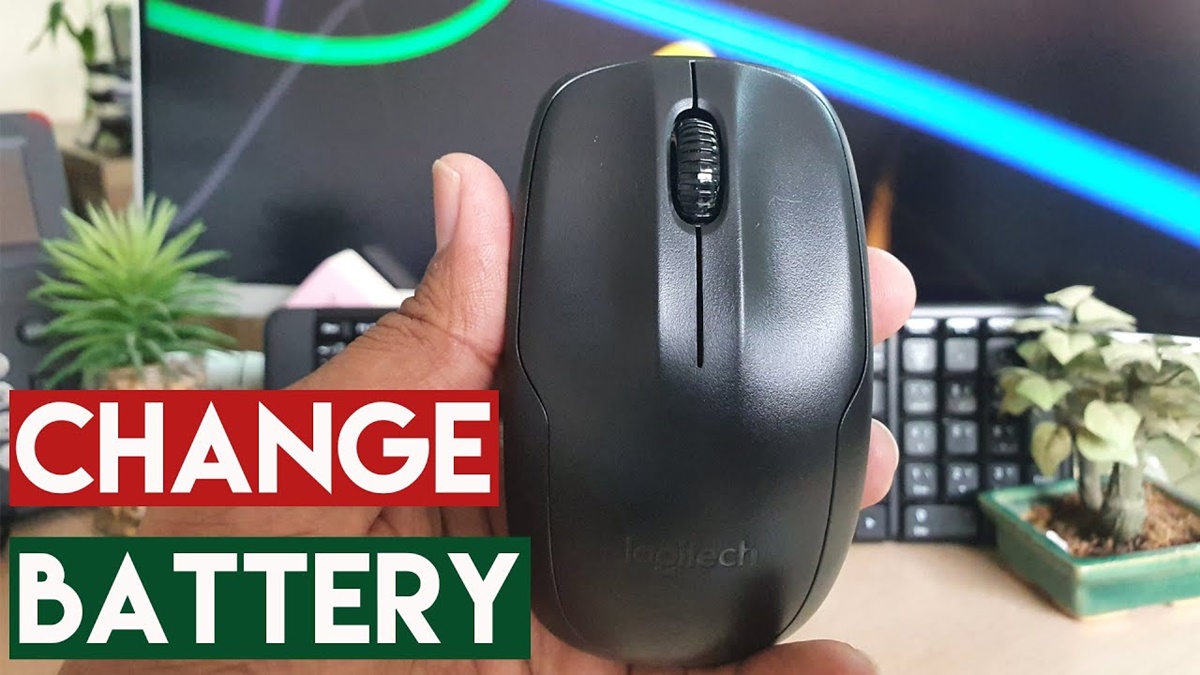
- A Logitech mouse (specifically the model that requires a battery change)
- A replacement battery suitable for your Logitech mouse (check the user manual or the Logitech website for the correct battery type)
- A small screwdriver (size may vary depending on the mouse model)
- Clean cloth or tissue
Having these tools and materials ready will ensure a smooth and successful battery replacement process. It’s always a good idea to have a clean cloth or tissue available to wipe away any dust or debris that may have accumulated in the battery compartment.
Once you have gathered all the necessary tools and materials, you will be ready to proceed with changing the battery in your Logitech mouse. This straightforward process will have your mouse up and running with a fresh battery in no time.
Step 1: Determine the Battery Type
Before you can change the battery in your Logitech mouse, you need to determine the correct battery type. This information can usually be found in the user manual or on the Logitech website. Different Logitech mouse models may require different battery types, such as AA or AAA batteries.
To determine the battery type, begin by examining the bottom of your mouse. Look for any markings, labels, or symbols that indicate the battery type required. The battery compartment may also provide clues about the battery size or type needed.
If you can’t find the information on the mouse itself, it’s best to refer to the user manual that came with your Logitech mouse. The manual will provide specific instructions on how to identify the correct battery type for your model.
Alternatively, you can visit the Logitech website and search for your mouse model. The product page or support section should provide details on the recommended battery type.
Once you have determined the correct battery type, make sure you have a replacement battery of the same type ready. Using the wrong battery can damage your mouse or result in poor performance.
By carefully identifying the correct battery type, you ensure that your Logitech mouse will continue to function optimally after the battery replacement. This step is crucial in maintaining the longevity and performance of your wireless mouse.
Step 2: Prepare the Replacement Battery
Now that you have determined the correct battery type for your Logitech mouse, it’s time to prepare the replacement battery. Here are the steps to follow:
1. Remove the replacement battery from its packaging if necessary. Ensure that the battery is not expired or damaged.
2. If the battery has a protective strip or covering, remove it before inserting the battery into the mouse. Some batteries may have a plastic tab that needs to be pulled or peeled off.
3. Check the polarity markings on the battery. Most Logitech mice have a diagram indicating the correct polarity for inserting the battery. Ensure that you align the positive (+) and negative (-) ends of the battery correctly. Inserting the battery with the wrong polarity may prevent the mouse from functioning.
4. Give the battery a quick visual inspection to ensure there are no leaks or corrosion. If you notice any abnormalities with the battery, do not use it and obtain a new replacement.
5. As a precaution, it’s a good idea to clean the battery contacts inside the mouse. Use a dry cloth or tissue to gently wipe away any dirt or debris that may be present. This will help establish a good connection between the battery and the mouse.
By properly preparing the replacement battery, you ensure that it is ready to be inserted into your Logitech mouse. Taking a few moments to go through these steps will help you maintain the longevity and performance of your wireless mouse.
Step 3: Locate and Open the Battery Compartment
Now that you have prepared the replacement battery, it’s time to locate and open the battery compartment of your Logitech mouse. Follow these steps to find and access the battery compartment:
1. Flip your Logitech mouse over and examine the bottom of the device. Look for a small latch or a sliding panel that covers the battery compartment. The location of the battery compartment may vary depending on the mouse model. Refer to the user manual or the Logitech website if you are unsure.
2. Once you have identified the battery compartment, use your fingers or a small screwdriver (if necessary) to carefully open it. Some compartments may have a latch that needs to be lifted, while others may require sliding or pushing the panel in a specific direction.
3. Take care not to apply excessive force when opening the battery compartment to avoid damaging the latch or any other components of your mouse.
4. After opening the battery compartment, you should now have access to the empty battery slot or slots. Take note of the orientation of the existing battery if there is one, as you will need to insert the replacement battery in the correct position.
Keep in mind that not all Logitech mouse models have removable batteries. Some models may have a built-in rechargeable battery that can be charged using a USB cable. If you have a rechargeable mouse, refer to the user manual for instructions on how to charge it.
By successfully locating and opening the battery compartment, you are one step closer to replacing the battery in your Logitech mouse. Remember to handle your mouse with care and follow the instructions specific to your mouse model to ensure a smooth battery replacement process.
Step 4: Remove the Old Battery
With the battery compartment open, it’s time to remove the old battery from your Logitech mouse. Follow these steps to safely remove the old battery:
1. Check the orientation of the existing battery. Take note of which end is the positive (+) and which end is the negative (-).
2. If there is a clip or spring keeping the battery in place, gently press or release it to release the old battery. Be careful not to force anything, as you don’t want to damage any components of your mouse.
3. Using your fingers or a small tool, carefully lift the old battery out of the battery slot. If the battery is stuck, wiggle it gently to loosen it before removing it completely.
4. Inspect the removed battery for any signs of leakage or corrosion. If the battery is damaged or leaking, handle it with caution and dispose of it properly according to your local regulations for battery recycling.
5. Set the old battery aside or dispose of it responsibly, depending on the type of battery it is. Remember to follow any safety guidelines and regulations when disposing of batteries.
By properly removing the old battery, you clear the way for inserting the new replacement battery in the next step. Taking your time and being careful during this step will help prevent any unnecessary damage to your Logitech mouse.
Step 5: Insert the New Battery
Now that you have removed the old battery, it’s time to insert the new replacement battery into your Logitech mouse. Follow these steps to ensure a proper installation:
1. Take the new battery you prepared earlier and hold it in your hand with the correct orientation. Align the positive (+) and negative (-) ends of the battery with the corresponding markings or slots in the battery compartment.
2. Carefully lower the new battery into the designated slot or slots in the battery compartment. Make sure it is securely seated and positioned correctly.
3. If your Logitech mouse has multiple batteries, repeat the process for each battery, ensuring that you insert them all in the correct positions.
4. Once all the batteries are inserted, double-check their positions and alignments to ensure they are correctly installed. This will help prevent any connection issues or performance problems with your mouse.
5. Gently press down on the battery or batteries to ensure a snug fit. Avoid applying excessive pressure as you want to avoid damaging any components of your Logitech mouse.
By properly inserting the new battery, you are ready to power up your Logitech mouse. Ensure that you follow these steps carefully to maintain optimal performance and longevity of your wireless mouse.
Step 6: Close the Battery Compartment
After inserting the new battery into your Logitech mouse, it’s time to close the battery compartment to secure the battery and protect it from external elements. Follow these steps to properly close the battery compartment:
1. Align the cover or panel of the battery compartment with the opening. Make sure it fits securely and lines up with the rest of the mouse body.
2. Slide or press the cover or panel firmly into place. You may hear a click or feel a slight resistance when the battery compartment is properly closed.
3. Take a moment to inspect the battery compartment to ensure that it is securely closed and that there are no gaps or loose parts. A properly closed battery compartment helps prevent the battery from slipping out or getting damaged.
4. If your Logitech mouse has a latch or locking mechanism for the battery compartment, ensure that it is engaged and securely fastened. This extra step provides added protection and peace of mind.
5. Once you are satisfied that the battery compartment is securely closed, flip your Logitech mouse back over to its normal position.
Closing the battery compartment ensures that the new battery stays in place and provides uninterrupted power to your Logitech mouse. Take care to follow these steps diligently to maintain the functionality and reliability of your wireless mouse.
Step 7: Test the Mouse
After successfully replacing the battery and closing the battery compartment, it’s time to test your Logitech mouse to ensure that it is functioning properly. Follow these steps to perform a quick test:
1. Turn on your computer or device and wait for it to fully boot up.
2. Ensure that your Logitech mouse is within range of its receiver or connected to your device via Bluetooth or other wireless connectivity.
3. Move the Logitech mouse around on a smooth and flat surface. Verify that the mouse cursor on your screen moves in tandem with your physical movements. If the cursor responds accurately to your mouse movements, it indicates that the battery replacement was successful and the mouse is in working order.
4. Test all the buttons and functions of your Logitech mouse, including the left and right buttons, scroll wheel (if applicable), and any additional buttons or features. Make sure they respond as expected.
5. If you experience any issues with the mouse’s performance, such as lag or unresponsiveness, try repositioning the receiver or reconnecting the mouse to your device. If the issues persist, refer to the Logitech website or contact Logitech customer support for further assistance.
By thoroughly testing your Logitech mouse after the battery replacement, you ensure that the mouse is fully operational and ready for use. Get familiar with the mouse’s functionality to enjoy a smooth and uninterrupted computing experience.
Tips and Precautions
When changing the battery in your Logitech mouse, it’s important to keep these tips and precautions in mind to ensure a successful and safe battery replacement:
1. Use the correct battery type: Always refer to the user manual or Logitech’s website to determine the specific battery type recommended for your Logitech mouse model. Using the wrong battery can damage your mouse or result in poor performance.
2. Handle the battery with care: Batteries can be sensitive and potentially hazardous if mishandled. Avoid touching the battery terminals with your bare hands and handle the battery with dry hands or use gloves if necessary.
3. Check battery expiration dates: Before installing a new battery, check the expiration date to ensure it is still within its usable period. Using an expired battery can lead to diminished performance or leakage issues.
4. Dispose of old batteries properly: If your old battery is non-rechargeable or no longer functional, dispose of it in accordance with local regulations for battery recycling. Many communities have drop-off points or recycling programs specifically for batteries.
5. Keep the battery compartment clean: Regularly clean the battery compartment of your Logitech mouse to remove any debris or dust that may accumulate over time. This helps maintain a solid connection between the battery and the mouse, ensuring optimal performance.
6. Store batteries properly: If you keep spare batteries on hand, store them in a cool, dry place away from direct sunlight and extreme temperatures. This helps preserve their shelf life and ensures they are ready for use when needed.
7. Follow manufacturer instructions: Always follow the specific instructions provided by Logitech for your mouse model. The user manual, manufacturer’s website, or customer support resources are valuable sources of information and guidance for changing the battery.
By adhering to these tips and precautions, you can ensure a smooth battery replacement process and maintain the longevity and optimal performance of your Logitech mouse. Enjoy uninterrupted usage and a seamless wireless experience with your newly replaced battery.