
Why You May Want to Block Websites on Your iPhone
Using your iPhone to browse the internet offers a world of information and entertainment at your fingertips. However, there may be times when you want to limit access to certain websites, either for yourself or for someone else. Blocking websites on your iPhone can have several benefits, including:
- Productivity: Constant distractions from social media or other addictive websites can greatly affect your productivity. Blocking these websites can help you stay focused and concentrate on tasks that require your full attention.
- Parental Controls: If you have children using your iPhone, you may want to restrict their access to explicit or inappropriate content. Blocking certain websites ensures a safer browsing experience for them.
- Reduced Data Usage: Some websites with heavy media content, such as videos or graphics, can consume a significant amount of data. Blocking these sites can help manage your data usage and avoid exceeding your plan’s limits.
- Improved Security: Certain websites may contain malware or phishing attempts, posing a risk to your personal information. By blocking these potentially harmful sites, you can mitigate the chances of falling victim to online threats.
Fortunately, there are multiple methods available to help you block websites on your iPhone, giving you control over the content accessible through your device. Whether you’re blocking websites for your own benefit or to protect others, these methods can be effective in achieving your goals. In the following sections, we will explore three different methods you can use to block websites on your iPhone. So, let’s dive in and find the most suitable approach for you.
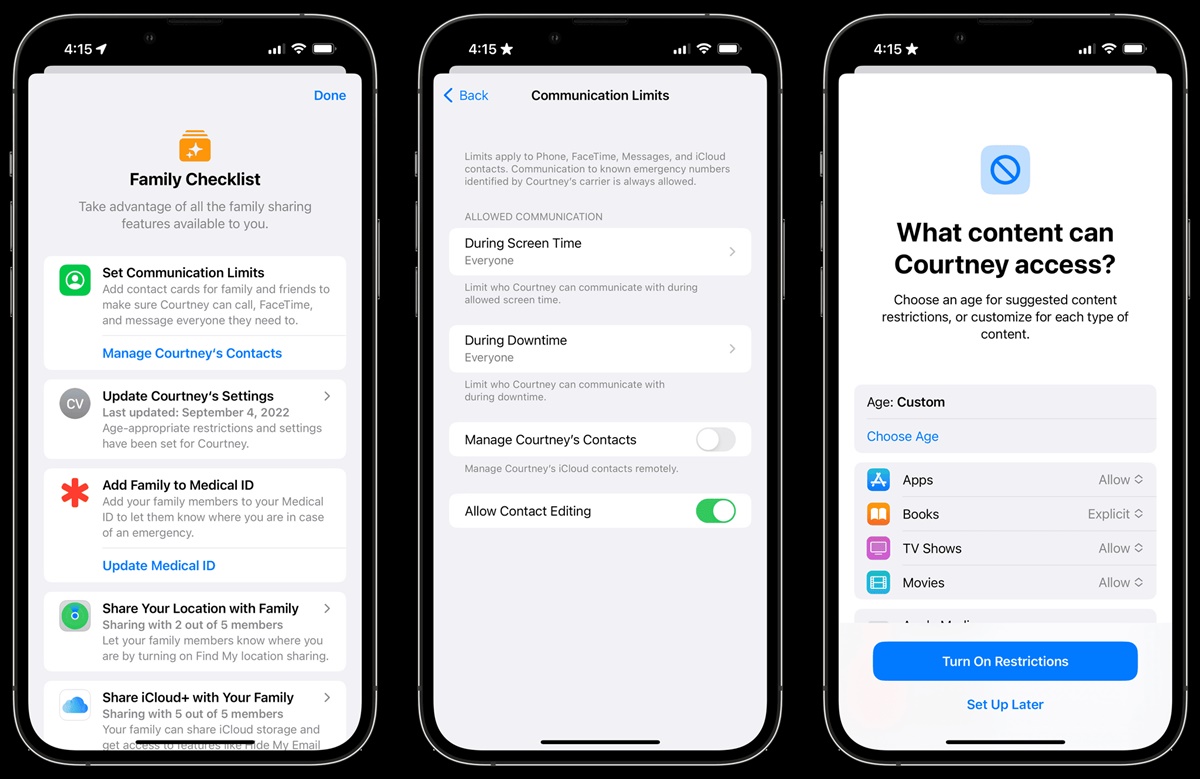
Method 1: Use Screen Time to Block Websites
If you’re using iOS 12 or later, Apple’s Screen Time feature provides a built-in solution to block websites on your iPhone. Here’s how you can use it:
- Open the Settings app on your iPhone and tap on “Screen Time.”
- Tap on “Content & Privacy Restrictions” and enable it if it’s currently turned off. You may need to set up a Screen Time passcode if you haven’t already done so.
- Under the “Content & Privacy Restrictions” menu, tap on “Content Restrictions” and then select “Web Content.”
- Choose the “Limit Adult Websites” option to restrict access to adult content or select “Specific Websites Only” to manually add websites to block.
- If you choose the “Specific Websites Only” option, tap on “Add Website” under the “Never Allow” section and enter the URL of the website you want to block.
- Repeat step 5 to add more websites.
- Once you’ve added the desired websites, exit the Settings app.
By using Screen Time, you can effectively block access to specific websites on your iPhone. It’s worth noting that Screen Time requires a passcode to change or disable the restrictions. This ensures that the settings remain intact and prevent unauthorized modifications. Additionally, Screen Time allows you to set time limits for app usage and offers insights into your digital habits, making it a comprehensive tool for managing your iPhone usage.
Method 2: Use Restrictions to Block Websites
If you’re using an earlier version of iOS or prefer to use a different method, you can still block websites on your iPhone by utilizing the Restrictions feature. Follow these steps to set up website restrictions:
- Go to the Settings app on your iPhone and tap on “Screen Time” or “General” (depending on your iOS version).
- Scroll down and tap on “Restrictions” (or “Parental Controls” for older versions).
- If it’s your first time setting up Restrictions, select “Enable Restrictions” and create a passcode.
- Once enabled, scroll down to find the “Websites” or “Allowed Content” section.
- Tap on “Limit Adult Content” to automatically filter explicit websites or choose “Specific Websites Only.”
- If you opt for “Specific Websites Only,” tap on “Add a Website” to block individual websites.
- Enter the URL of the website you want to block, then tap “Done” or “Add” to save.
- Repeat step 6 to add more websites to the blocked list.
- Exit the Settings app once you’ve finished adding websites to block.
With Restrictions, you can tailor the accessibility of websites to suit your preferences or ensure a safe browsing experience for others. Remember to keep your passcode secure to prevent unauthorized changes to the restrictions. This method provides an effective way to block specific websites without relying on third-party apps or additional software.
Method 3: Use a Third-Party App to Block Websites
If you prefer a more comprehensive solution for blocking websites on your iPhone, you can explore third-party apps specifically designed for this purpose. These apps offer more advanced features and customization options. Here’s how you can use a third-party app to block websites on your device:
- Search for a reputable website blocker app on the App Store. There are several options available, such as “Freedom,” “Focus,” or “BlockSite.”
- Download and install the app of your choice.
- Launch the app and follow the on-screen instructions to set it up.
- Typically, you’ll need to grant the app permission to access your Safari browser or install a VPN profile to effectively block websites.
- Once configured, you can start adding websites to block within the app’s settings.
- Depending on the app, you may be able to block websites individually, create custom blocking schedules, or even set up specific blocking categories.
- After you’ve added the websites you want to block, exit the app, and it will start filtering or redirecting those websites on your iPhone.
Using a third-party app can provide more flexibility and fine-grained control over website blocking. These apps often offer additional features like distraction-free modes, productivity statistics, and the ability to block other apps or internet access altogether. Explore different apps to find the one that best suits your needs and preferences for blocking websites on your iPhone.
Tips for Effective Website Blocking
While blocking websites on your iPhone can effectively limit access to certain content, it’s important to follow some best practices to ensure the blocking is effective and tailored to your needs. Here are some tips to consider:
- Regularly review and update your blocked websites: As your browsing habits and needs change, it’s important to regularly review the websites you’ve blocked. Remove any websites that are no longer relevant or add new ones that you want to restrict access to.
- Use category-based blocking: Some third-party apps or internet filtering services allow you to block entire categories of websites, such as social media, gaming, or adult content. This approach can save you time by blocking a range of websites that fall under a certain category.
- Consider using multiple methods: You don’t have to limit yourself to just one method of website blocking. For enhanced security and flexibility, you can combine built-in iPhone features like Screen Time or Restrictions with third-party apps to create layered protections.
- Communicate with others: If you’re blocking websites on a shared iPhone or for someone else, it’s important to communicate the reasons behind the restrictions. Explain the intentions and benefits of website blocking to ensure understanding and cooperation.
- Set a strong passcode: If you’re using Screen Time or Restrictions, make sure to set a strong passcode that is difficult to guess. This will prevent unauthorized changes to the settings and ensure that the website blocking remains intact.
- Test the effectiveness of your website blocking: After implementing website blocking measures, take some time to test the effectiveness. Ensure that the blocked websites are inaccessible and that the desired restrictions are in place.
By following these tips, you can ensure that your website blocking efforts are effective and aligned with your specific requirements. Remember, website blocking is a useful tool for enhancing productivity, promoting internet safety, and managing your browsing habits, so it’s worth taking the time to implement it properly.
How to Unblock Websites on Your iPhone
If you’ve blocked websites on your iPhone but now want to regain access, unblocking them is a straightforward process. Here’s how you can unblock websites on your iPhone:
- Open the Settings app on your iPhone and navigate to “Screen Time” or “General” (depending on your iOS version).
- If you’re using Screen Time, tap on “Content & Privacy Restrictions.” For older iOS versions, look for “Restrictions” or “Parental Controls.”
- Enter your Screen Time passcode or Restrictions passcode, if prompted.
- Scroll down and locate the “Web Content” or “Websites” section.
- Under “Web Content” or “Websites,” select “Allowed Websites Only” or the equivalent option for your iOS version.
- If you want to unblock specific websites, tap on “Add a Website” under the “Allowed Websites” section.
- Enter the URL of the website you want to unblock, then tap “Done” or “Add” to save the changes.
- Repeat step 6 if you need to unblock more websites.
- Exit the Settings app, and the previously blocked websites should now be accessible on your iPhone.
By following these steps, you can easily unblock websites and regain access to the content you previously restricted. Keep in mind that unblocking websites should be done responsibly, taking into consideration your own browsing habits and safety concerns. Make sure to assess the suitability of the websites you’re unblocking and adjust your website blocking settings accordingly.