
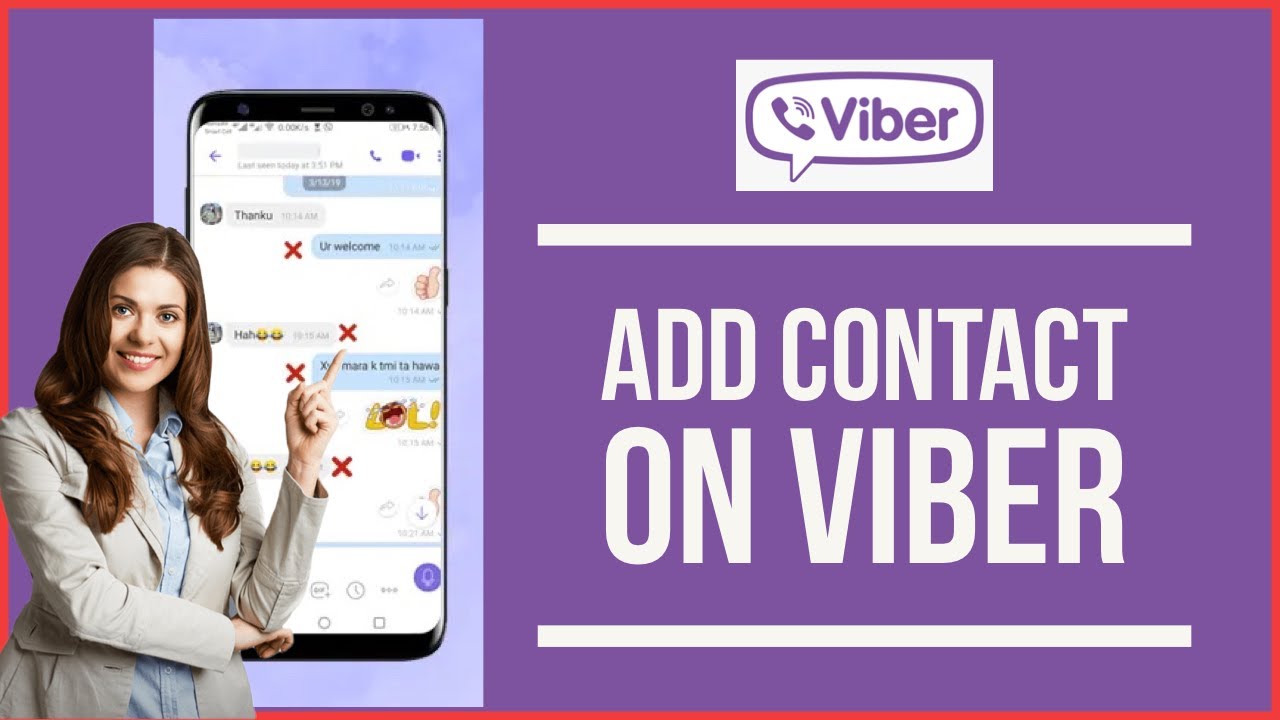
Why Add Contacts to Viber?
Adding contacts to Viber allows you to easily connect and communicate with friends, family, colleagues, and businesses around the world. Viber is a popular messaging and calling app that offers a range of features designed to enhance your communication experience.
Here are a few reasons why adding contacts to Viber is beneficial:
1. Seamless Communication: With Viber, you can send messages, make voice and video calls, and even share multimedia files, all in one convenient platform. By adding contacts to Viber, you can easily stay in touch with anyone, regardless of their location.
2. Enhanced Privacy: Viber offers end-to-end encryption, ensuring that your conversations remain private and secure. By adding contacts directly on Viber, you can have peace of mind knowing that your messages and calls are protected.
3. Group Chats and Calls: Viber allows you to create group chats and make group calls, making it easy to connect with multiple people simultaneously. By adding contacts to Viber, you can easily create and manage group conversations for work, social gatherings, or family discussions.
4. Viber Public Accounts: Viber hosts a wide range of public accounts, including businesses, brands, celebrities, and more. By adding contacts from Viber’s public accounts, you can follow their updates, receive exclusive content, and even engage in conversations with your favorite personalities or brands.
5. Notification Control: By adding contacts to Viber, you have full control over which notifications you receive. You can customize your settings to ensure that you only receive alerts from the contacts that matter most to you, minimizing unwanted distractions.
Adding contacts to Viber not only enhances your communication possibilities, but it also opens the door to a wide range of features and benefits. Whether you want to stay connected with loved ones, collaborate with colleagues, or engage with your favorite brands, Viber provides a convenient and secure platform to do so.
How to Add Contacts Manually
Adding contacts to Viber manually is a straightforward process. Follow these steps to add a contact manually:
- Open the Viber app on your device. If you don’t have Viber installed, you can download it from your device’s app store.
- Tap on the “Contacts” tab, usually located at the bottom of the screen.
- Click on the “Add Contact” or “+” button, which is typically located in the upper-right corner of the screen.
- Enter the contact’s name and phone number in the appropriate fields. You can also add additional details like an email address or a profile picture if desired.
- Tap on the “Save” button to add the contact to your Viber list.
Once you have added a contact manually, you can start sending messages and making calls to them directly through Viber. You can also access their Viber profile to view any shared media, status updates, or other information they have provided.
It’s important to note that in order to add a contact manually, the person you are adding must have a Viber account. If they don’t have Viber installed, you can always send them an invitation to join Viber and then add them as a contact once they have registered.
Adding contacts manually gives you the flexibility to add anyone you wish to connect with on Viber, regardless of whether they are in your device’s contacts list or not. It’s a convenient way to expand your communication network and stay connected with people around the world.
Adding Contacts from Your Phone’s Contacts List
Viber makes it easy to add contacts from your phone’s contacts list. By syncing your contacts with Viber, you can quickly discover which of your existing contacts are already using the app, and easily add them to your Viber contact list. Here’s how to do it:
- Launch the Viber app on your device. If you haven’t already done so, sign in to your Viber account.
- Navigate to the “Contacts” tab, typically located at the bottom of the screen.
- Look for the option to “Connect with Contacts” or “Sync Contacts” and tap on it.
- You may be prompted to grant Viber permission to access your contacts. Follow the on-screen instructions to allow Viber access to your phone’s contact list.
- Viber will now scan your contacts and display a list of contacts who are already on Viber.
- To add a contact from your phone’s contacts list, simply tap on the contact’s name or profile picture.
- A preview of the contact’s Viber profile will appear, showing their Viber status, recent activity, and any shared media.
- If you wish to add the contact, tap on the “Add” or “+” button next to their profile.
Once you have added a contact from your phone’s contacts list, you can start communicating with them on Viber instantly. You can send messages, make voice or video calls, and stay connected with ease.
Adding contacts from your phone’s contacts list streamlines the process of finding and connecting with people you already know. It saves you the effort of manually entering their details and allows you to quickly discover who among your contacts is already using Viber. By syncing your contacts, you can effortlessly expand your Viber network and stay in touch with those who matter most to you.
Adding Contacts from a QR Code
Viber offers the option to add contacts using QR codes, making it quick and easy to connect with others in a seamless way. QR codes are scannable codes that contain contact information and can be easily generated and shared by Viber users. To add a contact from a QR code, follow these steps:
- Open the Viber app on your device and make sure you are signed in to your account.
- Tap on the “QR Code Scanner” or “Scan QR Code” option, usually found in the “Contacts” or “Add Contact” section.
- Point your device’s camera at the QR code you wish to scan. Make sure the QR code is within the frame and well-lit.
- Viber will automatically detect the QR code and display a preview of the contact’s information, including their name, profile picture, and any additional details they have chosen to share.
- If you wish to add the contact, simply tap on the “Add Contact” or “+” button.
Once the contact is added, you can start communicating with them on Viber. You can send text messages, make voice or video calls, and keep in touch effortlessly.
QR code scanning is a convenient method for adding contacts as it eliminates the need for manually entering contact details. It allows for a seamless connection with others and is especially useful when exchanging information at events, networking sessions, or when meeting new people in person.
If you want to share your own Viber QR code to let others add you as a contact, you can generate your QR code within the Viber app. You can typically find this option in your profile settings, where you can customize and personalize your QR code for sharing.
Adding contacts from a QR code is a time-saving and efficient way of expanding your Viber network. It simplifies the process of connecting with others and ensures accurate information transfer, making it a valuable feature for users looking to easily add new contacts to their Viber account.
Adding Contacts from a Viber Group
Viber groups are a great way to connect with multiple individuals who share a common interest or purpose. If you’re a member of a Viber group and want to add specific members to your personal contacts, Viber provides a straightforward process. Here’s how you can add contacts from a Viber group:
- Open the Viber app on your device and navigate to the group chat where the desired contact is a member.
- Tap on the member’s name or profile picture within the group chat. This will open their profile.
- On the member’s profile page, tap on the “Add to Contacts” or “+” button.
- You will have the option to edit or add additional details for the contact, such as their name, phone number, or email address.
- Tap on “Save” to add the contact to your personal Viber contact list.
Once added, you can easily communicate with the contact outside of the group chat, send private messages, make calls, and more.
Adding contacts from a Viber group allows you to maintain individual connections outside of the group setting. It ensures that you can stay in touch with specific group members beyond the confines of the group conversation, enabling more personalized and direct communication.
It’s important to note that when adding contacts from a Viber group, you should always respect the privacy preferences and personal boundaries of each individual. Ensure that you have their permission before adding them to your personal contacts list, and prioritize their comfort and consent.
The ability to add contacts from Viber groups is a convenient feature that helps bridge the gap between group interactions and one-on-one connections. It enables you to cultivate relationships with specific group members, fostering deeper and more meaningful communication within the Viber community.
Adding Contacts from Viber Public Accounts
Viber Public Accounts provide users with access to a wide range of businesses, brands, celebrities, and public figures. Adding contacts from Viber Public Accounts allows you to follow their updates, receive exclusive content, and even engage in conversations with your favorite personalities or brands. Here’s how you can add contacts from Viber Public Accounts:
- Open the Viber app on your device and sign in to your account.
- Navigate to the “Public” or “Discover” tab, usually located at the bottom of the screen.
- Browse through the list of available Viber Public Accounts or use the search function to find specific accounts.
- Tap on the desired Public Account to access its profile page.
- On the profile page, you may find a button labeled “Follow,” “Subscribe,” or similar.
- Tap on the designated button to add the Public Account to your Viber contacts.
- Once added, you will start receiving updates, messages, and exclusive content from the Public Account.
Adding contacts from Viber Public Accounts enhances your Viber experience by enabling you to stay connected with your favorite brands, influencers, or organizations. It provides a direct line of communication, allowing you to engage with them and receive updates in real-time.
Public Accounts on Viber offer various benefits, including access to exclusive promotions, announcements, and content. You can receive personalized recommendations, participate in contests or surveys, and even join group chats or communities organized by the Public Account.
It’s important to note that not all Viber users have Public Accounts, and not all Public Accounts are open to receiving messages from individual users. Some accounts may only broadcast updates and content without facilitating direct communication. Make sure to review the functionality and privacy settings of each Public Account to understand the available features and communication options.
Adding contacts from Viber Public Accounts opens up a world of possibilities for connecting with your favorite brands, influencers, and public figures. It allows you to access exclusive content, engage in conversations, and receive updates directly through the Viber platform.
Removing Contacts from Viber
Viber offers the flexibility to remove contacts from your list at any time. Whether you want to declutter your contact list or no longer wish to communicate with a specific person, removing contacts from Viber is a simple process. Here’s how you can remove contacts from Viber:
- Open the Viber app on your device and sign in to your account.
- Navigate to the “Contacts” tab, typically located at the bottom of the screen.
- Scroll or search for the contact you want to remove from your Viber list.
- Long-press or swipe left on the contact’s name or profile picture.
- A menu will appear with several options; select “Remove” or “Delete.”
- You may be prompted to confirm the removal of the contact. Confirm your choice, and the contact will be removed from your Viber list.
Once a contact is removed, their Viber profile and associated conversations will no longer be accessible to you. Keep in mind that removing a contact from Viber does not delete them from your device’s native contacts list.
Removing contacts from Viber gives you control over who appears in your contact list and streamlines your communication experience. It allows you to keep your Viber contacts organized, relevant, and focused on the individuals you actively engage with.
Occasionally, you may encounter situations where someone you have removed from Viber attempts to contact you again. In such cases, you can choose to block the contact, preventing any future communication from them.
It’s important to note that removing a contact from Viber does not notify the person about the removal. If you wish to terminate the communication entirely, you may consider communicating your intentions directly or blocking the individual.
Removing unwanted contacts from Viber is a useful feature that empowers you to curate and manage your contact list effectively. It helps you maintain a streamlined and personalized Viber experience tailored to your preferences and communication needs.
Managing Contacts in Viber
Viber provides various tools and features to help you manage your contacts effectively. From organizing your contact list to customizing your preferences, Viber offers options to streamline your communication experience. Here are some ways to manage contacts in Viber:
1. Contact Organization: Viber allows you to group your contacts into categories or labels for easy access. You can create custom groups, such as “Friends,” “Family,” or “Work,” and assign contacts to these groups. To create a group, go to your contact list, select the desired contacts, and choose the “Group” or “Label” option to categorize them.
2. Contact Details: Viber enables you to add or edit additional information for your contacts. You can customize their profile picture, add a nickname, or include an email address or birthday. To edit a contact’s details, go to their profile, tap on the “Edit” button, and make the necessary changes.
3. Blocked Contacts: If you no longer want to receive messages or calls from a specific contact, you can block them on Viber. Blocked contacts will not be able to contact you or see your online status. To block a contact, go to the contact’s profile, tap on the “More Options” button (usually represented by three dots), and select “Block” or “Block Contact.”
4. Mute Contacts: If you want to temporarily stop receiving notifications from a specific contact, you can mute them. Muted contacts will still appear in your contact list, but you won’t receive any notification sound or vibration from their messages or calls. To mute a contact, go to their profile, tap on the “More Options” button, and select “Mute.”
5. Syncing Contacts Across Devices: If you have Viber installed on multiple devices, you can sync your contacts to ensure a consistent contact list across all devices. To sync contacts, go to your Viber settings, select the “Account” or “Sync” option, and follow the instructions provided.
By effectively managing your contacts in Viber, you can keep your communication organized, personalized, and efficient. Utilize the various features available to tailor your Viber experience to your preferences and make the most out of your connections.
Syncing Contacts Across Devices
Viber offers a convenient feature that allows you to sync your contacts across multiple devices. By syncing your contacts, you can ensure that your contact list remains consistent and up to date, regardless of the device you are using. Here’s how you can sync contacts across devices in Viber:
- Open the Viber app on the device where you want to sync your contacts.
- Sign in to your Viber account or create a new account if you haven’t already.
- Navigate to the Viber settings, usually accessible from the menu or profile section.
- Select the option for “Account” or “Sync.”
- Look for the option to “Sync Contacts” or “Sync Now” and tap on it.
- Wait for Viber to sync your contacts with the cloud or server.
- Once the syncing process is complete, your contacts will be available on the newly synced device.
By syncing your contacts across devices, you don’t have to manually add or update contacts on each individual device. Any changes you make to your contact list, such as adding a new contact or editing an existing contact, will automatically be reflected on all synced devices.
Syncing contacts also ensures that you can seamlessly switch between devices while maintaining a consistent communication experience. Whether you are using Viber on your smartphone, tablet, or computer, you will have access to the same contact list, making it easier to stay connected with your contacts.
Keep in mind that syncing contacts across devices requires an active internet connection. Additionally, it’s important to note that contacts synced through Viber will not be automatically added to your device’s native contacts list and vice versa.
By utilizing the syncing feature in Viber, you can enjoy a hassle-free experience when managing your contacts. It simplifies the process of keeping your contact list up to date across all your devices, providing a seamless and consistent communication experience.
Troubleshooting: Common Issues When Adding Contacts to Viber
While adding contacts to Viber is typically a smooth process, you may encounter some common issues along the way. Understanding these issues and their solutions can help you troubleshoot and overcome any obstacles you may face. Here are some common issues and troubleshooting tips when adding contacts to Viber:
1. Contact Not on Viber: If you attempt to add a contact who is not on Viber, you will not be able to add them directly. In this case, you can send them an invitation to join Viber, either through an SMS link or by sharing your Viber QR code. Once they have joined Viber, you can add them as a contact.
2. Syncing Issues: If you are experiencing problems syncing your contacts across devices, make sure you have a stable internet connection. Check your device’s settings to ensure that Viber has permission to access your contacts. Restarting the Viber app or your device may also help resolve any syncing issues.
3. Duplicate Contacts: Sometimes, adding contacts from different sources may result in duplicates in your Viber contact list. To resolve this issue, you can merge duplicate contacts within Viber. Go to the contact list, find the duplicate contacts, and select the option to merge or link them into a single contact entry.
4. Contact Display Name: In some cases, the display name of a contact in Viber may appear differently from what you have saved in your device’s native contacts list. This can occur if the contact has chosen to display a different name in their Viber account. To ensure clarity, you can edit the contact’s display name within Viber by going to their profile and selecting the edit option.
5. Contact Privacy Settings: If you are unable to add a contact even though they are on Viber, it may be due to their privacy settings. Some Viber users choose to restrict who can add them as a contact, and if you are not in their approved list, you won’t be able to add them. In this case, you can request the contact to add you or adjust their privacy settings to allow you to add them.
If you continue to experience issues when adding contacts to Viber, you can reach out to Viber’s support team for further assistance. They can provide personalized troubleshooting guidance to help resolve any specific problem you may be facing.
By being aware of these common issues and knowing how to troubleshoot them, you can ensure a smoother experience when adding contacts to Viber. Troubleshooting and resolving these issues promptly will help you maximize the functionality and benefits of Viber’s contact management features.