
Charging time for Kindle Paperwhite
The Kindle Paperwhite is a popular e-reader known for its long-lasting battery life. But how long does it actually take to charge the device fully? The charging time for the Kindle Paperwhite can vary depending on several factors. On average, it takes about 3 to 4 hours to fully charge the device from an empty battery.
It’s worth noting that the charging time may be slightly longer if you are using the device while it’s plugged in. This is because using the Kindle Paperwhite while charging can slow down the charging process. To ensure a faster charge, it’s recommended to let the device charge without any usage during the charging period.
The charging time can also be affected by the power source you are using. When charging via a computer’s USB port, it may take longer to fully charge the Kindle Paperwhite compared to using a wall adapter. USB ports typically provide lower power output, resulting in a slower charging time. If you’re looking for a quicker charge, using a wall adapter is the preferred option.
Additionally, the battery capacity of your Kindle Paperwhite can impact the charging time. Newer models with higher battery capacities may take slightly longer to charge compared to older models. The battery capacity determines the amount of power needed to fully charge the device, so it’s something to keep in mind.
It’s important to note that the Kindle Paperwhite is designed to be an energy-efficient device, so its battery life is optimized for extended usage. With regular usage, the battery can last up to several weeks, depending on factors such as screen brightness and wireless connectivity.
Factors that affect charging time
The charging time for the Kindle Paperwhite can be influenced by various factors. Understanding these factors can help you optimize the charging process and ensure a faster charge. Here are some key factors that affect the charging time:
- Battery level: The initial battery level of your Kindle Paperwhite can impact the charging time. If the battery is completely drained, it may take longer to charge compared to when it’s partially discharged.
- Power source: The type of power source you use to charge your Kindle Paperwhite can impact the charging time. As mentioned earlier, charging via a wall adapter provides a higher power output and therefore charges the device faster compared to using a computer’s USB port.
- Usage while charging: Using your Kindle Paperwhite while it’s charging can slow down the charging process. It’s recommended to let the device charge without any usage during the charging period to ensure a faster charge.
- Charging cable condition: The condition of your charging cable can also affect the charging time. A damaged or faulty cable may not provide a consistent power flow, resulting in a slower charge. It’s important to use a high-quality charging cable that is in good condition.
- Battery capacity: The battery capacity of your Kindle Paperwhite can impact the charging time. Newer models with higher battery capacities may take slightly longer to charge compared to older models.
- Environmental temperature: Extreme temperatures can affect the charging time of your Kindle Paperwhite. It’s recommended to charge the device at room temperature for optimal charging efficiency.
By considering these factors and taking appropriate measures, you can ensure a faster and more efficient charging experience for your Kindle Paperwhite.
How to charge the Kindle Paperwhite
Charging your Kindle Paperwhite is a straightforward process. Here’s a step-by-step guide on how to charge your device:
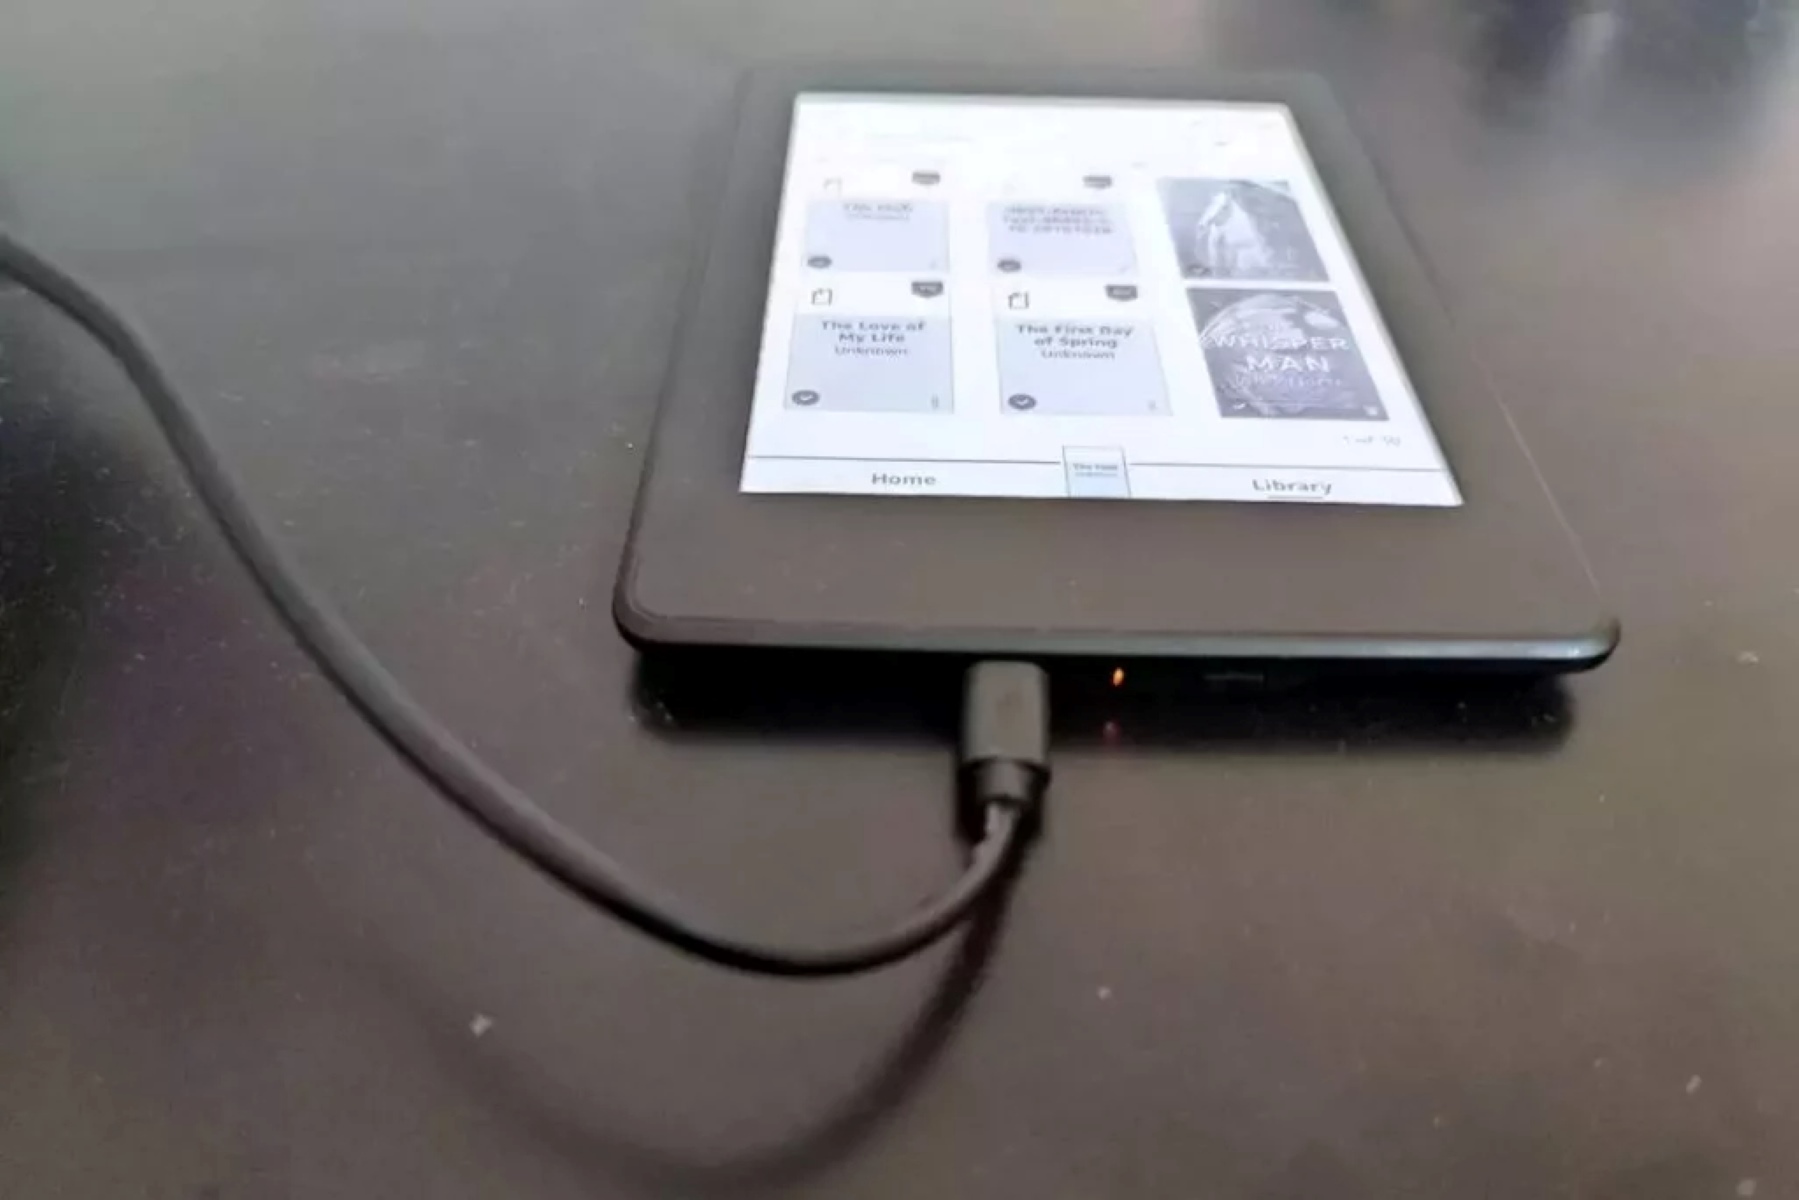
- Locate the charging port: The charging port of the Kindle Paperwhite is located at the bottom of the device. It is a small rectangular slot where you can plug in the charging cable.
- Connect the charging cable: Take the USB end of the charging cable and insert it into the charging port of the Kindle Paperwhite. Make sure it is inserted fully and securely.
- Choose the power source: Decide whether you want to charge your Kindle Paperwhite using a computer’s USB port or a wall adapter. If using a computer, connect the USB end of the cable to an available USB port. If using a wall adapter, plug the adapter into a wall outlet and then connect the USB end of the cable to the adapter.
- Start the charging process: Once the charging cable is connected to both the Kindle Paperwhite and the power source, the charging process will start automatically. You will see a lightning bolt icon on the battery indicator at the top right corner of the screen, indicating that the device is charging.
- Wait for the device to charge: Allow your Kindle Paperwhite to charge undisturbed. The device will continue to charge until the battery is fully replenished. The lightning bolt icon will disappear once the device is fully charged.
- Disconnect the charging cable: Once your Kindle Paperwhite is fully charged, you can safely disconnect the charging cable from the device and the power source. Remember to unplug the wall adapter from the outlet if you were using a wall adapter for charging.
It’s important to note that while charging, the Kindle Paperwhite can still be used, but the charging time may be longer. For a faster charge, it’s recommended to avoid using the device during the charging process.
Following these simple steps will ensure that your Kindle Paperwhite stays powered up and ready for your reading adventures.
USB charging versus wall adapter charging
When it comes to charging your Kindle Paperwhite, you have the option to use either a USB connection or a wall adapter. Both methods have their advantages and considerations. Let’s take a closer look at USB charging and wall adapter charging:
USB charging:
USB charging involves connecting your Kindle Paperwhite to a computer’s USB port using the provided charging cable. Here are some key points to consider:
- Convenience: USB charging is convenient if you work on your computer for extended periods, as you can charge your Kindle Paperwhite while using it.
- Power output: USB ports on computers typically provide a lower power output compared to wall adapters. This means that the charging time may take longer when using USB charging.
- Portability: USB charging is highly portable, as you can easily carry the charging cable and charge your Kindle Paperwhite wherever there is access to a USB port.
- Compatibility: USB charging is compatible with various devices that have a USB port, offering versatility in charging options.
Wall adapter charging:
Wall adapter charging involves using a wall adapter that plugs into a standard wall outlet. This method offers the following benefits:
- Fast charging: Wall adapters usually provide a higher power output, resulting in a faster charging time compared to USB charging.
- Convenience: Wall adapter charging allows you to charge your Kindle Paperwhite directly from a wall outlet, without the need for a computer.
- Standalone charging: With a wall adapter, you can charge your Kindle Paperwhite even if you don’t have access to a computer or USB port.
- Multiple device charging: Wall adapters often have multiple USB ports, allowing you to charge multiple devices simultaneously.
It’s important to choose the charging method that suits your needs and preferences. Both USB charging and wall adapter charging are reliable options for keeping your Kindle Paperwhite powered up and ready for use.
Charging tips for a faster charge
If you’re looking to speed up the charging process for your Kindle Paperwhite, here are some tips to consider:
- Use a wall adapter: Charging your Kindle Paperwhite using a wall adapter is generally faster compared to USB charging. The higher power output of a wall adapter can significantly reduce the charging time.
- Disconnect unnecessary devices: If you are charging your Kindle Paperwhite through a computer’s USB port, disconnect any other USB devices that are not in use. This can ensure that the maximum power is allocated to charging your device.
- Use a high-quality charging cable: A good-quality charging cable can make a difference in the charging speed. Using a cable that is compatible with your Kindle Paperwhite and is in good condition will provide a more efficient power transfer.
- Avoid usage during charging: While you can use your Kindle Paperwhite while it’s charging, using the device during the charging process can slow down the charging time. To ensure a faster charge, let your device charge undisturbed.
- Charge in a cool environment: High temperatures can affect the charging efficiency of your Kindle Paperwhite. To optimize the charging speed, charge your device in a cool environment, away from direct sunlight or heat sources.
- Charge to 80% for quick top-ups: If you are short on time and need a quick top-up, charging your Kindle Paperwhite to around 80% can provide enough battery life for immediate use. Charging beyond that point may take longer, as the device slows down the charging process to protect the battery.
- Regularly update your device software: Keeping your Kindle Paperwhite’s software up to date can improve overall performance, including charging efficiency. Check for software updates regularly and install them when available.
By following these charging tips, you can minimize the charging time and ensure that your Kindle Paperwhite is ready to accompany you on your reading adventures in no time.
How to check the battery status of the Kindle Paperwhite
Keeping track of your Kindle Paperwhite’s battery status is essential to ensure uninterrupted reading. Fortunately, there are a few simple ways to check the battery level of your device. Here’s how you can do it:
Battery indicator on the device:
The Kindle Paperwhite has a built-in battery indicator that provides a visual representation of the battery level. Here’s how to locate and interpret the battery indicator:
- Locate the battery icon: Look for the battery icon at the top right corner of the screen. It will display the remaining battery percentage.
- Check the battery level: The battery icon will indicate the battery level with an empty, partially filled, or full battery icon. A full battery icon represents a higher battery level, while an empty battery icon indicates a lower battery level.
Battery status in the settings:
In addition to the visual battery indicator, you can also check the battery status through the device’s settings. Here’s how:
- Open the settings menu: Tap on the “Menu” icon located at the top right corner of the Kindle Paperwhite’s home screen.
- Select “Settings”: From the drop-down menu, select “Settings” to access the device settings.
- Find “Device Options”: Within the settings menu, scroll down and select “Device Options.”
- Check battery level: Under “Device Options,” you will find the “Battery” section. This section displays the current battery percentage, as well as an estimate of the remaining battery life.
By using either the battery indicator on the device or checking the battery status in the settings, you can easily keep track of your Kindle Paperwhite’s battery level and ensure that it’s charged when you need it most.
Troubleshooting charging issues
While charging your Kindle Paperwhite is usually a smooth process, there may be times when you encounter charging issues. Here are some common troubleshooting steps to help you resolve charging problems:
- Check the charging cable: Ensure that the charging cable is securely connected to both the Kindle Paperwhite and the power source. If the cable is damaged or frayed, try using a different charging cable to see if that resolves the issue.
- Try a different power source: If you’re using a wall adapter, try plugging it into a different outlet. If you’re charging from a computer’s USB port, try using a different USB port or a different computer to eliminate any power source issues.
- Restart your Kindle Paperwhite: A simple restart can sometimes fix charging issues. Press and hold the power button for about 20 seconds until the screen goes blank, then release the button and press it again to turn on the device.
- Reset your Kindle Paperwhite: If the restart doesn’t work, you can try performing a soft reset. Press and hold the power button for about 40 seconds or until the device restarts. This can help resolve any minor software glitches that may be affecting the charging process.
- Clean the charging port: Over time, dust and debris can accumulate in the charging port, hindering proper connection and charging. Use a soft, dry cloth or compressed air to gently clean the charging port, ensuring there is no obstruction or residue.
- Check for software updates: Keeping your Kindle Paperwhite’s software up to date can address potential bugs or issues that could affect the charging process. Check for software updates through the device settings and install any available updates.
- Contact customer support: If you have tried the above steps and are still experiencing charging issues, it may be best to reach out to Kindle customer support for further assistance. They can provide you with specific troubleshooting steps or guide you through the warranty process if necessary.
Remember to always use genuine charging accessories and follow the manufacturer’s guidelines to ensure a safe and successful charging experience for your Kindle Paperwhite.
Frequently asked questions about Kindle Paperwhite charging time
Here are some common questions regarding the charging time of the Kindle Paperwhite:
- How long does it take to fully charge a Kindle Paperwhite?
- Does using the Kindle Paperwhite while charging affect the charging time?
- Does the type of power source affect the charging time?
- How can I check the battery status of my Kindle Paperwhite?
- What can I do to charge my Kindle Paperwhite faster?
- What should I do if I’m experiencing charging issues with my Kindle Paperwhite?
The average charging time for a Kindle Paperwhite is around 3 to 4 hours from an empty battery. However, the charging time can vary depending on factors such as the battery level, power source, and usage during charging.
Using the Kindle Paperwhite while it’s charging can slow down the charging process. To ensure a faster charge, it’s recommended to let the device charge without any usage during the charging period.
Yes, the type of power source can affect the charging time. Charging the Kindle Paperwhite using a wall adapter typically provides a higher power output and charges the device faster compared to using a computer’s USB port. The USB port on a computer may provide a lower power output, resulting in a slower charging time.
You can check the battery status of your Kindle Paperwhite by looking at the battery icon on the screen. It will display the remaining battery percentage. Additionally, you can check the battery level through the device’s settings, where it will also provide an estimate of the remaining battery life.
To charge your Kindle Paperwhite faster, you can use a wall adapter instead of a USB port, avoid using the device while it’s charging, and make sure you have a high-quality charging cable. Charging the device in a cool environment and charging it to around 80% for quick top-ups can also help speed up the charging process.
If you’re experiencing charging issues with your Kindle Paperwhite, try checking the charging cable and power source, restarting or resetting the device, cleaning the charging port, and checking for software updates. If the problem persists, it’s best to contact Kindle customer support for further assistance.
By understanding these frequently asked questions and their answers, you can have a better understanding of the charging time and troubleshooting options for your Kindle Paperwhite.