
What is Philips Hue?
Philips Hue is a smart lighting system that allows you to control your lights wirelessly through your smartphone or other compatible devices. With Philips Hue, you can personalize your lighting experience by adjusting the brightness, color, and intensity of the lights to suit your mood or preferences.
The Philips Hue system consists of LED bulbs, a Hue bridge, and the Hue app. The bulbs screw into standard light fittings and provide a wide range of features such as dimming, color-changing, and even syncing with music or movies for a truly immersive experience. The bridge acts as the hub that connects the bulbs to your home Wi-Fi network, enabling seamless communication and control.
One of the standout features of Philips Hue is its compatibility with voice control assistants such as Amazon Alexa, Google Assistant, and Apple HomeKit. This means that you can simply use voice commands to turn your lights on or off, change colors, or set up lighting routines without even lifting a finger.
Moreover, Philips Hue offers an extensive range of lighting options to cater to everyone’s needs. Whether you’re looking for warm and cozy lighting for a relaxing evening or vibrant and colorful lighting for a party atmosphere, there are a variety of bulbs and lightstrips available to suit your preferences.
Setting up and configuring your Philips Hue system is relatively easy. You can control your lights individually or group them together to create different lighting scenes for different rooms or occasions. The Philips Hue app provides a user-friendly interface where you can easily control and customize your lighting preferences.
Whether you’re a tech enthusiast looking to create a smart home ecosystem or simply someone who wants to enhance their lighting experience, Philips Hue offers a versatile and intuitive solution that can transform the way you illuminate your space.
Getting Started with Philips Hue
Setting up your Philips Hue system is a straightforward process that anyone can do. Follow these steps to get started:
- Ensure you have the essentials: Before you begin, make sure you have the necessary items, namely Philips Hue bulbs and a Hue bridge. The bridge is the heart of the system, so ensure it is plugged into a power source and connected to your Wi-Fi network.
- Install the Philips Hue app: Download and install the Philips Hue app from the Google Play Store or the Apple App Store. Once installed, open the app and follow the on-screen instructions to set up an account.
- Connect the Hue bridge: Plug the Hue bridge into a power outlet and connect it to your home router using the provided Ethernet cable. Wait for the bridge’s light to turn solid blue, indicating a successful connection.
- Discover bulbs: In the Philips Hue app, tap the “Discovery” or “Connect New Lights” option. The app will search for all available Philips Hue bulbs in your home. Make sure the bulbs are screwed into their respective light fittings and switched on.
- Name your bulbs: Once the app has discovered the bulbs, you can assign them names based on their location or purpose, such as “Living Room” or “Kitchen Counter.” This will help you easily identify and control each bulb.
- Explore the app: Take some time to familiarize yourself with the Philips Hue app. You can turn lights on or off, adjust brightness, change colors, and even create custom lighting scenes. Experiment with different settings to find your preferred lighting ambiance.
Once you have completed these steps, you are ready to start enjoying the benefits of your Philips Hue system. You can control your lights from anywhere using the app, schedule lighting routines, and even integrate with compatible voice assistants for hands-free control.
Keep in mind that Philips Hue offers additional features and accessories, such as lightstrips, motion sensors, and outdoor lights, to further enhance your lighting experience. These can be added to your system at any time to expand and customize your setup.
Now that you have the essentials of setting up your Philips Hue system, you can transform your home lighting into a personalized and immersive experience.
Setting up the Philips Hue Bridge
The Philips Hue Bridge is a crucial component of the Philips Hue system as it acts as the central hub that connects all the bulbs in your home. Follow these steps to set up the Philips Hue Bridge:
- Find a suitable location: Choose a location near your home router to ensure a stable and reliable connection. The bridge needs to be plugged into a power outlet and connected to your router using the provided Ethernet cable.
- Power up the bridge: Plug the Hue Bridge into a power outlet using the provided power adapter. The light on the bridge will start blinking to indicate it is ready for setup.
- Connect the bridge to your router: Use the Ethernet cable to connect the bridge to an available LAN port on your home router. Ensure the connection is secure on both ends.
- Wait for the connection: Once connected, allow the bridge a few moments to establish a connection with your home network. The bridge’s light will turn solid blue when the connection is successful.
- Download the Hue app: Download the Philips Hue app from the Google Play Store or the Apple App Store and open it on your smartphone or tablet.
- Create an account: Follow the on-screen instructions to create a new account or log in if you already have one.
- Add a new bridge: In the Hue app, tap the “Set up new bridge” option and follow the prompts to search for and connect to your Hue Bridge.
- Press the bridge button: To complete the setup, press the circular button on the Hue Bridge when prompted by the app. This will confirm the connection between the bridge and the app.
- Assign a name: Give your Hue Bridge a unique name to easily identify it within the app. This can be something like “Home Bridge” or “Living Room Bridge”.
Once you have completed these steps, your Philips Hue Bridge should be successfully set up and ready to connect to your Philips Hue bulbs. Remember that the bridge needs to remain plugged in and connected to your router at all times for the system to function properly.
Setting up the Philips Hue Bridge is a crucial first step in creating your smart lighting ecosystem. With the bridge in place, you can now move on to connecting and controlling your Philips Hue bulbs to bring vibrant and personalized lighting into your home.
Connecting Philips Hue Bulbs
Once you have set up the Philips Hue Bridge, it’s time to connect your Philips Hue bulbs. Follow these steps to get your bulbs up and running:
- Screw in the bulbs: Start by screwing the Philips Hue bulbs into the desired light fixtures in your home. Ensure the bulbs are secure and powered on.
- Open the Philips Hue app: Launch the Philips Hue app on your smartphone or tablet.
- Tap on “Settings” or the gear icon: Look for the “Settings” option in the app’s menu or tap on the gear icon located in the top right corner of the screen.
- Select “Light setup” or “Add lights”: In the settings menu, choose the option that allows you to set up new lights. This may be labeled as “Light setup” or “Add lights.”
- Tap “Search” or “Discover” for new bulbs: The app will begin searching for nearby Philips Hue bulbs. Make sure your bulbs are powered on and within range of the Hue Bridge.
- Confirm the bulbs to add: The app will present you with a list of discovered bulbs. Verify that the displayed bulbs are the ones you want to connect and control.
- Assign names to the bulbs: Give each bulb a unique name based on its location or purpose. This will make it easier to identify and control the bulbs in the app.
- Follow any additional prompts: Depending on the features and capabilities of your Philips Hue bulbs, the app may guide you through additional settings such as brightness, color, or room assignment.
- Repeat for other bulbs: If you have additional Philips Hue bulbs to connect, repeat the process for each bulb until all are successfully added to your system.
Once you have connected your Philips Hue bulbs, you can control each bulb individually or group them together to create customized lighting scenes for different rooms or occasions. The Philips Hue app provides an intuitive interface where you can adjust brightness, change colors, set timers, and even sync your lights with music or movies for a more immersive experience.
With your Philips Hue bulbs connected, you now have the flexibility to manipulate and personalize your home lighting to suit your mood and preferences. Enjoy the convenience and ambiance that the Philips Hue system brings to your living spaces.
Controlling Philips Hue
Once you have set up and connected your Philips Hue system, you can take full control of your lights with ease. Here are the different ways you can control your Philips Hue lights:
- Using the Philips Hue app: The Philips Hue app is the primary control center for your smart lighting system. It allows you to turn lights on or off, adjust brightness, change colors, and create customized lighting scenes. The app is available for both iOS and Android devices and offers a user-friendly interface for effortless control.
- Voice control with assistants: Philips Hue is compatible with popular voice assistants such as Amazon Alexa, Google Assistant, and Apple HomeKit. You can use voice commands to control your lights without picking up your phone. Simply ask your voice assistant to turn lights on or off, adjust brightness, or change colors.
- Using physical switches: Philips Hue bulbs can still be controlled using traditional light switches. However, keep in mind that when the switch is turned off, the bulbs lose power and cannot be controlled through the app or voice commands. To regain control, ensure the switch is turned on, and then use the app or voice commands as desired.
- Using wireless remotes or switches: Philips Hue also offers wireless remotes and switches that allow you to control your lights without relying solely on the app or voice commands. These devices can be placed anywhere in your home and provide convenient access to various lighting scenes and settings.
- Setting up timers and schedules: With the Philips Hue app, you can schedule your lights to turn on or off at specific times. This is particularly useful for creating routines or simulating occupancy when you’re away from home. You can also set timers to have your lights automatically dim or change colors throughout the day.
Whether you prefer the convenience of the app, the hands-free control of voice commands, or the tactile experience of physical switches, Philips Hue offers multiple options to suit your preferences and lifestyle.
With the ability to control your lights wirelessly and customize the ambiance to match your mood or activity, Philips Hue provides an intuitive and seamless lighting experience like no other. Explore the various control options and enjoy the flexibility and convenience of a smart lighting system.
Using the Philips Hue App
The Philips Hue app is the central control hub for your Philips Hue smart lighting system. It enables you to easily and intuitively manage and customize your lights to create the perfect ambiance. Here is how you can utilize the Philips Hue app to enhance your lighting experience:
- Navigation and device control: Upon opening the app, you’ll have access to different sections such as Rooms, Routines, Explore, and Settings. The Rooms section allows you to control lights in specific areas of your home. You can turn lights on or off, adjust brightness, and change colors with simple taps or swipes.
- Creating lighting scenes: The Philips Hue app lets you create and save lighting scenes to effortlessly set the mood for any occasion. You can choose from pre-defined scenes or create your own by adjusting brightness, colors, and effects. For example, set a cozy scene with warm, dimmed lights or a vibrant scene with bright, colorful hues.
- Scheduling and timers: Take advantage of the app’s scheduling feature to automate your lighting. You can set timers to turn lights on or off at specific times, ensuring a well-lit home when you arrive or simulating occupancy while away. This feature enhances security and energy efficiency.
- Customizing settings: The Philips Hue app offers a range of customizable settings to further personalize your lighting experience. You can adjust color temperature, brightness levels, and even enable features like gentle wake-up alarms that gradually increase lighting intensity in the morning.
- Exploring additional features: Within the Explore section of the app, you can discover additional features and integrations. This includes exploring compatible third-party apps that enhance your Philips Hue experience with features like dynamic lighting and synchronization with music or movies.
- Voice control integration: The Philips Hue app seamlessly integrates with popular voice assistants, enabling you to control your lights using voice commands. Whether it’s turning lights on or off, adjusting brightness, or changing colors, you can simply ask your voice assistant to do it for you.
The Philips Hue app provides a user-friendly interface that enables you to control and customize your lighting system effortlessly. It empowers you to enjoy personalized lighting scenes, automate lighting routines, and explore various features to create the desired ambiance for any situation or mood.
With the Philips Hue app, you have complete control over your smart lighting system at your fingertips. Explore the app’s diverse capabilities and unleash the full potential of your Philips Hue lights to truly transform your living spaces.
Creating Scenes with Philips Hue
One of the exciting features of the Philips Hue smart lighting system is the ability to create and save customized scenes. Scenes allow you to set the perfect lighting ambiance for different activities, moods, or occasions. Here’s how you can create scenes with Philips Hue:
- Open the Philips Hue app: Launch the app on your smartphone or tablet and ensure that you are connected to your Philips Hue system.
- Navigate to the Scenes section: In the app, locate the Scenes tab or section, usually located at the bottom of the screen.
- Create a new scene: Select the option to create a new scene or add a scene if you already have existing scenes.
- Choose your lights: Select the Philips Hue lights that you want to include in the scene. You can choose individual bulbs or select entire rooms to apply the scene to multiple lights simultaneously.
- Select colors and brightness: Customize the lighting by adjusting the colors and brightness levels of the chosen lights. You can manually select colors using the color wheel or choose from pre-defined color palettes.
- Set the scene name: Give your scene a descriptive name that reflects its purpose or ambiance. For example, “Cozy Evening” for a warm and dimmed scene or “Party Mode” for a vibrant and colorful lighting experience.
- Adjust transitions and effects: Depending on the capabilities of your Philips Hue lights, you can add dynamic effects and transitions to your scene. This can include gradual color changes, pulsating effects, or even synchronized lighting with music or movies.
- Save and activate the scene: Once you are satisfied with the scene settings, save your scene and activate it. The chosen lights will now adjust to the specified colors, brightness, and effects defined by the scene.
- Customize and manage scenes: The Philips Hue app allows you to further customize and manage your scenes. You can edit existing scenes to make adjustments, delete scenes that are no longer needed, and rearrange the scenes for quick access.
By creating scenes with Philips Hue, you can effortlessly transform the lighting in your home to match your desired ambiance. Whether you want a relaxed and cozy atmosphere or a lively and dynamic setting, scenes provide a convenient way to achieve the perfect lighting for any occasion.
Experiment with different colors, brightness levels, and effects to create unique and personalized scenes that enhance your living spaces. With just a few taps in the Philips Hue app, you can easily switch between scenes and set the mood in every room.
Unlock the full potential of your Philips Hue lights by creating scenes that bring your desired lighting experiences to life. Whether you’re hosting a dinner party, enjoying a movie night, or simply relaxing after a long day, scenes can elevate your lighting and transform your space into the ideal setting for any moment.
Automating Philips Hue with Routines
Philips Hue offers a powerful feature called routines that allow you to automate your smart lighting system effortlessly. Routines enable you to schedule specific lighting changes or trigger them based on certain events or conditions. Here’s how you can automate Philips Hue with routines:
- Access the routines feature: Open the Philips Hue app and navigate to the routines or automation section. This is typically located in the main menu or toolbar.
- Create a new routine: Select the option to create a new routine or automation. Give your routine a descriptive name that reflects its purpose or function.
- Choose the trigger: Select the trigger for your routine. This can be a specific time of day, sunrise or sunset, device proximity, or even when certain events occur (such as motion detection or when you arrive home).
- Define the desired lighting actions: Specify the lighting actions you want to occur when the trigger is activated. This includes turning lights on or off, adjusting brightness or color, and activating specific scenes.
- Customize additional settings: Depending on your routine, you may have additional settings to adjust. This could include setting a gradual fade-in or fade-out time for the lights, randomizing colors, or enabling repeating schedules.
- Save and activate the routine: Once you have set up the routine, save your settings and activate it. The routine will now perform the defined lighting actions based on the specified trigger.
- Manage and customize routines: The Philips Hue app provides flexibility in managing and customizing your routines. You can edit existing routines to make changes, delete routines that are no longer needed, or arrange the order of routines to prioritize their execution.
Routines allow you to create a seamless and automated lighting experience in your home. Here are some examples of how you can use routines to enhance your daily life:
- Wake-up routine: Set a routine to gradually increase the brightness of your lights in the morning to simulate a natural sunrise and help you wake up more gently.
- Homecoming routine: Have your lights automatically turn on when you arrive home, creating a welcoming atmosphere as you enter.
- Energize routine: Create a routine that activates bright and vibrant lighting to help boost energy and productivity during the day.
- Movie night routine: Set up a routine that dims the lights and activates a cinema-like scene whenever you’re ready for a movie night at home.
- Bedtime routine: Create a routine that gradually dims the lights in the evening to help signal your body that it’s time to wind down and prepare for sleep.
By automating Philips Hue with routines, you can effortlessly enhance your daily routines, create the perfect ambiance for different activities, and improve the overall convenience and efficiency of your smart lighting system.
Unlock the power of automation and let Philips Hue take care of your lighting, allowing you to focus on enjoying the right lighting for every moment.
Integrating Philips Hue with Voice Assistants
Philips Hue seamlessly integrates with popular voice assistants, allowing you to control your smart lighting system with simple voice commands. By connecting Philips Hue to voice assistants like Amazon Alexa, Google Assistant, or Apple HomeKit, you can enjoy hands-free control over your lights. Here’s how to integrate Philips Hue with voice assistants:
- Set up your voice assistant: First, ensure that your voice assistant device is set up and connected to your home network. Follow the manufacturer’s instructions to configure your voice assistant, such as downloading the respective app and linking it to your account.
- Link Philips Hue to your voice assistant: Open the app for your voice assistant and search for available smart home devices or skills. Look for the Philips Hue skill or integration and follow the instructions to link your Philips Hue account to your voice assistant.
- Discover devices: Once the link between Philips Hue and your voice assistant is established, instruct your voice assistant to discover or scan for available devices. This will identify your Philips Hue lights and add them to your voice assistant’s list of controllable devices.
- Control your lights with voice commands: Now that your Philips Hue lights are connected to your voice assistant, you can start using voice commands to control them. Simply say the specific commands for your desired actions, such as “Hey Google, turn on the living room lights” or “Alexa, set the kitchen lights to blue.”
- Create routines and shortcuts: Take advantage of your voice assistant’s routines or shortcuts feature to streamline your smart home experience. This allows you to create custom voice commands that trigger multiple actions simultaneously, such as setting the scene for movie night with a single phrase.
- Explore additional voice control features: Depending on your voice assistant and its integrations, you may have access to additional features and capabilities. These can include adjusting brightness, changing colors, or even controlling your lights remotely when you’re away from home.
Integrating Philips Hue with voice assistants brings a whole new level of convenience and control to your smart lighting system. The ability to control your lights with simple voice commands allows for hands-free operation, making it even easier to create the desired ambiance or perform lighting tasks in your home.
Whether you prefer to use Amazon Alexa, Google Assistant, or Apple HomeKit, integrating Philips Hue with voice assistants provides a seamless and intuitive experience. It simplifies controlling your lights and enhances the overall smart home experience.
Explore the capabilities of your voice assistant and take full advantage of the integration with Philips Hue to transform the way you interact with your lighting system through the power of voice commands.
Expanding the Philips Hue System
The Philips Hue smart lighting system is highly expandable, allowing you to add more bulbs, fixtures, and accessories to enhance your lighting setup. Here are some options to consider when expanding your Philips Hue system:
- Add more Philips Hue bulbs: Philips Hue offers a wide range of bulbs, including white ambiance, color ambiance, and filament bulbs. Expand your system by adding additional bulbs to new rooms, fixtures, or existing setups to create a comprehensive and synchronized lighting experience throughout your home.
- Explore specialty bulbs: In addition to standard bulbs, Philips Hue offers specialty bulbs such as spotlights, downlights, and lightstrips. These can be used to highlight specific areas, create accent lighting, or add a unique touch to your space.
- Consider outdoor lighting: Extend your Philips Hue system to your outdoor spaces with a variety of outdoor lighting options. From floodlights to pathway lights, these weather-resistant bulbs can transform your outdoor areas while still being controlled through the same Philips Hue app.
- Integrate Philips Hue fixtures: Philips Hue also offers a range of fixtures that come with built-in Hue bulbs. These fixtures can be a convenient option if you want to incorporate Philips Hue lighting into your home without the need for additional bulbs or compatibility concerns.
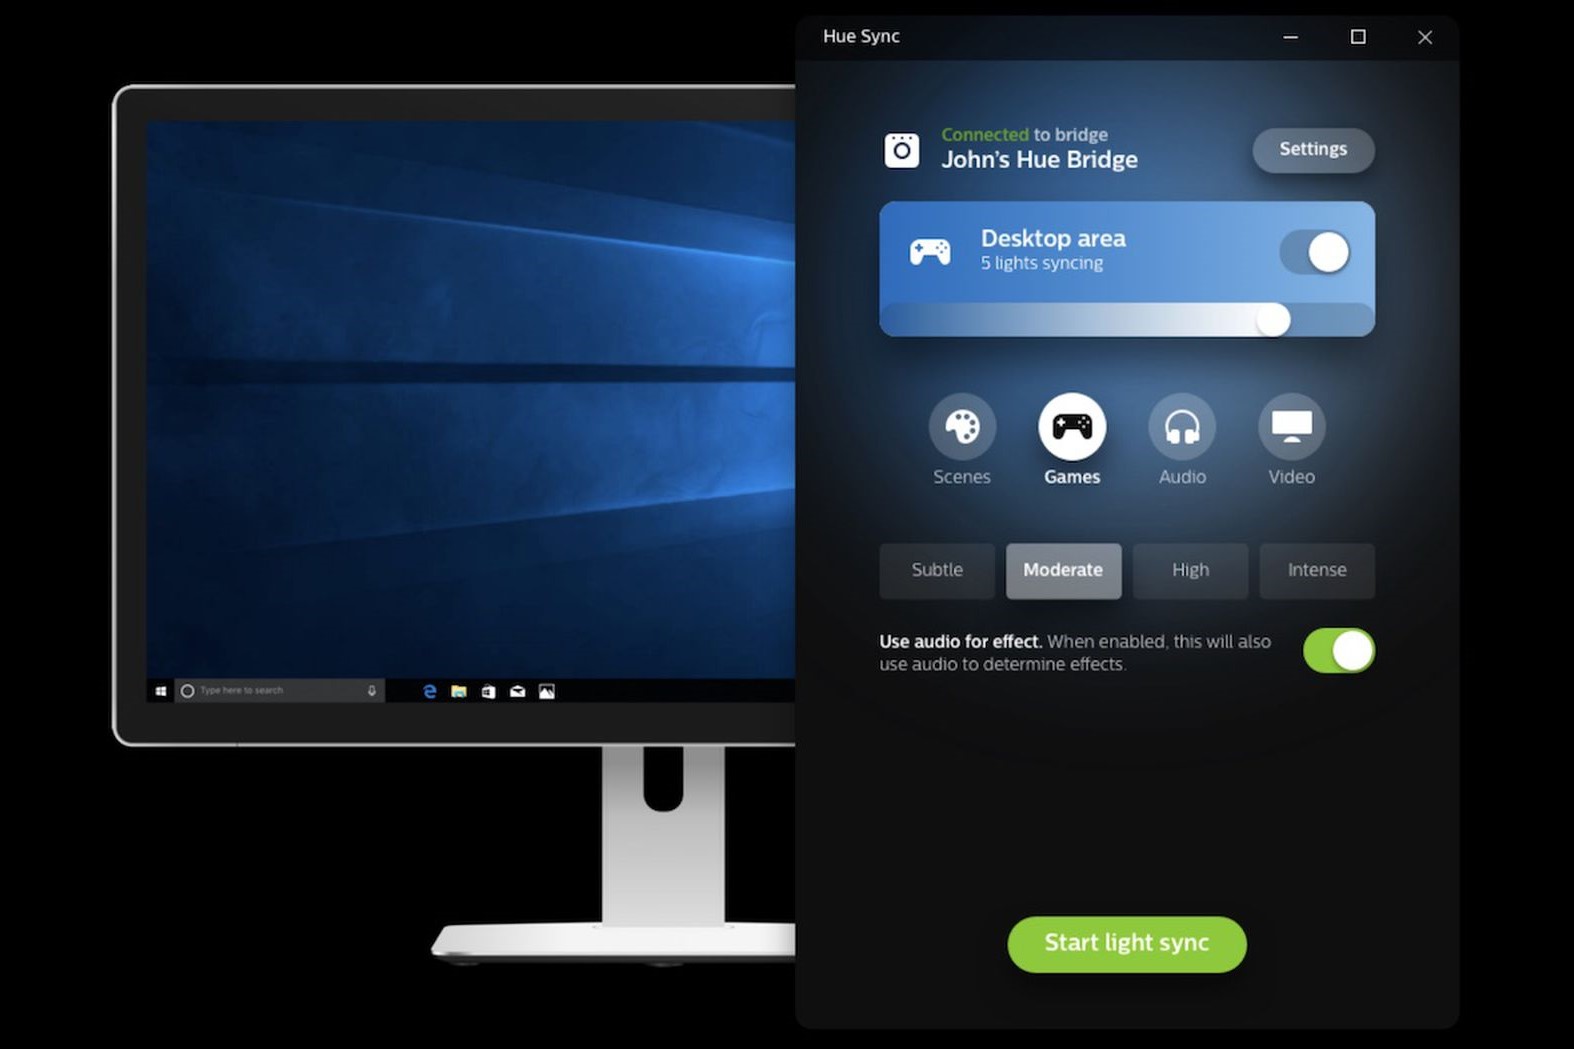
- Expand with accessories: Philips Hue offers a variety of accessories to further enhance your lighting setup. These include wireless switches, motion sensors, and even a Hue Sync Box for synchronizing your lights with your TV or gaming setup.
- Connect with other smart devices: Expand the capabilities of your Philips Hue system by integrating it with other smart devices in your home. By connecting Philips Hue with platforms like Apple HomeKit, Samsung SmartThings, or IFTTT, you can create complex automation routines and integrate your lighting with other smart home systems.
- Explore third-party apps: Expand your lighting experience by exploring third-party apps that are compatible with Philips Hue. These apps offer additional features, effects, and pre-built scenes that can further enhance and customize your lighting setup.
By expanding your Philips Hue system, you can create a truly immersive lighting experience throughout your home. From indoor to outdoor spaces, you have the flexibility to customize and control your lights to match your mood and activities.
As you expand your system, keep in mind that the Philips Hue app remains the central hub for controlling and managing your lights. It allows you to easily add and configure new devices, organize your setup, and create personalized scenes and routines.
Take your smart lighting to the next level by expanding your Philips Hue system, giving you even more versatility, creativity, and control over the way you illuminate your living spaces.
Troubleshooting Philips Hue
While the Philips Hue smart lighting system is designed to be user-friendly, you may encounter occasional issues or glitches. Here are some common troubleshooting steps to help resolve problems and ensure smooth operation of your Philips Hue system:
- Check the power and connectivity: Make sure that all bulbs, the Hue Bridge, and any additional accessories are properly powered on and connected to your home network.
- Restart the Bridge: If you’re experiencing connectivity issues, try restarting the Hue Bridge by disconnecting the power for a few seconds and then reconnecting it. Allow the Bridge to re-establish connection with your network.
- Ensure Wi-Fi signal strength: Weak Wi-Fi signal can cause communication problems between the bulbs and the Bridge. Ensure that the Bridge is positioned within range of your Wi-Fi router for optimal signal strength.
- Reset the bulbs: If individual bulbs are not responding, try resetting them. This can be done by switching the bulbs off and on multiple times in quick succession until they blink or change color.
- Reconnect bulbs: If a specific bulb is not being detected or responding, try reconnecting it. Within the Philips Hue app, go to the settings for that specific bulb and follow the instructions to reconnect it to the Bridge.
- Check firmware updates: Ensure that you have the latest firmware updates installed for both the Philips Hue Bridge and the bulbs. Keeping the software up to date can resolve compatibility issues and improve overall performance.
- Verify app settings: Double-check the settings within the Philips Hue app to ensure that you haven’t accidentally disabled or limited certain features or actions.
- Remove third-party interference: If you have other wireless devices or appliances that operate on similar frequencies, they may interfere with the Philips Hue system. Try relocating or turning off these devices to eliminate any potential interference.
- Reset the Bridge: If none of the above steps resolve the issue, you can try resetting the Hue Bridge to its factory settings. This should be done as a last resort and will require you to set up your Philips Hue system again from scratch.
- Reach out for support: If troubleshooting steps do not resolve the problem, Philips provides customer support and an online community where you can seek further assistance or find solutions to common issues.
Remember, troubleshooting steps may vary depending on the specific issue you’re facing. Always refer to the official Philips Hue documentation or support resources for more detailed guidance on troubleshooting specific problems.
By following these troubleshooting steps and seeking appropriate support when needed, you can resolve common issues and enjoy a seamless lighting experience with your Philips Hue system.