
Understanding RV Batteries
RV batteries are essential for powering various electrical components in recreational vehicles, providing energy for lighting, appliances, entertainment systems, and more. Understanding the basics of RV batteries is crucial for maintaining a reliable power source during your travels.
RV batteries come in different types, including deep-cycle and starter batteries. Deep-cycle batteries are designed to provide a steady amount of power over an extended period, making them ideal for powering appliances and lights in the RV. On the other hand, starter batteries are used to start the RV's engine and are not suitable for powering onboard devices for an extended period.
It's important to note that RV batteries require regular maintenance to ensure optimal performance. Factors such as temperature, usage, and charging methods can impact the lifespan and efficiency of the battery. By understanding the specific needs of your RV battery, you can take appropriate measures to prolong its longevity and reliability.
Proper understanding of RV batteries also involves recognizing the signs of a declining battery, such as slow cranking of the engine, dimming lights, or difficulty starting appliances. Monitoring the battery's health and addressing any issues promptly can prevent unexpected power failures during your travels.
In summary, comprehending the different types of RV batteries, their maintenance requirements, and the signs of declining performance is essential for ensuring a consistent power supply in your recreational vehicle. With this knowledge, you can effectively manage and maintain your RV battery, enhancing your overall travel experience.
Types of RV Batteries
RV batteries are available in various types, each serving specific purposes and possessing unique characteristics that cater to different power requirements. Understanding the distinctions between these battery types is crucial for selecting the most suitable option for your recreational vehicle.
1. Lead-Acid Batteries: These traditional batteries are commonly used in RVs. They are further categorized into flooded lead-acid (FLA) and valve-regulated lead-acid (VRLA) batteries. FLA batteries require regular maintenance, including adding water to the cells, while VRLA batteries are maintenance-free and can be installed in any orientation.
2. Absorbent Glass Mat (AGM) Batteries: AGM batteries are a type of VRLA battery that uses a fiberglass mat to absorb the electrolyte. They are spill-proof, maintenance-free, and offer excellent performance in deep-cycle applications, making them well-suited for RV use.
3. Gel Cell Batteries: Gel cell batteries are another type of VRLA battery that uses silica to immobilize the electrolyte, creating a gel-like substance. They are known for their durability, resistance to vibration, and ability to perform well in deep-cycle applications, making them suitable for RVs.
When choosing an RV battery, it’s essential to consider factors such as power requirements, maintenance preferences, and budget. Each type of battery has its advantages and limitations, so assessing your specific needs will help you make an informed decision.
By understanding the characteristics and applications of different RV battery types, you can select the most appropriate option to meet your power demands and enhance the overall functionality of your recreational vehicle.
Checking the Battery Level
Regularly monitoring the battery level of your RV is crucial for ensuring a reliable power supply during your travels. Understanding how to check the battery level empowers you to proactively manage the energy resources of your recreational vehicle.
1. Visual Inspection: Start by visually inspecting the battery for any signs of damage, corrosion, or leaks. Ensure that the battery terminals are clean and free from buildup, as this can affect the battery’s performance.
2. Voltage Testing: Use a multimeter to measure the voltage of the RV battery. A fully charged 12-volt battery should read around 12.6 to 12.8 volts. If the voltage is significantly lower, it may indicate that the battery requires recharging.
3. Load Testing: Perform a load test to assess the battery’s capacity to deliver power under a load. This test helps determine if the battery can sustain the electrical demands of the RV’s appliances and devices.
By regularly checking the battery level using visual inspection, voltage testing, and load testing, you can gauge the health and performance of your RV battery. This proactive approach enables you to address any issues promptly and maintain a consistent power supply for your recreational vehicle.
Steps to Charge an RV Battery
Charging an RV battery is a fundamental aspect of maintaining a reliable power source for your recreational vehicle. Whether you’re preparing for a trip or ensuring that the battery remains in optimal condition during storage, following the proper steps to charge the battery is essential.
1. Safety Precautions: Before initiating the charging process, ensure that the RV is parked in a well-ventilated area, and all electrical appliances and devices are turned off to prevent any electrical mishaps.
2. Access the Battery: Locate the RV battery and ensure that the connections are secure and free from corrosion. If necessary, clean the battery terminals to facilitate efficient charging.
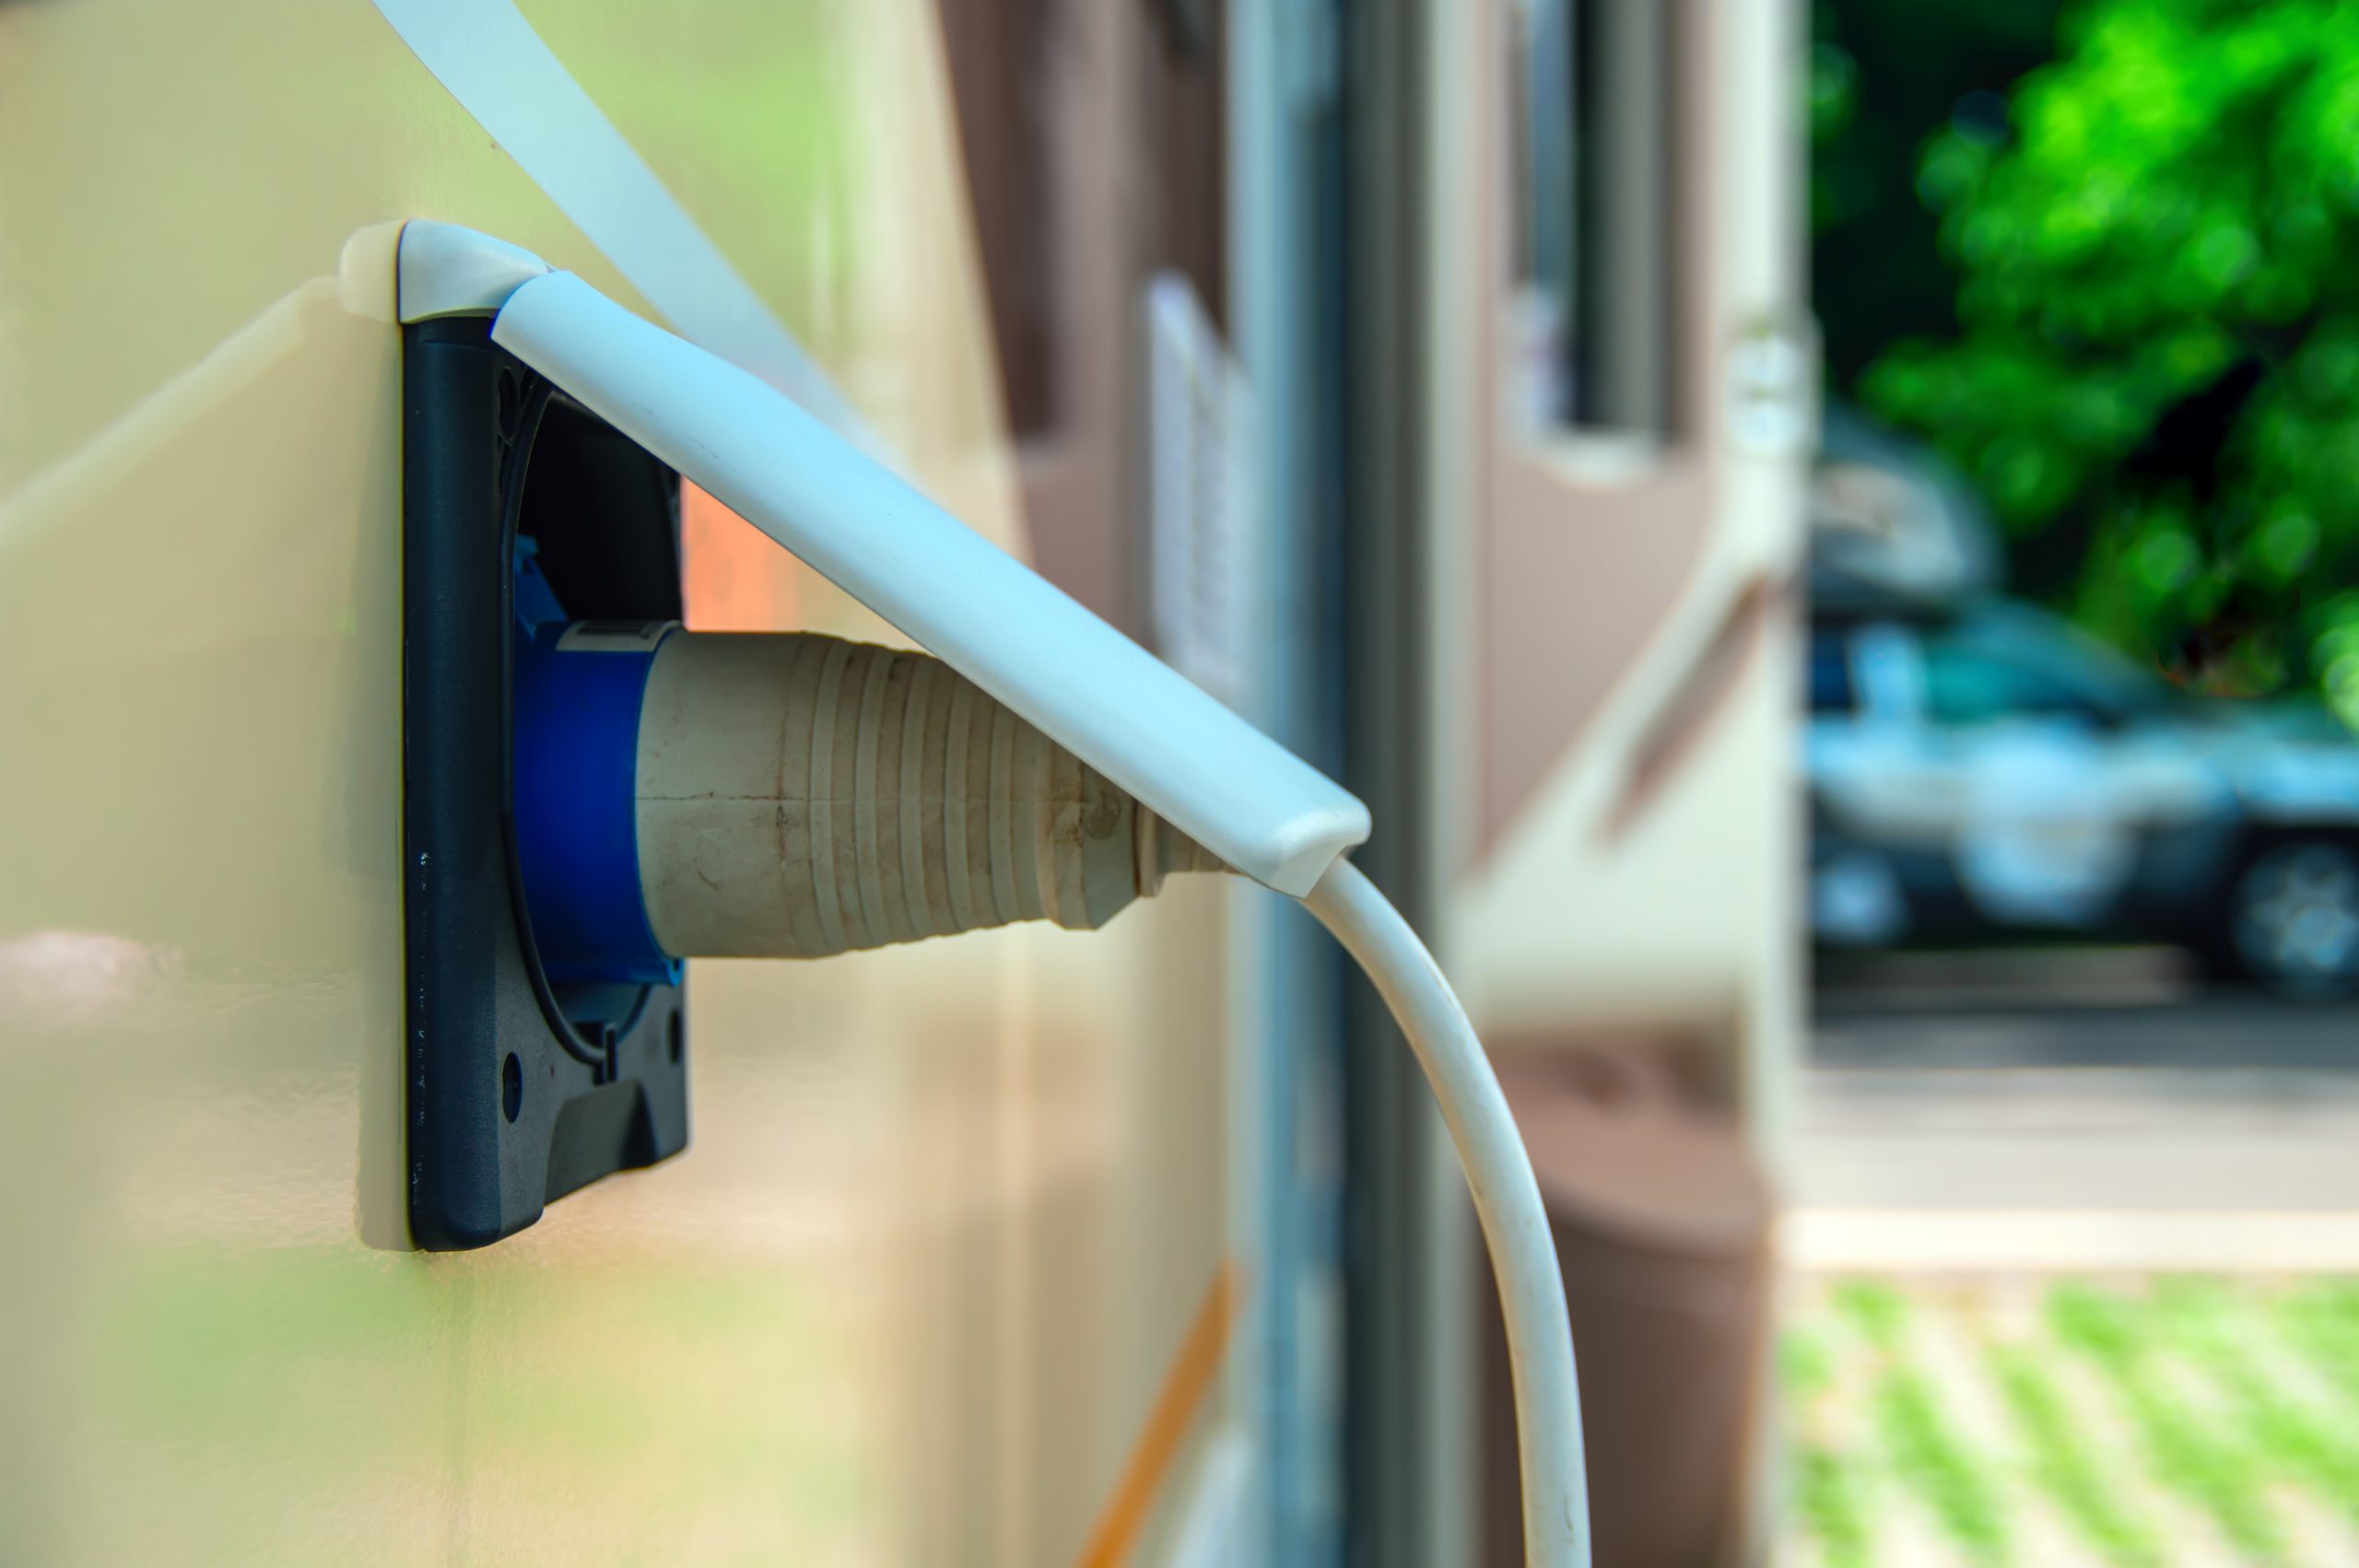
3. Choose the Charging Method: Depending on the available resources, you can charge the RV battery using a shore power connection, a portable generator, or solar panels. Each method offers distinct advantages and can be selected based on your specific needs and circumstances.
4. Connect the Charger: If using a traditional battery charger, carefully connect the positive (+) and negative (-) terminals of the charger to the corresponding terminals on the RV battery. Ensure that the connections are secure and that the charger is set to the appropriate voltage and charging mode.
5. Monitor the Charging Process: While the battery is charging, periodically check the charger’s status and the battery’s voltage to ensure that the charging process is proceeding smoothly. Avoid overcharging the battery, as this can lead to damage and reduced battery lifespan.
6. Disconnect and Test: Once the battery is fully charged, disconnect the charger and perform a voltage test to verify that the battery has reached the appropriate voltage level. Reconnect the battery to the RV, and ensure that all connections are secure and properly tightened.
By following these steps, you can effectively charge your RV battery, ensuring that it remains in optimal condition and ready to power your recreational vehicle’s electrical components during your travels.
Using a Generator to Charge the Battery
When access to shore power is limited, or you’re camping off-grid, using a generator to charge your RV battery becomes essential. Generators provide a reliable source of electricity, allowing you to replenish the battery’s charge and power the electrical systems in your recreational vehicle. Here’s a guide on how to effectively utilize a generator for charging the RV battery:
1. Generator Selection: Choose a generator that matches the power requirements of your RV and has the capacity to charge the battery effectively. Consider factors such as wattage, fuel efficiency, and noise levels when selecting a generator for your charging needs.
2. Positioning the Generator: Place the generator on stable ground, ensuring that it is positioned at a safe distance from the RV to prevent carbon monoxide buildup. Follow the manufacturer’s guidelines for safe operation and maintenance of the generator.
3. Connecting the RV: Use a heavy-duty extension cord to connect the generator to the RV’s shore power inlet. Ensure that the connection is secure and that the generator is set to the appropriate voltage and frequency to match the RV’s electrical system.
4. Initiating the Charging Process: Start the generator and allow it to stabilize before initiating the charging process. Monitor the generator’s performance and ensure that it is providing a consistent power output to charge the RV battery effectively.
5. Monitoring the Charging Progress: While the battery is being charged, periodically check the generator’s status, fuel levels, and oil levels to ensure uninterrupted charging. Additionally, monitor the battery’s voltage to gauge the progress of the charging process.
6. Safety Considerations: Adhere to safety protocols when operating the generator, including proper ventilation, avoiding overloading the generator, and following all safety instructions provided by the manufacturer.
By following these steps and adhering to safety guidelines, you can effectively utilize a generator to charge your RV battery, ensuring that your recreational vehicle remains powered and functional, even in remote or off-grid locations.
Solar Panel Charging for RV Batteries
Utilizing solar panels to charge RV batteries offers a sustainable and environmentally friendly approach to maintaining a consistent power supply for your recreational vehicle. Solar energy provides a renewable source of electricity, allowing you to recharge the battery and operate electrical appliances while minimizing reliance on traditional grid power. Here’s a comprehensive guide on effectively harnessing solar energy for RV battery charging:
1. Solar Panel Selection: Choose high-quality solar panels that are designed for RV applications and can efficiently convert sunlight into electricity. Consider factors such as wattage, size, and durability when selecting solar panels for your RV.
2. Positioning the Solar Panels: Install the solar panels in a location that receives maximum sunlight exposure, such as the RV roof. Ensure that the panels are securely mounted and angled to capture sunlight effectively throughout the day.
3. Charge Controller Installation: Install a charge controller between the solar panels and the RV battery to regulate the voltage and current flowing from the panels to the battery. A charge controller prevents overcharging and ensures optimal charging efficiency.
4. Connecting the Battery: Use appropriate wiring to connect the solar panels to the charge controller and then to the RV battery. Ensure that the connections are secure and that the wiring is protected from environmental elements and potential damage.
5. Monitoring the Charging Process: Regularly monitor the solar panels’ performance, including their energy production and the battery’s voltage level. Adjust the positioning of the panels as needed to optimize sunlight exposure and charging efficiency.
6. Battery Maintenance: While solar panel charging is relatively low-maintenance, periodically inspect the battery for any signs of damage, corrosion, or reduced performance. Clean the battery terminals and ensure that all connections are secure to maximize charging efficiency.
By effectively harnessing solar energy for RV battery charging, you can enjoy a sustainable and independent power source for your recreational vehicle. Solar panel charging not only reduces reliance on traditional grid power but also contributes to a more eco-friendly and self-sufficient RV lifestyle.
Maintaining Your RV Battery Charge
Proper maintenance is essential for preserving the longevity and performance of your RV battery, ensuring that it remains reliable and functional throughout your travels. By implementing proactive measures and adhering to best practices, you can effectively maintain the charge of your RV battery, enhancing its overall efficiency and lifespan.
1. Regular Inspections: Conduct routine inspections of the battery, checking for signs of corrosion, leaks, and physical damage. Ensure that the battery terminals are clean and free from buildup, and that the connections are secure and properly tightened.
2. Cleaning and Ventilation: Keep the battery and its surroundings clean and well-ventilated to prevent the accumulation of dirt, debris, and corrosive substances. Additionally, ensure that the battery is securely mounted and protected from excessive vibration and impact.
3. Charge Regularly: Regularly charge the RV battery, especially during periods of inactivity or storage. Implement a charging schedule to prevent the battery from discharging excessively, which can lead to sulfation and reduced capacity.
4. Avoid Over-Discharging: Prevent the battery from reaching critically low charge levels, as over-discharging can damage the battery’s cells and lead to irreversible capacity loss. Use battery monitoring systems to track the charge level and implement energy-saving practices when necessary.
5. Temperature Considerations: Protect the battery from extreme temperatures, as both high heat and freezing conditions can impact its performance and longevity. Implement insulation and temperature regulation measures to maintain an optimal operating environment for the battery.
6. Professional Maintenance: Periodically have the RV battery inspected and serviced by a qualified technician to identify any potential issues and ensure that the battery is operating at its best. Professional maintenance can include capacity testing, terminal cleaning, and overall health assessments.
By consistently implementing these maintenance practices, you can effectively preserve the charge and performance of your RV battery, ensuring a reliable power supply for your recreational vehicle. Proactive maintenance not only extends the lifespan of the battery but also enhances the overall functionality and efficiency of your RV’s electrical systems.