
Cleaning the Ear Cups
Over time, the ear cups of your headset can accumulate dirt, oil, and grime, impacting both the appearance and performance of the device. To effectively clean the ear cups, follow these simple steps:
- Remove the Ear Pads: Start by carefully removing the ear pads from the headset. Most ear pads are designed to be easily detached, allowing for convenient cleaning.
- Prepare a Cleaning Solution: Create a gentle cleaning solution by mixing mild liquid soap or dish detergent with warm water. Ensure that the solution is not too concentrated to avoid damaging the materials.
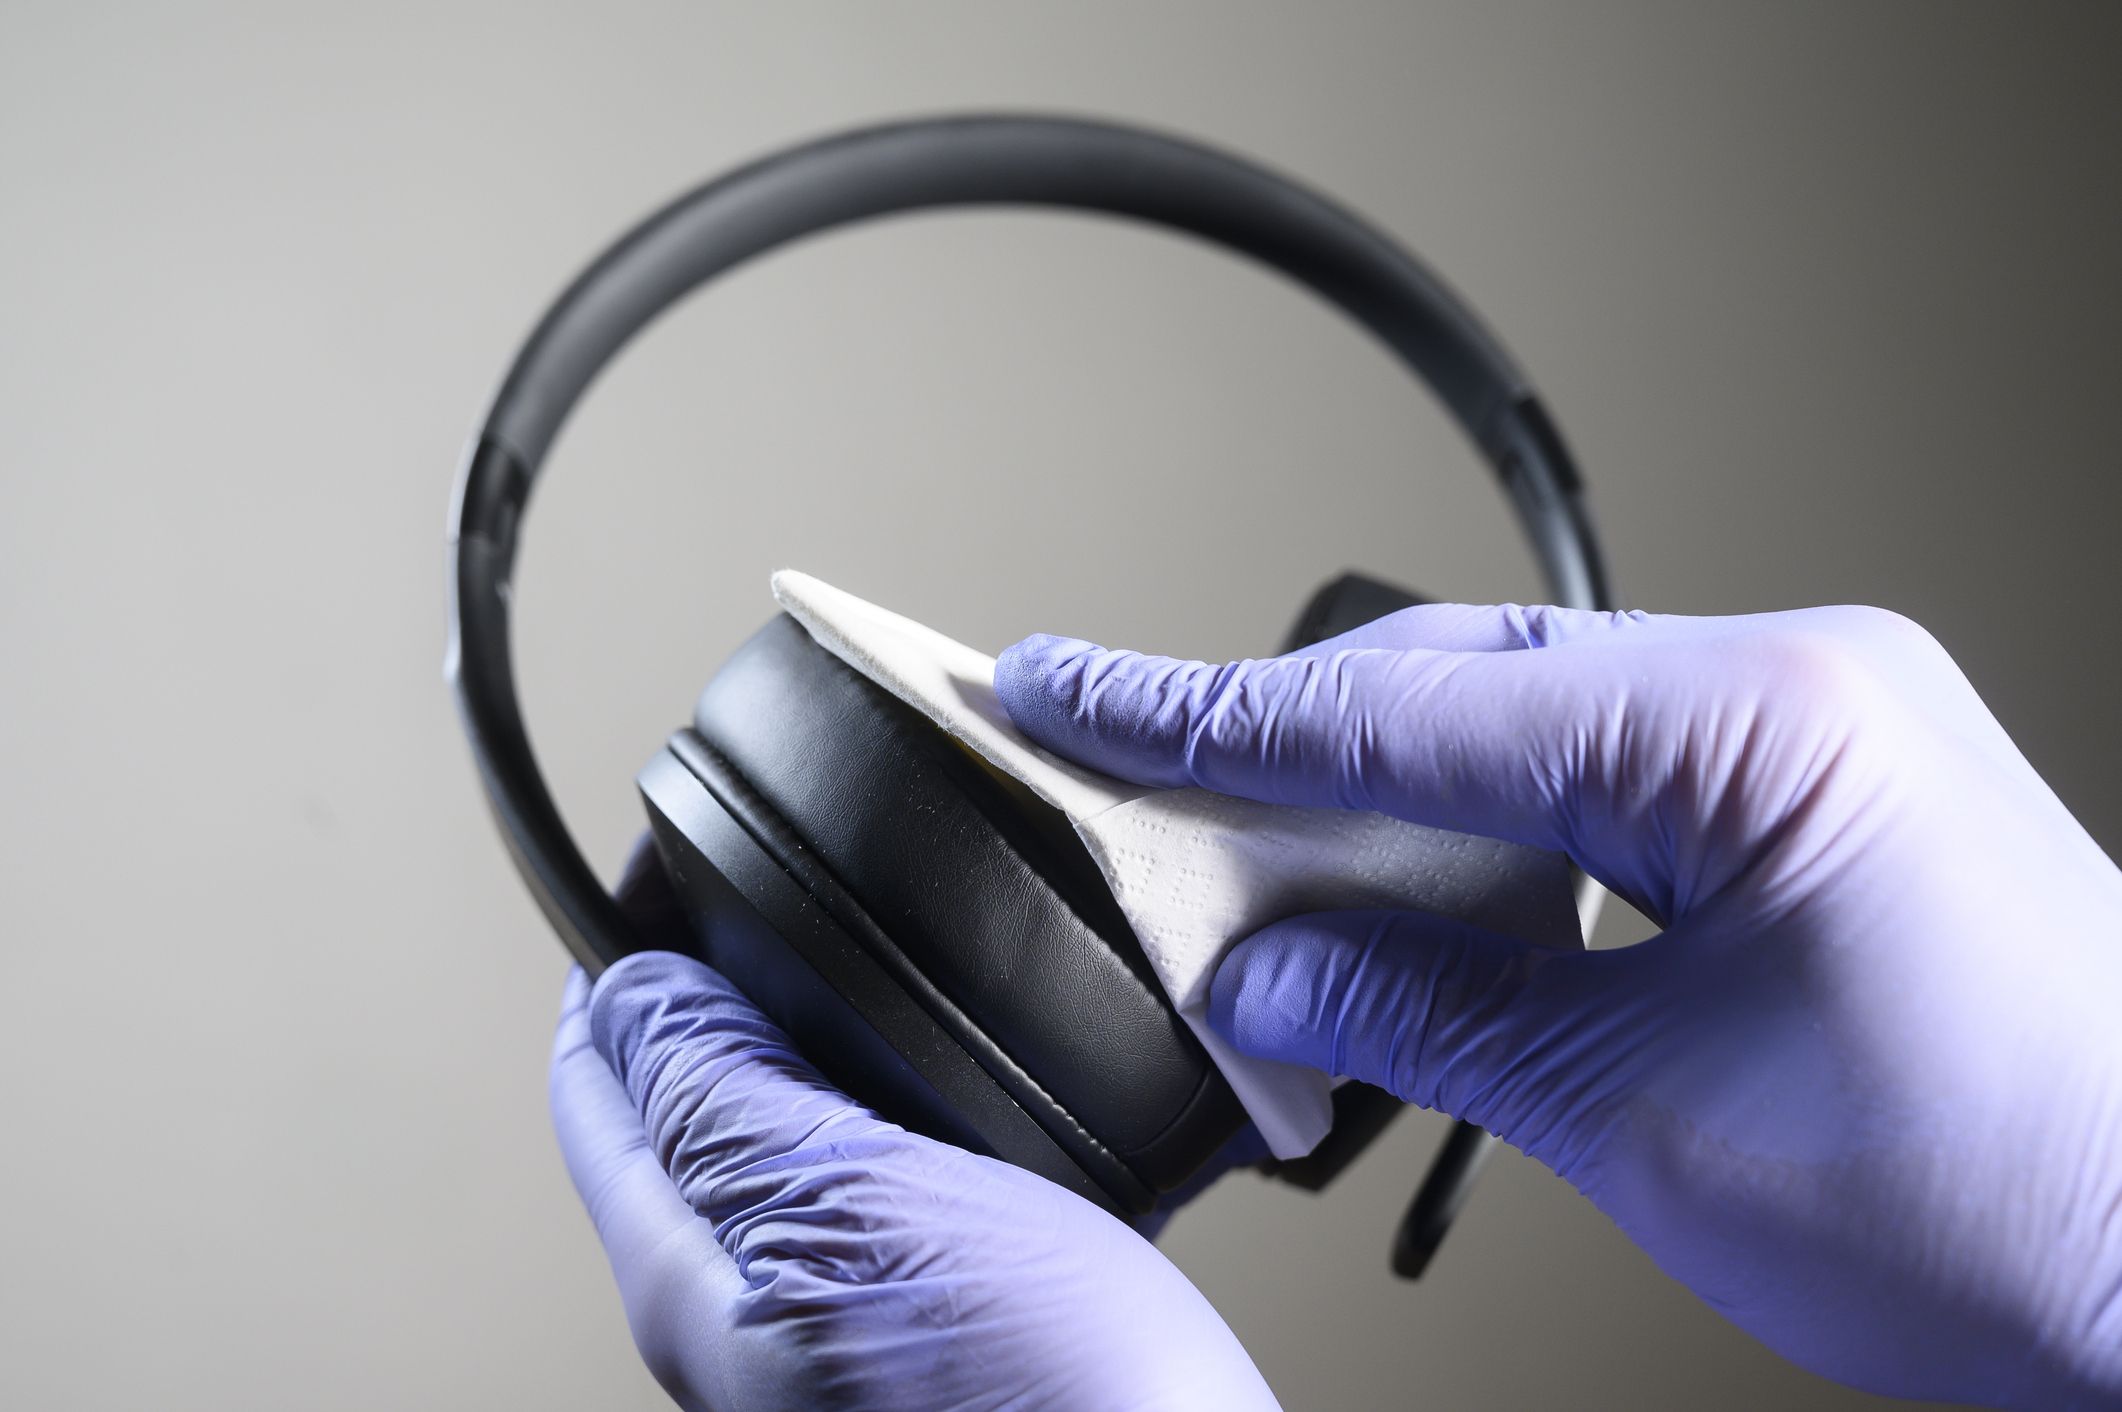
- Wipe the Ear Cups: Dip a soft, lint-free cloth or cotton swab into the cleaning solution and gently wipe the ear cups in a circular motion. Be cautious not to saturate the ear cups with excess liquid, as this can seep into the internal components and cause damage.
- Dry Thoroughly: After cleaning, use a dry cloth to remove any remaining moisture from the ear cups. Allow the ear cups to air dry completely before reattaching the ear pads.
- Reattach the Ear Pads: Once the ear cups are dry, carefully reattach the ear pads, ensuring they are securely in place.
Regularly cleaning the ear cups of your headset not only enhances its visual appeal but also ensures a hygienic listening experience. By following these steps, you can maintain the cleanliness and longevity of your headset’s ear cups.
Cleaning the Headband
The headband of your headset is susceptible to accumulating dirt, sweat, and oils from regular use. To keep it clean and well-maintained, consider the following steps:
- Use a Soft Brush: Begin by gently brushing the headband with a soft-bristled brush to remove any loose dirt or debris. This initial step helps prevent the accumulation of grime and prolongs the cleanliness of the headband.
- Spot Cleaning: For stubborn stains or areas with noticeable buildup, dampen a cloth with a mild cleaning solution, such as a mixture of water and gentle detergent. Carefully dab the affected areas to lift the stains without saturating the headband.
- Dry Thoroughly: After spot cleaning, use a dry cloth to remove excess moisture from the headband. Ensure that it is completely dry before using the headset again to prevent any potential damage.
- Condition the Headband: Consider applying a small amount of leather conditioner or a suitable product recommended for the specific material of the headband. This helps maintain the suppleness of the material and provides a protective layer against future dirt and moisture.
Regular maintenance of the headband not only keeps it looking clean and appealing but also contributes to the overall comfort and longevity of your headset. By incorporating these simple cleaning practices into your routine, you can ensure that the headband remains in optimal condition for an extended period.
Using Compressed Air to Remove Dust and Debris
Accumulated dust and debris can significantly impact the functionality and cleanliness of your headset. Utilizing compressed air is an effective method to dislodge and remove these particles from intricate areas. Here’s how to use compressed air safely and efficiently:
- Select the Correct Nozzle: When using compressed air, choose a narrow nozzle attachment to direct the airflow precisely. This allows you to target specific areas without dispersing dust to other components.
- Hold the Headset Firmly: Secure the headset in a stable position to prevent any accidental movements or damage during the cleaning process. This ensures that the airflow is directed precisely and consistently.
- Apply Short Bursts: Instead of prolonged bursts of air, utilize short, controlled bursts to dislodge the dust and debris. This method prevents excessive pressure buildup and minimizes the risk of damaging delicate components.
- Focus on Vents and Crevices: Direct the airflow into vents, crevices, and other hard-to-reach areas where dust tends to accumulate. Pay particular attention to the areas around the ear cups, headband, and any exposed connectors.
- Perform Regular Maintenance: Incorporate compressed air cleaning into your regular maintenance routine to prevent the accumulation of stubborn debris. This proactive approach helps maintain the cleanliness and functionality of your headset over time.
By utilizing compressed air as part of your cleaning regimen, you can effectively remove dust and debris from intricate areas of your headset, ensuring optimal performance and hygiene.
Cleaning the Microphone
The microphone of your headset is a crucial component that requires regular cleaning to maintain clear audio transmission and overall hygiene. Follow these steps to effectively clean the microphone:
- Inspect the Microphone: Before cleaning, carefully inspect the microphone for any visible debris or dust. Use a small flashlight if necessary to illuminate the area and identify any buildup.
- Utilize a Soft Brush: Gently brush the exterior of the microphone with a soft, clean brush to dislodge any loose particles. Ensure that the brush is specifically designed for delicate electronic components to avoid causing damage.
- Use Compressed Air: Employ compressed air to remove any remaining dust or debris from the microphone. Direct short bursts of air at a distance to prevent excessive pressure on the sensitive components.
- Sanitize the Microphone Cover: If the microphone has a removable cover or windscreen, carefully remove it and sanitize it with a mild disinfectant wipe. Ensure that the cover is completely dry before reattaching it to the microphone.
- Inspect the Connection Points: Check the connection points of the microphone for any debris or buildup that may affect the audio quality. Use compressed air or a small brush to clean these areas effectively.
Regular maintenance of the microphone ensures clear and hygienic communication while using your headset. By incorporating these cleaning practices into your routine, you can preserve the functionality and longevity of the microphone, contributing to an optimal audio experience.
Using Disinfectant Wipes to Sanitize the Headset
Sanitizing your headset is essential, especially if it is shared among multiple users or if hygiene is a top priority. Disinfectant wipes offer a convenient and effective method to sanitize the surfaces of the headset. Follow these steps to ensure proper sanitization:
- Select Suitable Disinfectant Wipes: Choose disinfectant wipes that are specifically formulated for electronic devices and delicate surfaces. Ensure that the wipes are free from harsh chemicals that may damage the materials of the headset.
- Power Off the Headset: Before sanitizing, ensure that the headset is powered off and disconnected from any devices. This precaution prevents potential damage from moisture or cleaning solutions.
- Gently Wipe the Surfaces: Carefully wipe the surfaces of the headset, including the ear cups, headband, and any exposed areas, with the disinfectant wipes. Pay particular attention to frequently touched areas to eliminate germs effectively.
- Avoid Excess Moisture: While sanitizing, avoid excessive moisture on the headset. Ensure that the wipes are only slightly damp to prevent any liquid from seeping into the internal components.
- Dry Thoroughly: After sanitizing, allow the headset to air dry completely before use. This step ensures that any residual moisture from the wipes evaporates, leaving the surfaces clean and dry.
Regularly sanitizing your headset with disinfectant wipes helps maintain a hygienic and germ-free device, particularly in shared environments. By following these simple steps, you can ensure that your headset remains clean and safe for use, promoting a healthy and comfortable experience for all users.
Cleaning the Cable and Connectors
The cable and connectors of your headset are integral to its functionality and require regular maintenance to ensure optimal performance. Follow these steps to effectively clean and maintain the cable and connectors:
- Inspect the Cable and Connectors: Before cleaning, carefully inspect the cable and connectors for any visible debris, dust, or oxidation. Addressing any buildup promptly can prevent potential damage and signal interference.
- Use a Soft Cloth: Gently wipe the cable and connectors with a soft, dry cloth to remove surface dust and debris. Ensure that the cloth is clean and free from any abrasive particles that may scratch the surfaces.
- Apply Isopropyl Alcohol: Dampen a portion of the cloth with isopropyl alcohol and gently wipe the connectors to remove any oxidation or stubborn residue. Exercise caution to prevent excess moisture from entering the connectors.
- Utilize a Cable Organizer: Consider using a cable organizer or clip to keep the cable neatly arranged and prevent tangling. This proactive measure minimizes wear and tear on the cable, prolonging its lifespan.
- Check for Fraying or Damage: Inspect the cable for any signs of fraying, kinks, or damage. Address any issues promptly to prevent signal degradation and potential hazards.
Regular maintenance of the cable and connectors contributes to the longevity and reliability of your headset. By incorporating these cleaning practices into your routine, you can ensure that the cable and connectors remain in optimal condition, promoting uninterrupted audio connectivity and overall durability.