Checking Compatibility
Checking Compatibility
Before you start connecting your Skullcandy wireless earbuds to your phone, it’s crucial to ensure that they are compatible with your device. Compatibility issues can often lead to frustrating connection problems, so taking a moment to verify this can save you time and effort in the long run.
Here are a few simple steps to check the compatibility of your earbuds with your phone:
-
Review the Device Compatibility List: Visit the official Skullcandy website or refer to the user manual to find the list of compatible devices. This will help you confirm whether your phone is on the list of supported devices. If it is, you're good to go. If not, you may encounter difficulties in establishing a stable connection.
-
Check Bluetooth Version: Verify that your phone and earbuds support the same Bluetooth version. For instance, if your earbuds use Bluetooth 5.0 and your phone only supports Bluetooth 4.2, you might experience connectivity issues. You can find the Bluetooth version in your phone's settings or the earbuds' specifications.
-
Ensure Proper Operating System: Make sure that your phone's operating system is compatible with the earbuds. Some wireless earbuds may require specific minimum operating system versions to function correctly. Check the requirements in the user manual or on the manufacturer's website to confirm compatibility.
-
Inspect Physical Connections: If your phone uses a non-standard port for audio output, such as USB-C or Lightning, ensure that your earbuds come with the appropriate connector or adapter. This is especially important for older models of earbuds that may not be equipped with the latest connectivity options.
By going through these steps, you can preemptively address any compatibility issues and set the stage for a smooth and hassle-free connection process.
Turning on the Earbuds
Turning on the Earbuds
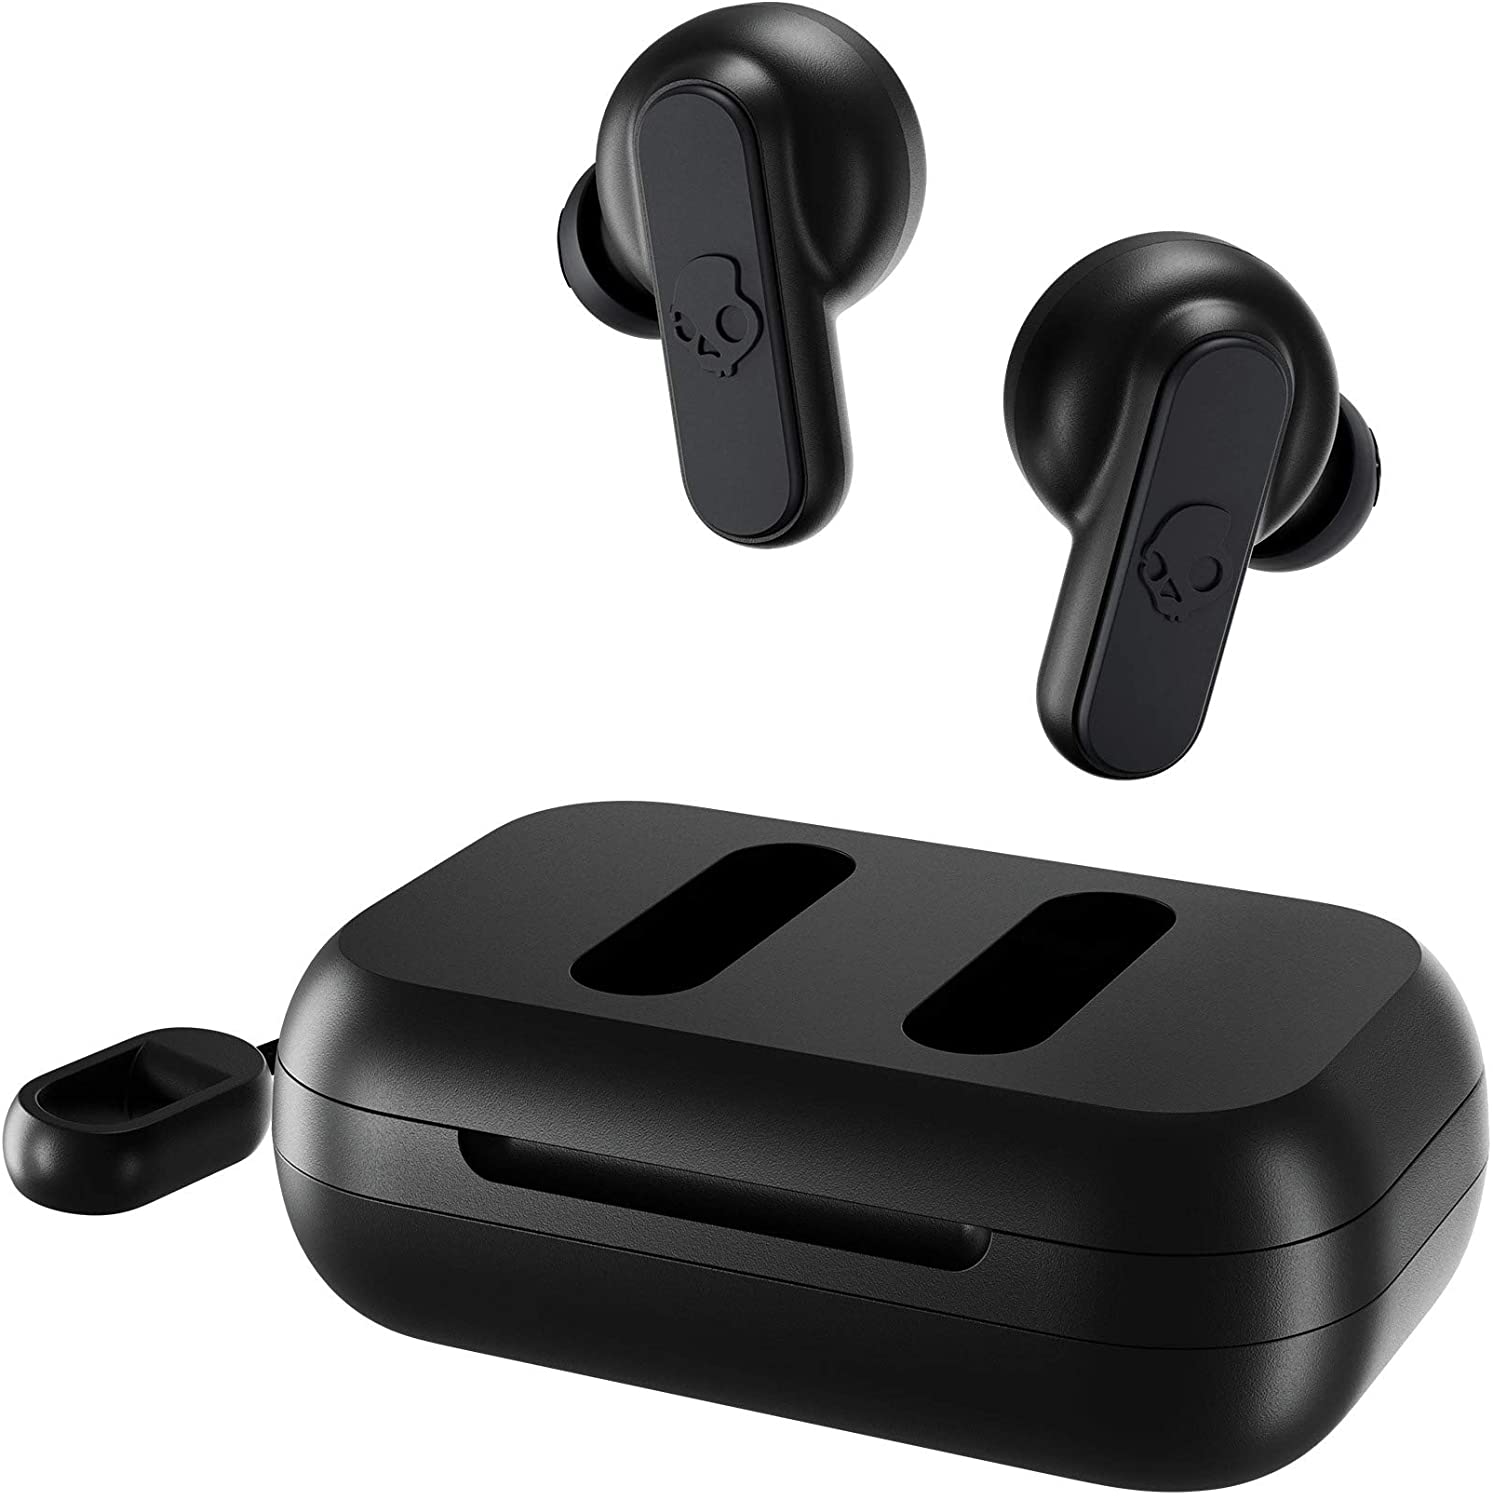
Once you’ve confirmed the compatibility of your Skullcandy wireless earbuds with your phone, the next step is to power them on. This process may vary slightly depending on the specific model of earbuds you own, but the following general steps should guide you through the process:
-
Locate the Power Button: Most wireless earbuds have a power button that also serves other functions such as pairing and controlling music playback. The location of the power button varies by model, but it is typically found on one of the earpieces. Refer to the user manual or the manufacturer’s website if you’re unsure where to find it.
-
Press and Hold the Power Button: Press and hold the power button for a few seconds until you see an indicator light or hear a sound that signifies the earbuds are powering on. This light or sound may differ depending on the model, so consult the user manual for specific details.
-
Monitor the Indicator Light: Many wireless earbuds feature an LED indicator that provides information about the power status and pairing mode. Pay attention to the color and pattern of the light to determine if the earbuds are successfully powered on and ready to pair with your phone.
-
Charge the Earbuds if Necessary: If your earbuds have been inactive for an extended period or are displaying low battery status, it’s advisable to charge them before attempting to pair them with your phone. Refer to the user manual for specific instructions on charging your earbuds.
By following these steps, you can ensure that your Skullcandy wireless earbuds are powered on and prepared for the pairing process. This sets the stage for a seamless connection with your phone, allowing you to enjoy your favorite music and content without any interruptions.
Pairing with Your Phone
Pairing with Your Phone
After turning on your Skullcandy wireless earbuds, the next step is to pair them with your phone. This process establishes a wireless connection between the earbuds and your device, allowing you to enjoy your favorite music, podcasts, and calls without the hassle of cords. Here’s a simple guide to pairing your earbuds with your phone:
-
Activate Bluetooth on Your Phone: Access the settings menu on your phone and enable Bluetooth. This allows your phone to scan for nearby Bluetooth devices, including your earbuds.
-
Put the Earbuds in Pairing Mode: Most wireless earbuds have a dedicated pairing mode that enables them to be discovered by other devices. Typically, this involves pressing and holding a specific button or sequence of buttons on the earbuds. Refer to the user manual for your specific model to learn how to activate pairing mode.
-
Select the Earbuds on Your Phone: Once your earbuds are in pairing mode, your phone should detect them in the list of available Bluetooth devices. Look for the name of your earbuds in the Bluetooth menu on your phone and select them to initiate the pairing process.
-
Follow Any On-Screen Prompts: Depending on your phone’s operating system, you may receive on-screen prompts to confirm the pairing request. Follow the prompts to complete the pairing process and establish a secure connection between your phone and the earbuds.
-
Confirm Successful Pairing: Once the pairing process is complete, you should see a confirmation message on your phone indicating that the earbuds are successfully connected. Additionally, some earbuds may emit a sound or display a specific light pattern to signal successful pairing.
By following these steps, you can seamlessly pair your Skullcandy wireless earbuds with your phone, unlocking the freedom and convenience of wireless audio. With the pairing process complete, you’re ready to immerse yourself in high-quality sound and enjoy the mobility that wireless earbuds offer.
Troubleshooting Connection Issues
While connecting your Skullcandy wireless earbuds to your phone is typically a straightforward process, you may encounter occasional connectivity issues. These issues can range from audio dropouts and pairing failures to intermittent connections. Here are some troubleshooting steps to help you address common connection issues:
-
Reset the Earbuds: If you experience persistent connection problems, try resetting your earbuds. This often involves placing them in the charging case and following specific instructions to reset the connection settings. Refer to the user manual for detailed reset procedures.
-
Check Bluetooth Signal Strength: Ensure that your phone and earbuds are within close proximity to maintain a strong Bluetooth connection. Physical obstructions and long distances can weaken the signal, leading to audio interruptions and pairing difficulties.
-
Update Firmware and Software: Check for firmware updates for your earbuds and software updates for your phone. Manufacturers often release updates to address connectivity issues and improve overall performance. Keeping both your earbuds and phone up to date can resolve compatibility and connectivity issues.
-
Clear Paired Devices List: If you’ve previously paired your earbuds with multiple devices, the pairing information may cause conflicts. Clearing the list of paired devices on your earbuds and phone can eliminate potential sources of interference and streamline the connection process.
-
Restart Your Phone: Sometimes, a simple restart of your phone can resolve temporary Bluetooth issues. Rebooting your phone can refresh its Bluetooth functionality and clear any underlying software glitches that may be affecting the connection.
By following these troubleshooting steps, you can address common connection issues and restore a stable and reliable connection between your Skullcandy wireless earbuds and your phone. If you continue to experience persistent connectivity problems, consider reaching out to Skullcandy’s customer support for further assistance.


